Pz.kpfw II Luchs 1:25 WAK
Construction report
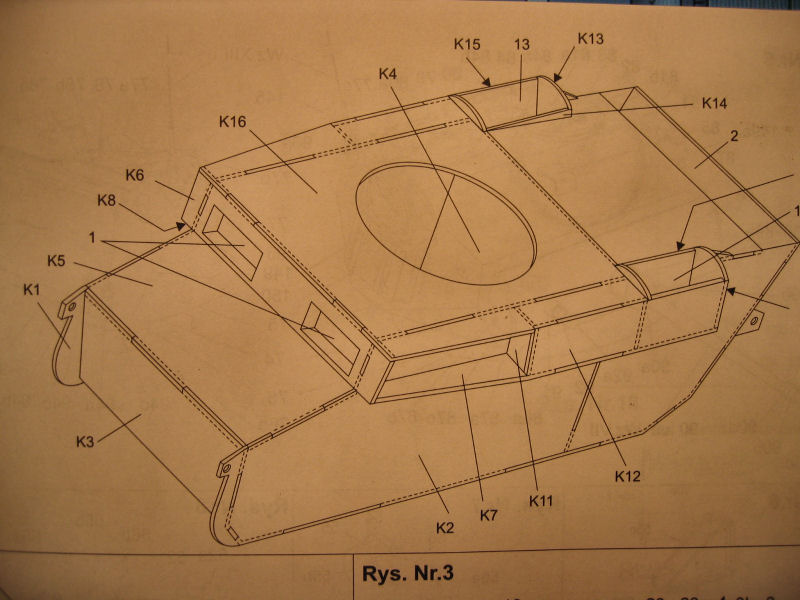
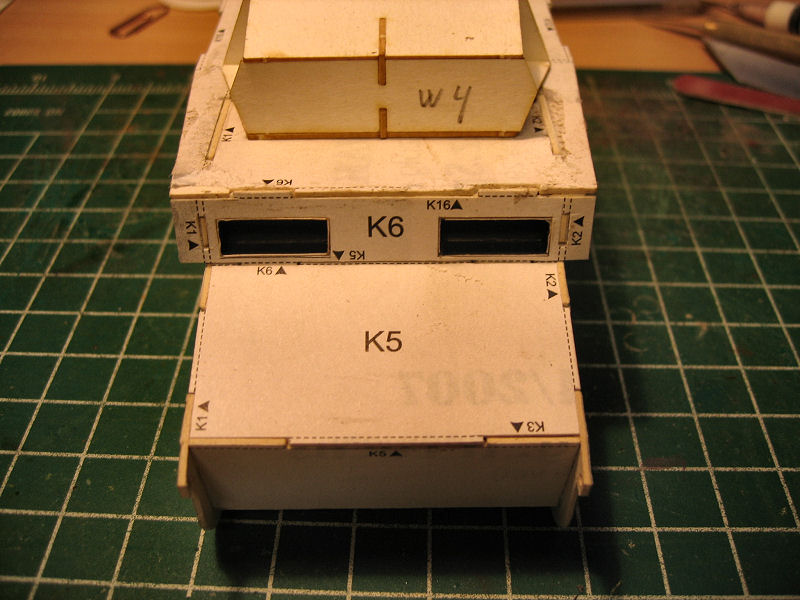
This build starts with making the framework for the body.
| The drawing shows that there are a lot of parts involved in making the body. |
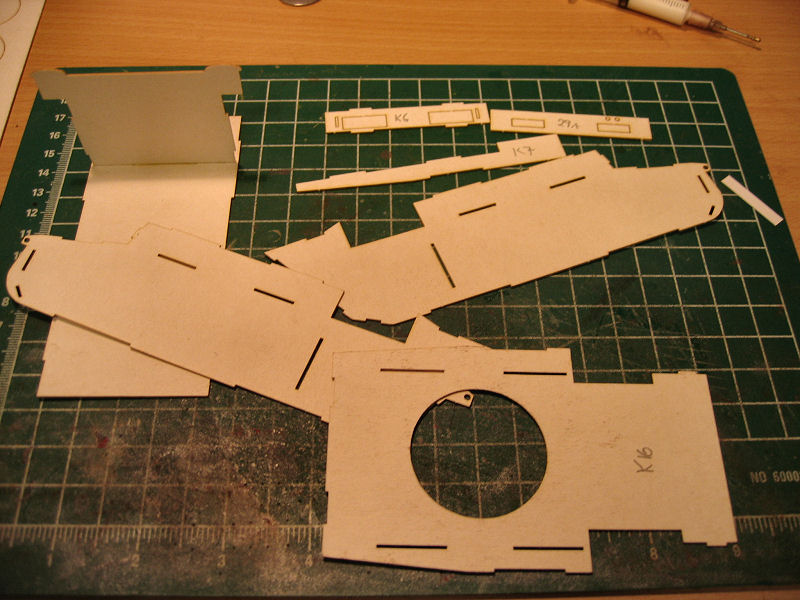
Here I have cutted out a few parts. |
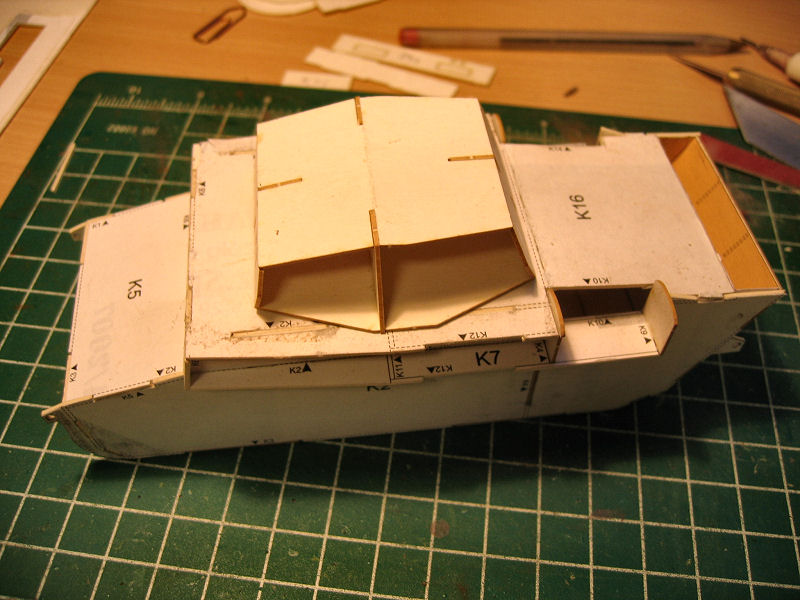
Following the drawing and the frame is done. |
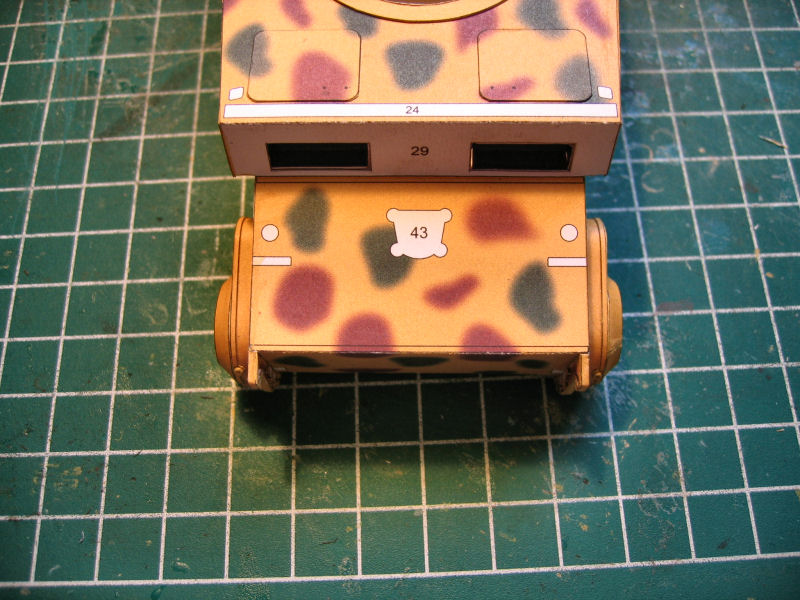
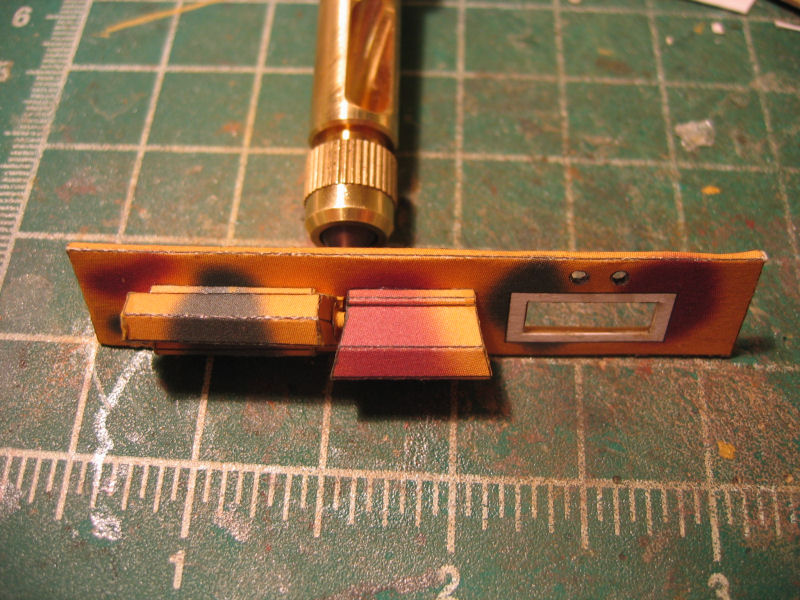
Small black boxes are placed inside the "windows" |
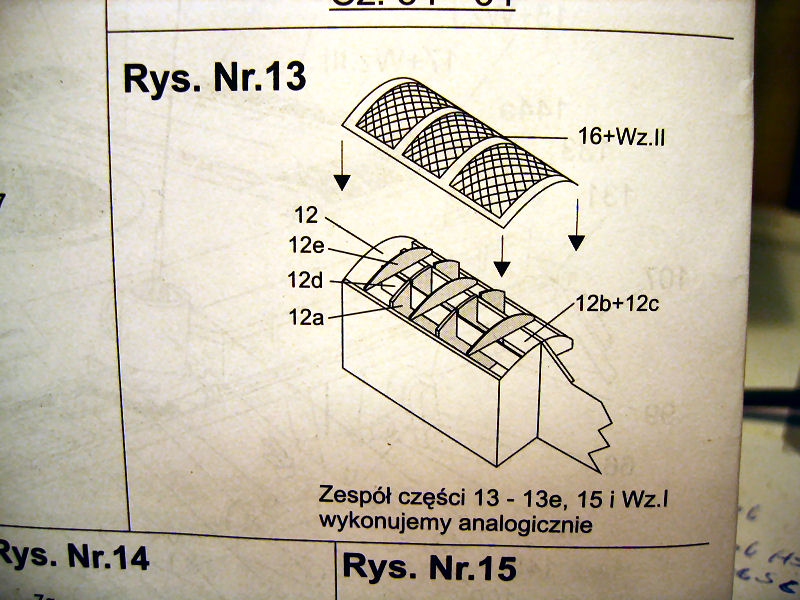
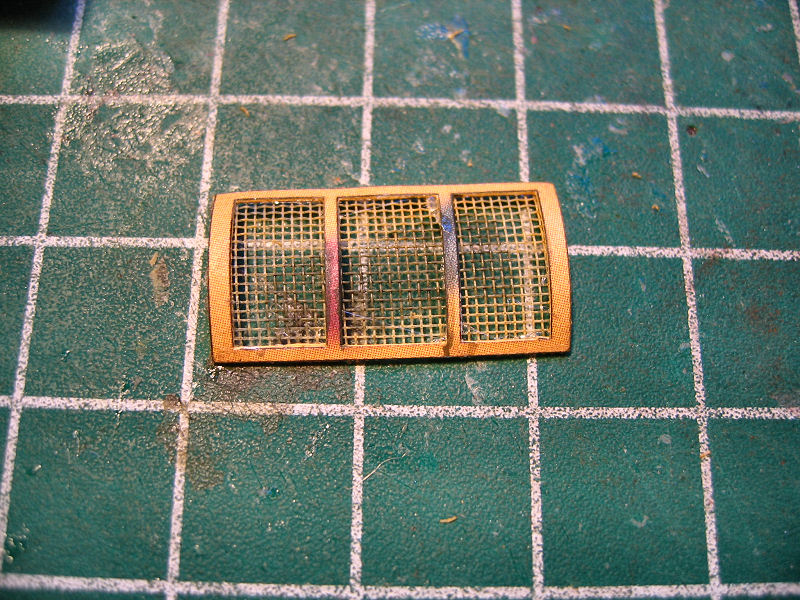
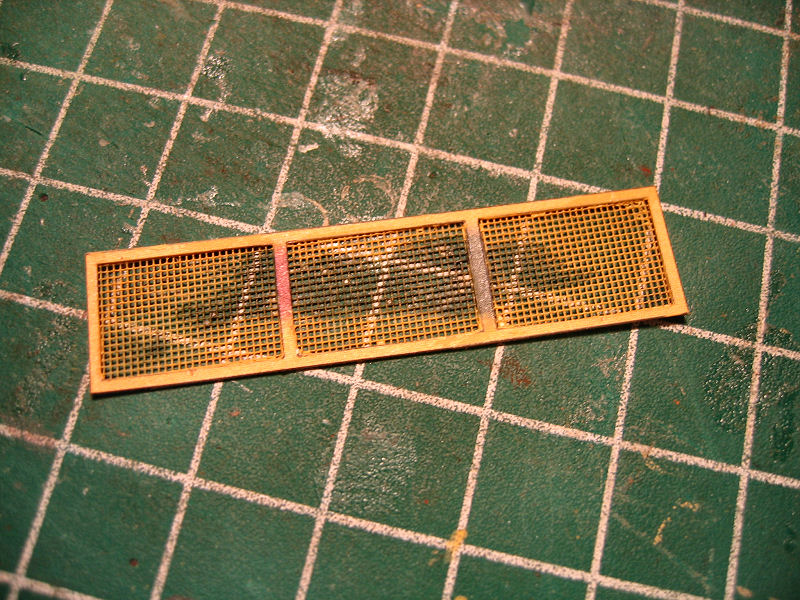
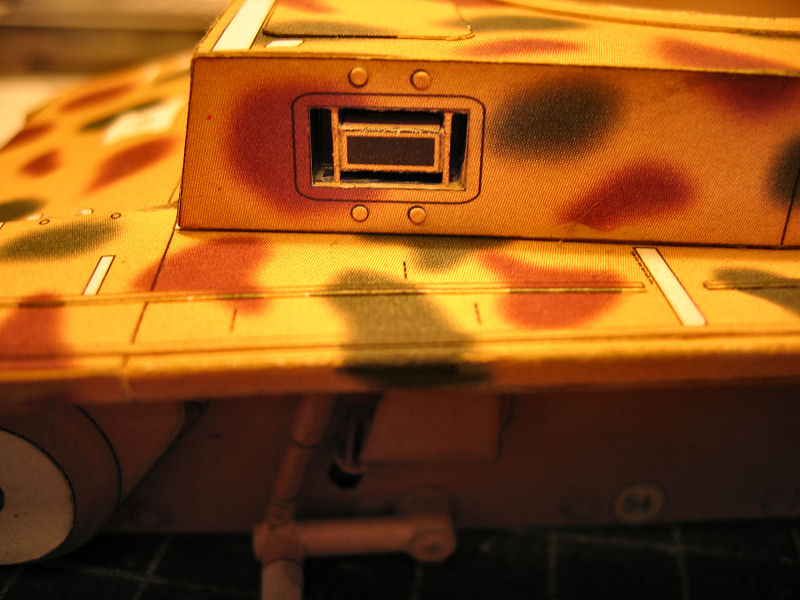
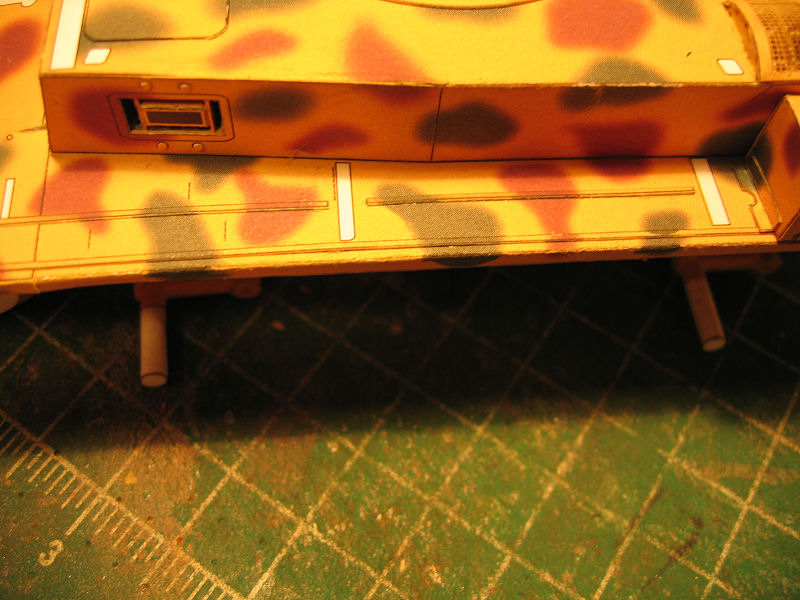
The air vents
| The drawing of the air vents. |
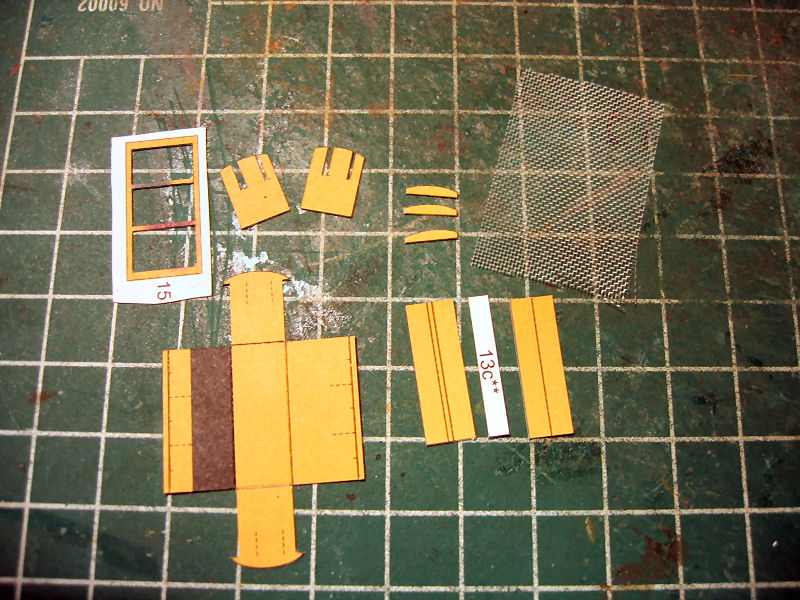
Parts are cutted out. |
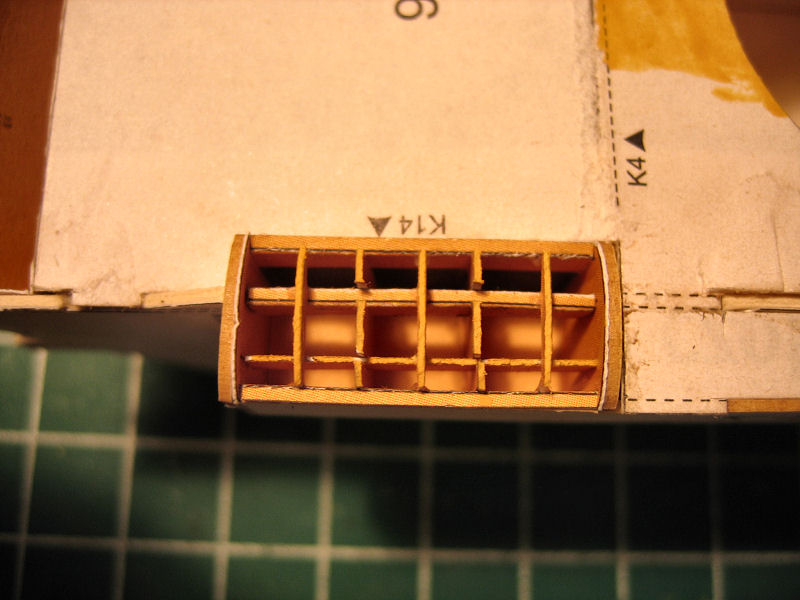
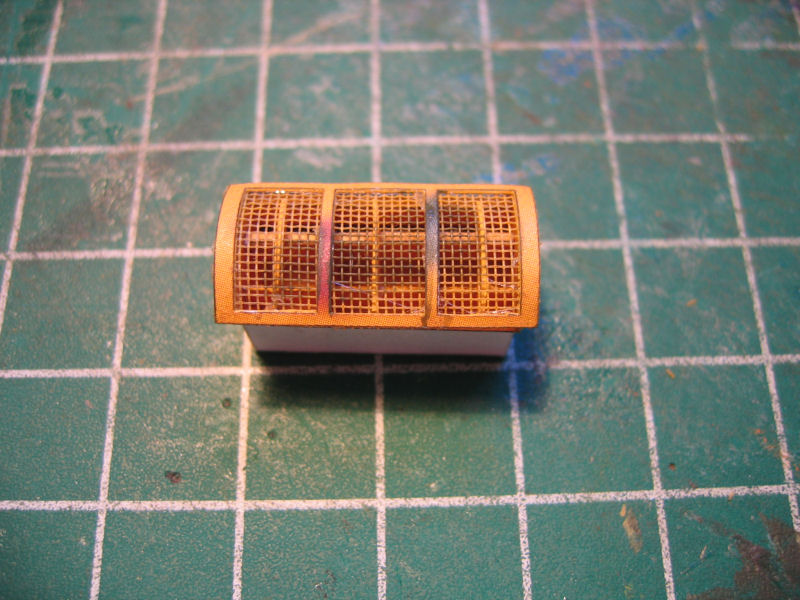
The vent is assembled. |
The mesh and frame is done |
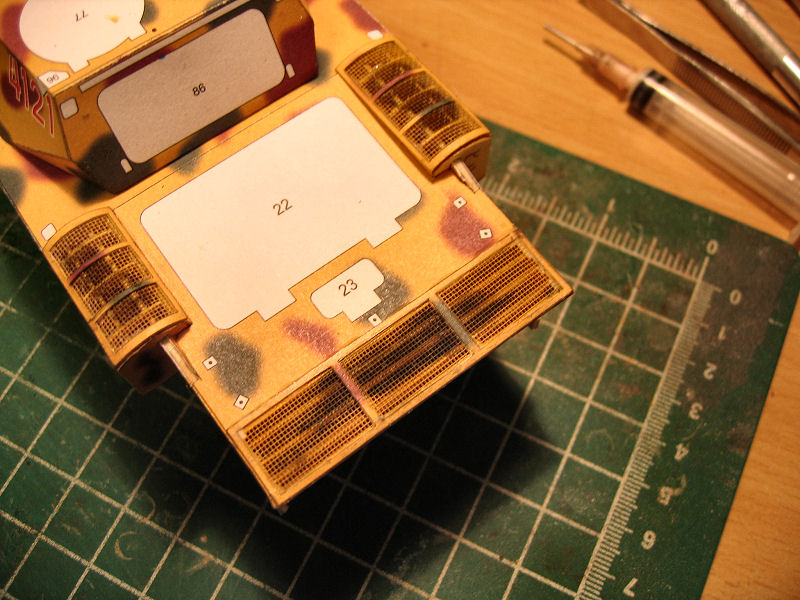
| Mesh and frame placed on top of the vent. |
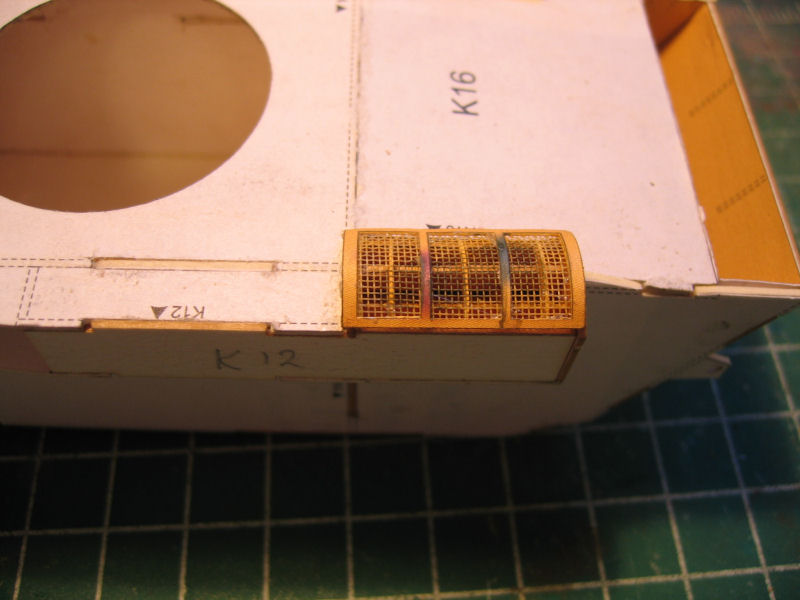
Vent in place. |
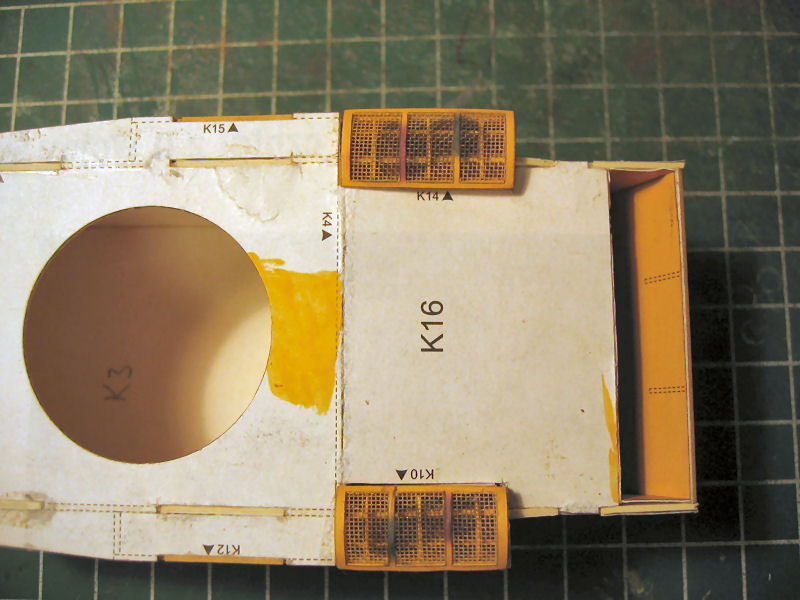
Both air vents are done. |
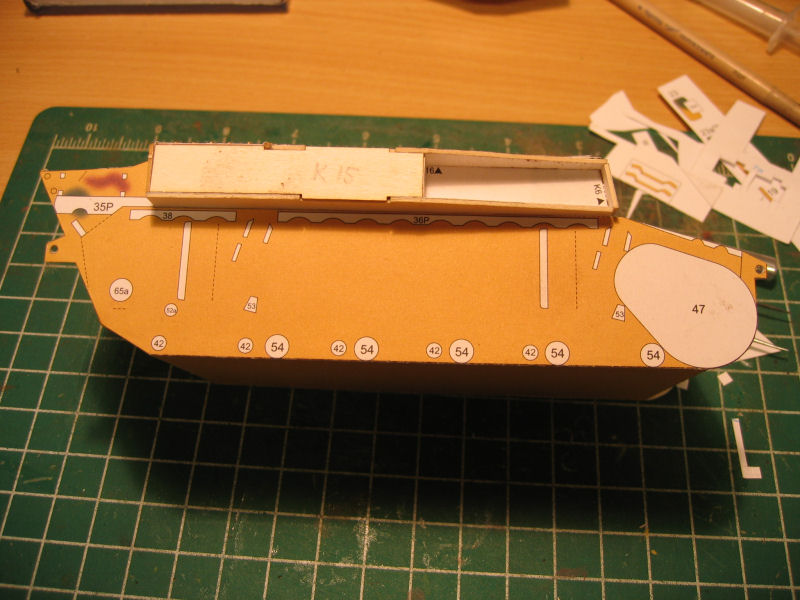
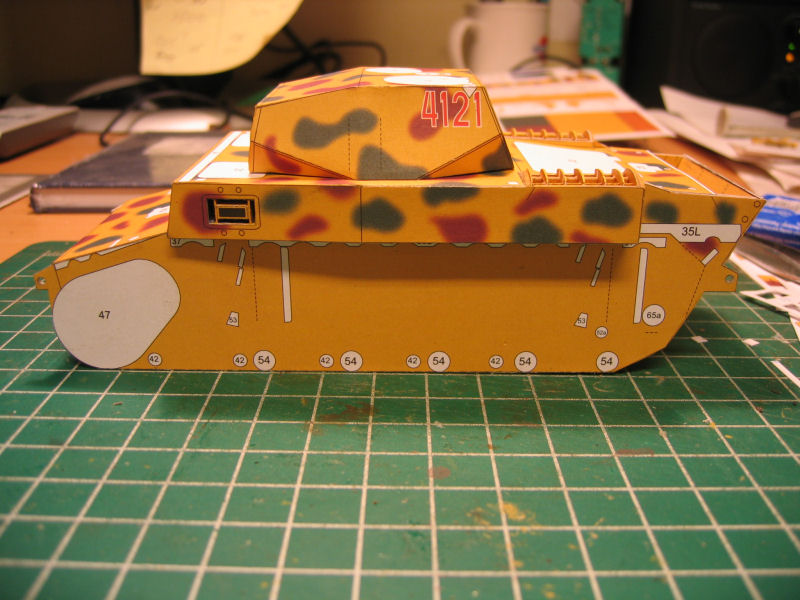
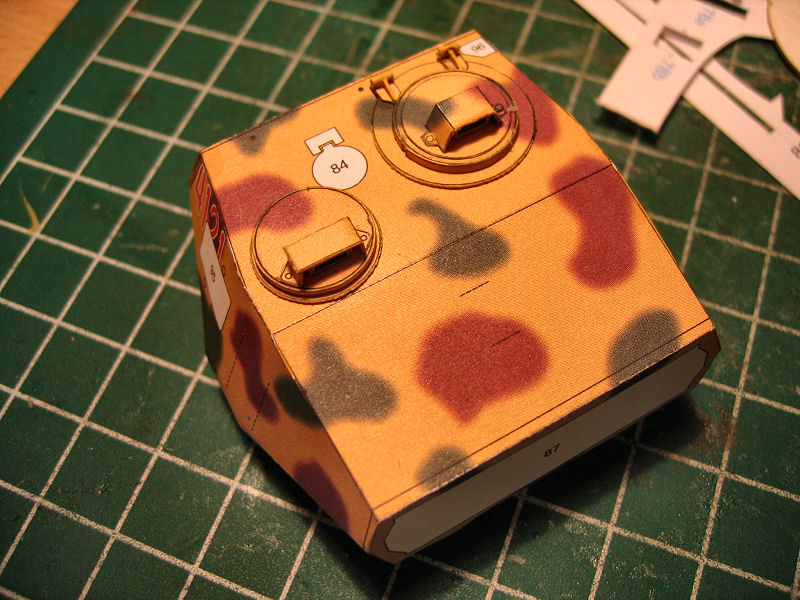
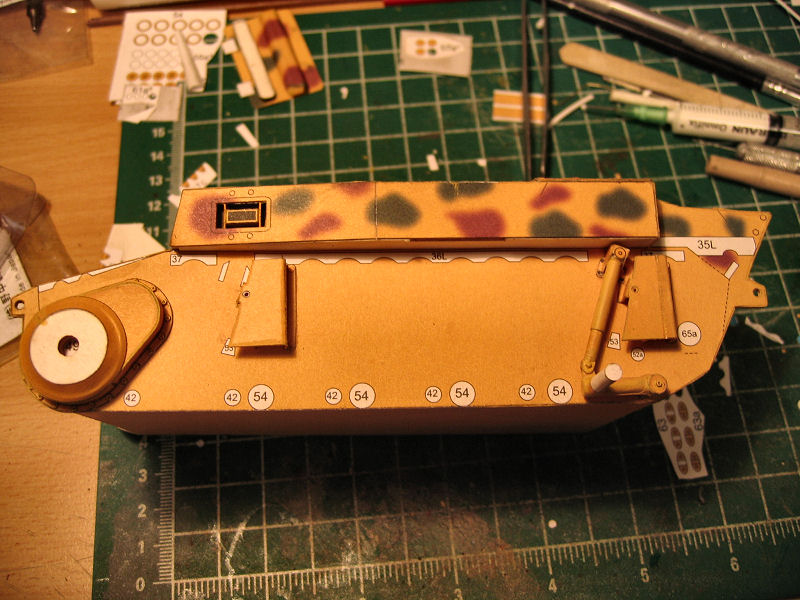
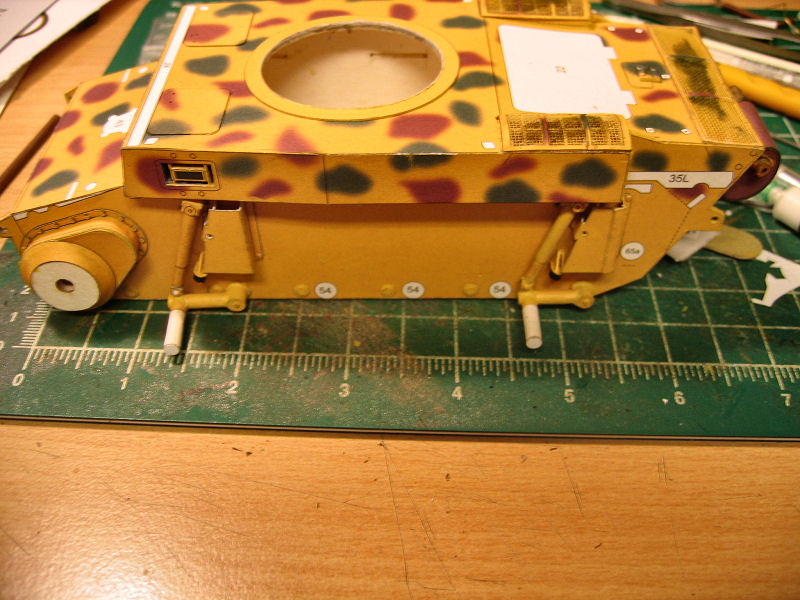
Adding the outside skin
The outside skin is devided in 3 sections.The lower hull,upper hull and the turret.Iwill say thet this is
a fairly easy task if everything fits.So dryfitting is important here,so that nothing gets out of line or skewed.Inside the sidewindows on the upper skin there is an option to have the windows open or closed.
I will go for the open option, and then I had to add the innside of the windows.The skin for the tower did not fit very well.I had to do a lot of
trimming to have it fit and look nice.
| The skin on the bottom hull did not fit as good as expected.I had to cut out one of the sides to have it fit properly. |
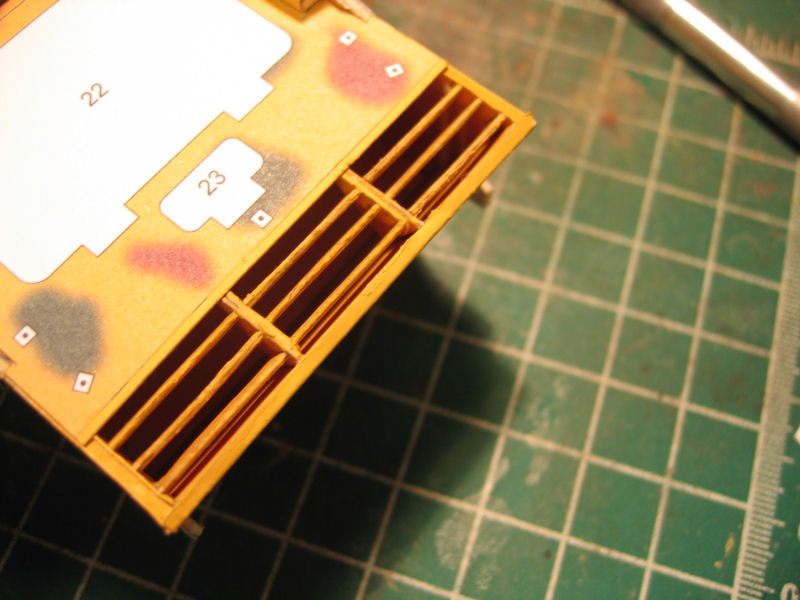
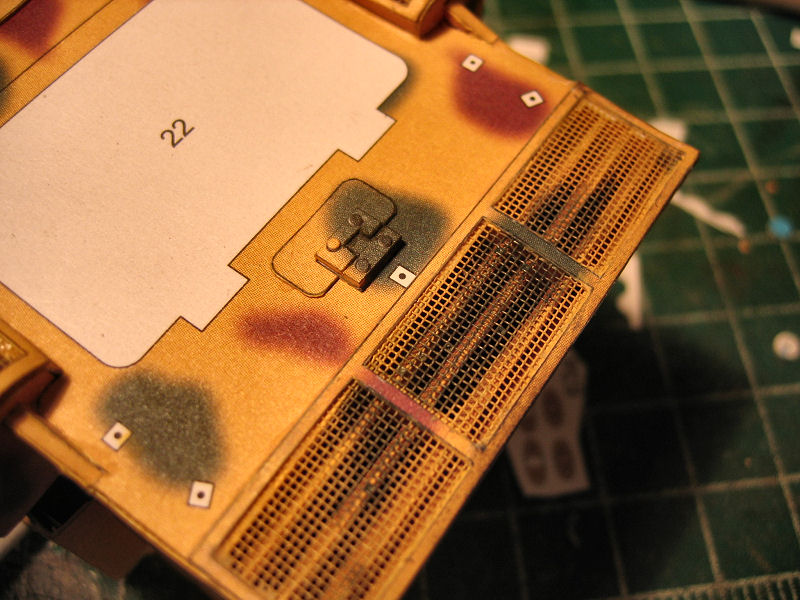
Upper skin is cut out and the inside of the windows are in place. |
Here we have a closer look at the inside of the window.. |
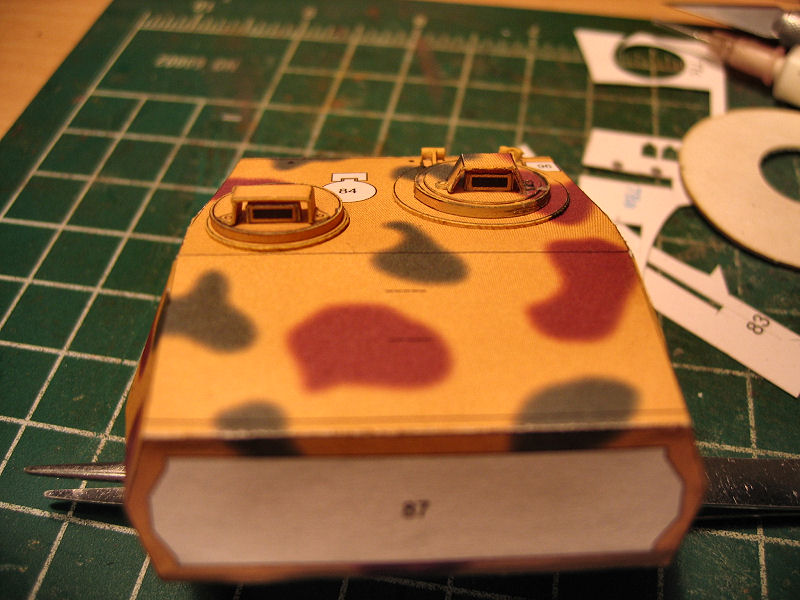
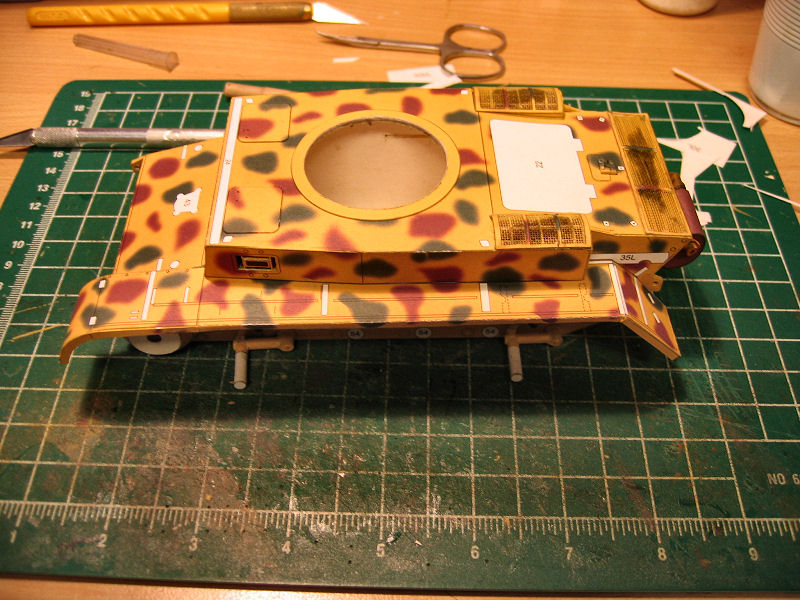
The turret is covered |
| All the skins are glued to the framing. |
A side view. |
The rear air vent
The vent contains the inner part that is mounted into the frame when that is assembled
and some internal frames that will show through the top mesh.Putting this together was straight forward building.The internal parts fitted well,and the top frame was glued
to the mesh and painted.
| Here we can see the internal frames. |
The mesh is glued to the top frame and painted.. |
The rear air vent is done. |
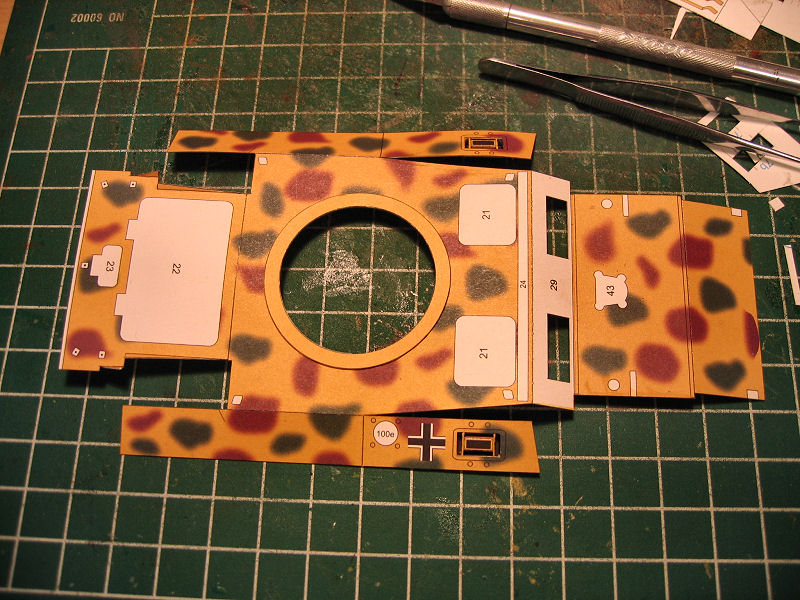
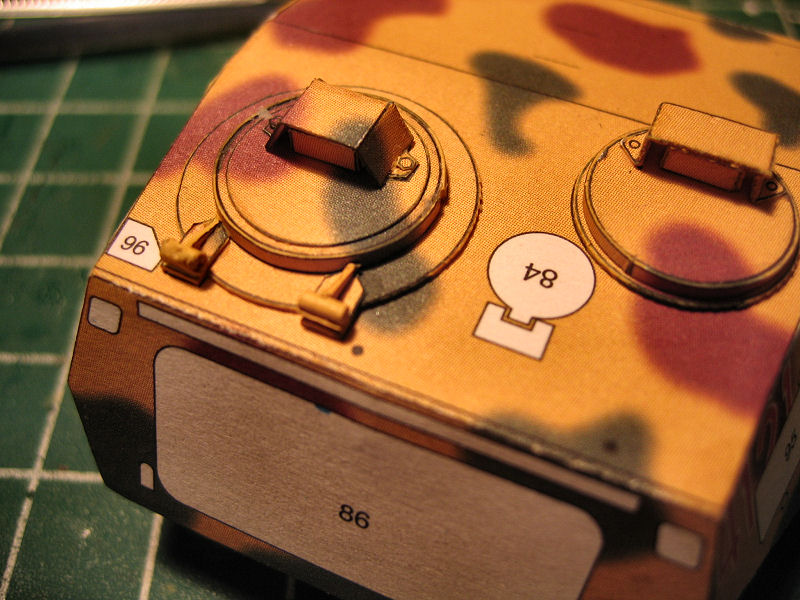
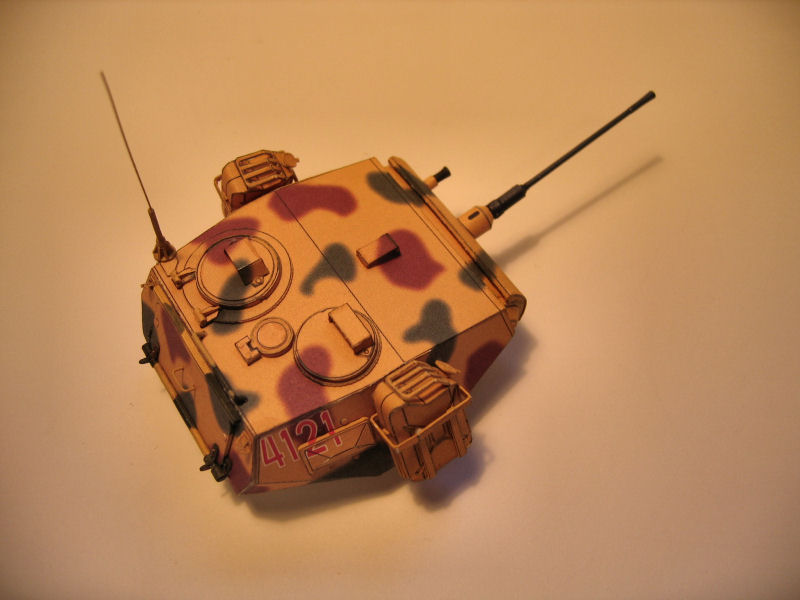
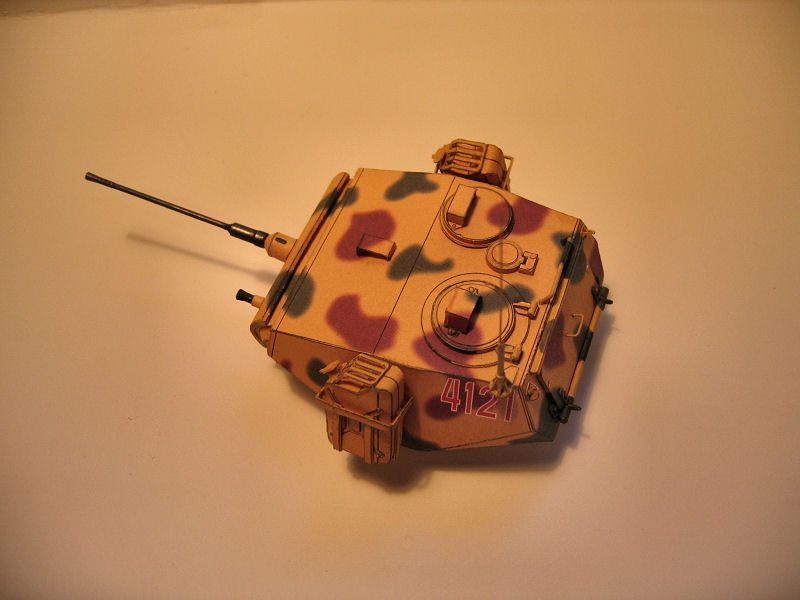
The turret
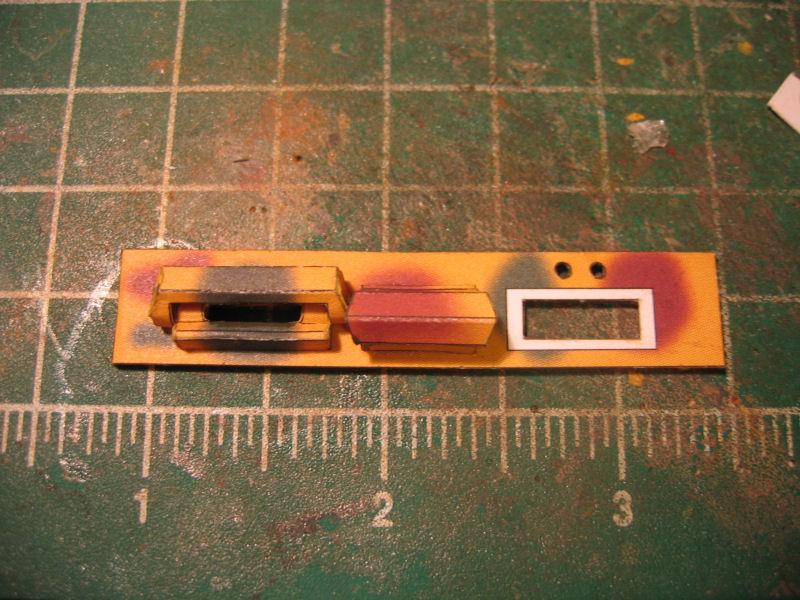
The first thing I did was to make the two hatches.Parts fitted ok here.The bottom part of the hatches is glued to 1mm cardboard and covered by a paperstrip.
The assembly is very easy here.The most picky thing is to get the periscopes done nicely since the structure is buttglued,no glue tabs at all.So gently treatment is vital here.
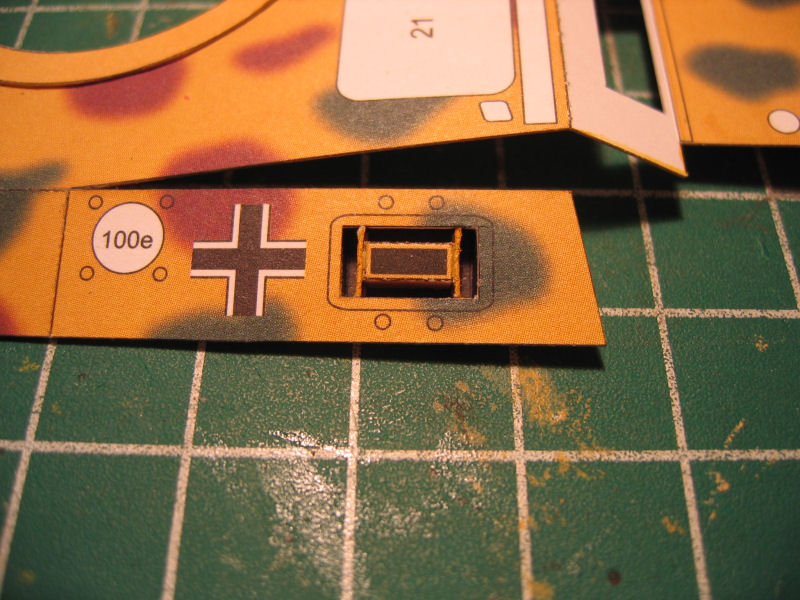
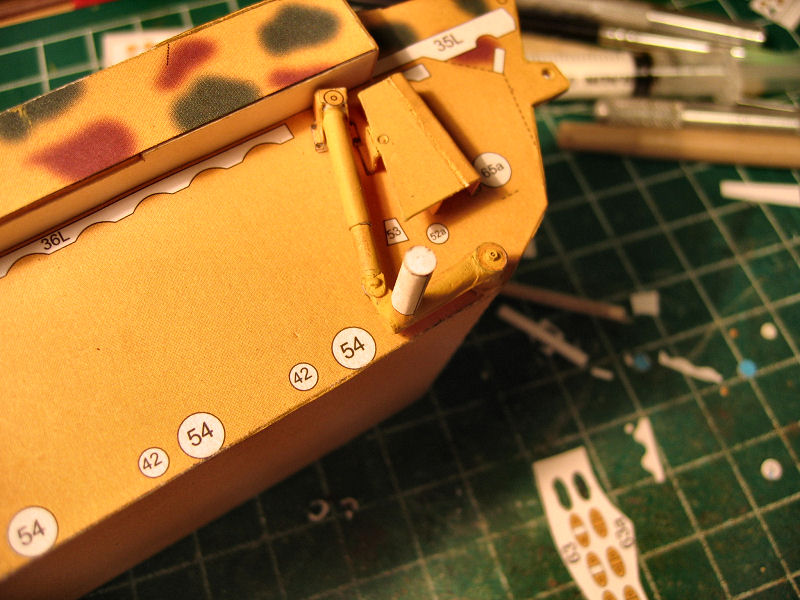
So the work on detailing the turret has started.The rear hatch was glued to 1mm cardboard and edgepainted.
The large hinge underneath is added.I put on some 0,6mm nuts on the ends.The handgrip is made of 0,5mm copperwire.The antenna was a bit picky.It contains more parts than you think...
The tiny supporters at the bottom is not much more than 1-2mm long.I got them in place with a pair of tiny tweezers.
The antenna itselves is made from 0,3mm steelrod.The large handgrip on top is made of some 1mm soft aluminium rod.
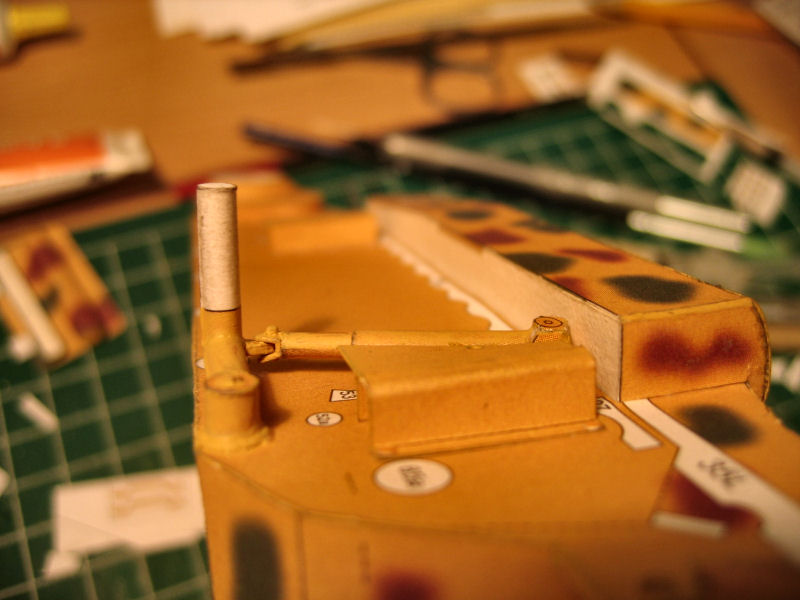
| Details on the rear end of the turret. |
The turrets side window. |
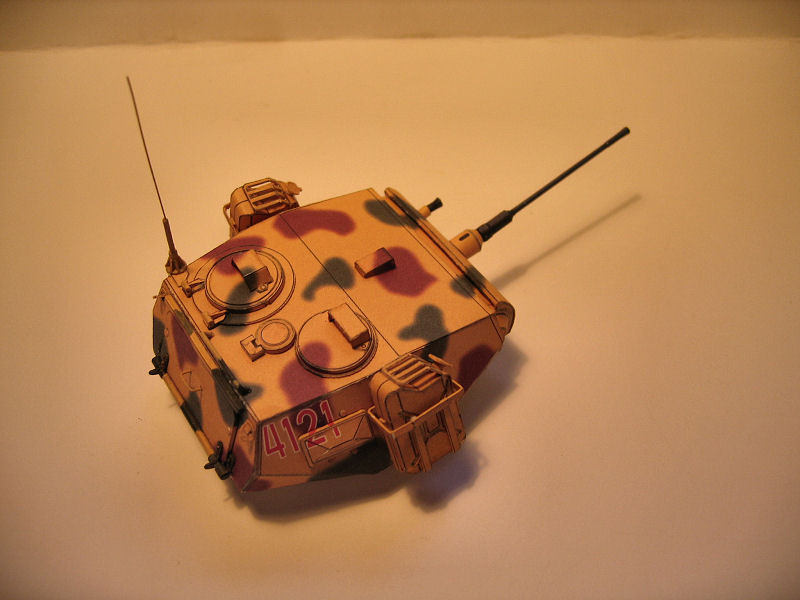
Here we have a closer look at the antenna with the fundament. |
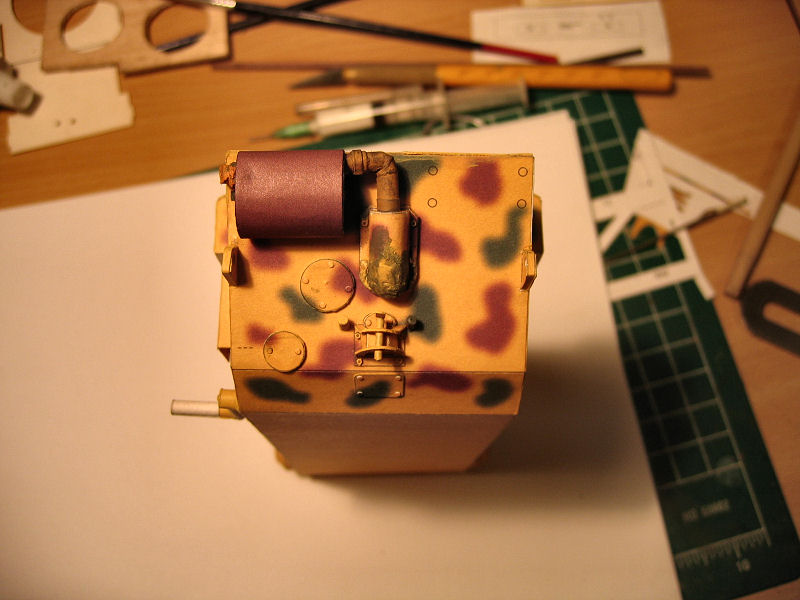
And an overview |
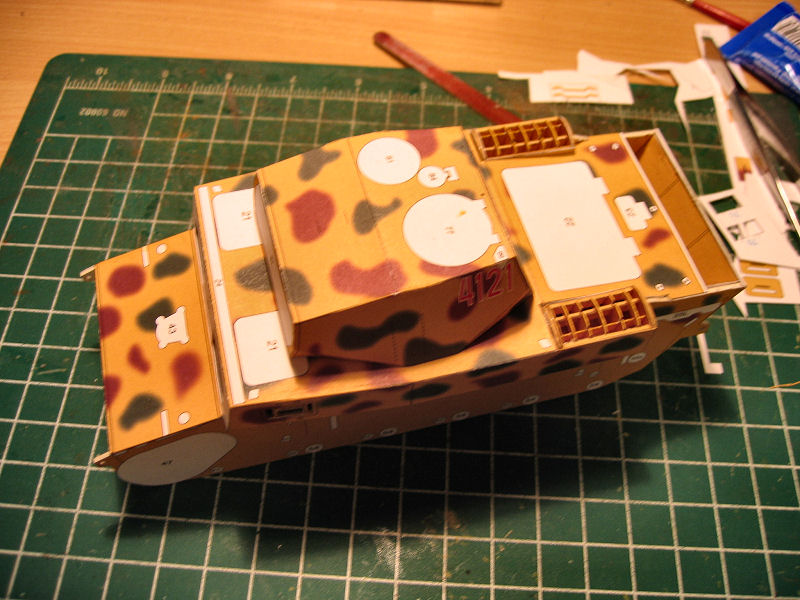
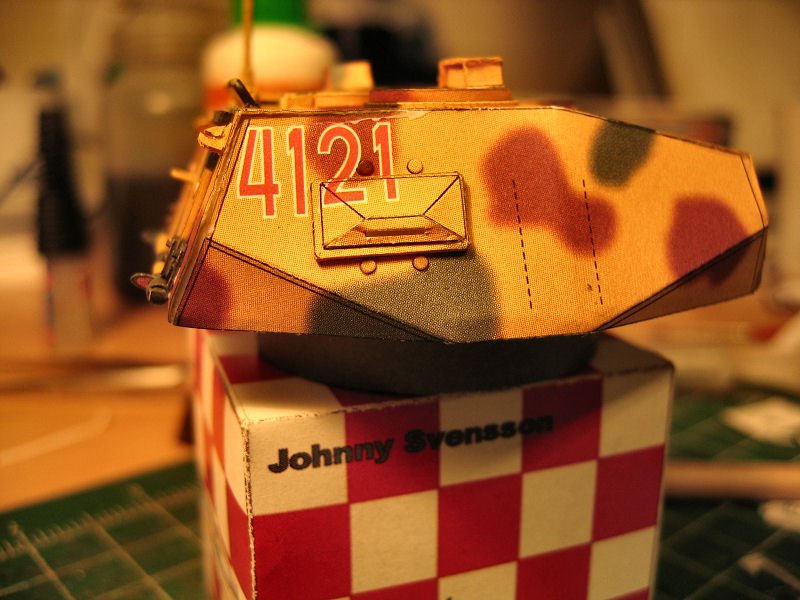
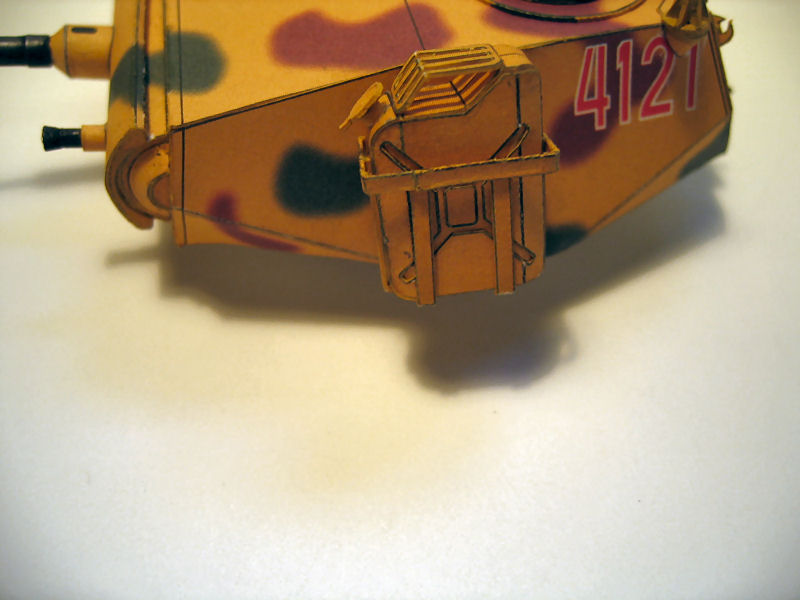
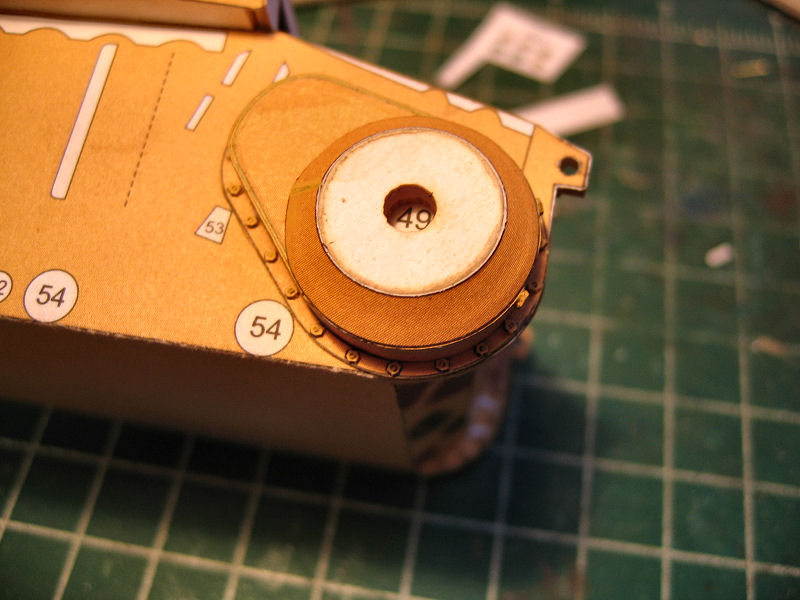
The front side of the turret and the jerrycans on the side was next.The barrel is made of brass and I painted it matt black first.Then I painted with Humbrol Gunmetal.
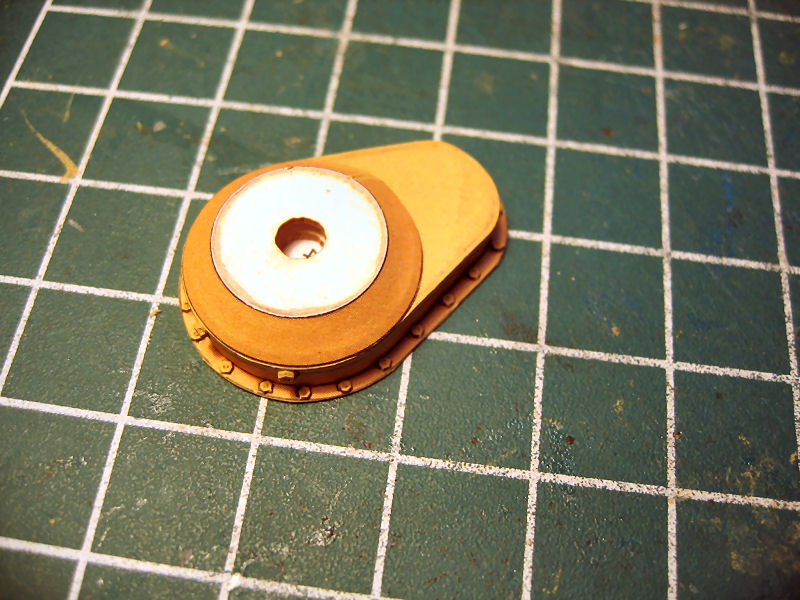
All parts for the gun attachment har a nice fit.The same goes for the jerrycans and the holders.
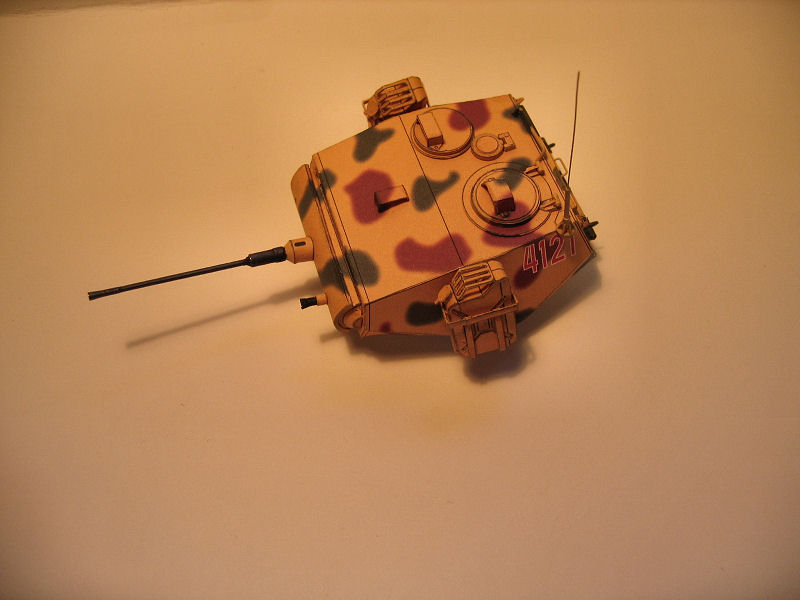
| Overview of the turret. |
A closer look at the barrel. |
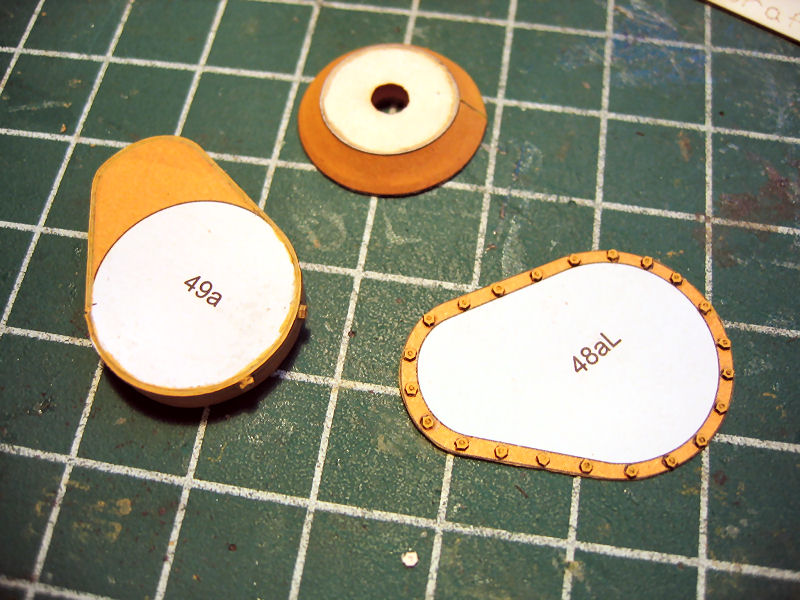
Jerrycan. |
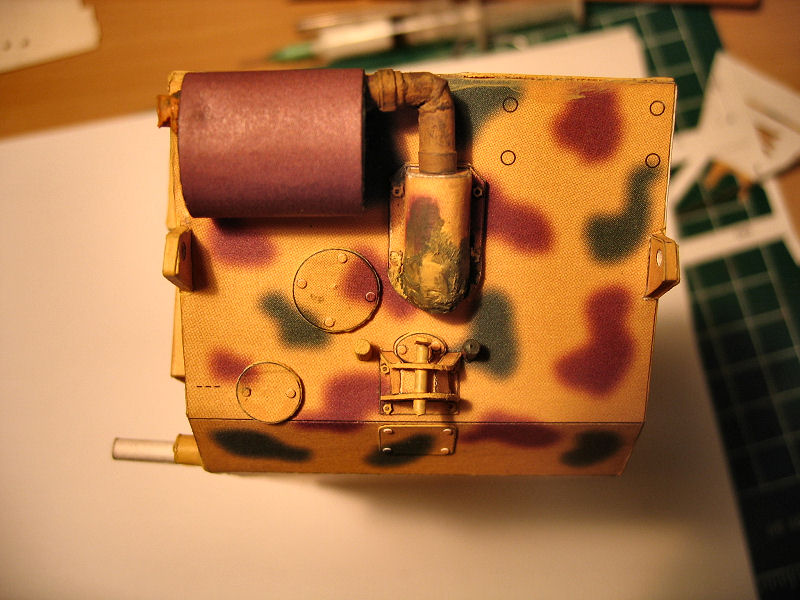
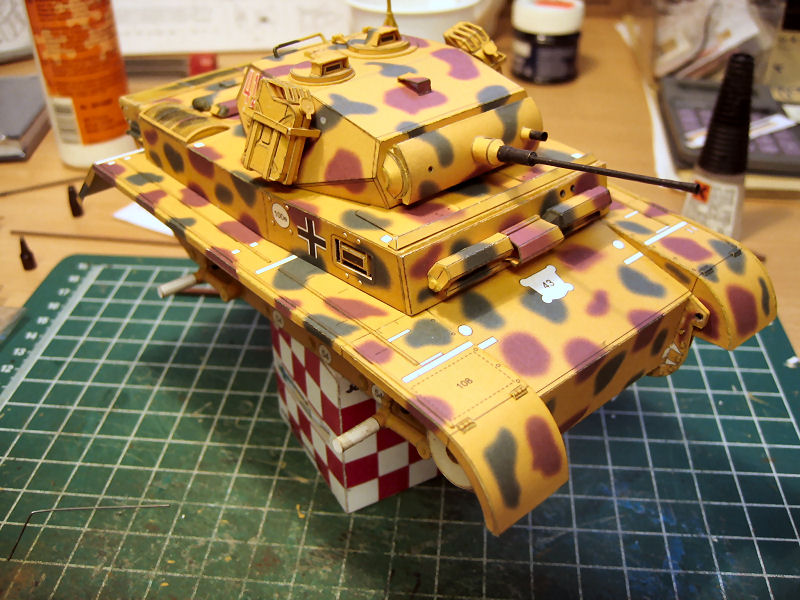
Another overview |
| Overview. |
Overview. |
Overview. |
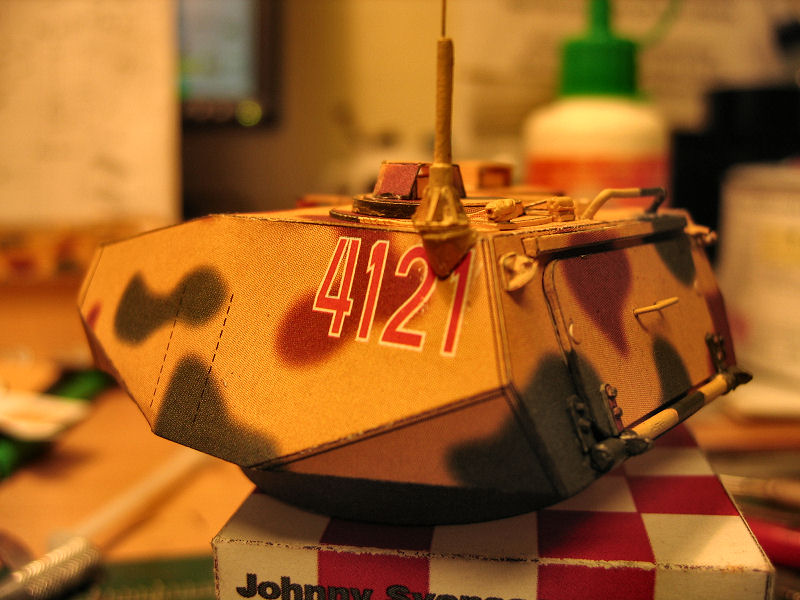
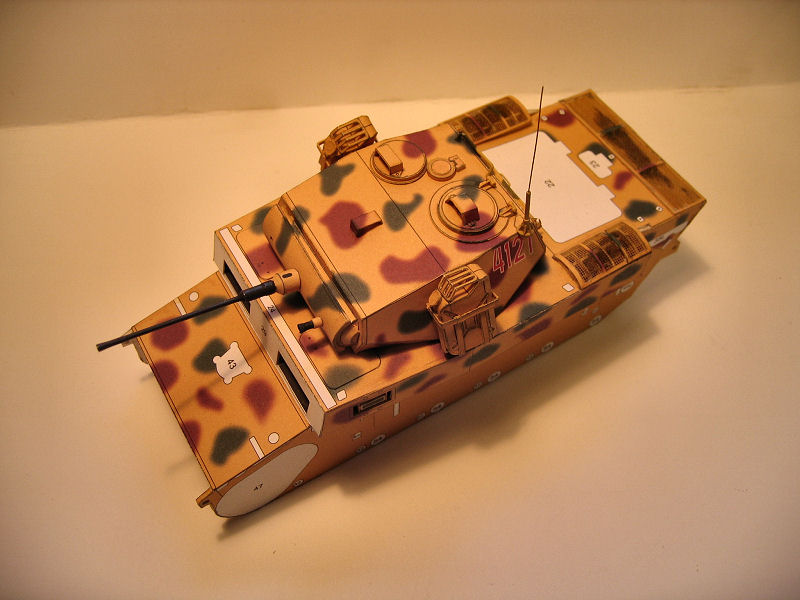
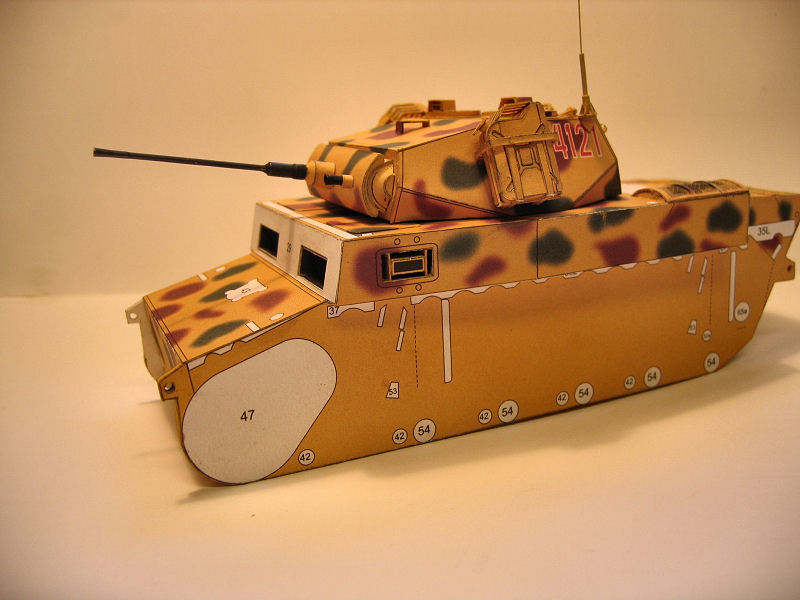
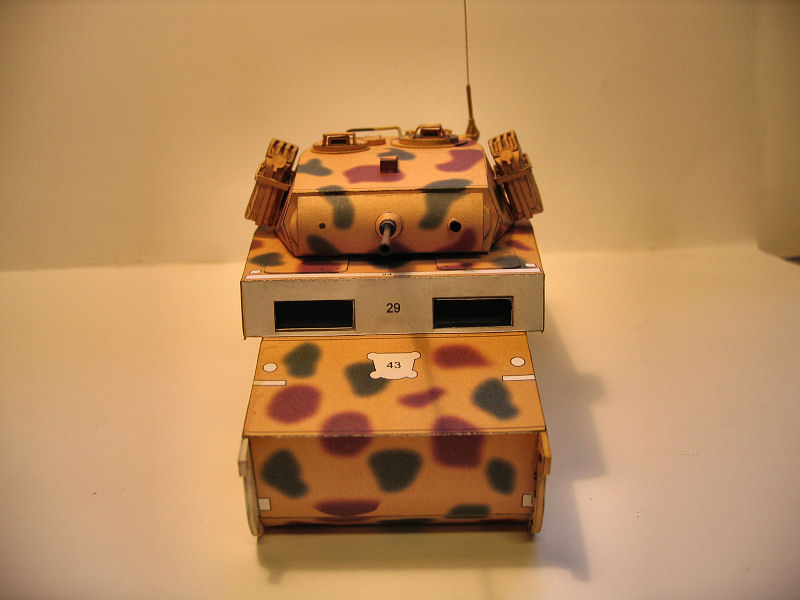
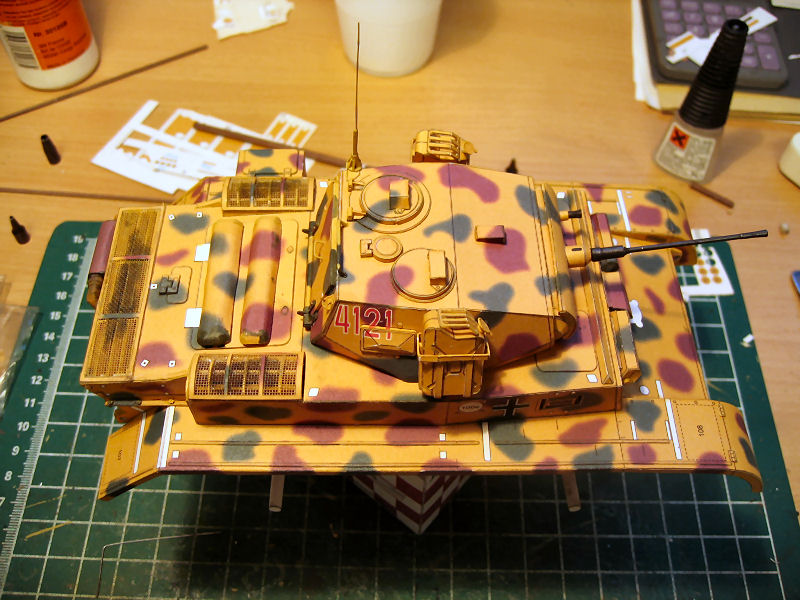
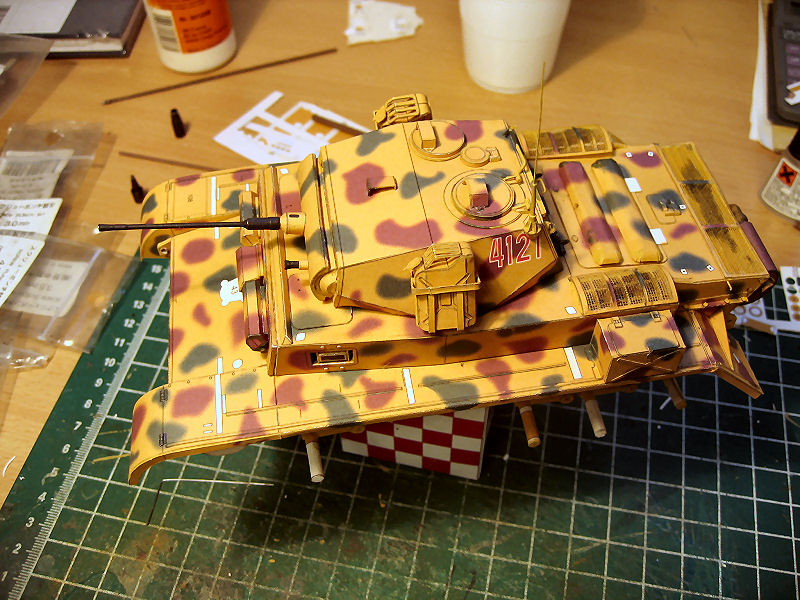
The turret placed on the tank |
| Front view. |
From the left side. |
The connectors for the drivewheels.I put on some nuts in 1,2mm size from DrafModel to enhance the look of the part a bit.This was an easy operation and all parts fitted just fine.
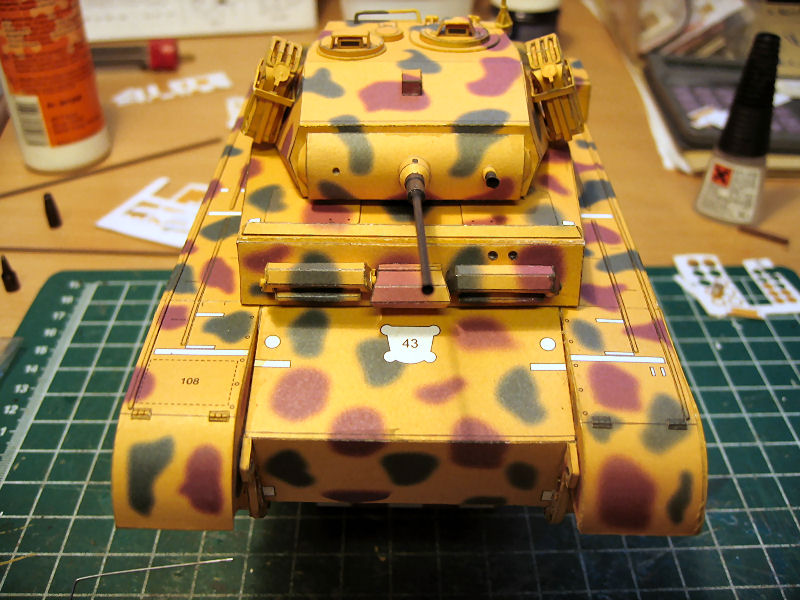
| Overview. |
Overview. |
Overview. |
The turret placed on the tank |
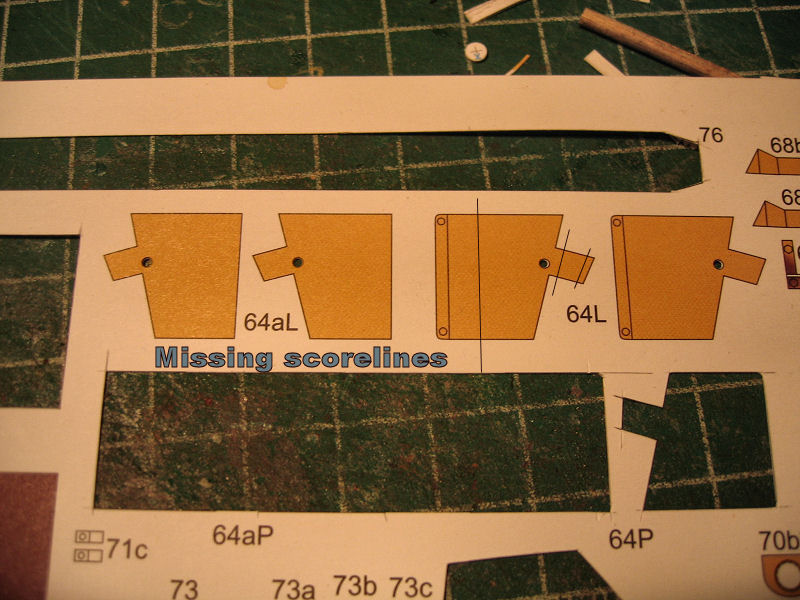
The suspension and wheel connectors.One part missed some scorelines so I had some trouble figuring out how the part was supposed to be shaped.After some investigation on the net I finally found a pic that was showing the part.
Then the rest was easy :)
| here is the part that misses the scorelines. |
Rear damper. |
Seen from under. |
And from the side |
| Overview. |
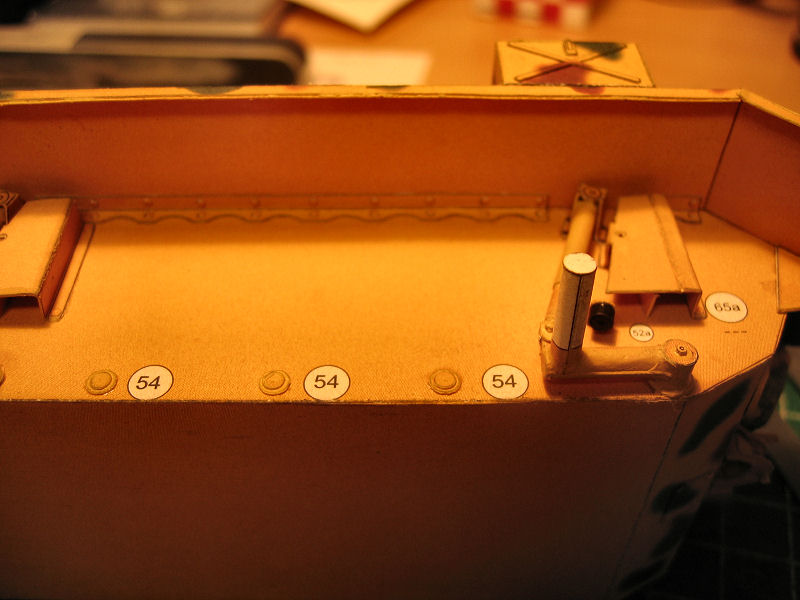
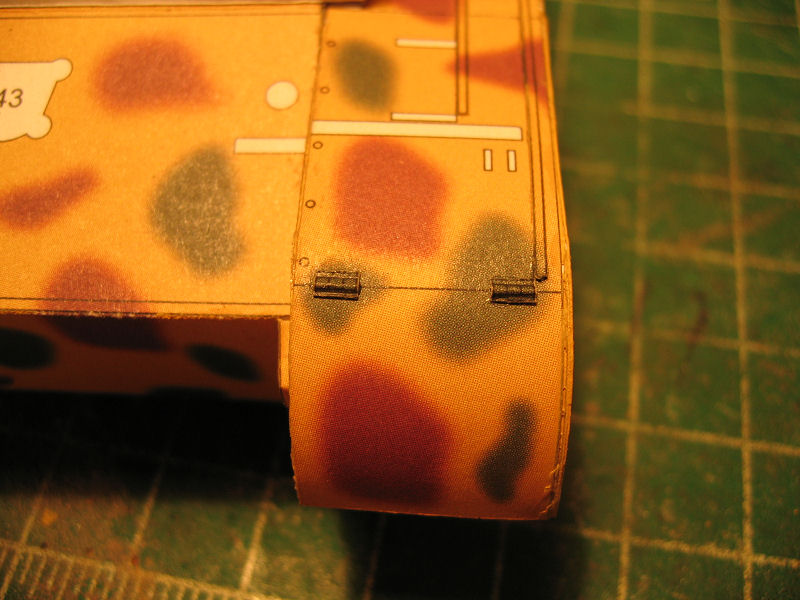
A small hatch on the rear end. |
The ekshaust and the rear tow hook
| All parts fitted just fine here!. |
|
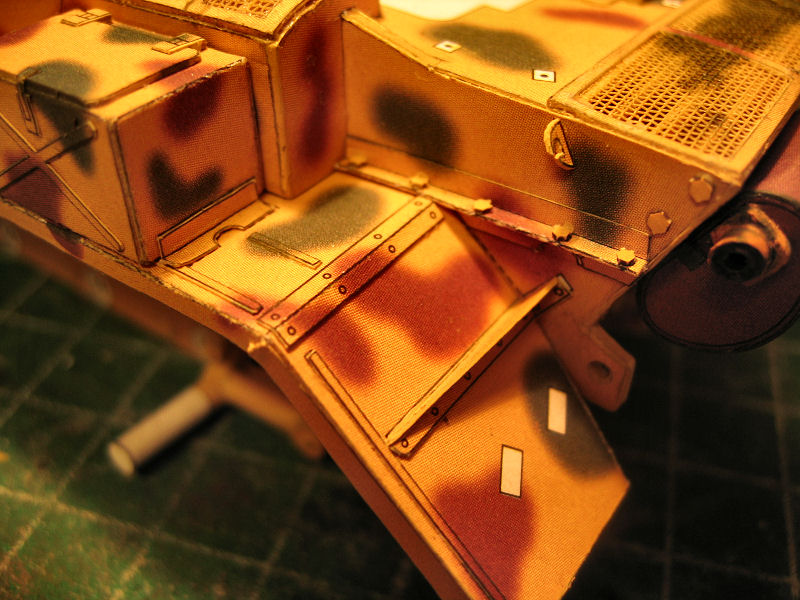
Some details on the lower hull
| Parts for the plates covering the ends of the torsion bars which run across the bottom of the hull. |
Rubber damper. |
Overview. |
Continued with the front "windows" and the second damper
| Front windows are half done. |
Closeup. |
The second damper is in place. |
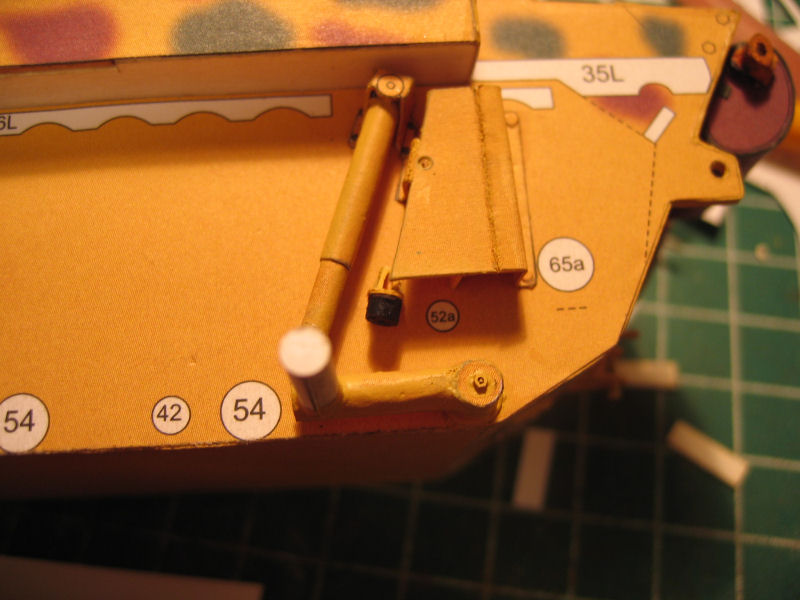
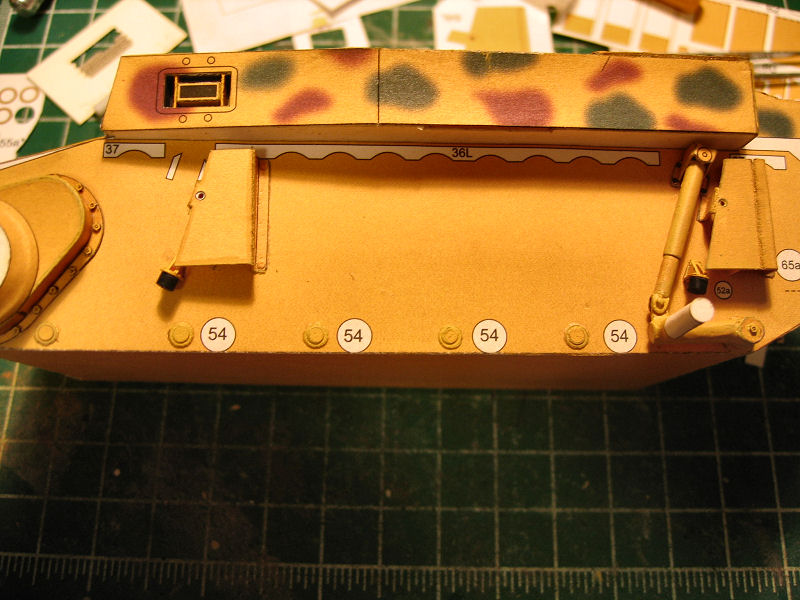
And the mudguard is glued in place |
Some detail work on the mudguard and finishing the other dampers and mudguard
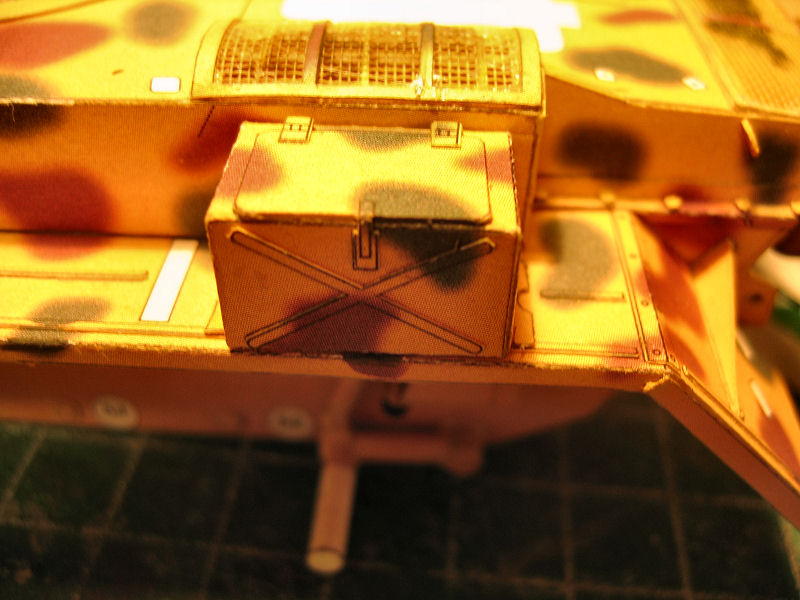
| Details on the back of the left mudguard.Added some nuts and bolts. |
Made one of the boxes on the left mudguard. |
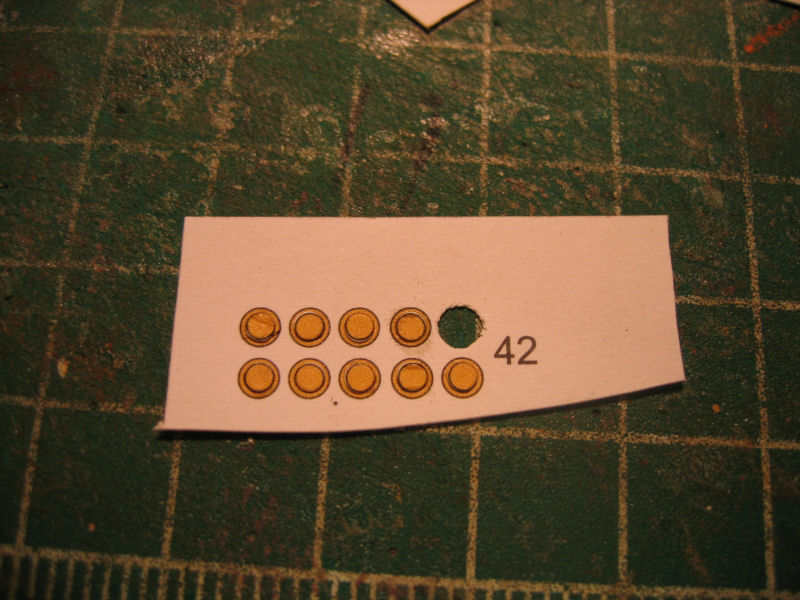
Added rivets on one of the side "windows". |
Also added rivets to the mudguard stiffener underneath |
| Some tiny strips along the mudguard. |
And the hinges on the front part of the mudguard. |
The swingarms with the damper cylinders are done.
I also made one of the rear adjustment arms. |
When all damper cylinders was in place I could put the other mudguard in place.
I also finished the front "windows" and glued that part in place.
Now it starts to look like a tank