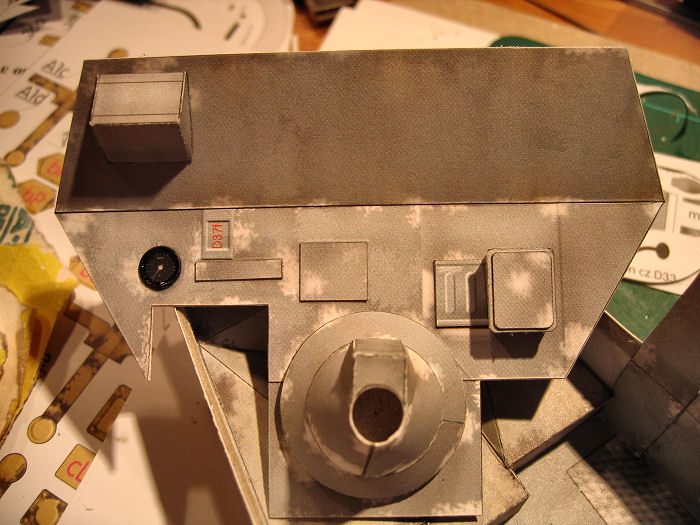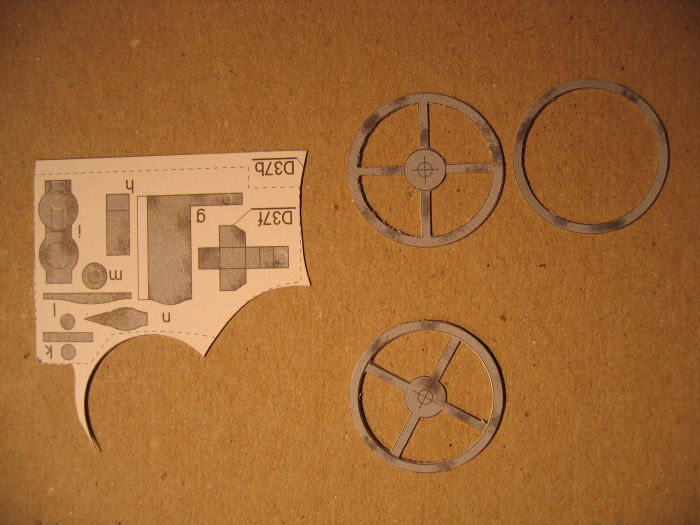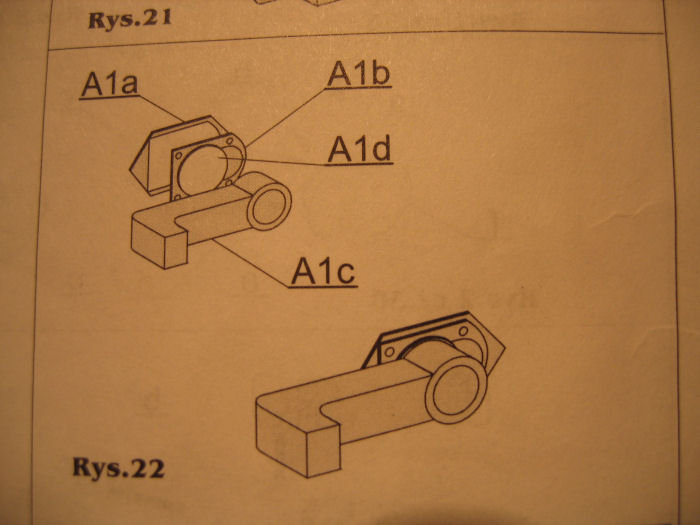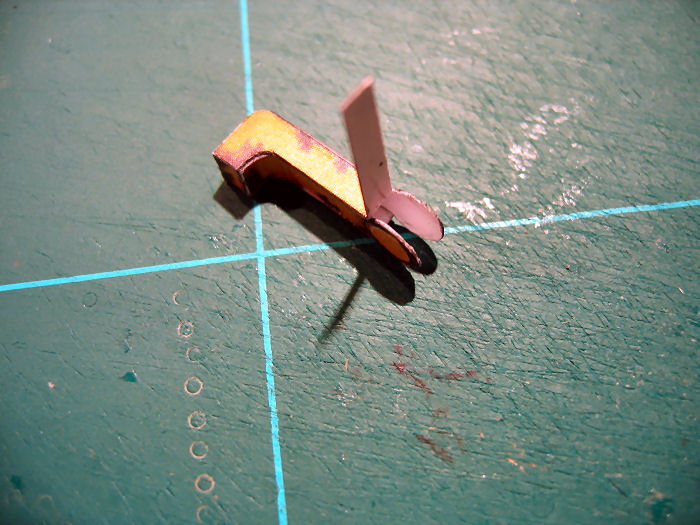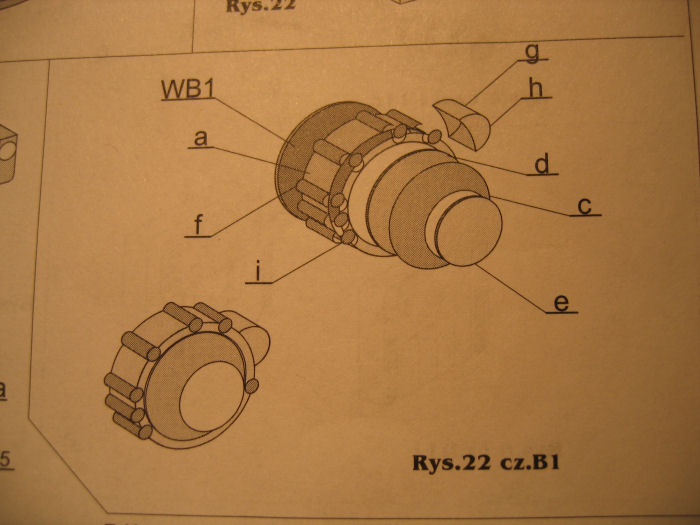
The drawing
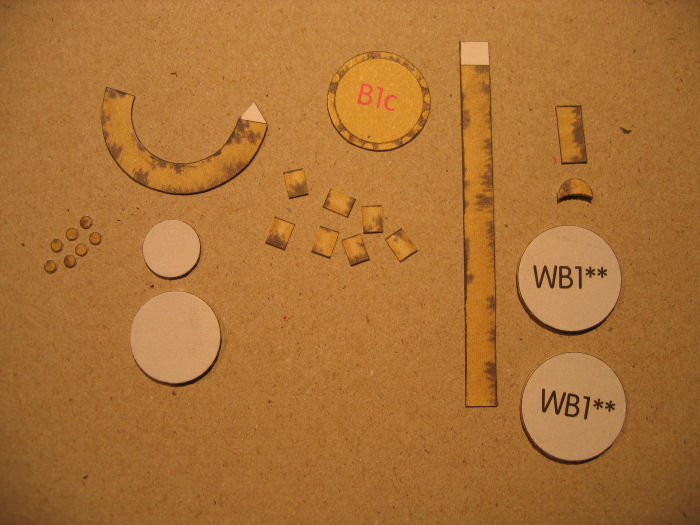
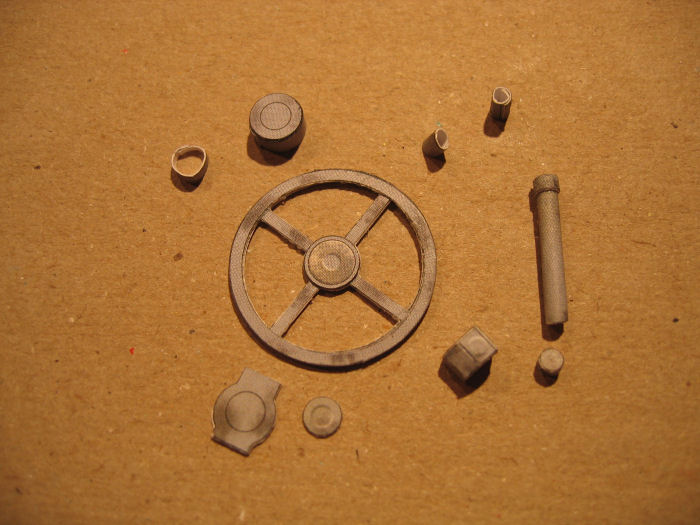
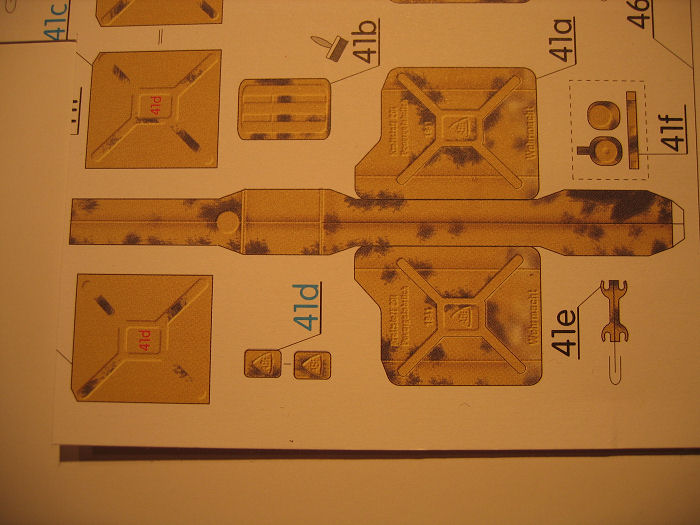
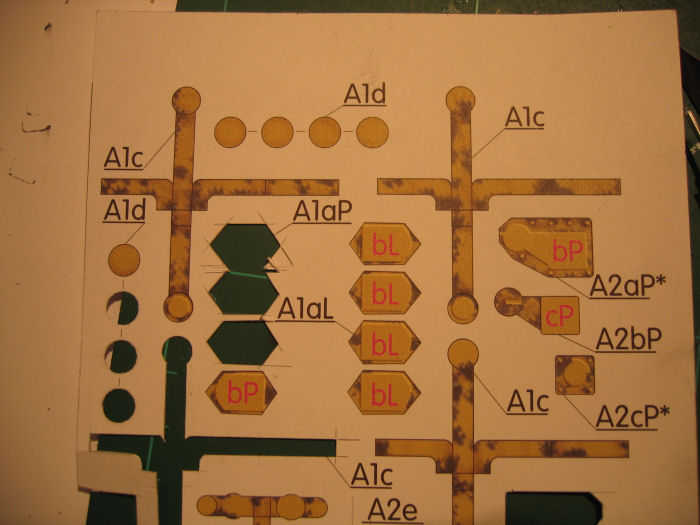
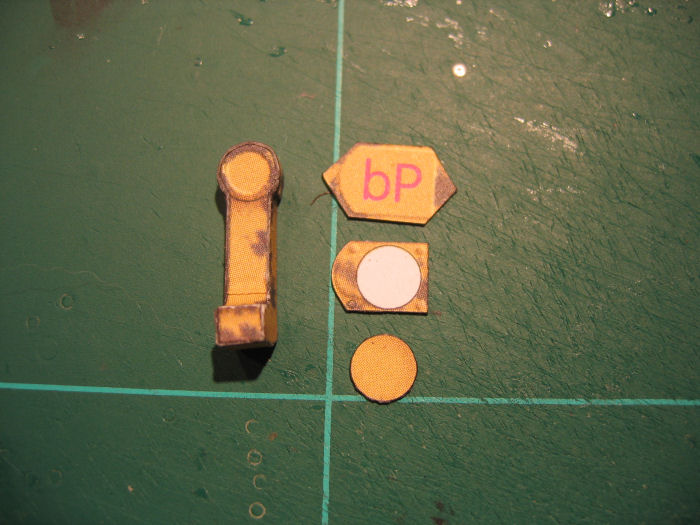
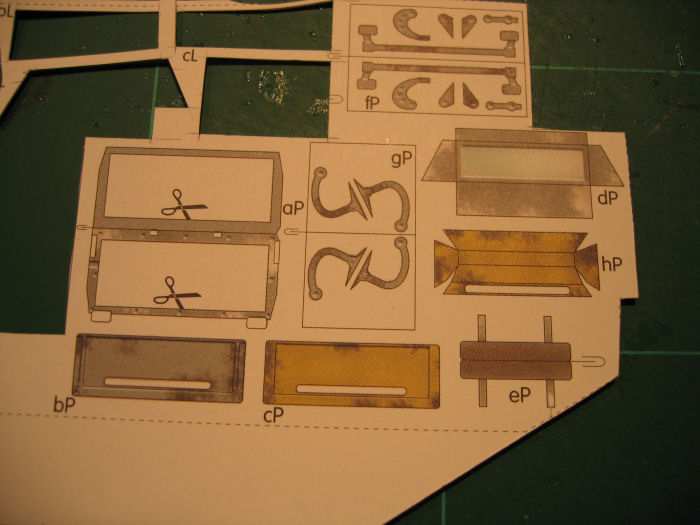
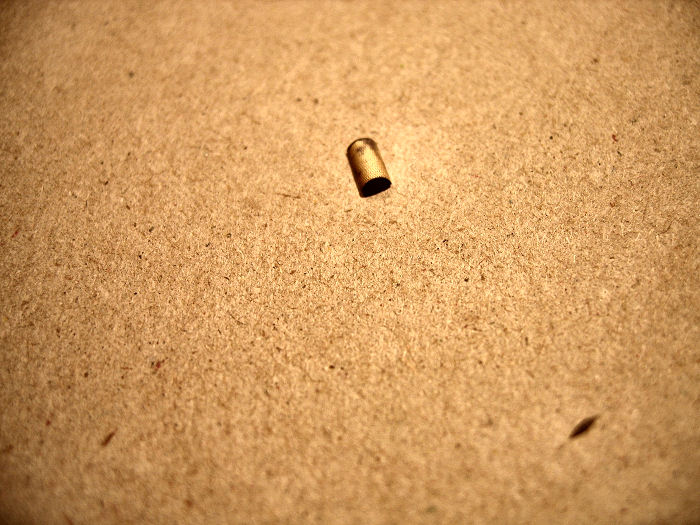
Parts to be used
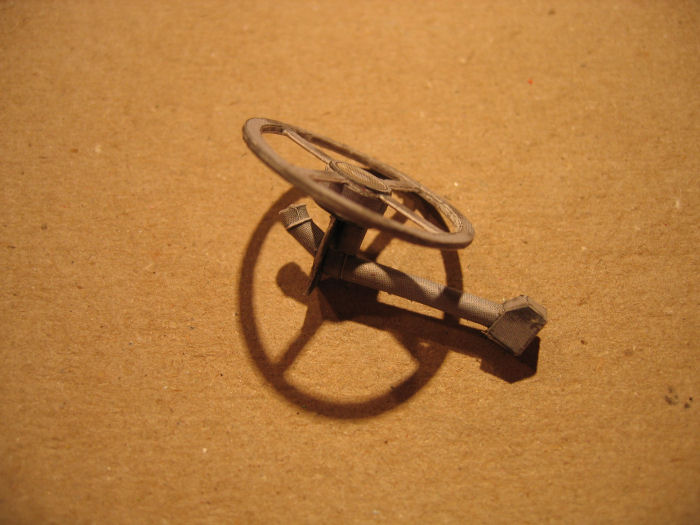
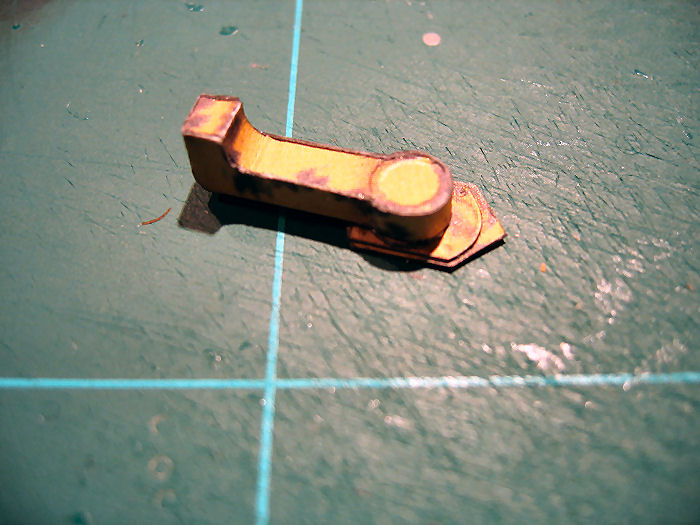
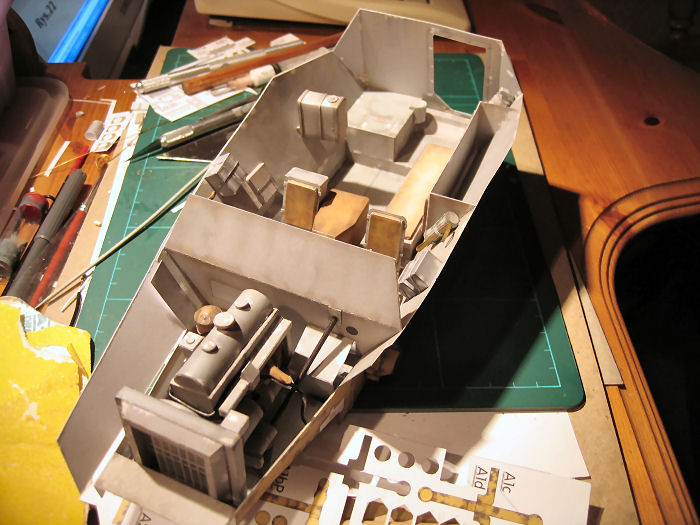
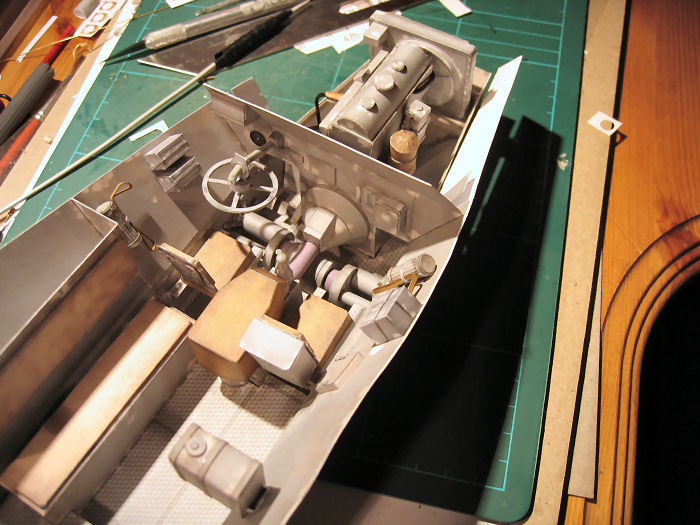
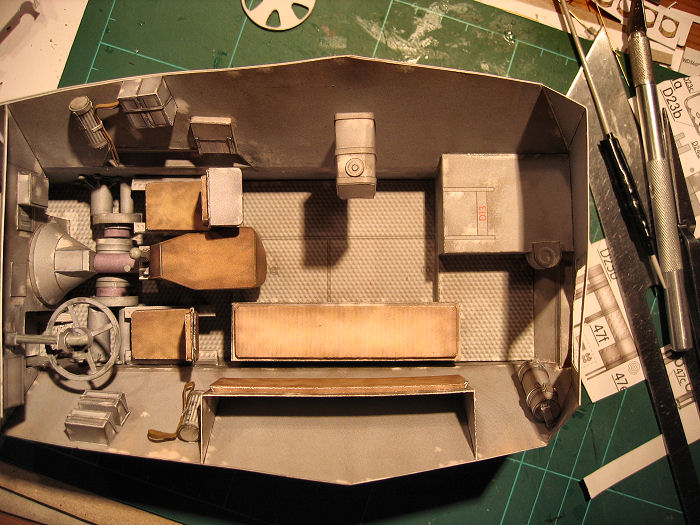
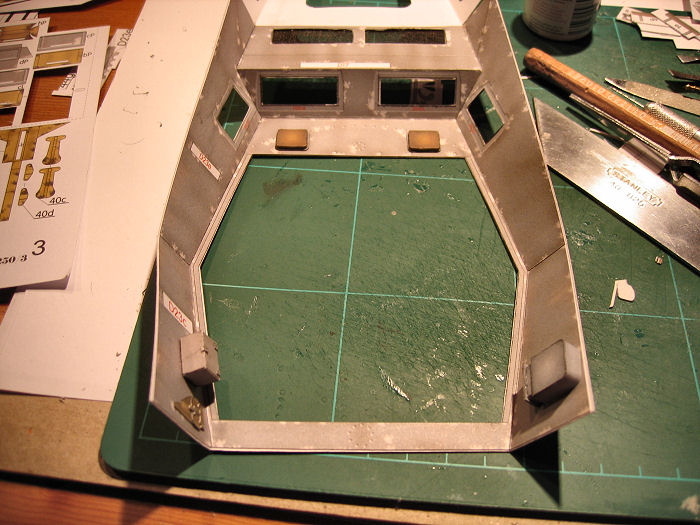
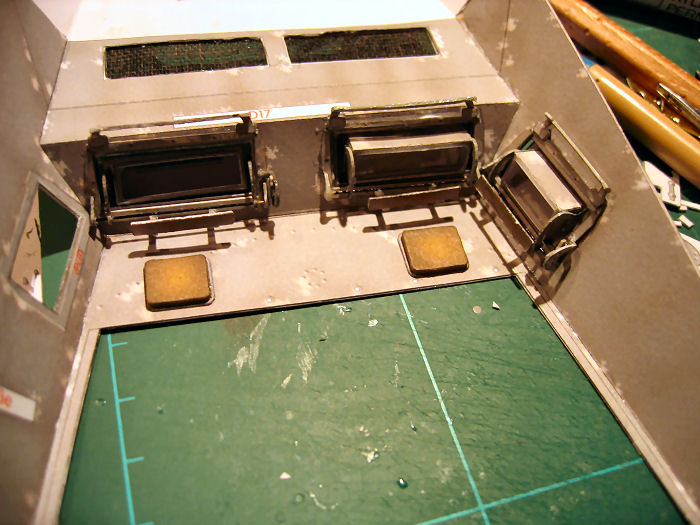
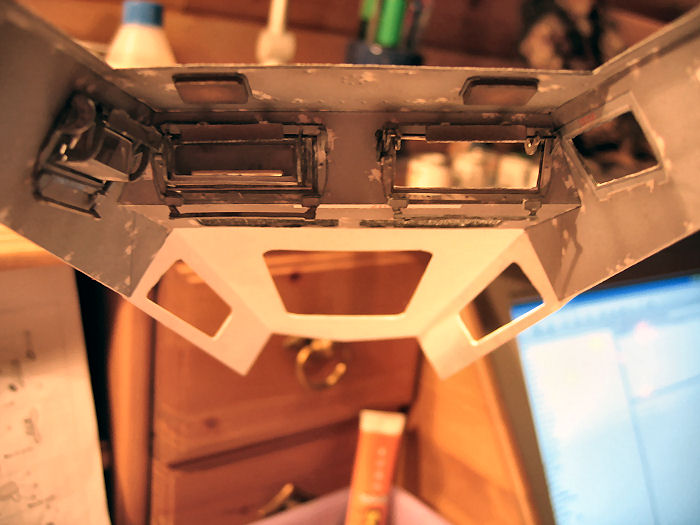
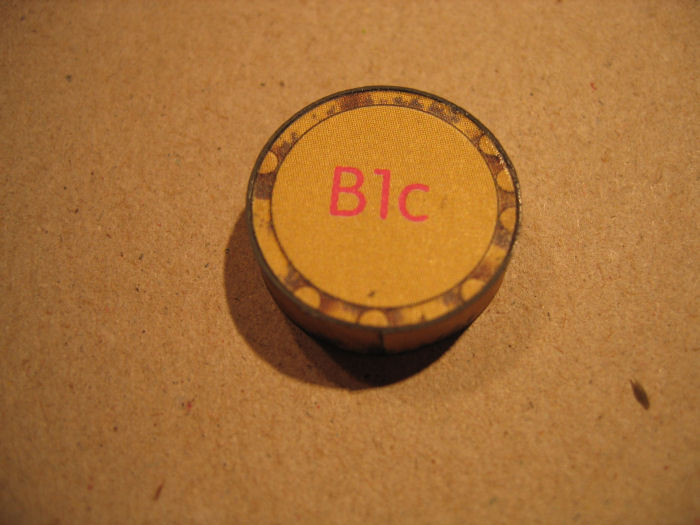
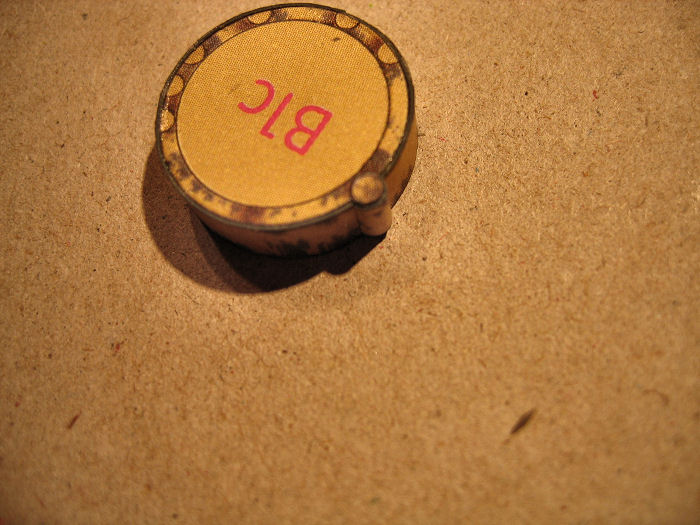
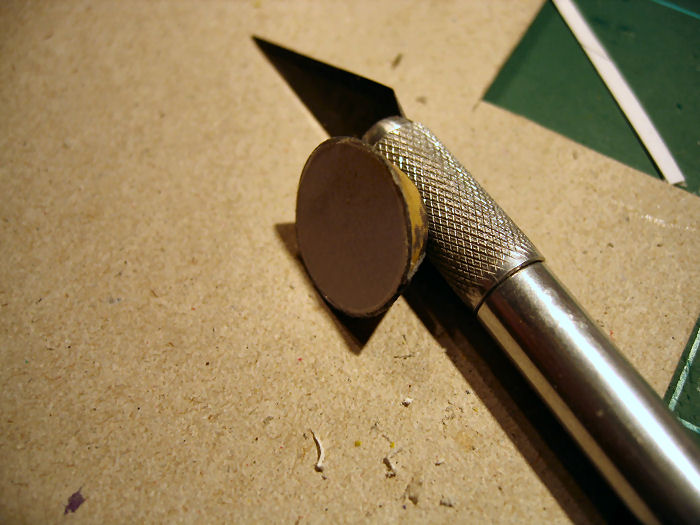
The inner part
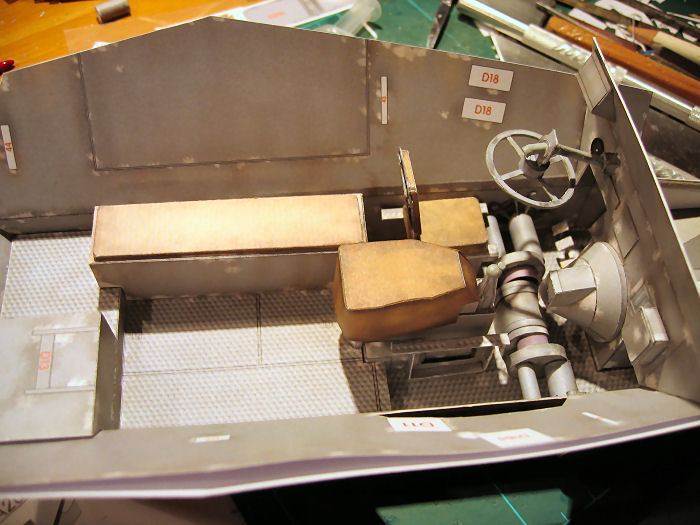
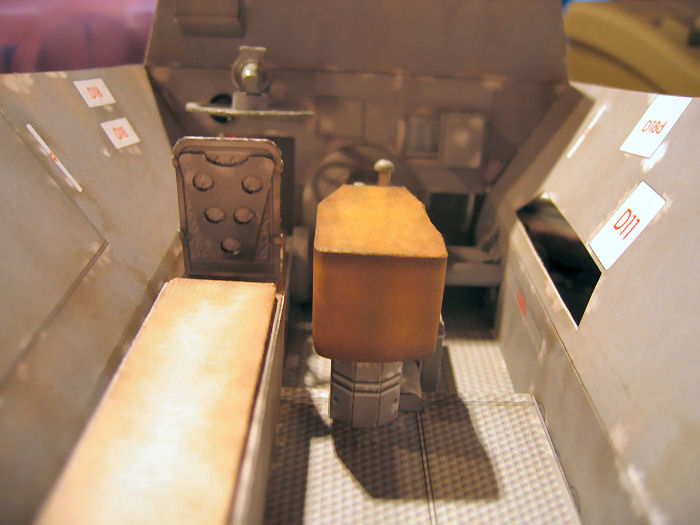
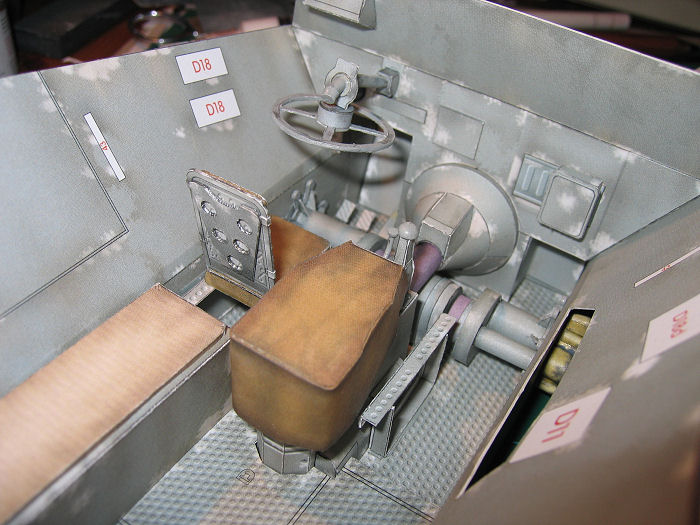
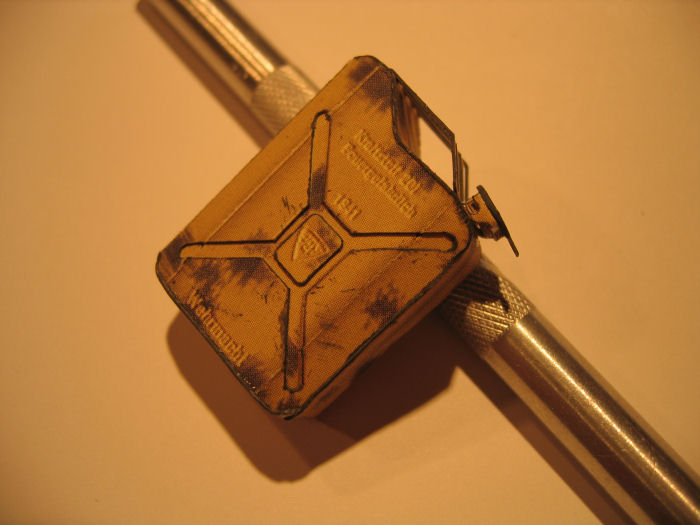
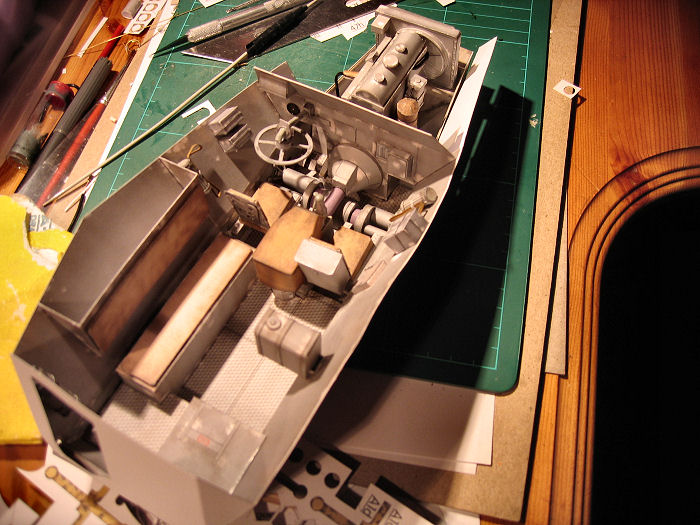
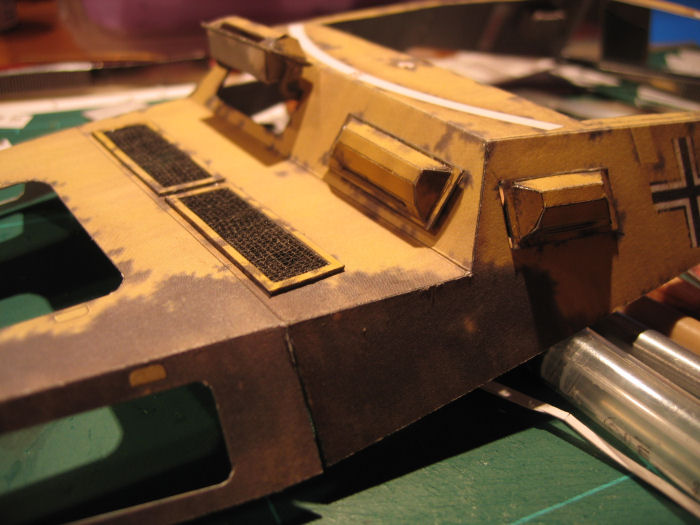
Done
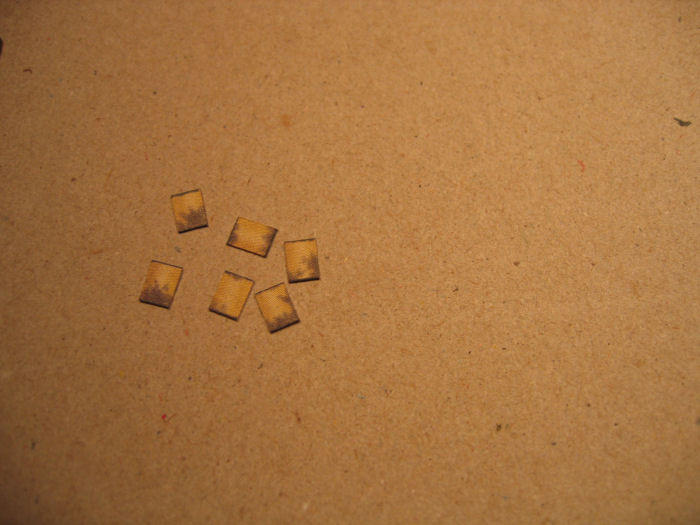
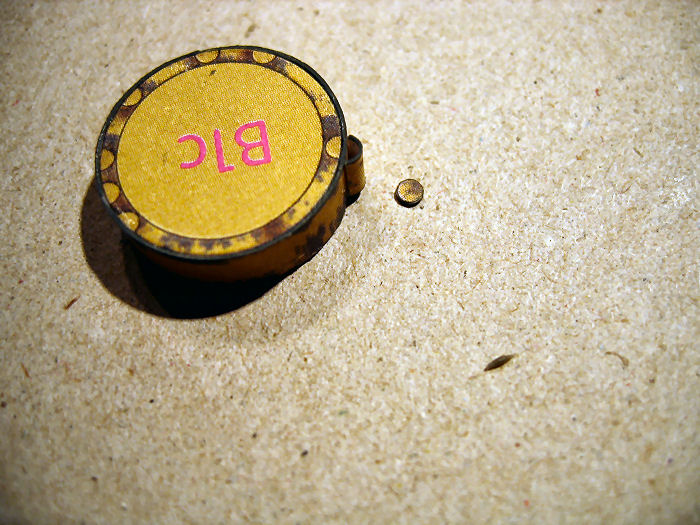
Parts for the "bolts".Theese are mounted on the outside
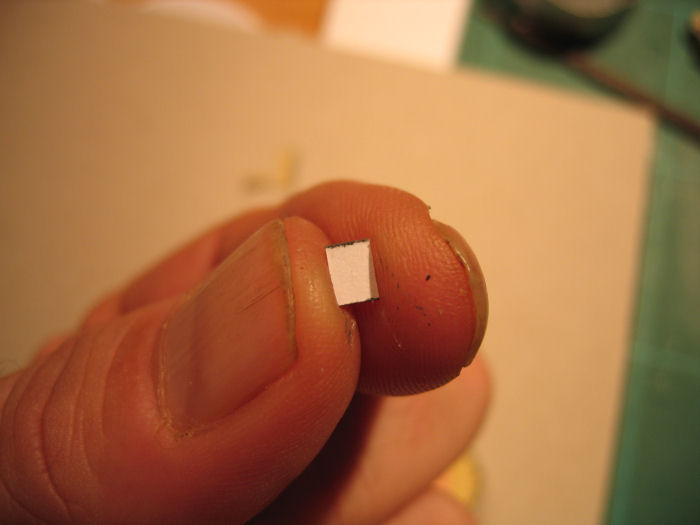
Small pieces that has to be bent in a half tube shape
I used a small drill to get the right shape of the parts
One of the little parts in the right shape
Glued in place
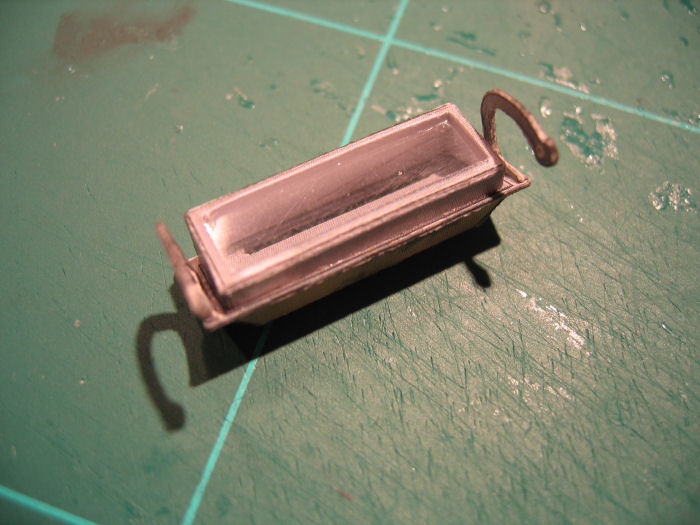
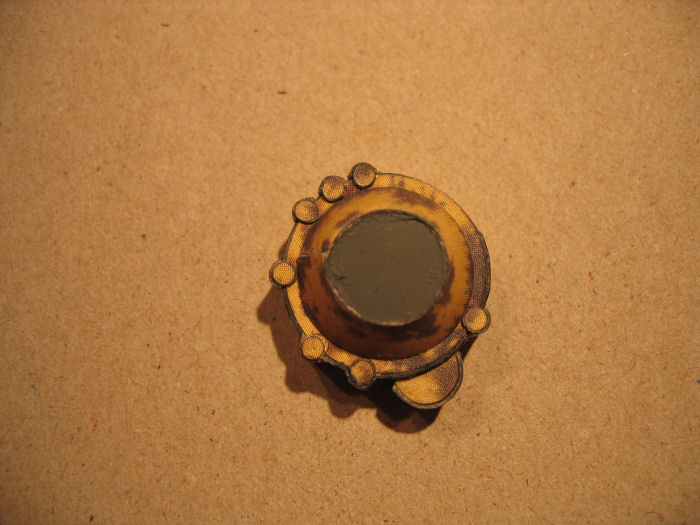
One done
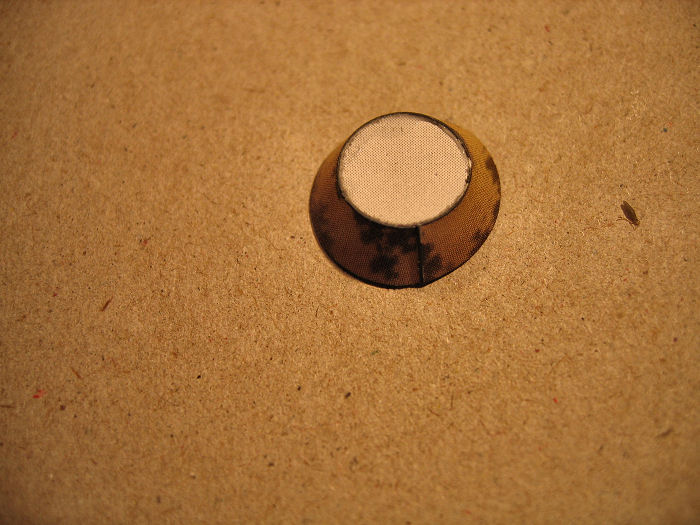
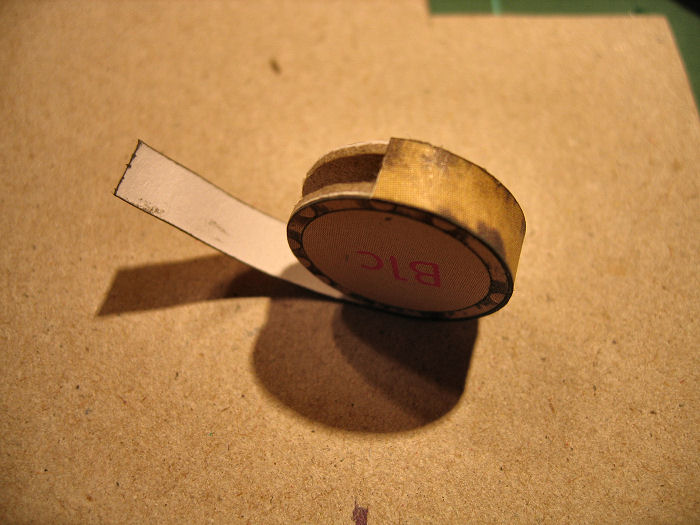
The outer coned part
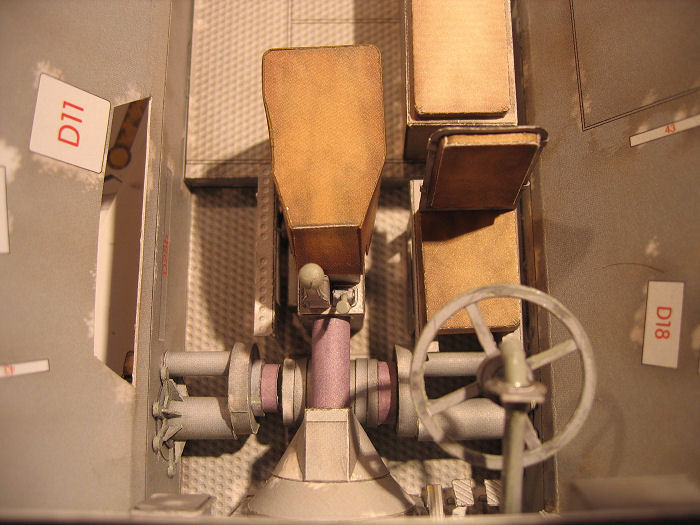
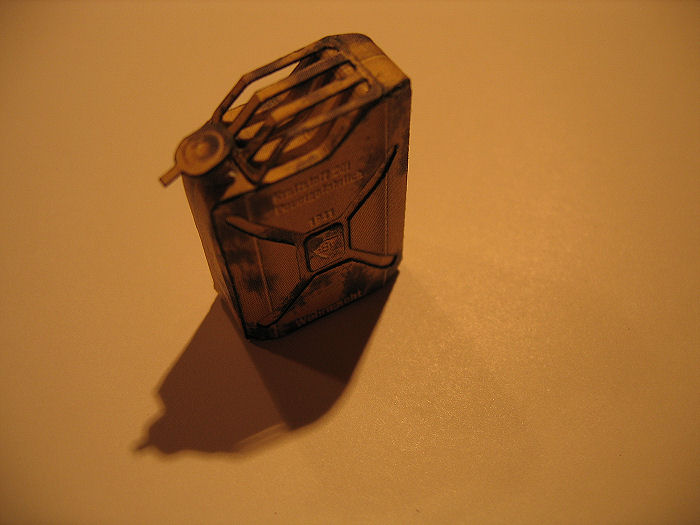
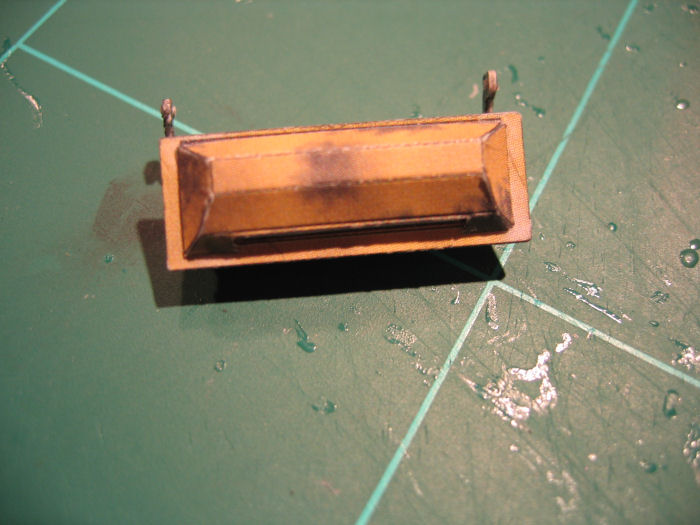
Ready
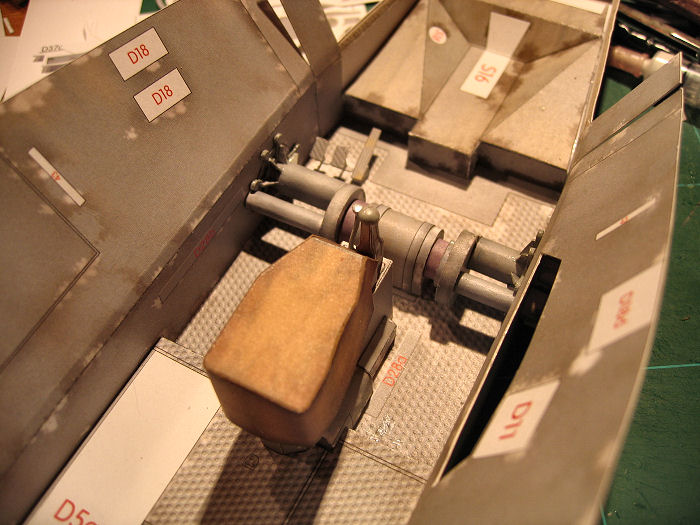
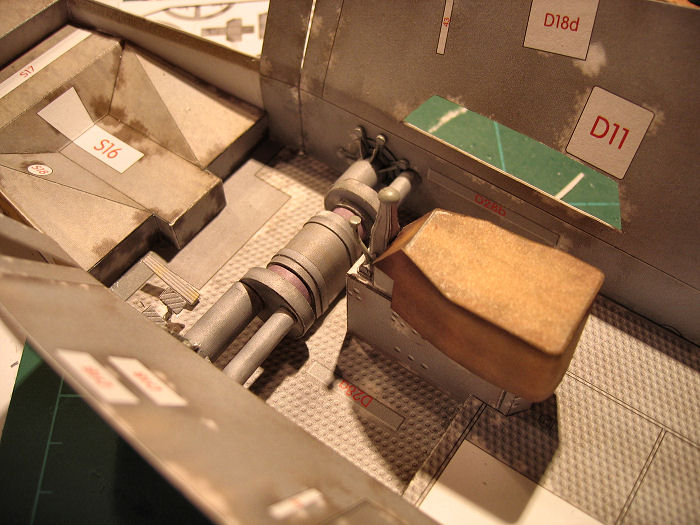
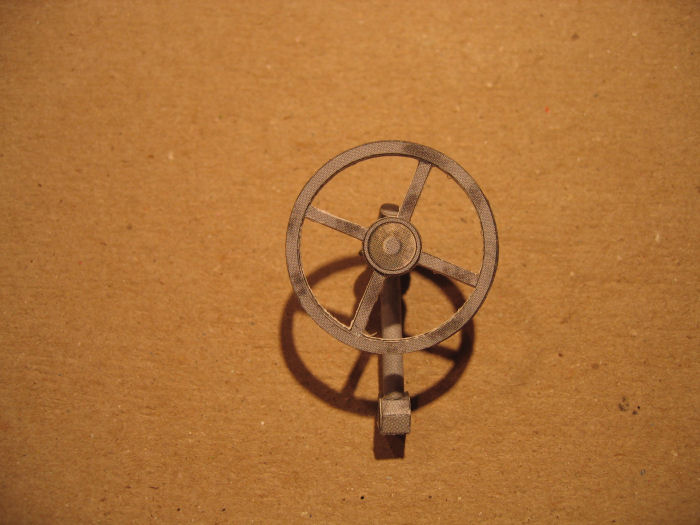
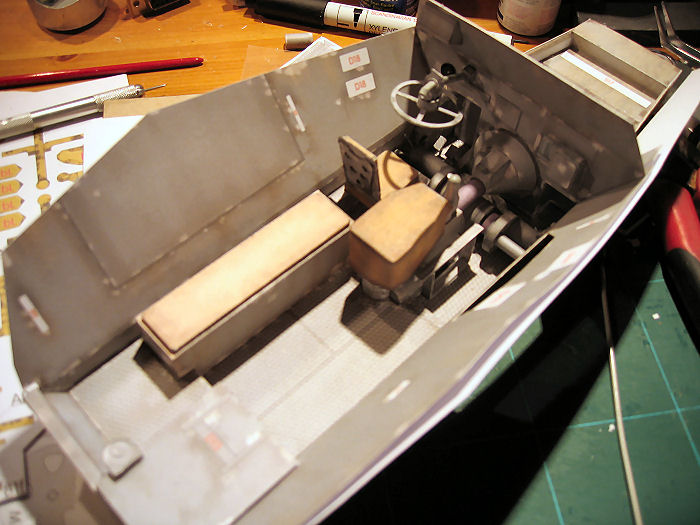
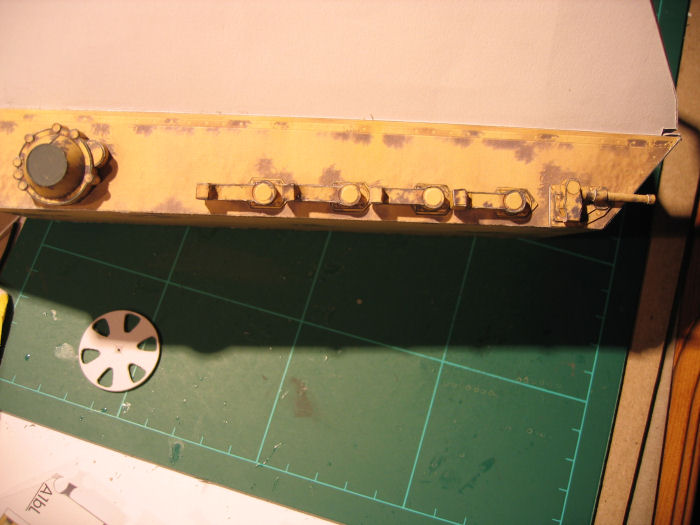
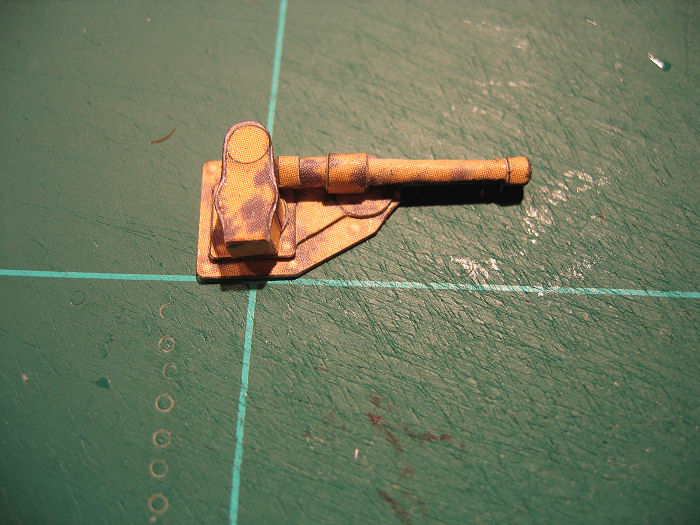
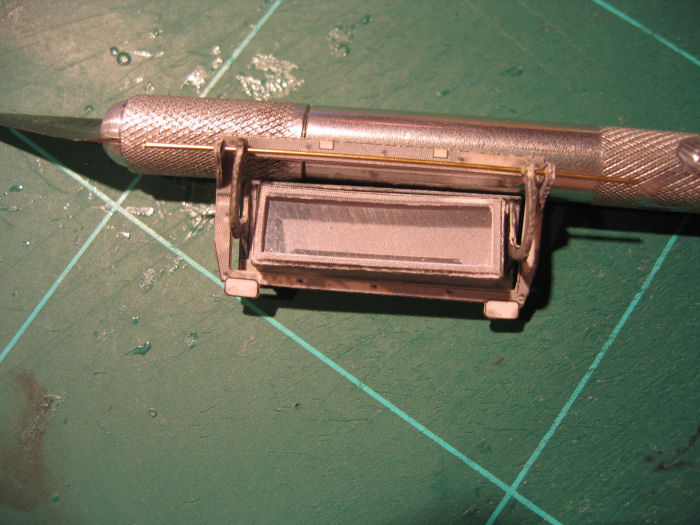
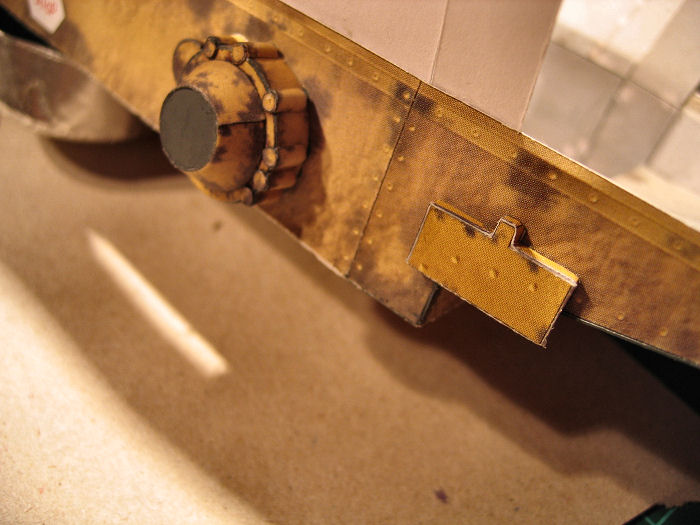
One of the drives done
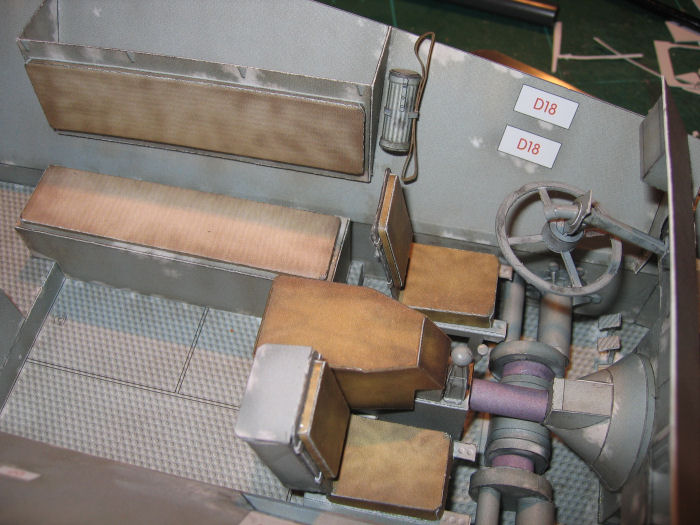
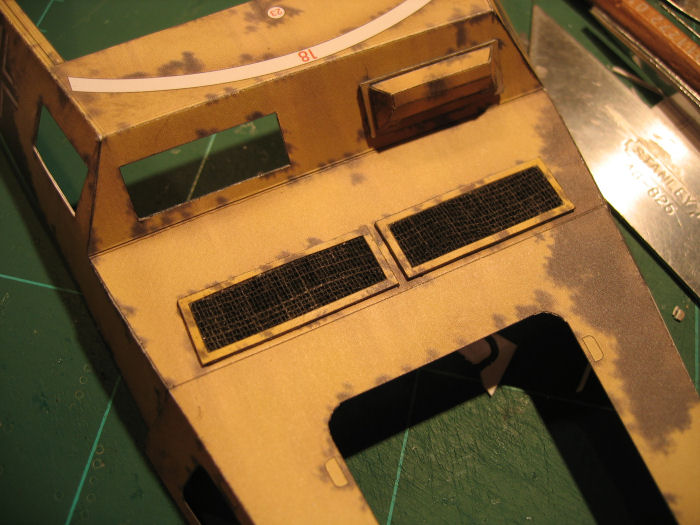
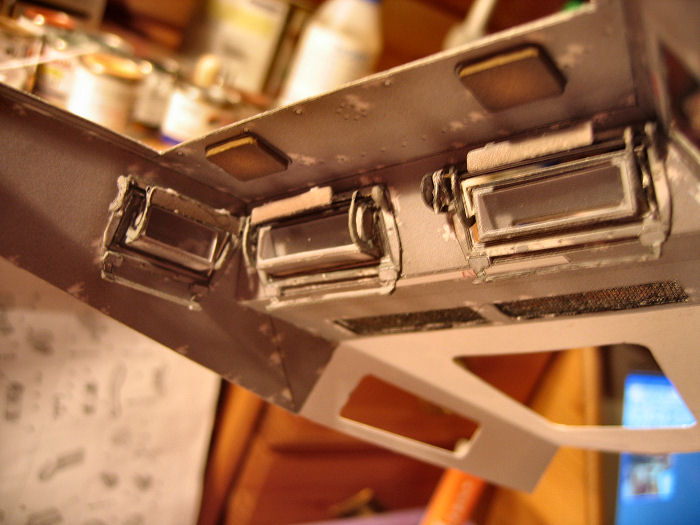
To be glued here
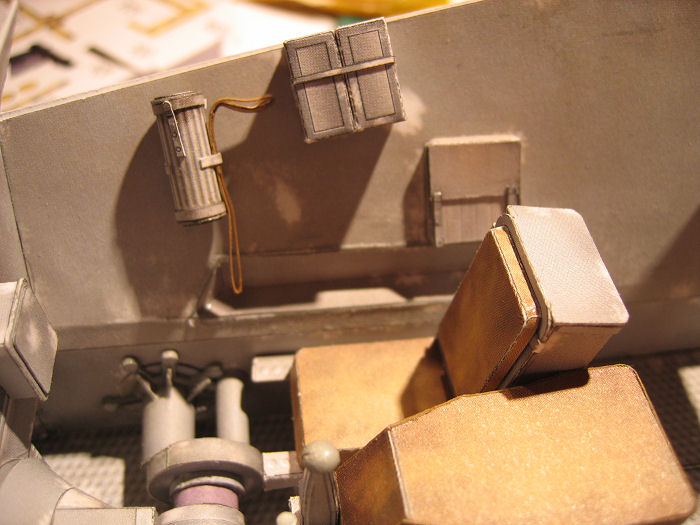
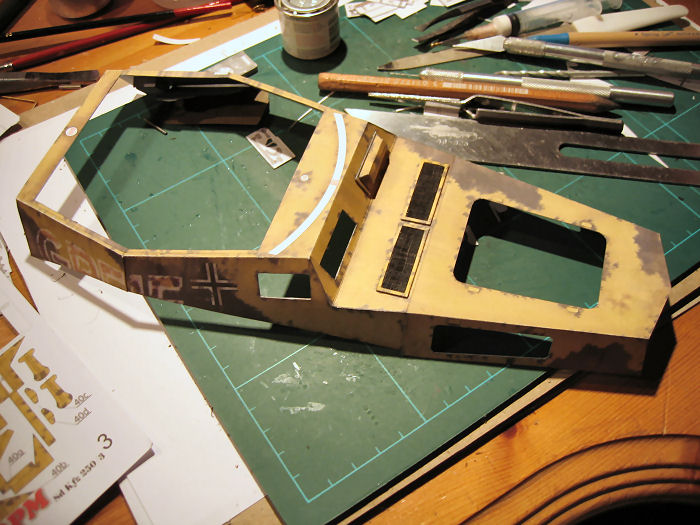
In place
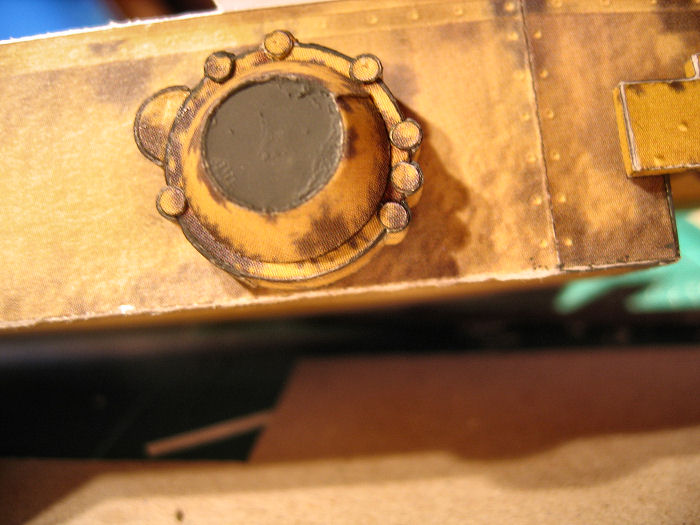
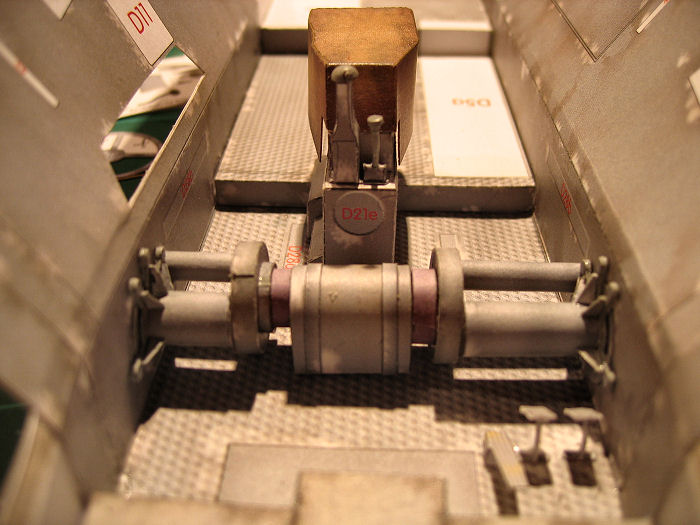
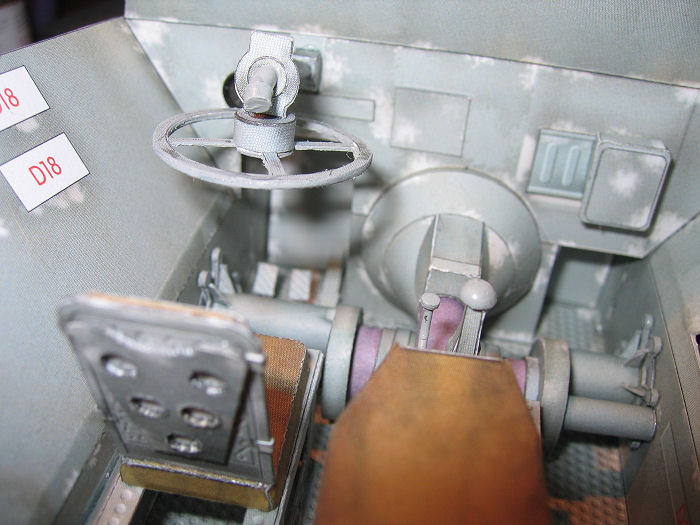
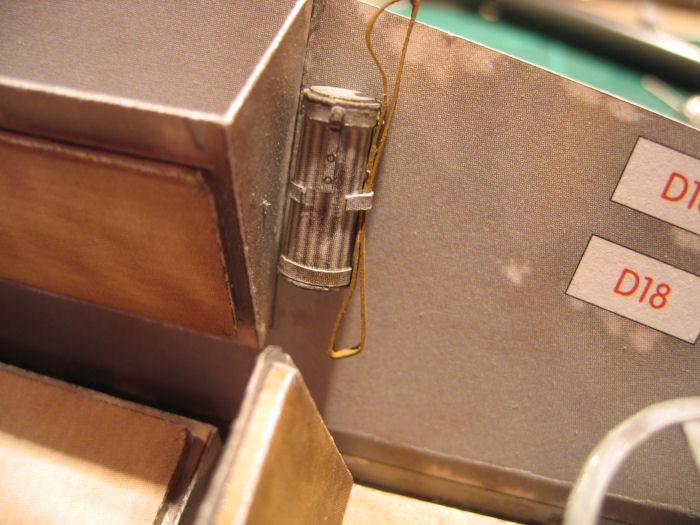
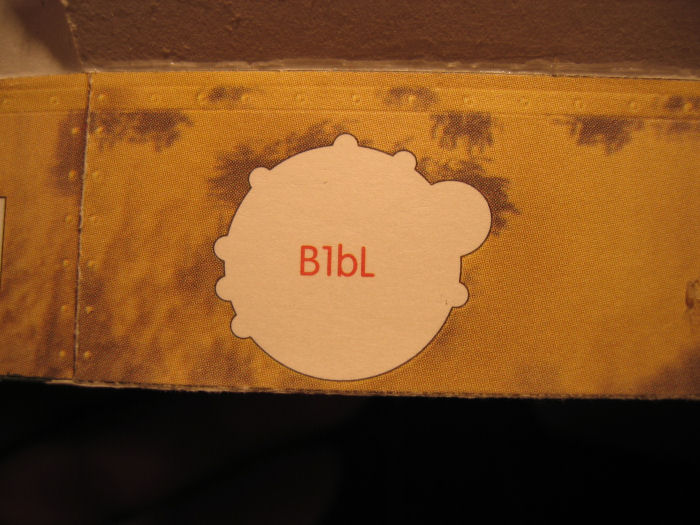
Closeup