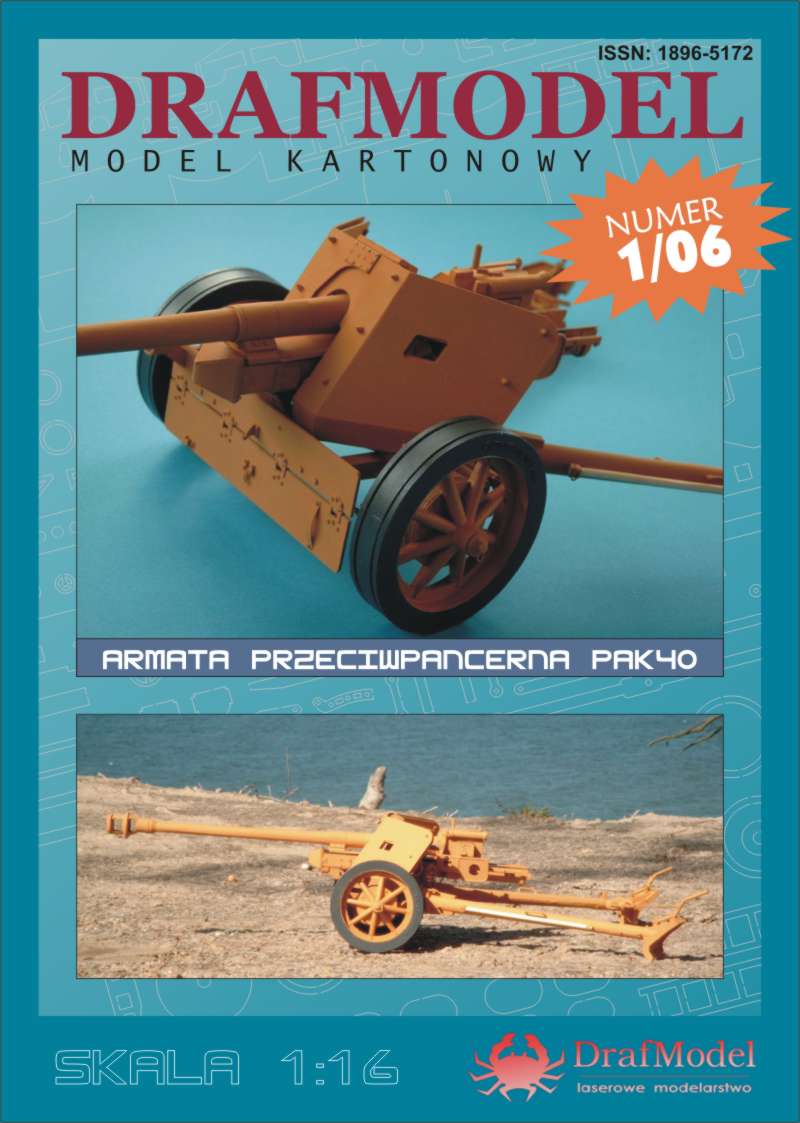
PAK-40 1:16 DrafModel
The Pak-40 is an interesting model.It contains over 1600 parts.The build process was in fact
very easy since every single part had a 100%fit.I also got the lasercutted frames for this build,and that made the assembly very easy,and the parts looked very good.
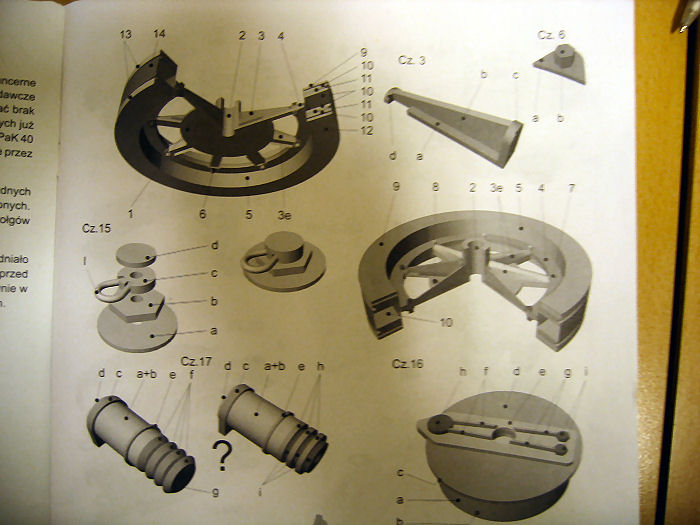
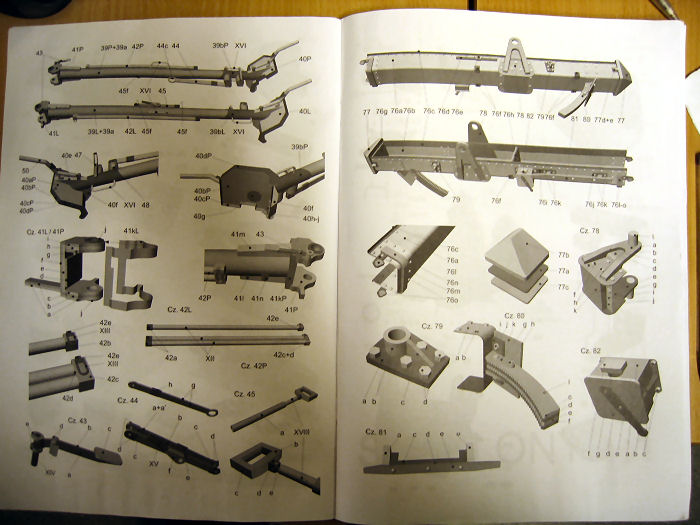
The assembly drawings are all of the 3D type.Easy to understand and follow along the build.All the major build groups were covered in the instructions.
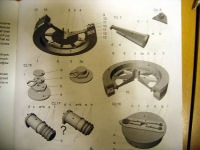 Drawing of the wheels |
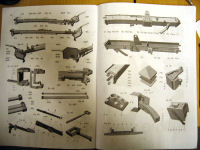 The legs and slide |
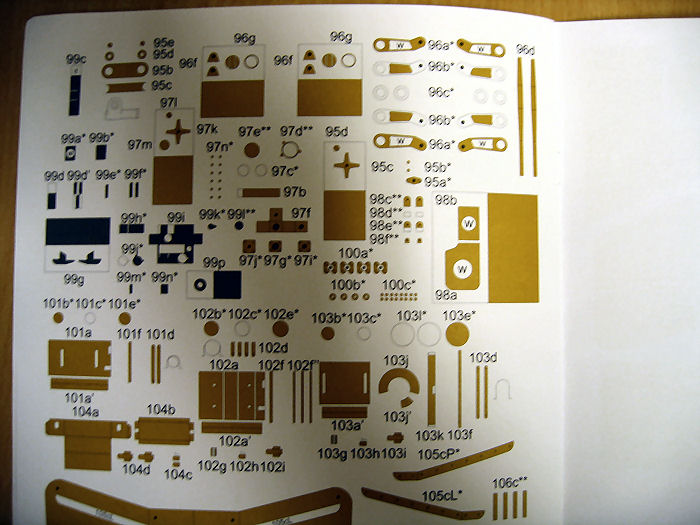
 Some of the parts |
 Laserparts |
Making the wheels was the first I started with.If I'm not wrong,each wheel contained over 90 parts.It was a bit scary to go ahead with this build since I didn't have much experience in modelling at all.
But I learned a lot during this build,and when every part and laserframe fitted just perfect! This build turned out to be a thrill!!
The wheels
| All parts for one of the wheels.One wheel contains over 90 parts |
The drawing for the wheels |
I start to put together the two rings that will be the outside of the wheel |
After they are glued together I put on the paperstrip that will be the "rubber" |
| And with this repeated once I have the two sides ready to be painted on the inside.. |
The rings are painted and a ring with a bit smaller diameter has been added to make the pattern in the wheel |
The centerpart of the wheel was made of two rings covered by a paperstrip |
Here we can see the paperstrip beeing wrapped around |
| The three parts are ready to be glued together to make the outside of the wheel. |
The parts are glued together and it's become something like a wheel. |
The centerpart of the wheel is made of three parts. |
The spokes.Each spoke is made of 5 parts. 4 parts makes the inner frame and the skin is put on the outside. |
| The frameparts are glued together. |
The skin is bent over a 1,5mm rod to make the correct shape. |
The skin is then wrapped around the small frame |
The center hub is made of a paperstrip rolled against a 4mm drill. |
| Here we have the finished paperroll |
The paperroll is glued in the center of the wheel. |
The spokes are added |
The lock of the wheel to the axel is made of 5 parts.Where the lock is made of a 0,5mm copperwire. |
| Now it's time to put things together.The lock is glued into place on top in the centerpart.The letters on the side are in place |
The letters on the side is cutted out separately...talk about picky work.... |
The nuts from DrafModel are next out to make the wheel complete. |
The inside skin is painted black on the edges to have a better overall look without any white edges showing. |
| Backside of the wheel |
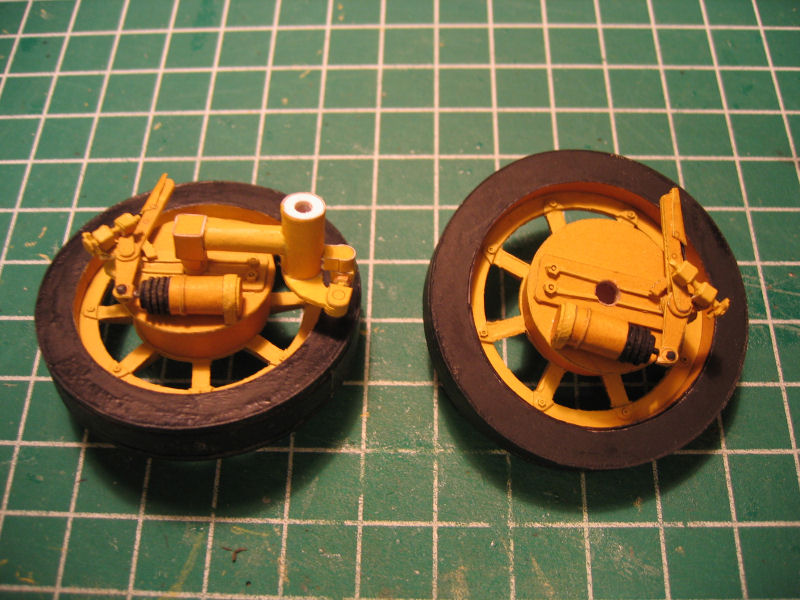
Both wheels are ready |
The macro faultfinder... |
Another closeup |
Brake system
The brake system contains 45 parts all in all for one wheel....
| I'm starting with the centerpart that contains 11 parts.
First the drawing. |
The main structure with the two circles and the paperstrip |
The top pieces are glued to 0,5mm karton. |
And when it's mounted it looks like this. |
| Added the ouside details.The thin strips and nuts |
The brake lever contains 6 parts.Drawing |
The rod is made of 0,5mm copperwire |
The rod is painted black and the handgrip is added |
| The lever is glued to the centerpart |
The cylinder contains 13 parts.The drawing |
The parts to be used for the cylinder |
Finished |
| The transfer arm |
One done and one to go |
Adjustment screw |
Overview drawing |
| All parts mounted |
Finished |
A closeup |
Both done |
A part for connecting the wheel to the axel and frame
The main frame
| The drawing. |
The parts for the frameconstruction. |
The parts who belong together have been glued together. |
The frameconstruction is ready. |
| A closeup of the inner structure |
Underneath |
Covering it up.First is the top skin |
The top skin is glued in place |
| Some skins for the sides |
The finished part |
Bottom |
Rear |
| Drawing for the adjustment rod |
The parts should have a 2mm centerhole |
Part done, rod painted black |
Part from behind |
©Johnny Svensson 2007