Pkw K1 Kübelwagen Typ82 1:16 Modelik
Page 2
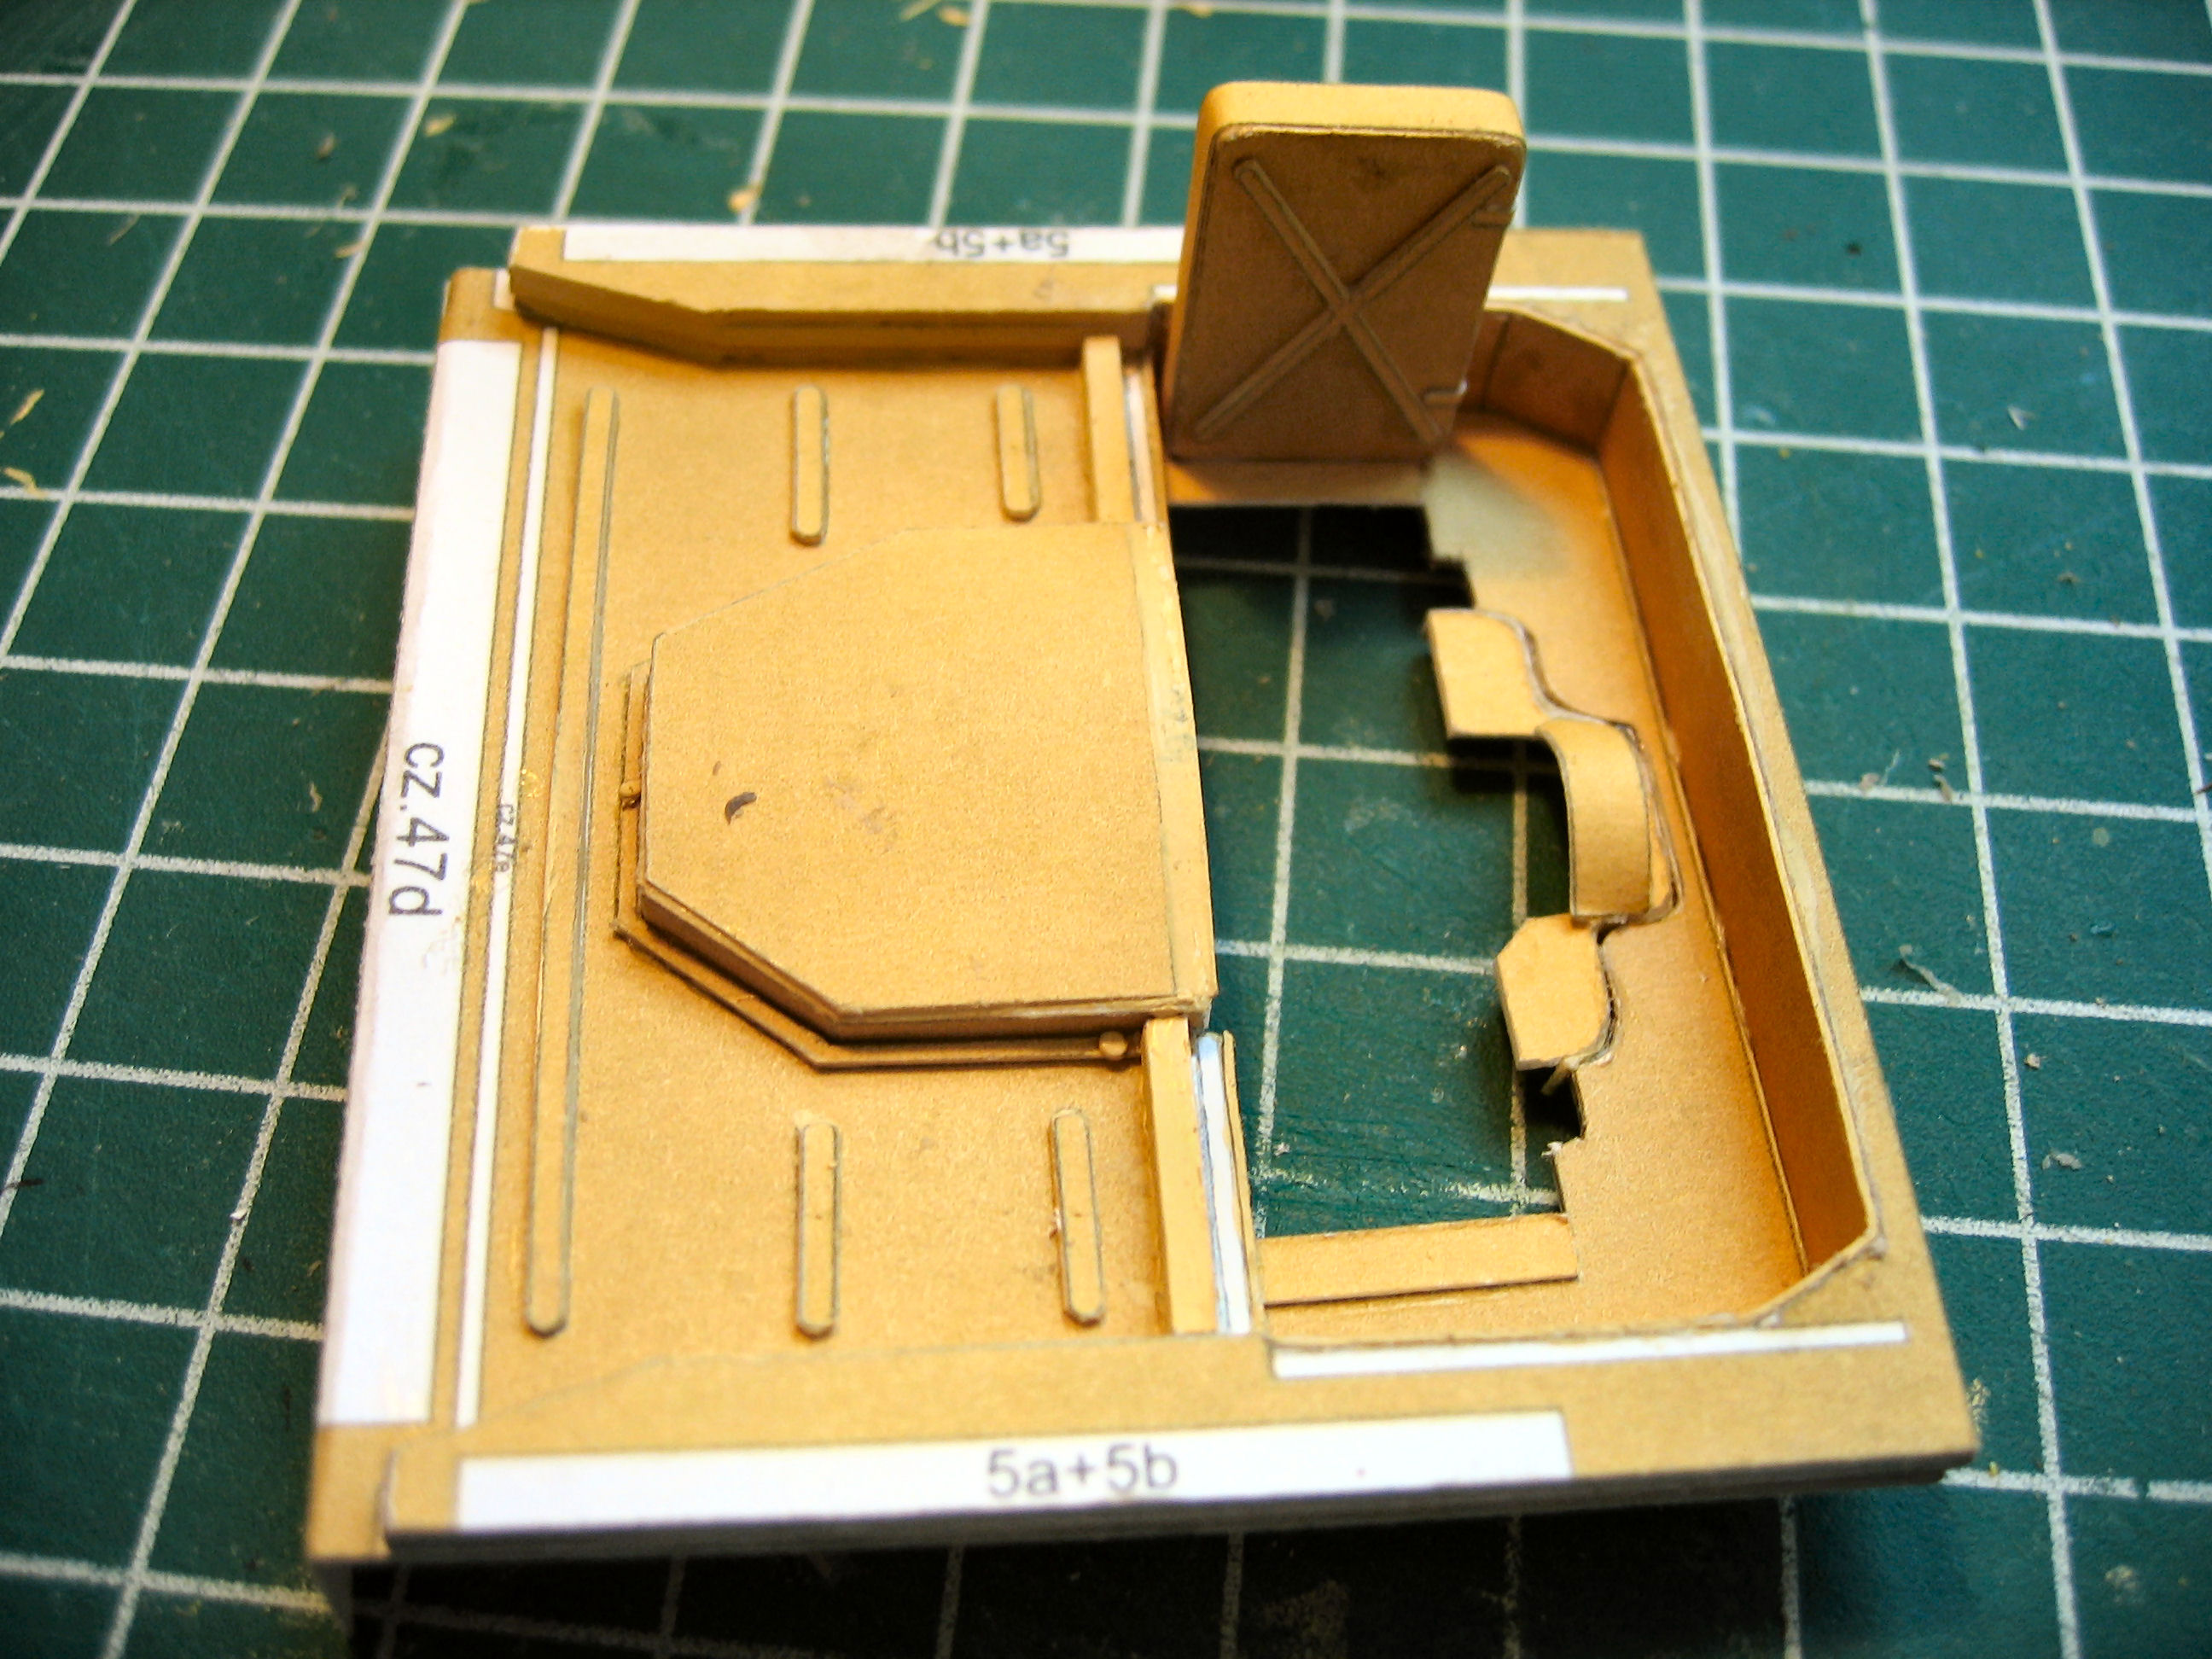
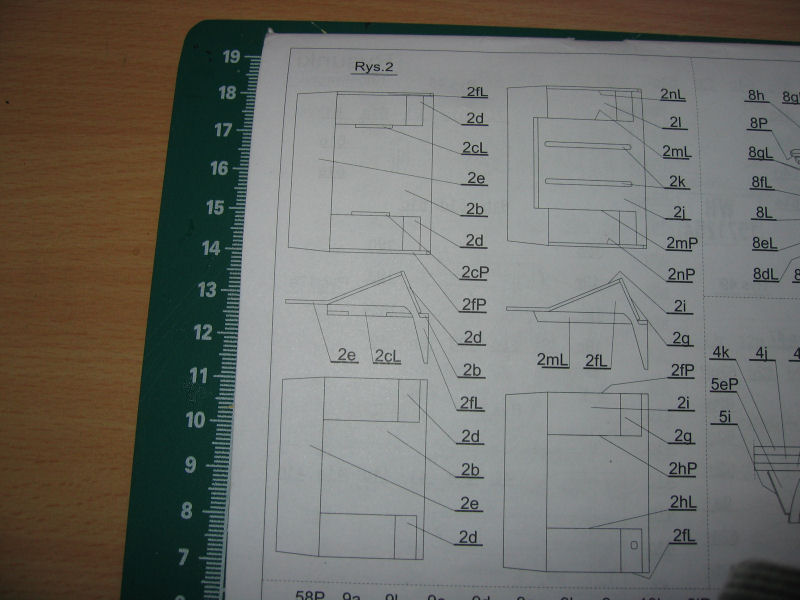
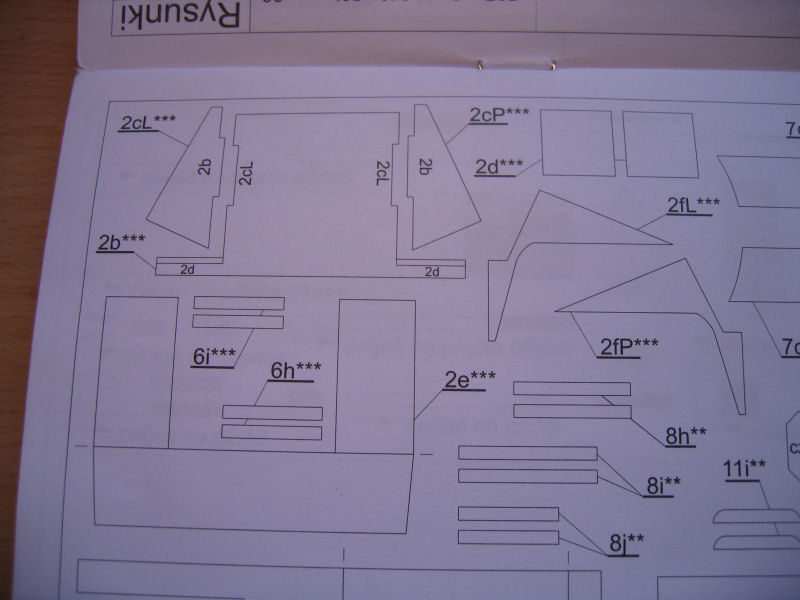
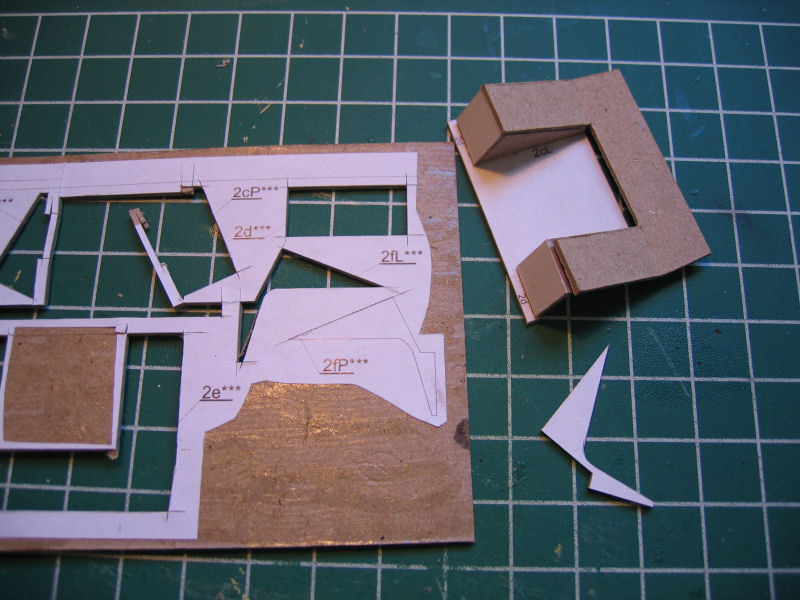
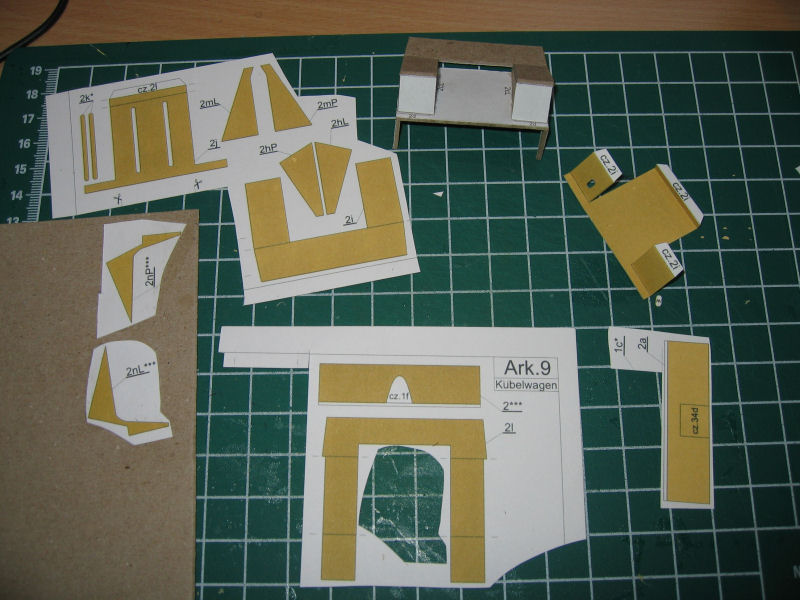
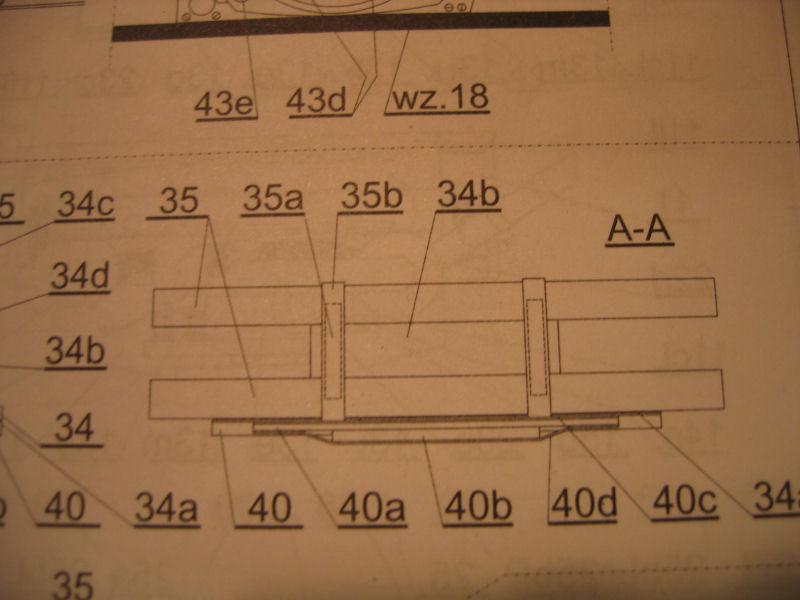
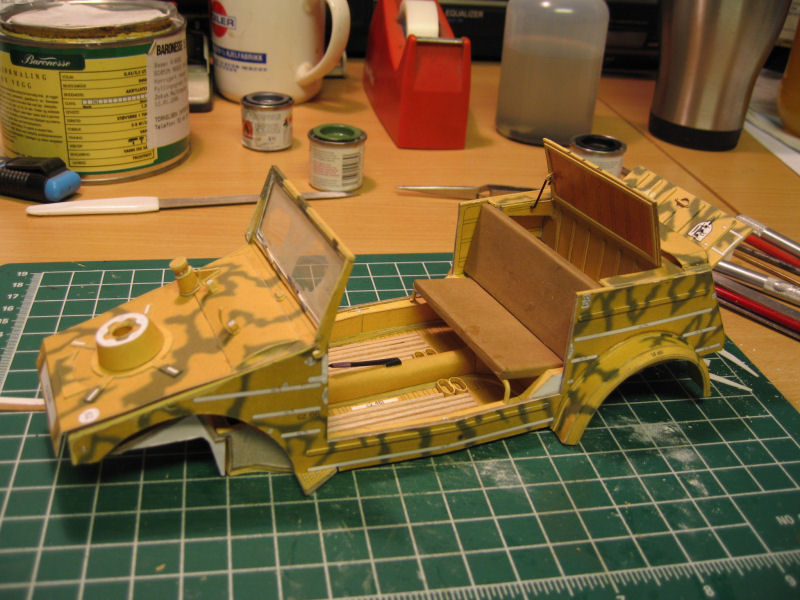
The back seat
| The drawing. |
The front support for the seat is made of 0,8mm welding rod....I drilled 0,8mm holes in the sides and glued it into place |
Seatparts are glued into place |
View from the side |
All parts are glued to 1mm karton exept from the "grid" part 47f that is glued to 0,2mm karton and of course the seat covering that is 80g plain paper.Parts cutted out and are ready for mounting
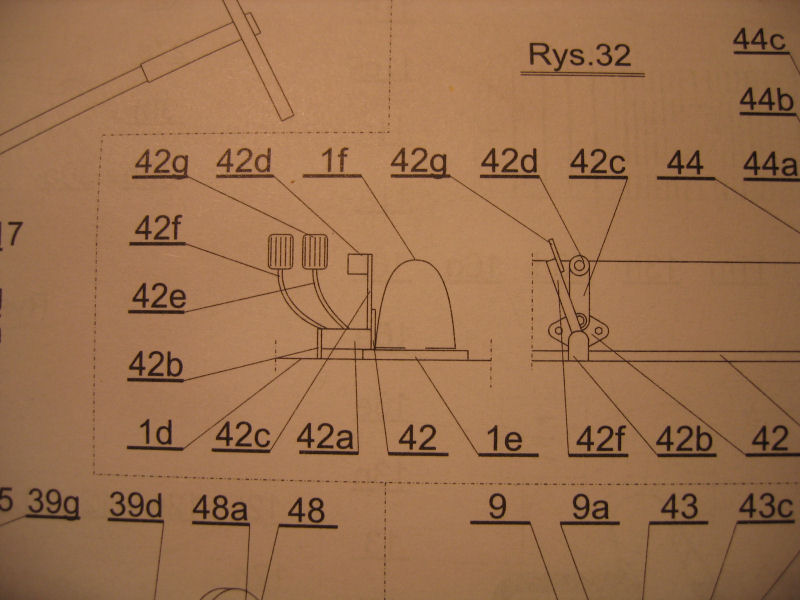
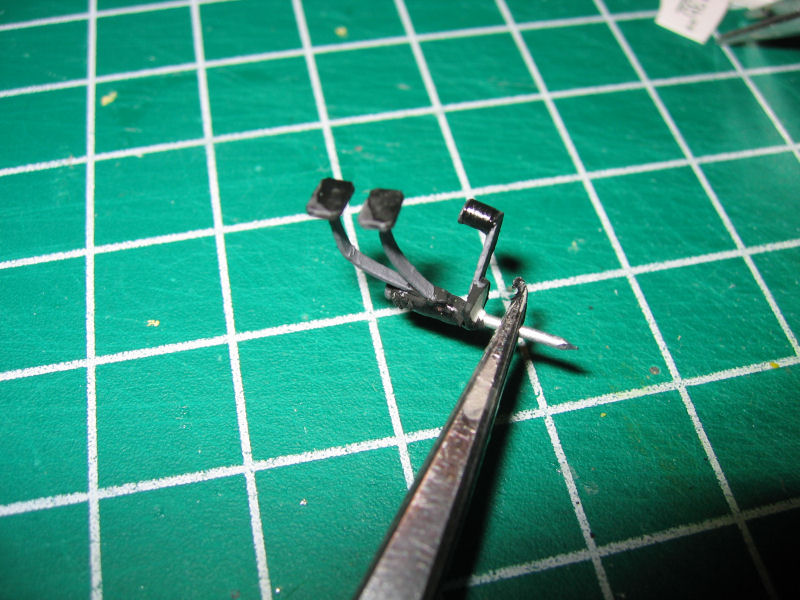
The pedals,gearhandle,hand break and the instrumenpanel was to be made.
| The drawing of the pedals |
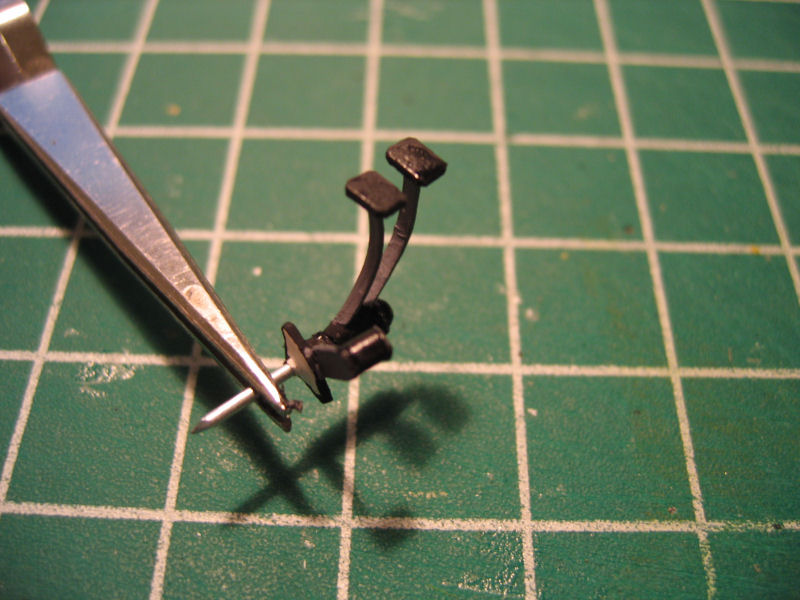
Pedals assembled and almost finished painting |
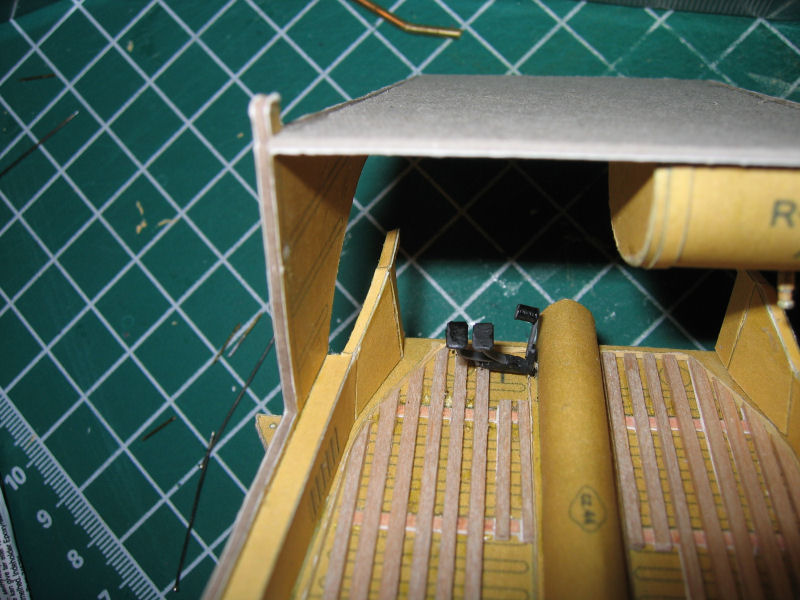
Finished |
And put into place |
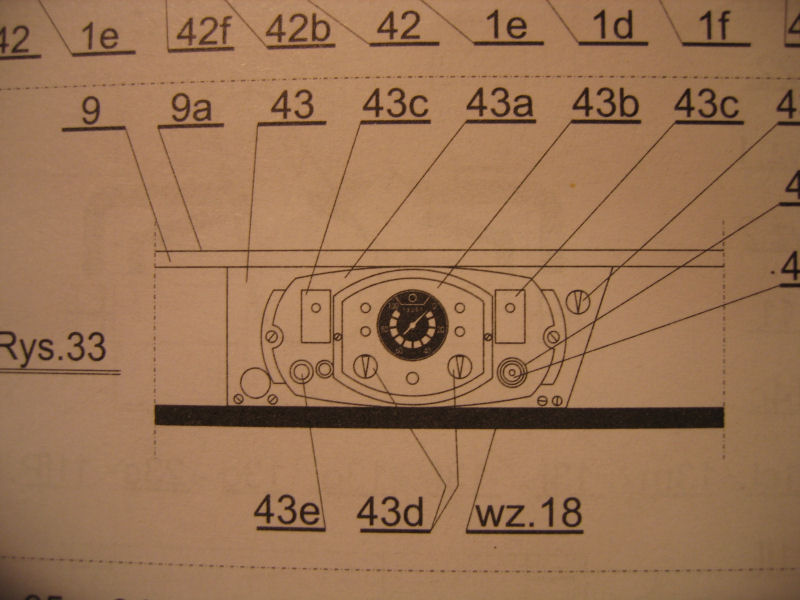
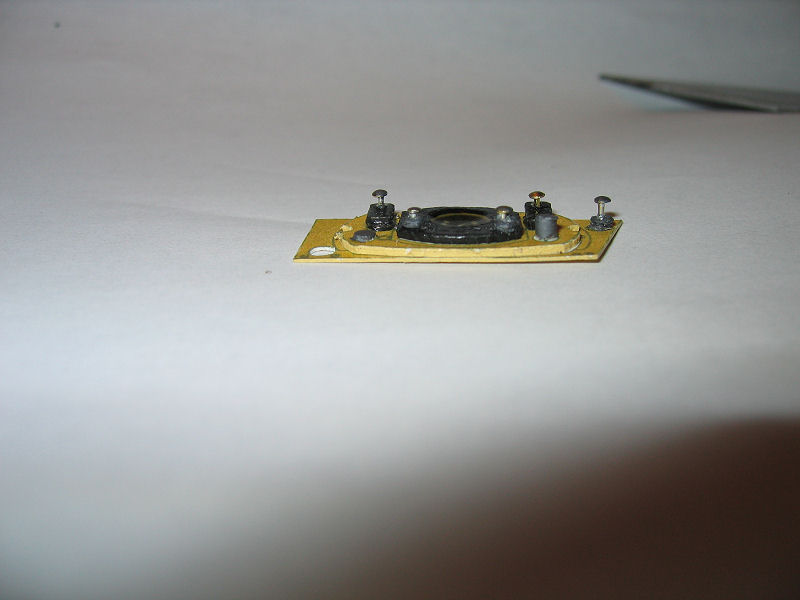
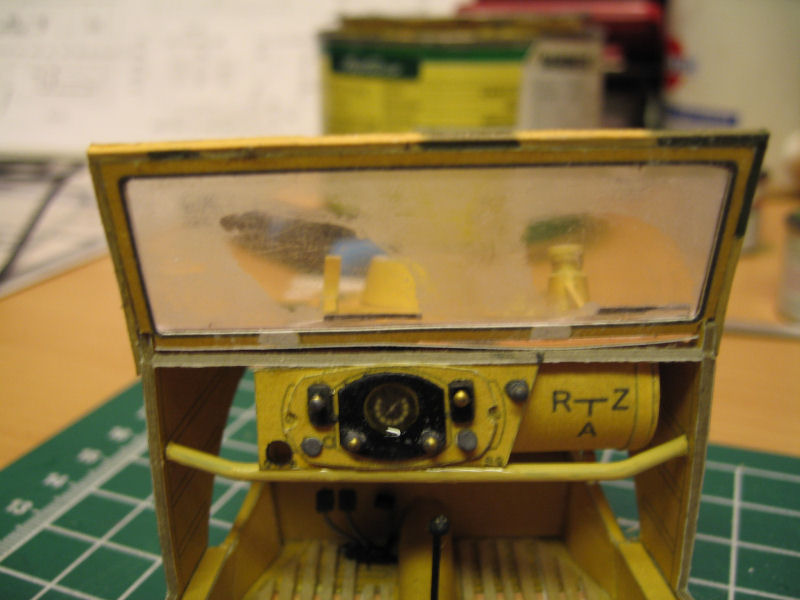
| Drawing of the dashboard |
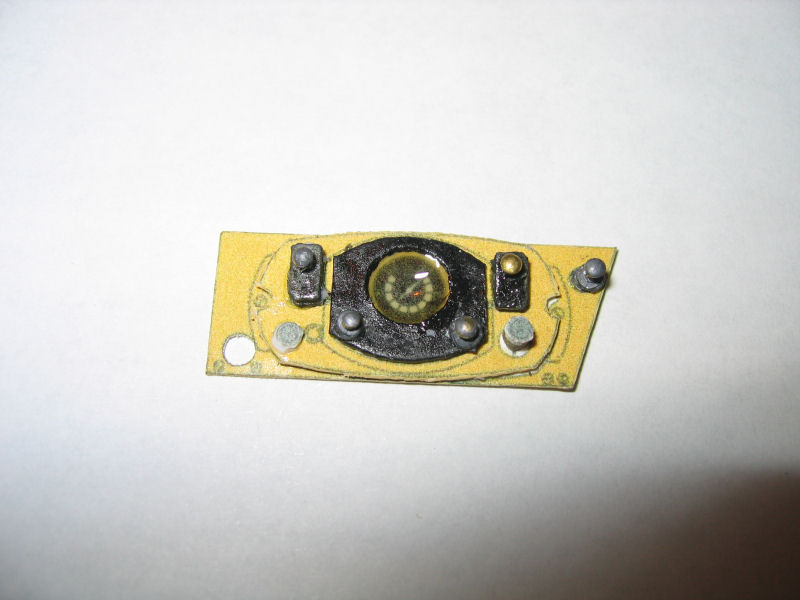
Added some switches |
Closeup |
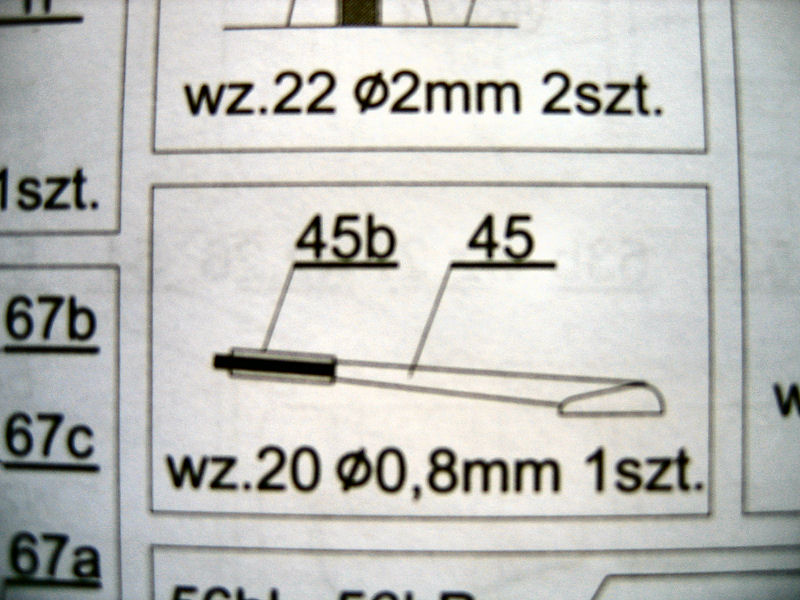
Handbrake drawing |
| Gearhandle drawing |
Gear and handbrake |
Inserted into the vehicle |
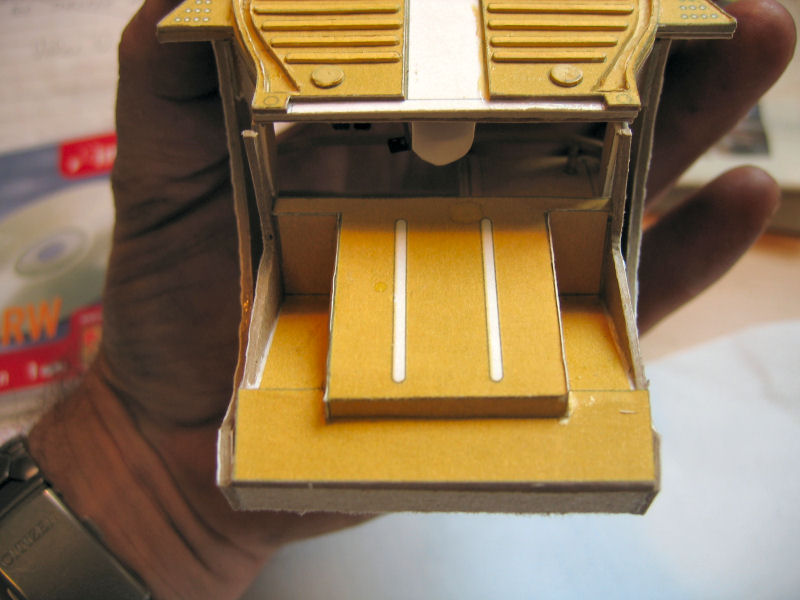
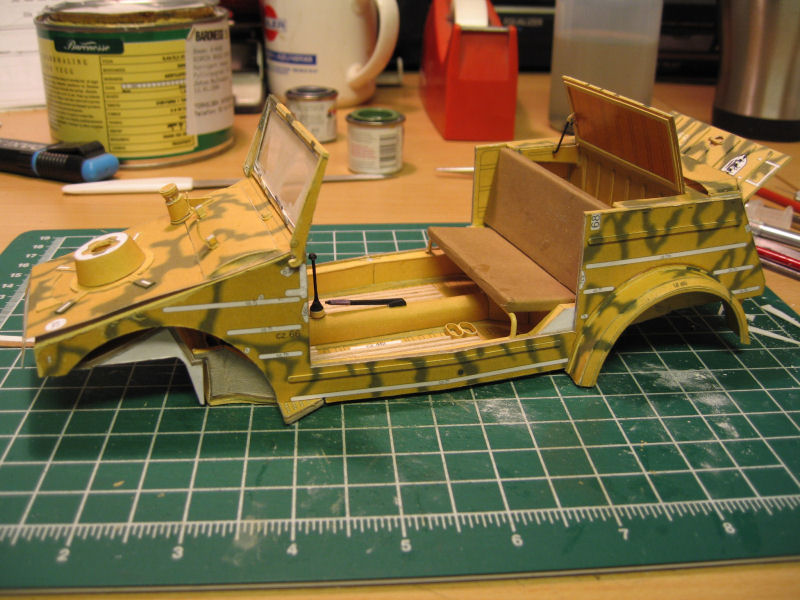
Overview |
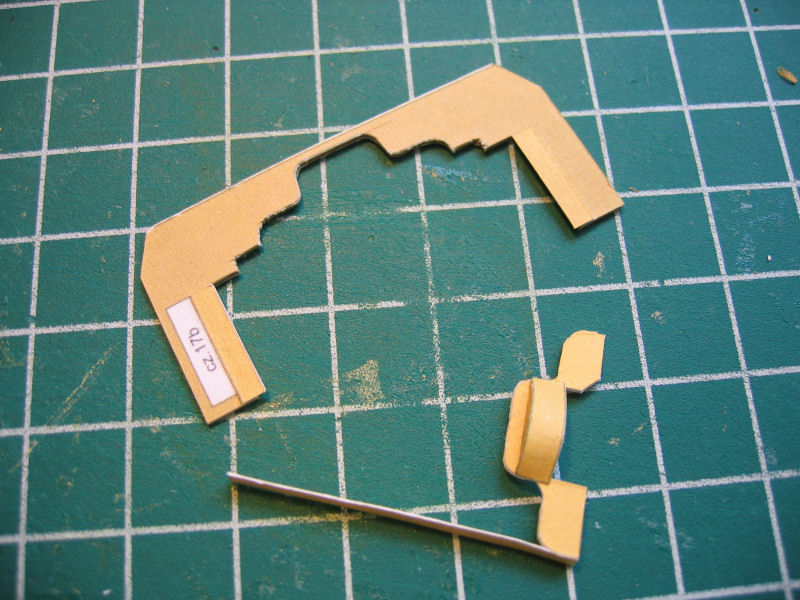
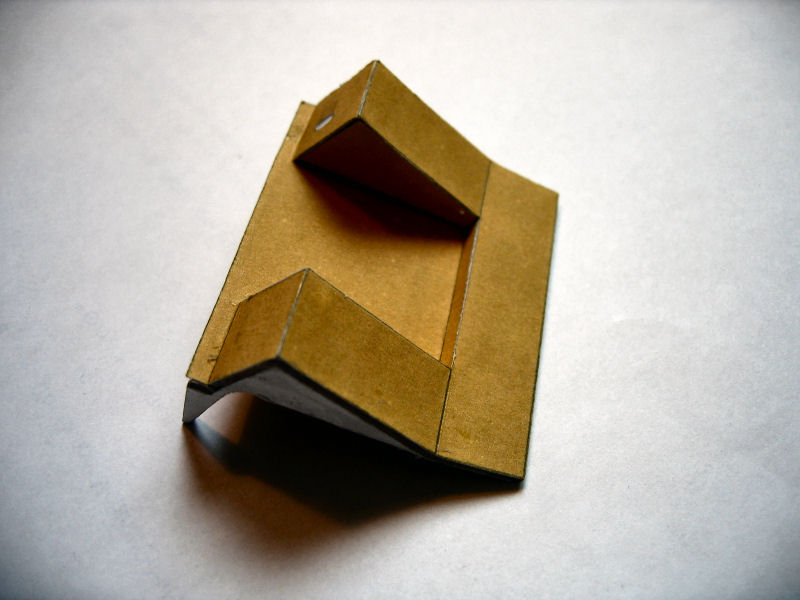
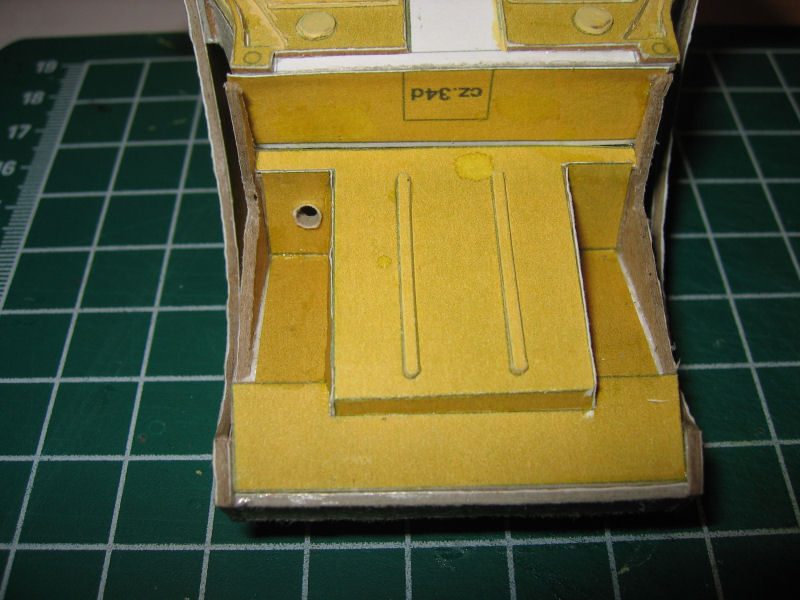
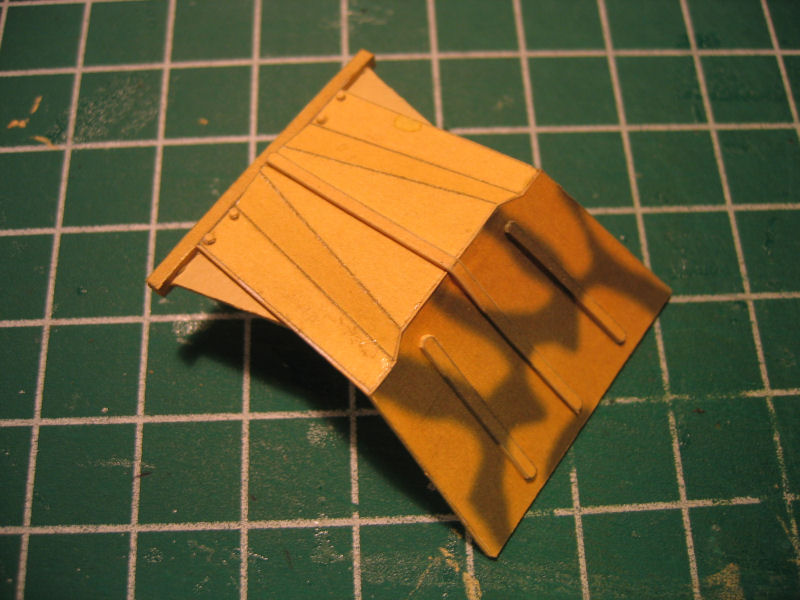
A front part was to be made
| The drawing of the part |
Parts to be glued to 1mm cardboard |
The cutting and assembly of the frame have started. |
And a lot of cover parts |
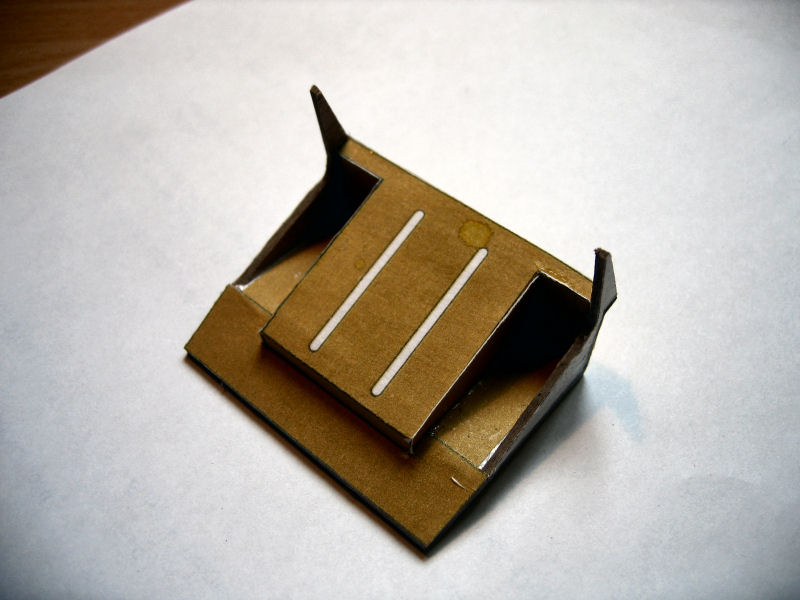
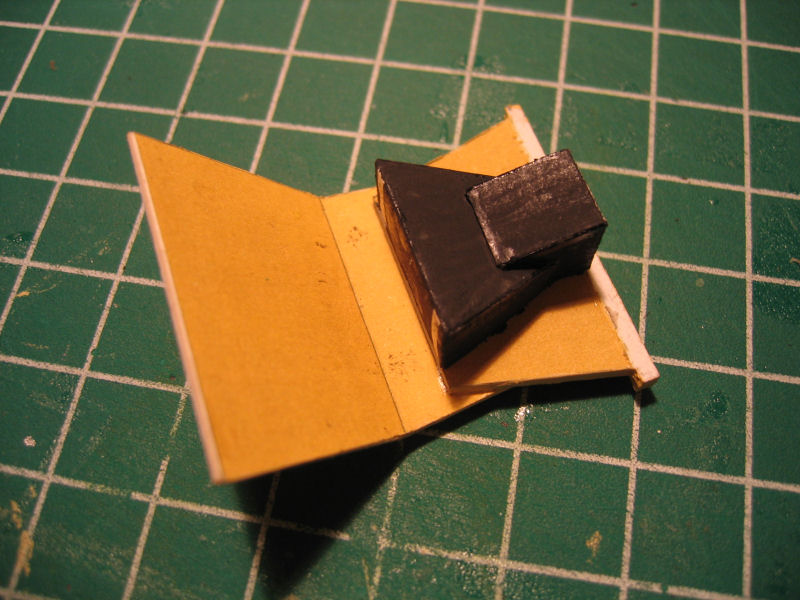
| Part is finished. |
A couple of paperstrips are missing, but I have them glued to 0,2mm karton ready to be glued |
Part placed where I think it belongs.... |
So over to something different....
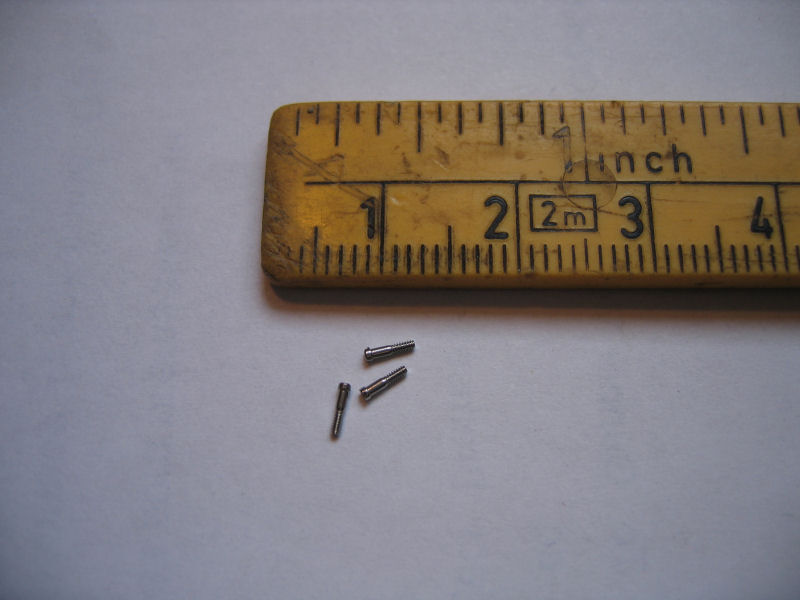
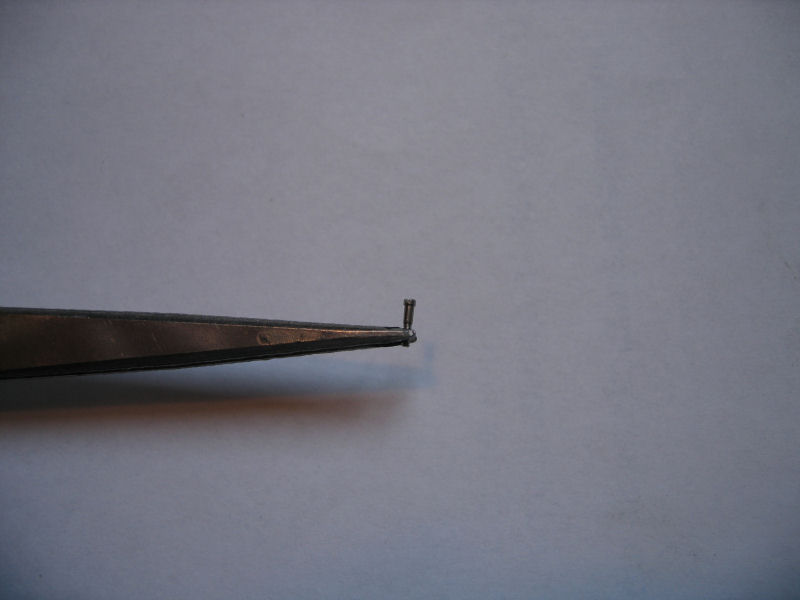
I managed to get some screws from my local watchdealer.
|
| They are 0,8mm wide and 5mm long.I got a 100stk |
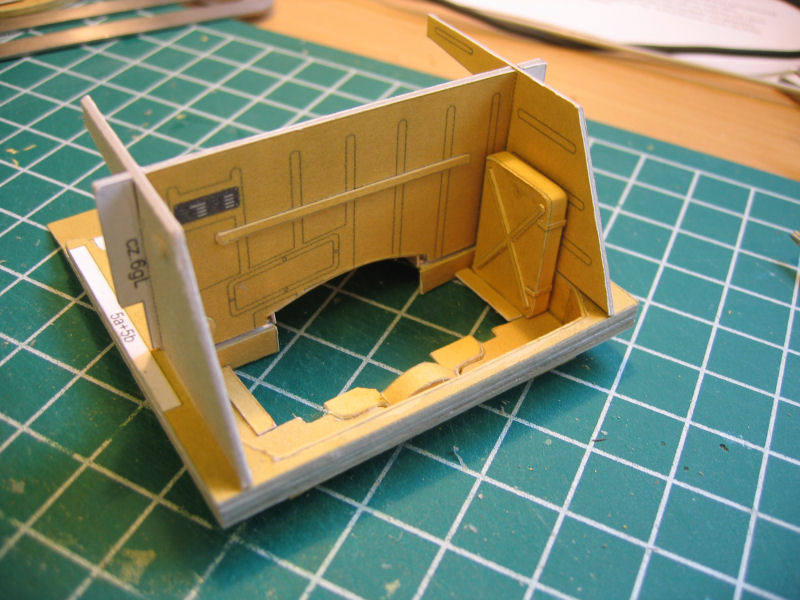
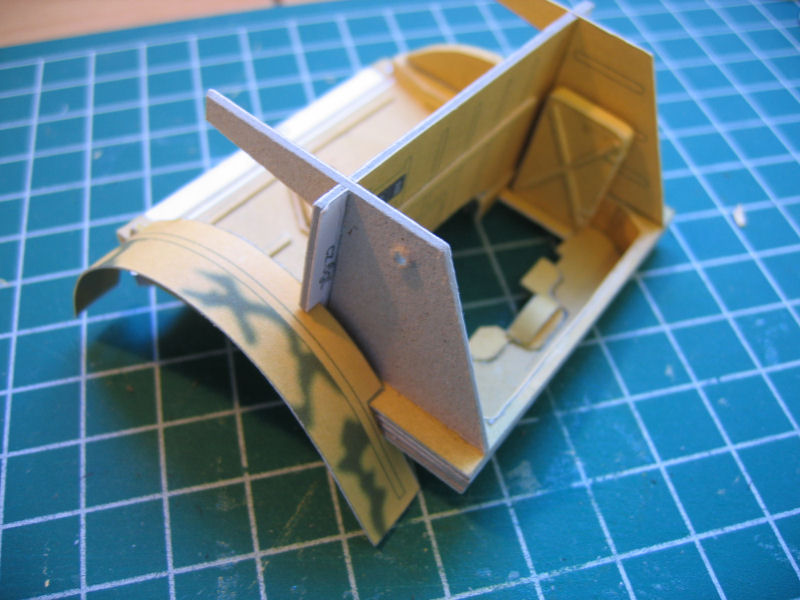
Finished the bottom construction with the two paperstrips and glued the piece into place together with the back wall" |
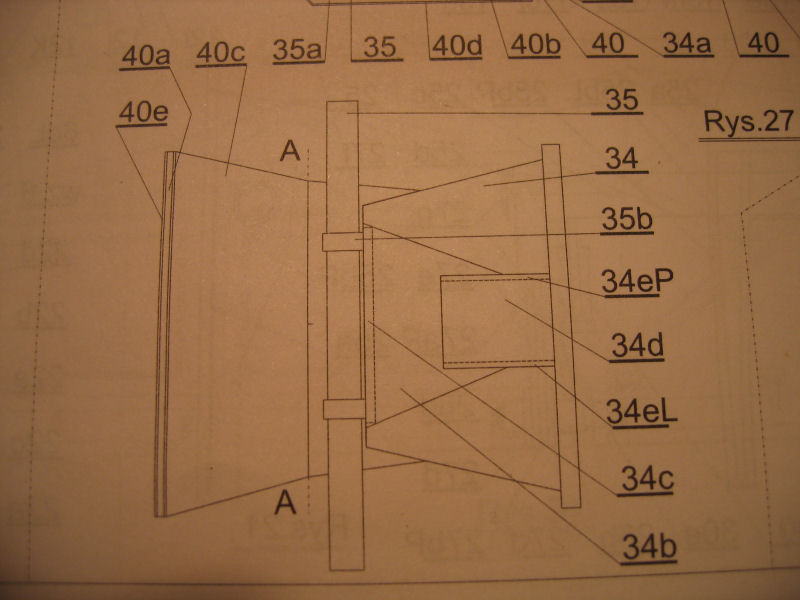
Then I made the top cover/protection plate over the front axels.The drawings. |
Side drawing |
| Top down drawing |
Top side of the cover, finished and edgepainted. |
The underside with the arrangement for the axels to be attached. |
I think I'll wait with gluing theese parts together until I have finished all the axel and steering details.
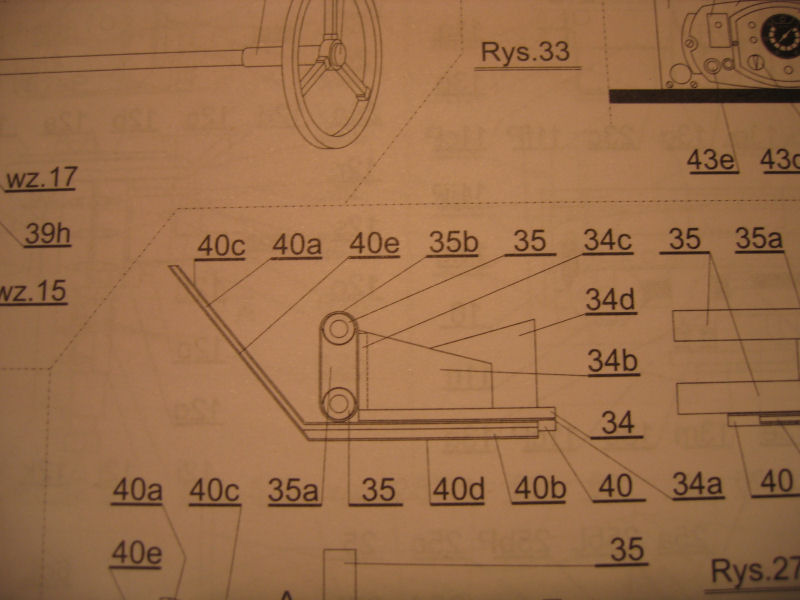
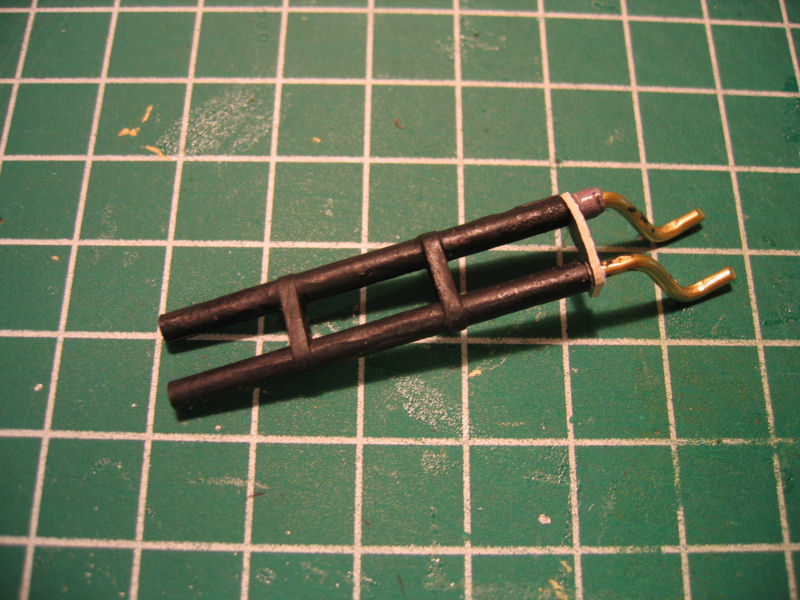
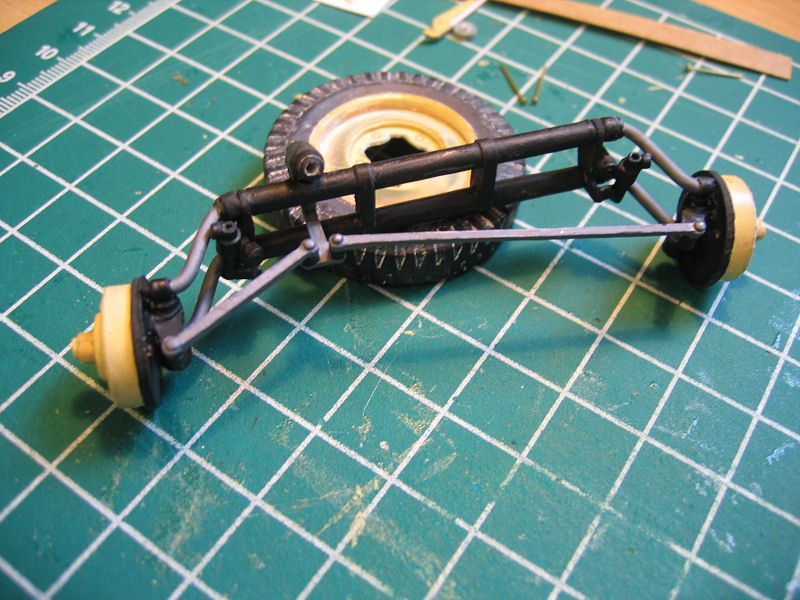
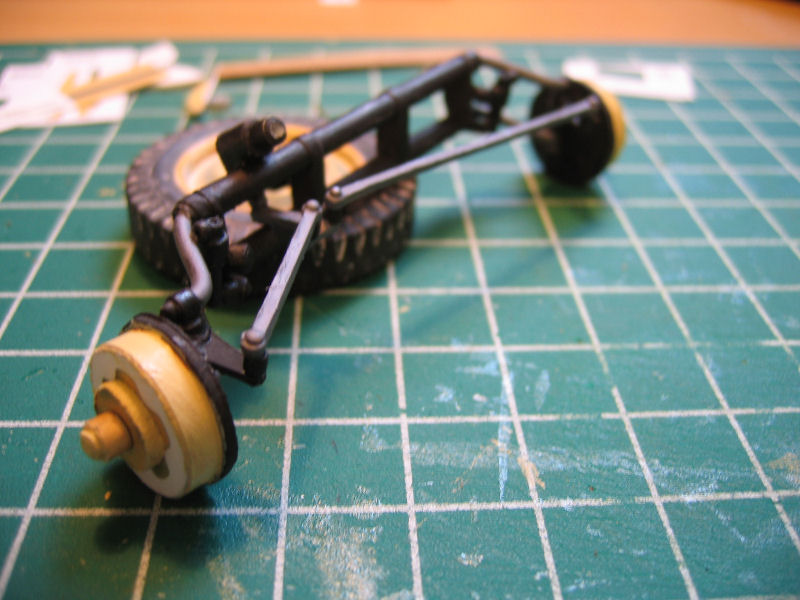
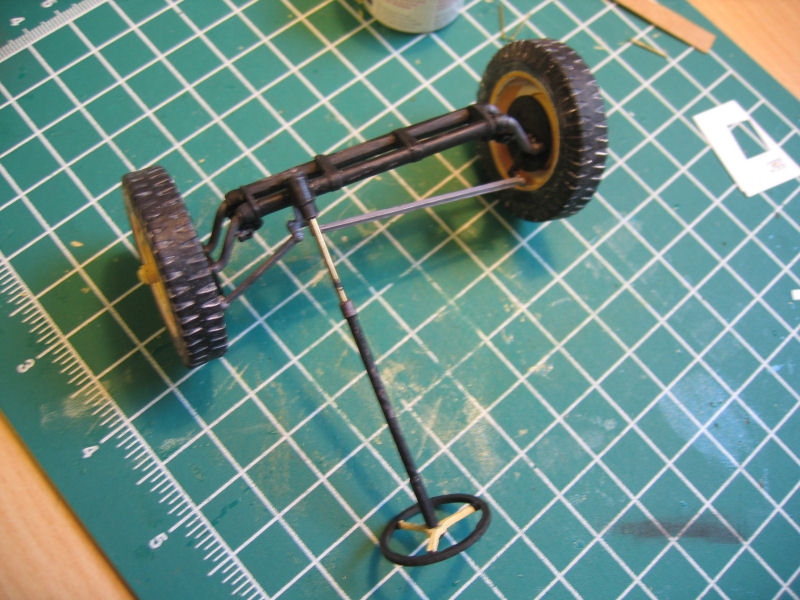
Steering and front suspension
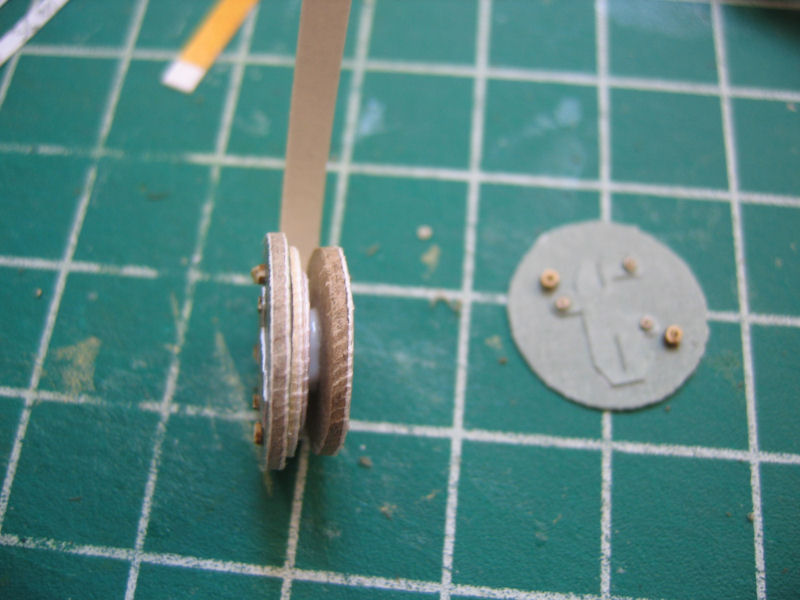
| The axels rolled with 2mm centerhole.Assembled and painted.The brass axels will be painted and joined together with the steering and wheel arrangement later on. |
The axels will be mounted like this. |
I also made the front fenders bur will NOT put them on now....It very easy to destroy them when I work on the vehicle and forgets myselves....they are kind of fragile just like the rear ones that are having a hard time surviving this build. |
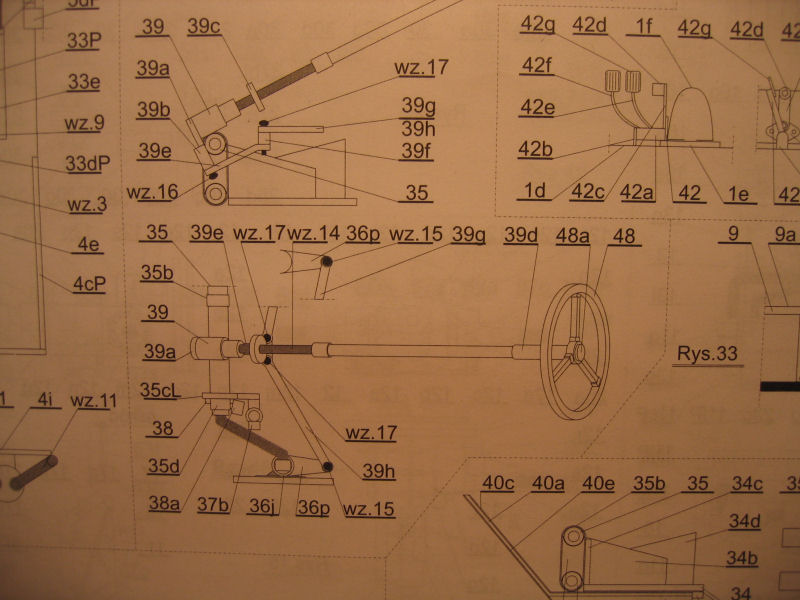
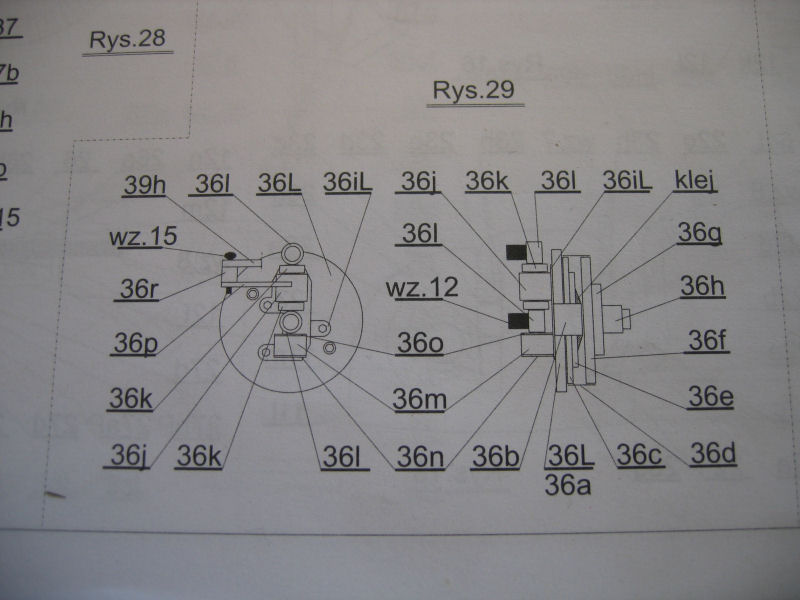
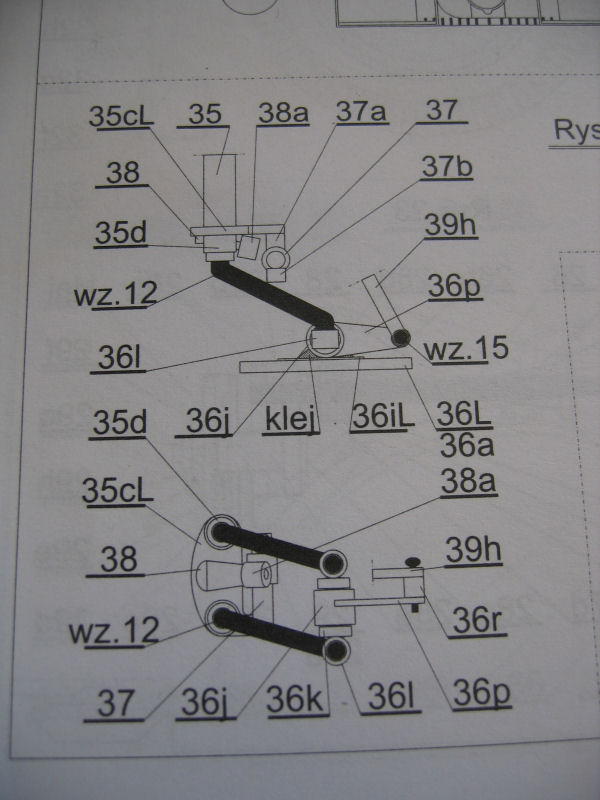
Drawing of the steering |
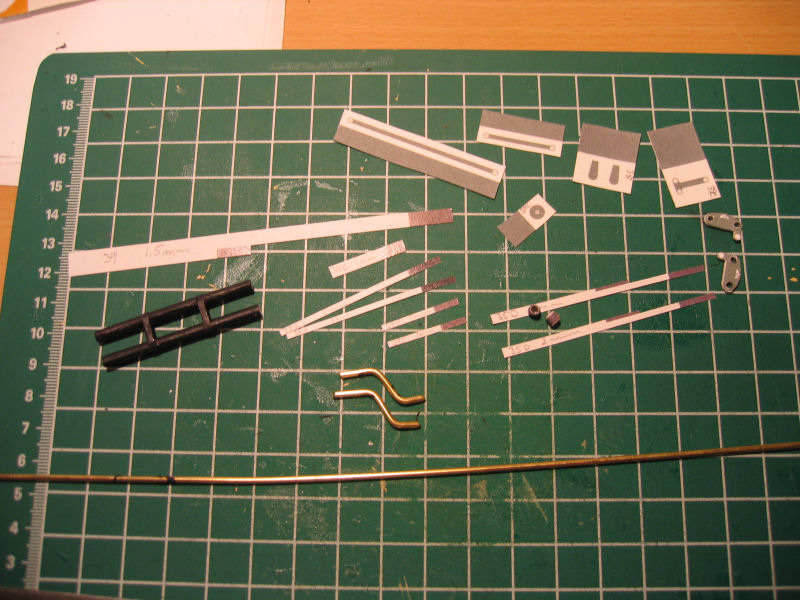
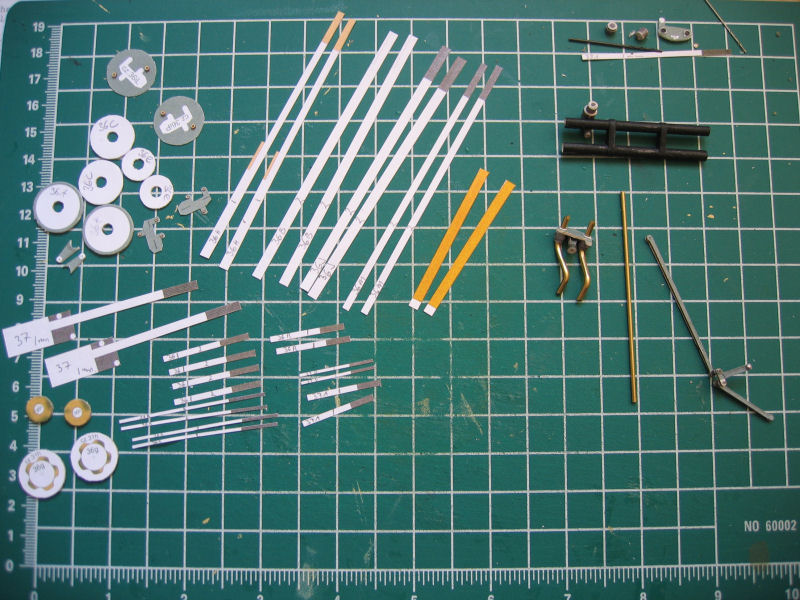
| Some of the parts used for this first stage of the construction.
The bigger parts is wrapped around 0,5mm kartion and the strips are rolled against 2mm-1,5mm and 1mm |
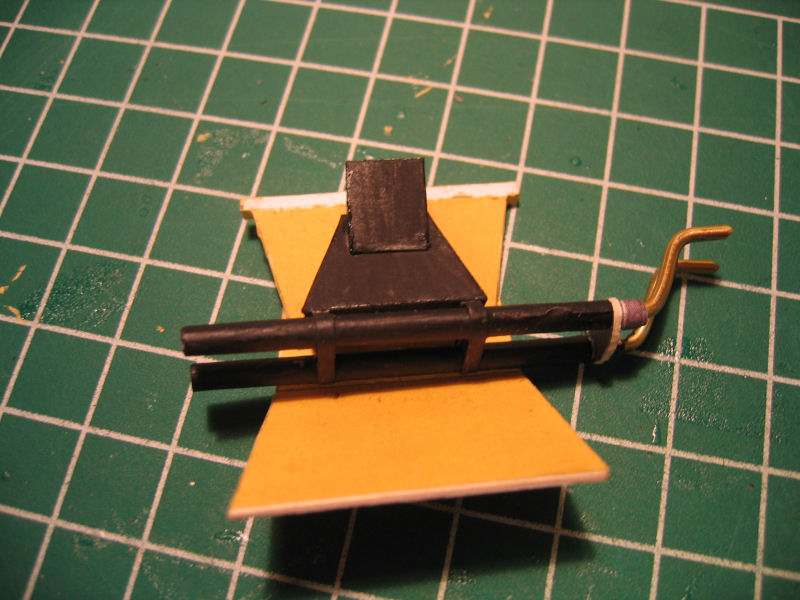
Part 39 is glued to the axels and the part with the rod is just put into place to see how it fits. |
Drawings for the wheel connectors |
Drawings for the steering parts |
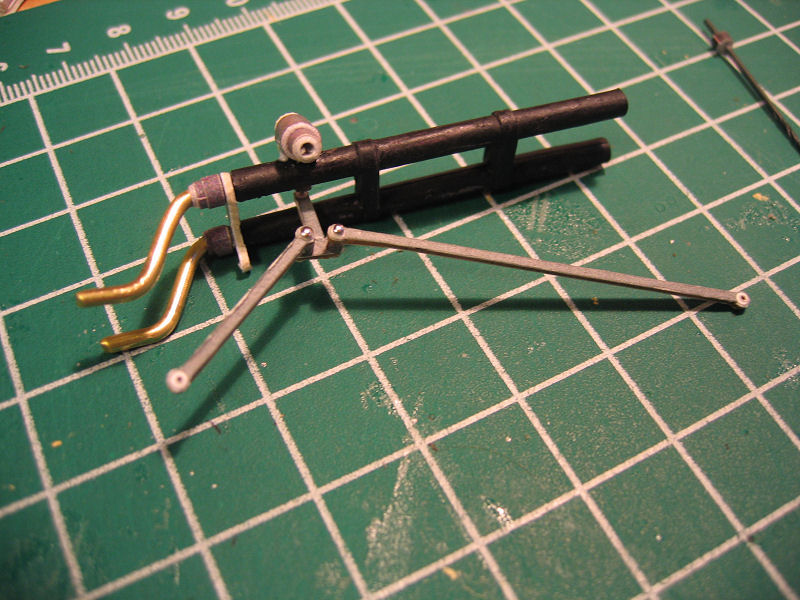
| A lot of parts to be used on this operation. |
First stage was the outer part. |
It came out quite nice |
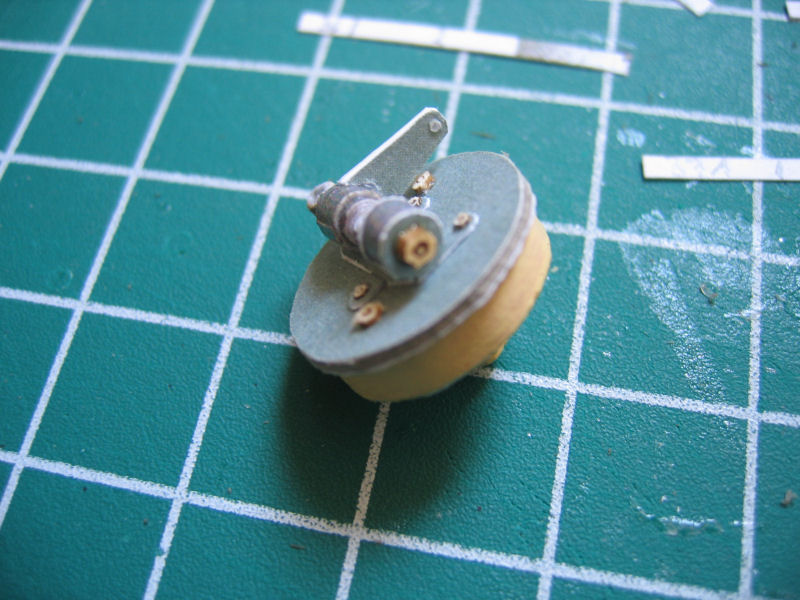
The finished result.It still needs some paint.... |
| Overview over the workarea... |
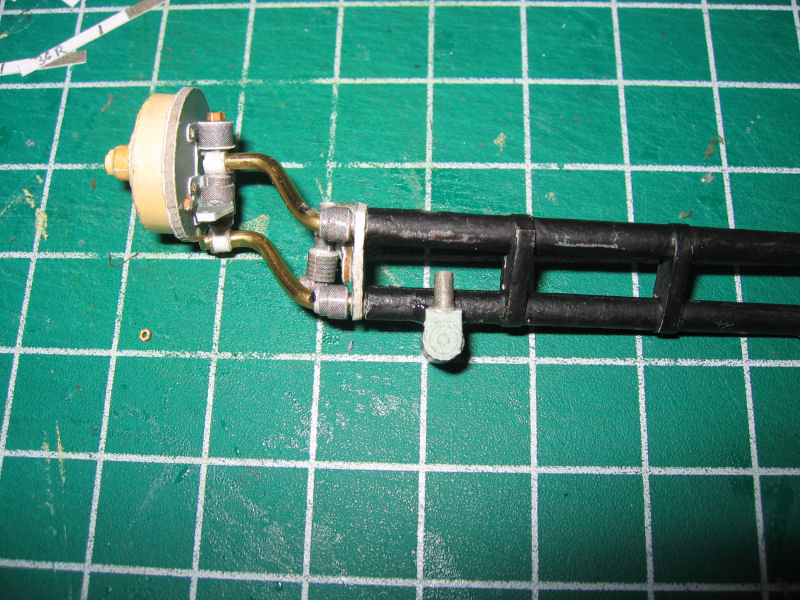
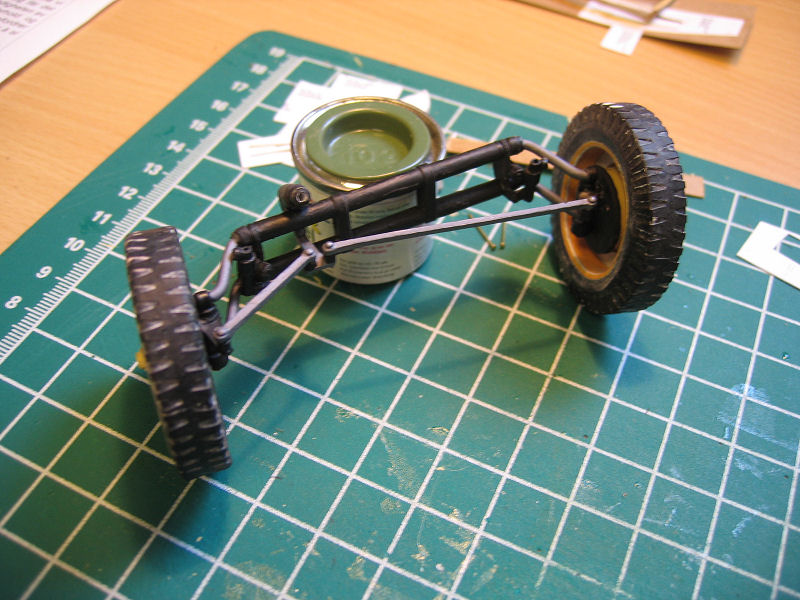
Front axel. |
Closer view of the steering rods |
| The front axel,steering ans suspension is done |
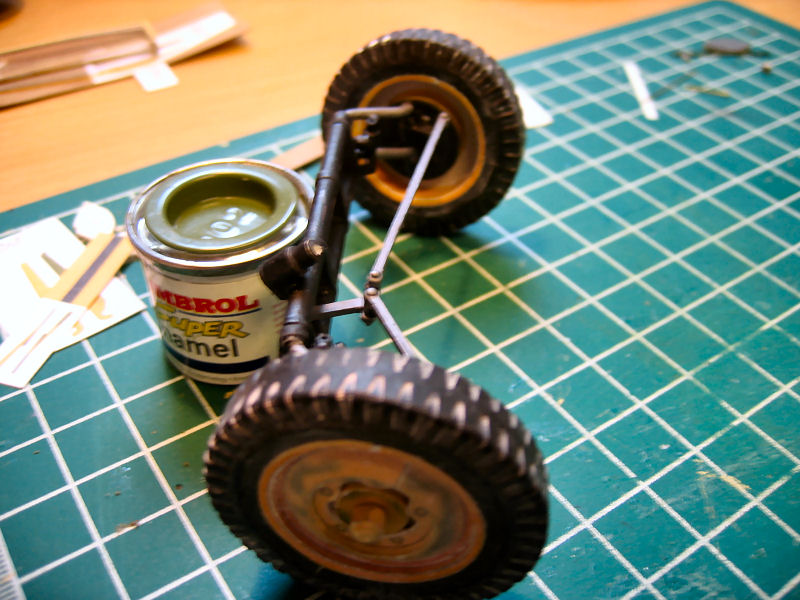
Closeup |
Closeup |
Closeup |
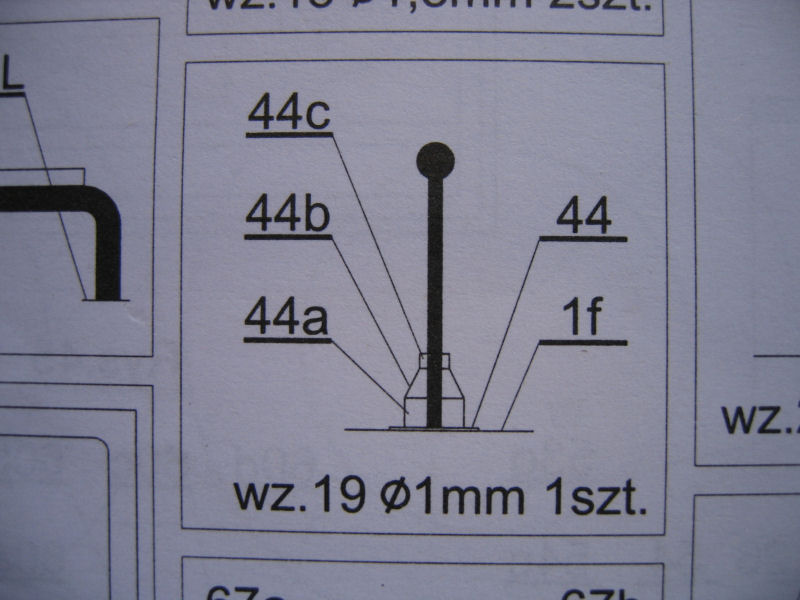
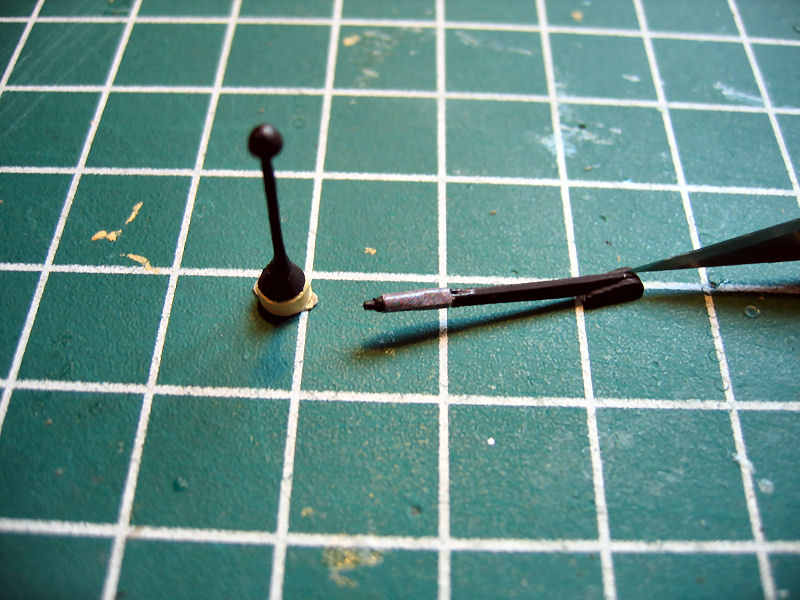
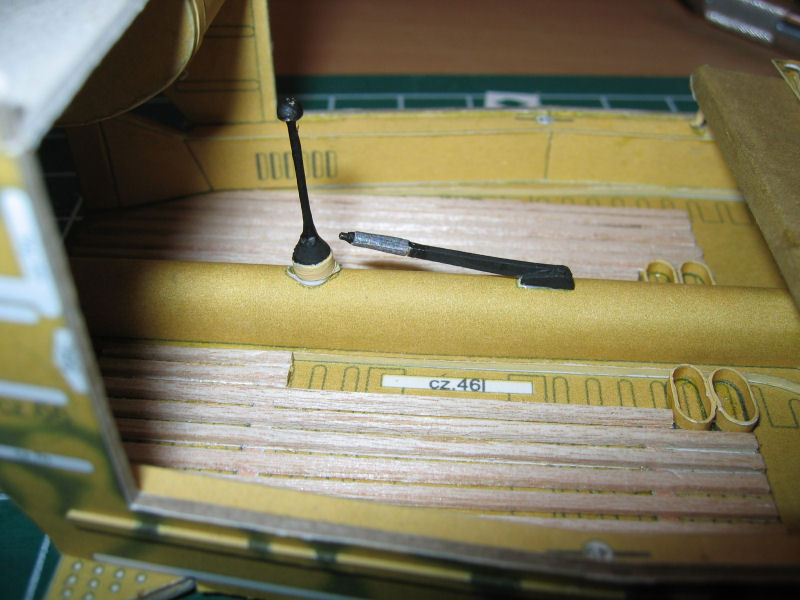
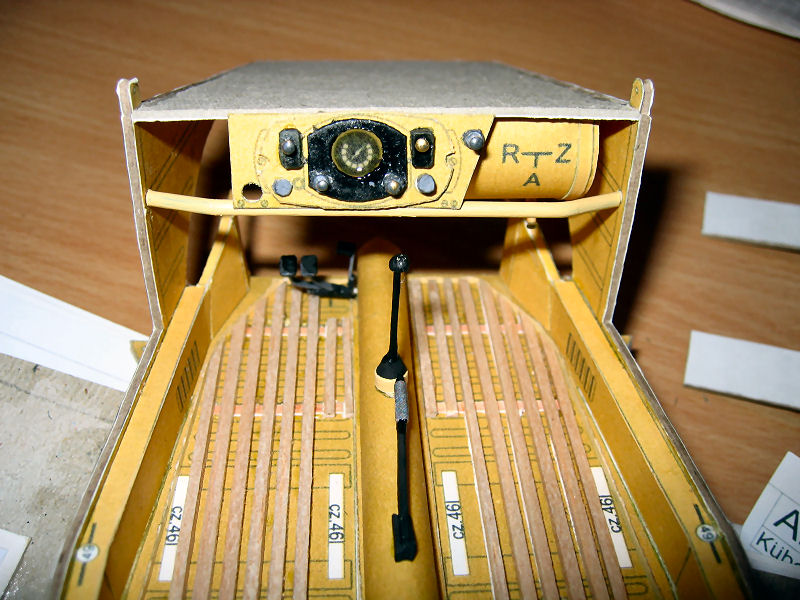
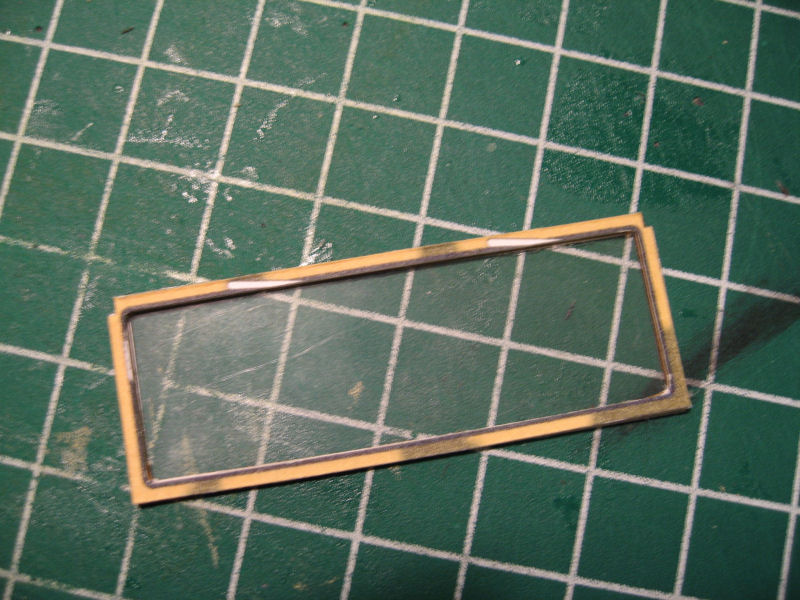
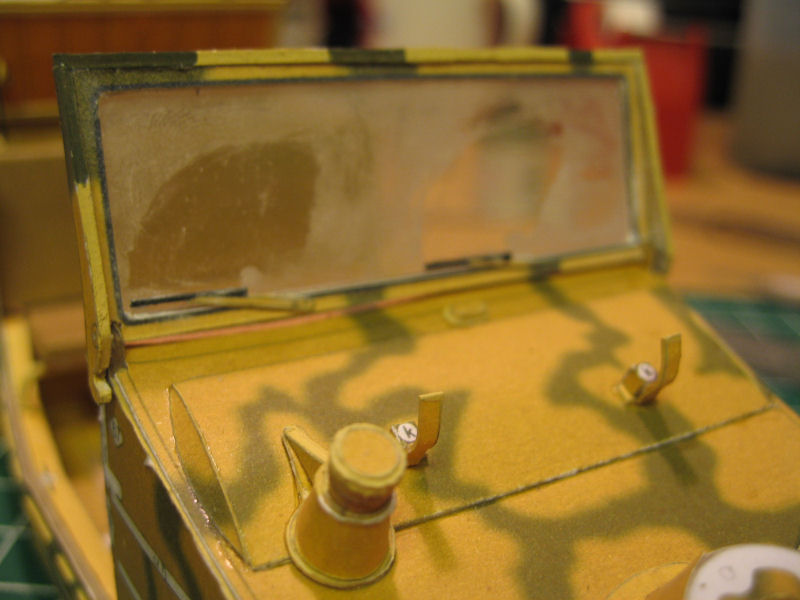
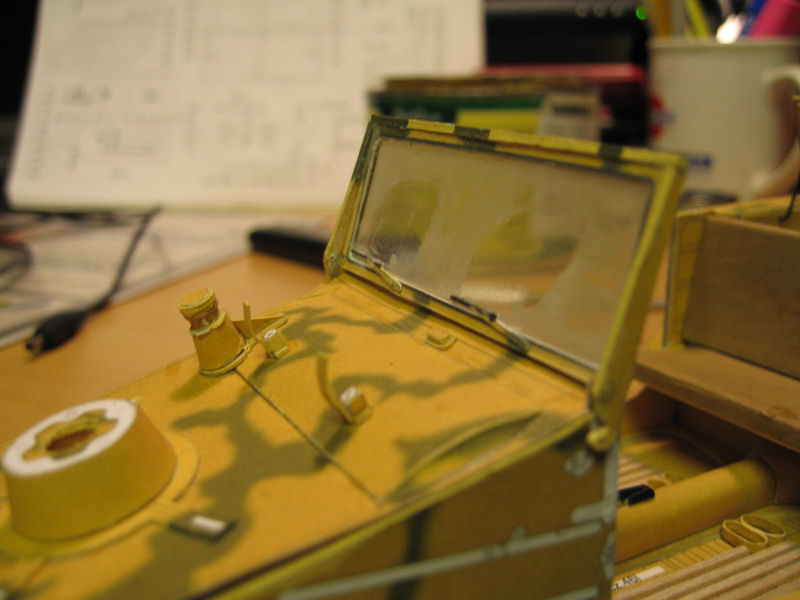
The windshield
| Drawings of the windshield |
Details on the side |
Window made of two frames of 0,5mm karton and with overhead foil as glass |
Windowsides are made of 0,5mm karton. |
| The window is just loosely placed to see how it looks. |
And the dust is also just to see the effect of the wipermarks and will be enhanced in the end. |
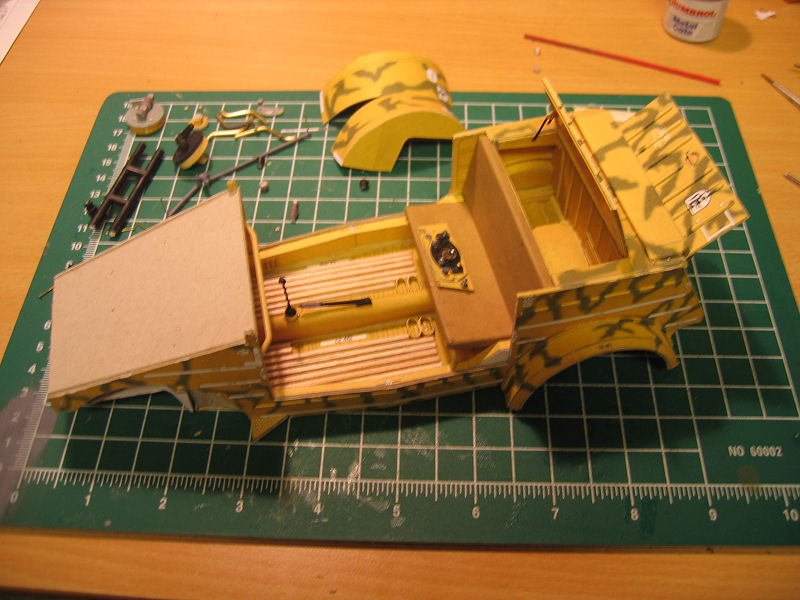
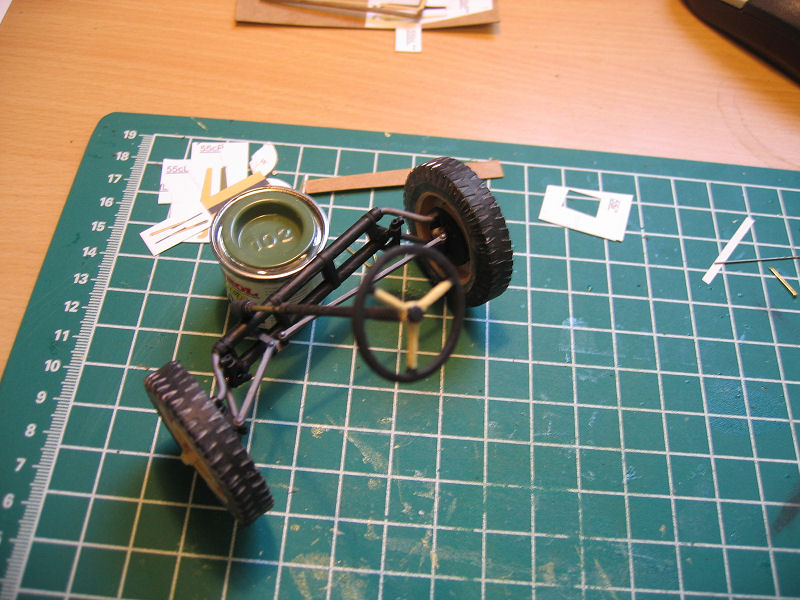
Overview. |
Overview. |
Gallery of the finished model is HERE
©Johnny Svensson 2007
|