Ford GPA Jeep - PAGE 2
The winch
| The drawing of the winch. |
Parts to be used. |
Parts ready for assembly |
| The winch is assembled and ready to be mounted along with the rivets. |
Winch glued into place. |
I also added a rope |
A picture of a real GPA. |
Pullers
| Drawing. |
I made the rings of 1mm copperwire. |
One puller done |
| Placed on the car. |
front view. |
Headlights
| The headlights was next out.Here are some shots. |
| Front view. |
The rope in place. |
A shot of the real GPA. |
The splashguard
| The drawing. |
Parts to be used . |
It was a bit tricky to get this part assembled nicely..... |
| I got it together. |
Placed on the car. |
Another view. |
The spare tyre
| Here I hace cutted out all parts for the tyre. |
The support for the tyre at the rear end of the GPA. |
Ready for some paint |
And painted. |
| Placed where it belong. |
Here I have started to chalkdust the tyre. |
The finished result |
Exhaust
| Drawing. |
Parts to be used. |
Ready for some paint |
Painted and the top cover added. |
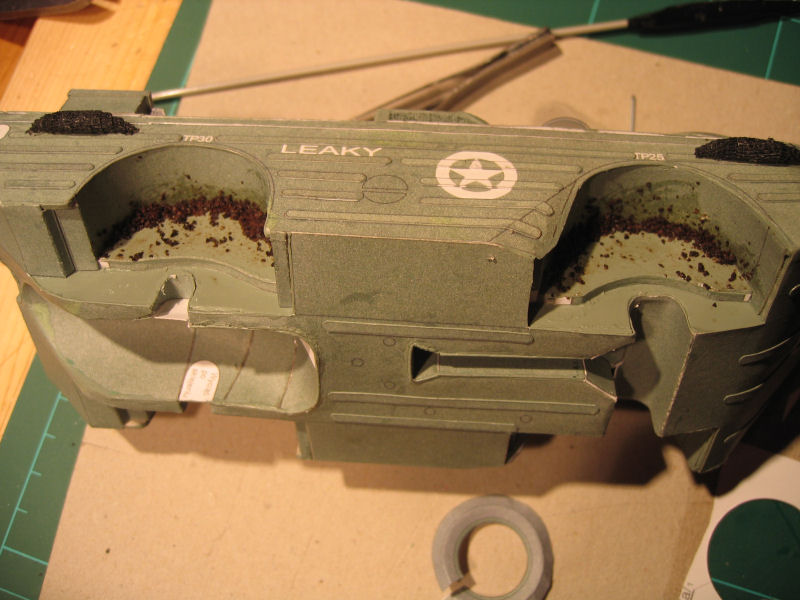
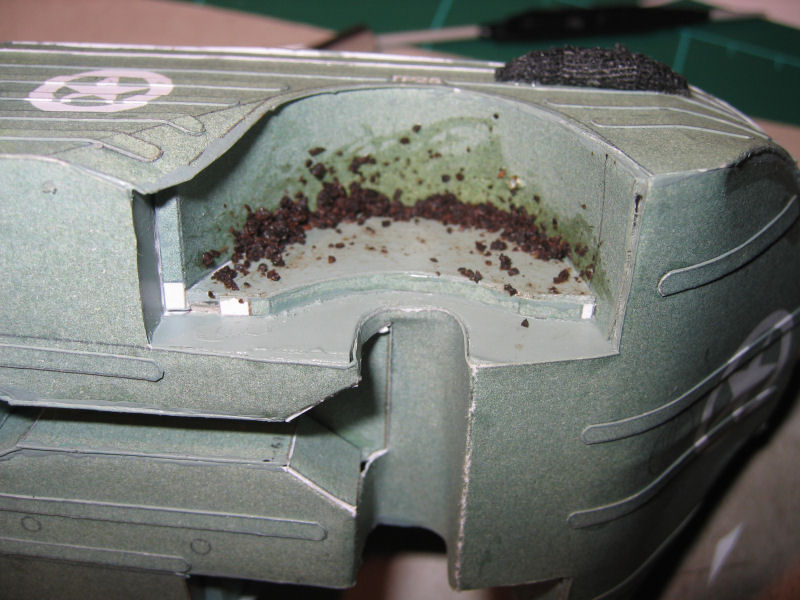
Some details
| Boxes and blankets added. |
Rear. |
Front |
| The fenders added. |
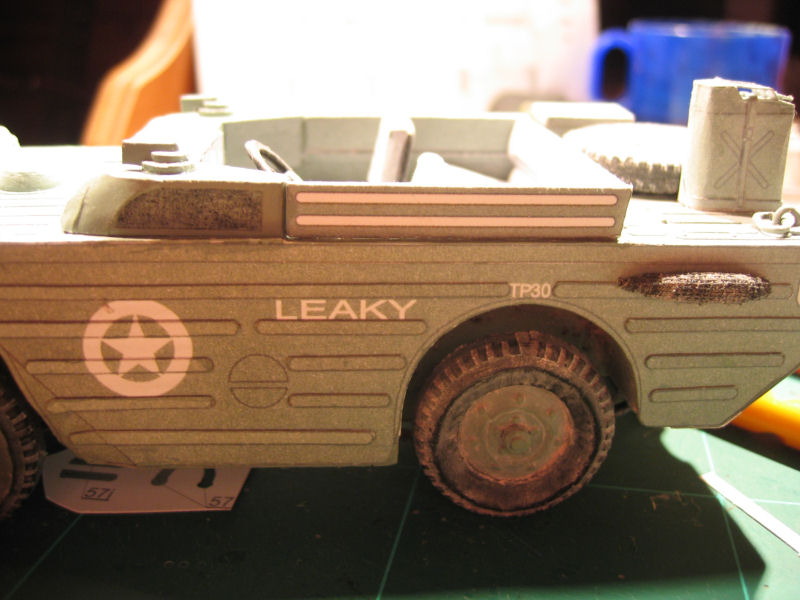
Overview. |
Overview |
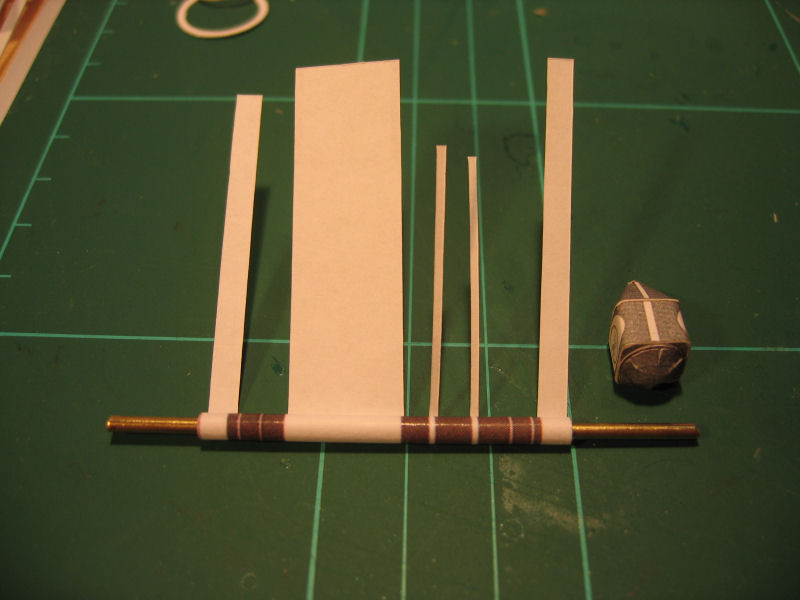
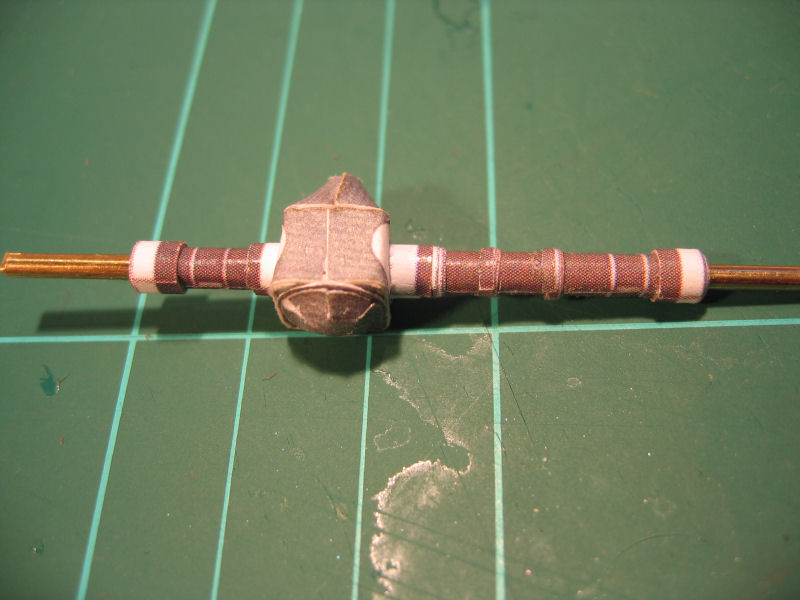
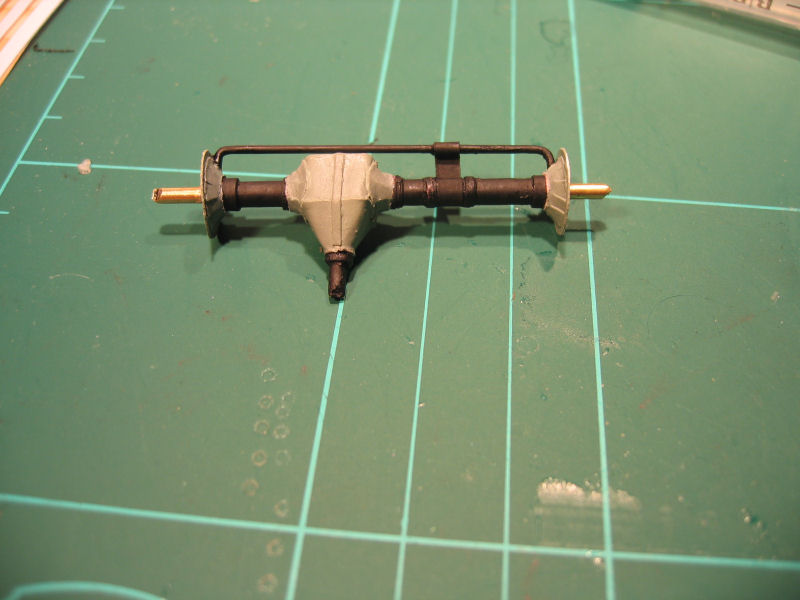
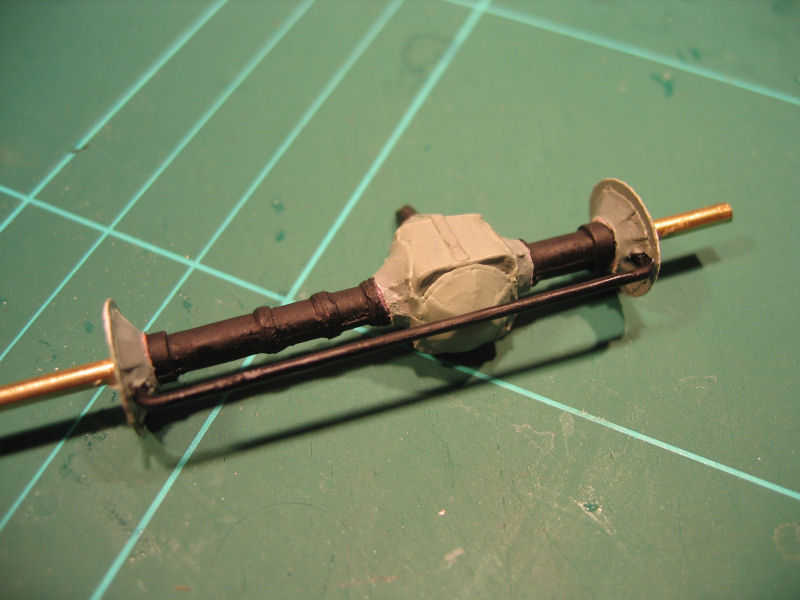
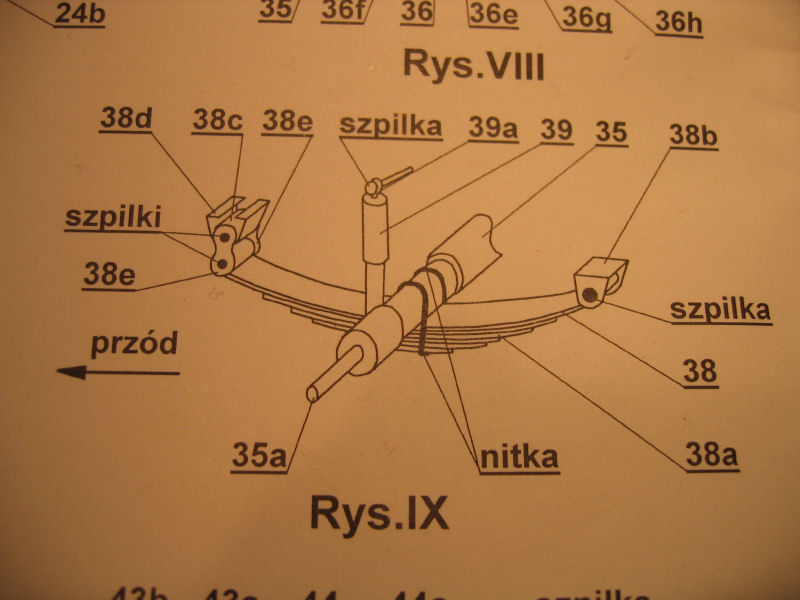
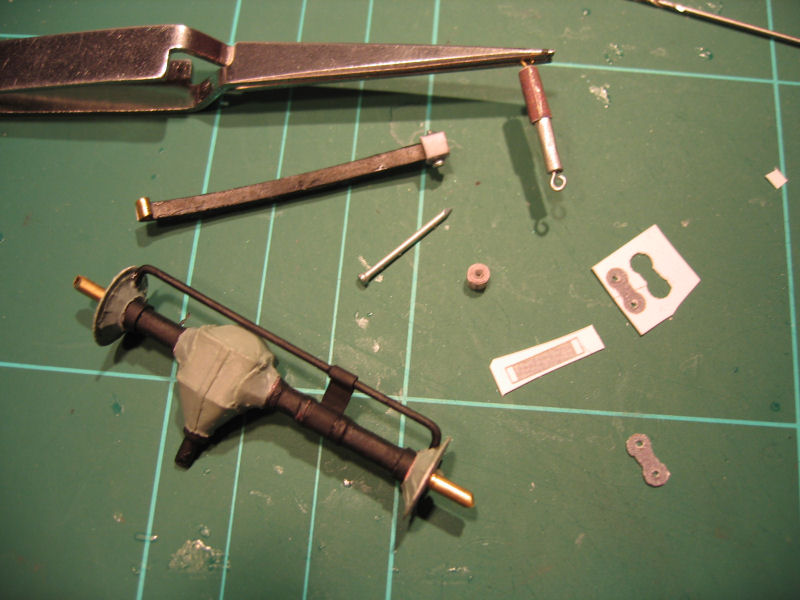
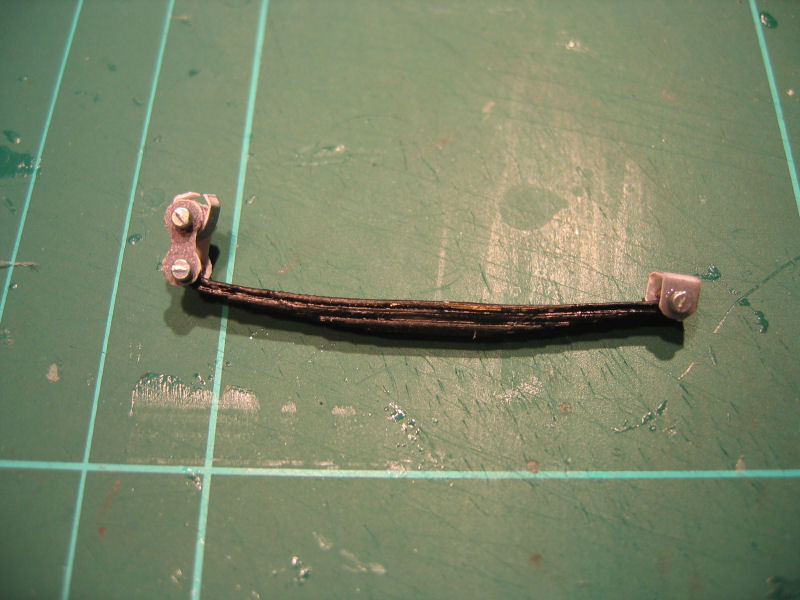
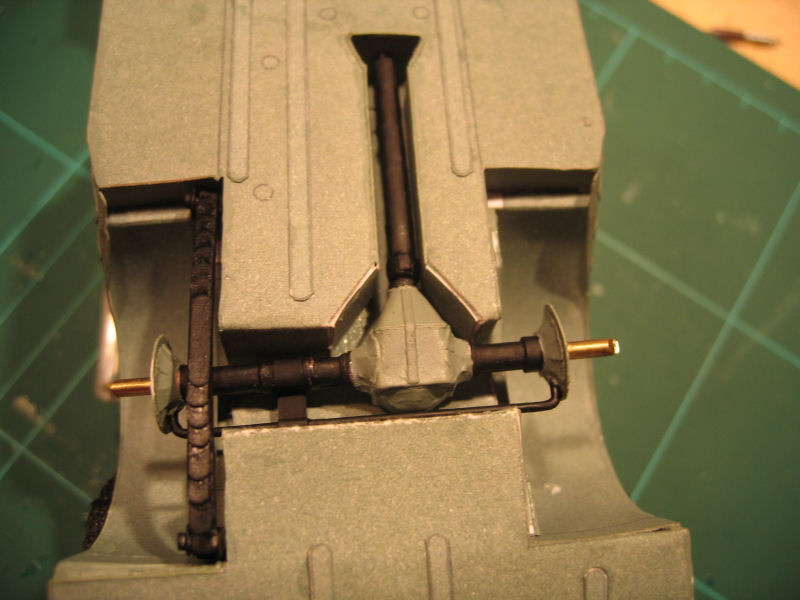
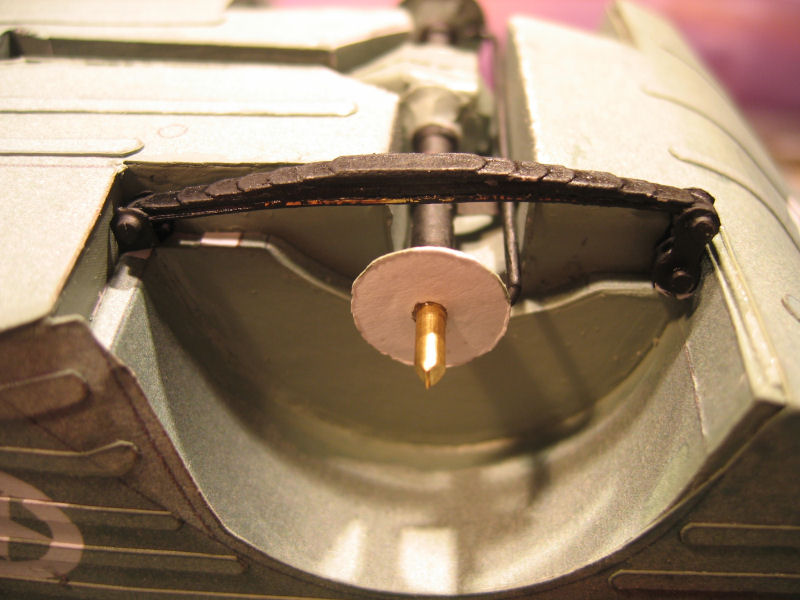
Transmission some details and the springs
| Drawing. |
Parts to be used. |
Rolled against the axel |
The part is done. |
| Painted and dusted. |
Another view. |
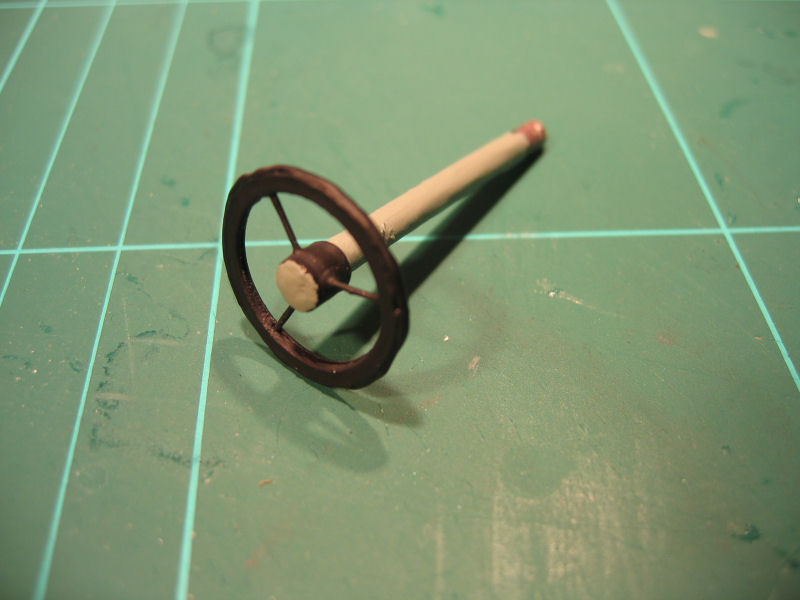
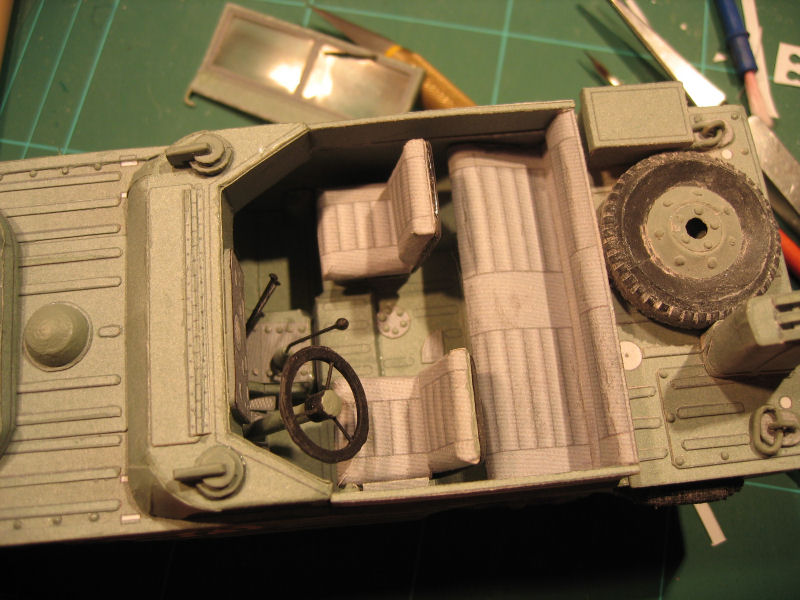
Steeringwheel |
Cockpit detail. |
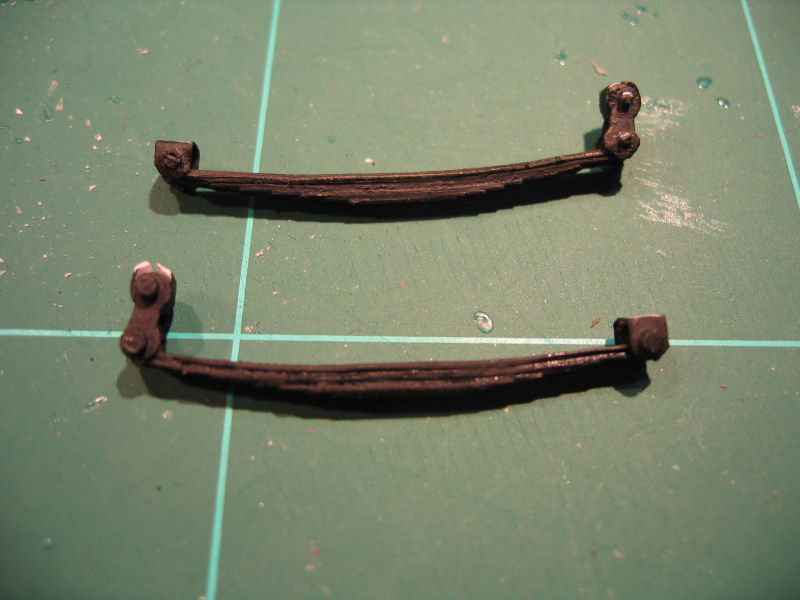
| Drawing of the spring and dampers. |
Parts. |
Spring is ready |
Placed to see if it fits. |
| Painted and ready |
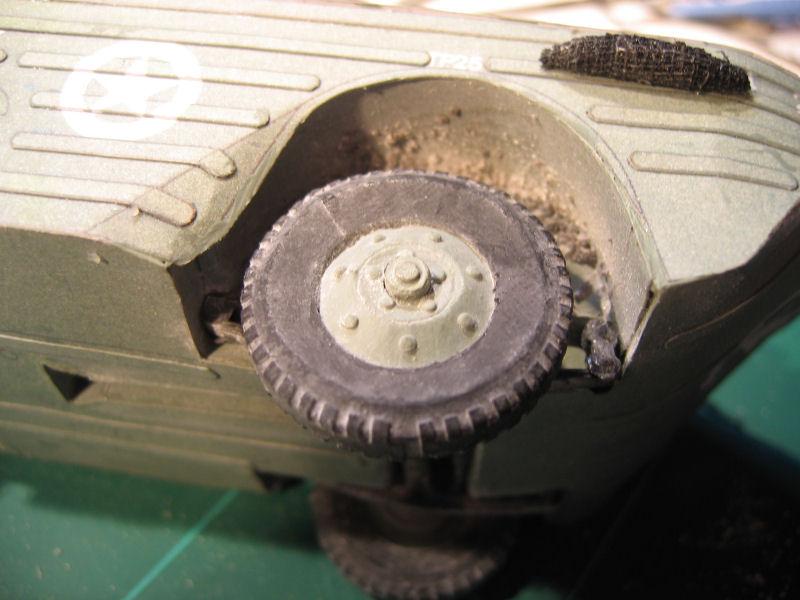
Added some "mud". |
Another one |
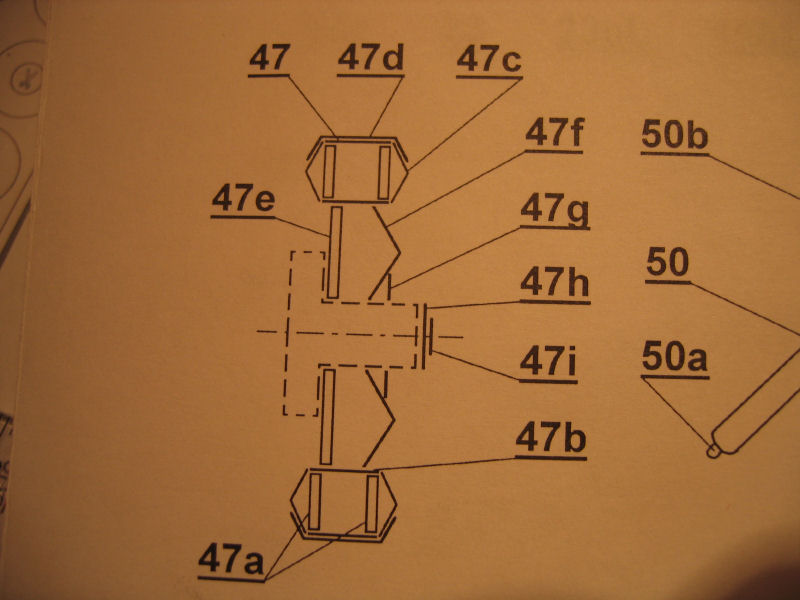
Wheels
The wheels are made of several parts.
First there is the "outer" part that contains 9 parts.
And second there is the center parts, contains 8 parts
The most "tricky" operation are making of the parts 47E and 47F.
Theese parts have to look good to make the overall look to be nice.
I'm struggeling a bit with the "bending" of theese parts,but with some patience they turned out pretty well.
| Drawing of the wheel. |
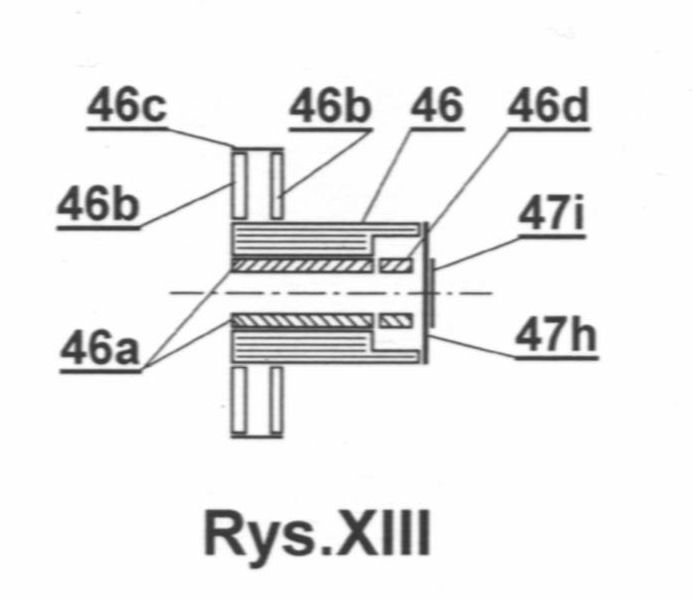
Drawing of the hub. |
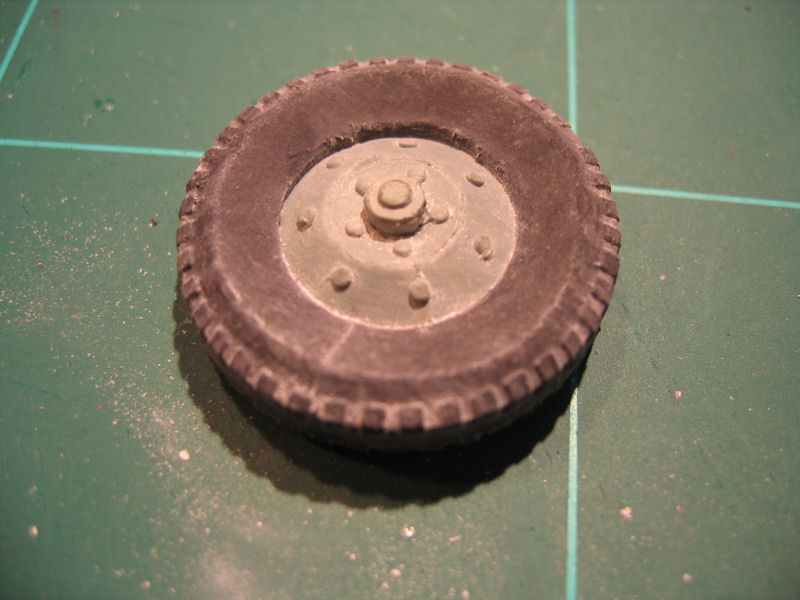
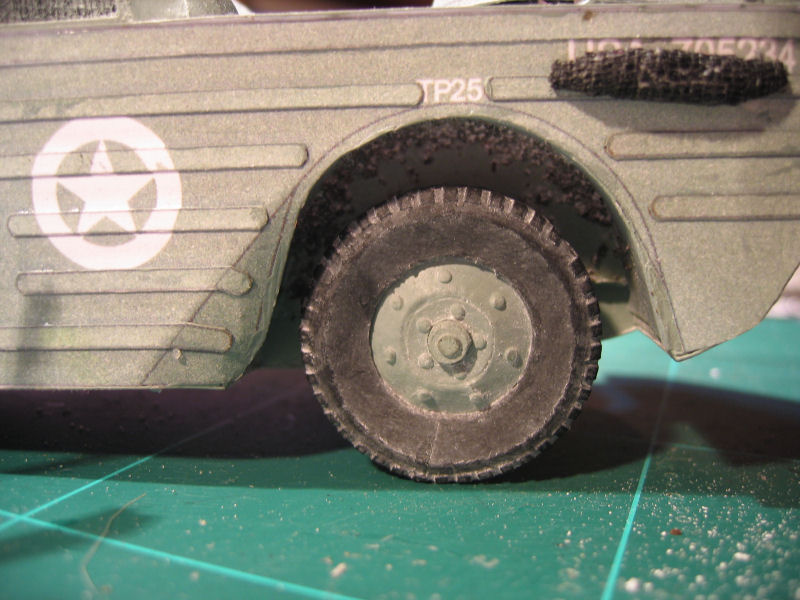
Front |
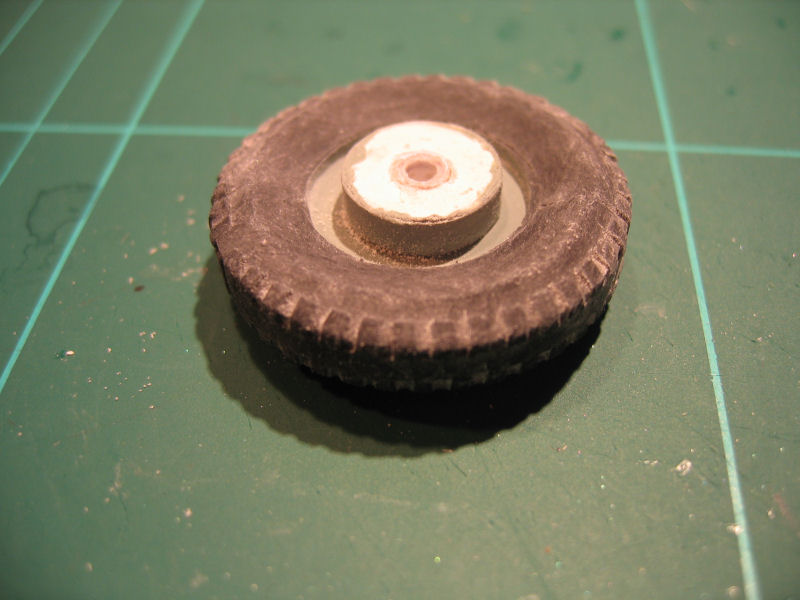
Back. |
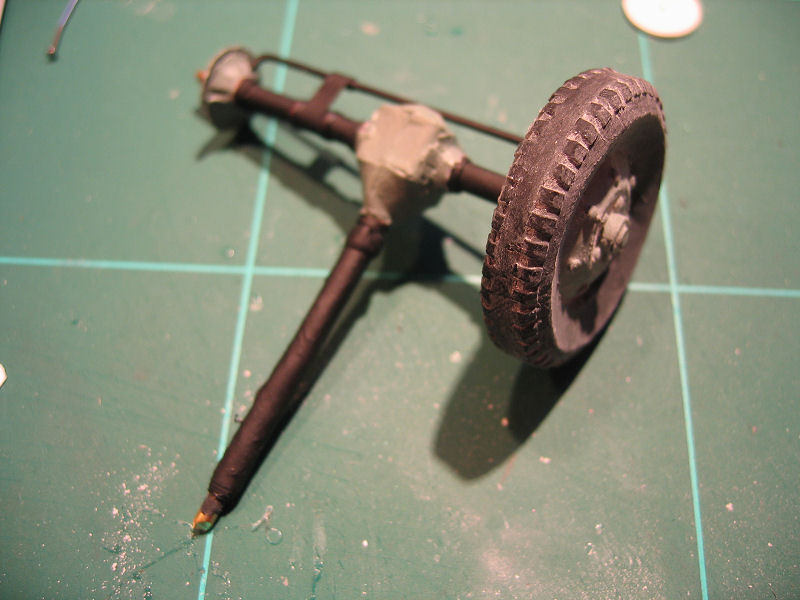
| Wheel put on axel. |
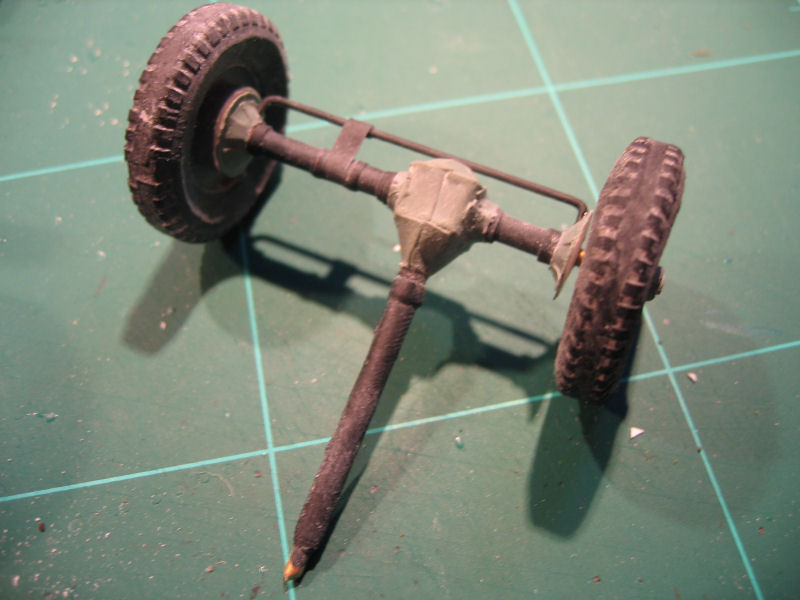
Both wheels in place. |
Front |
Side view. |
| Overview. |
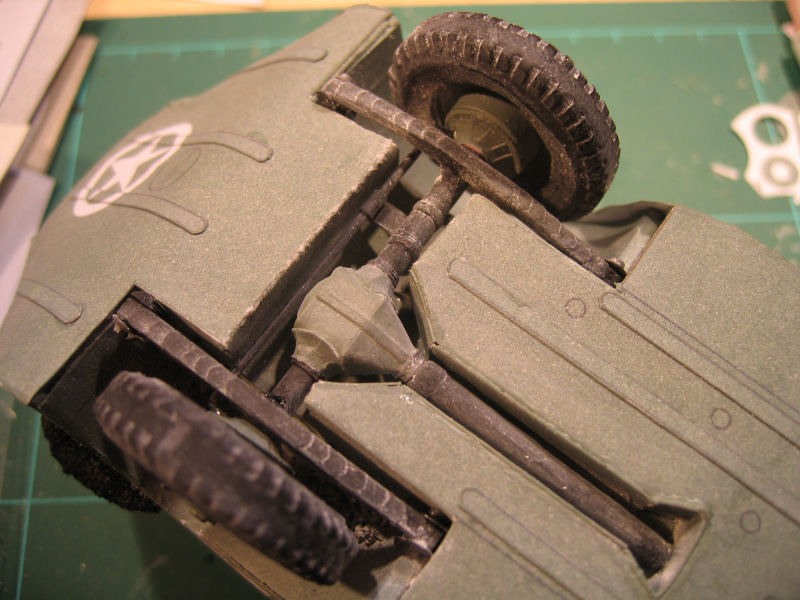
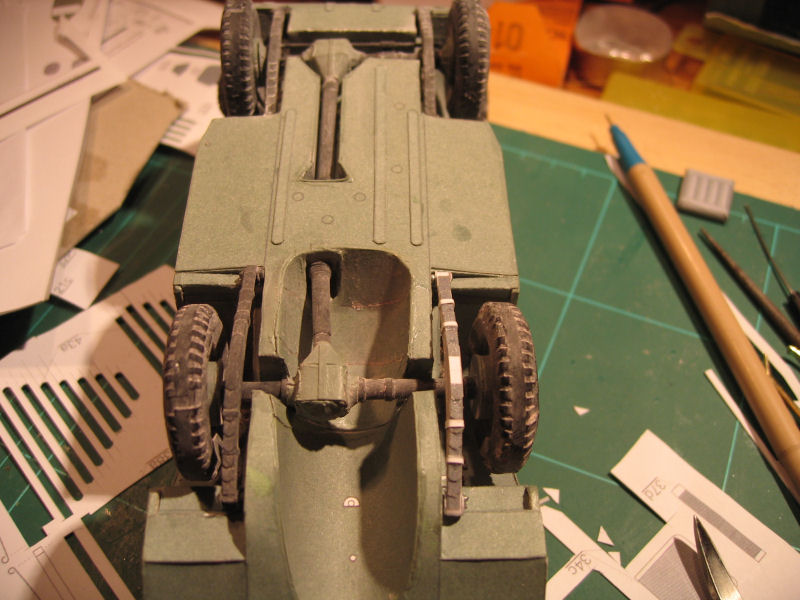
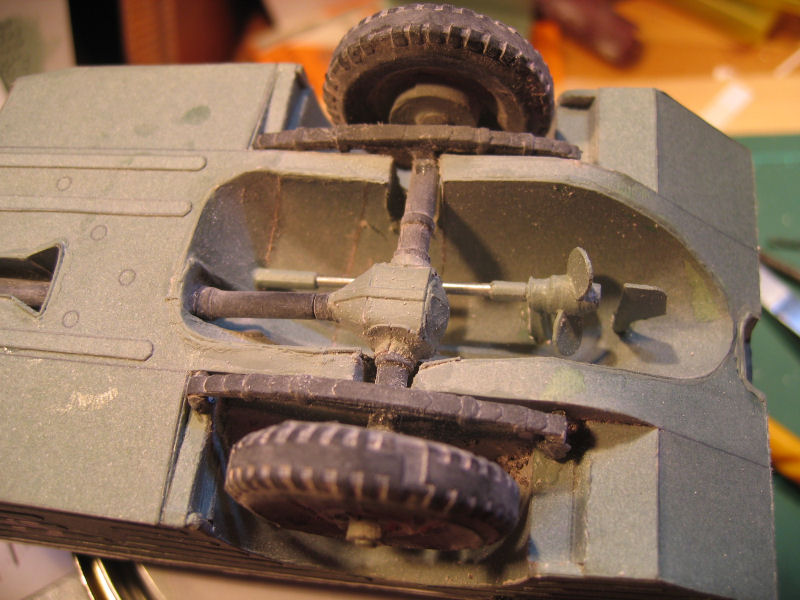
Springs ready to go in. |
Front axel and springs done |
Side view. |
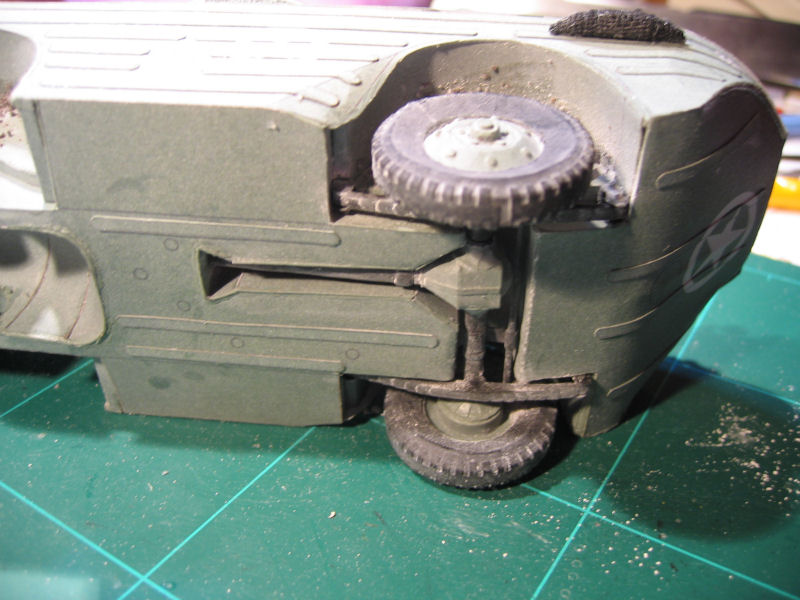
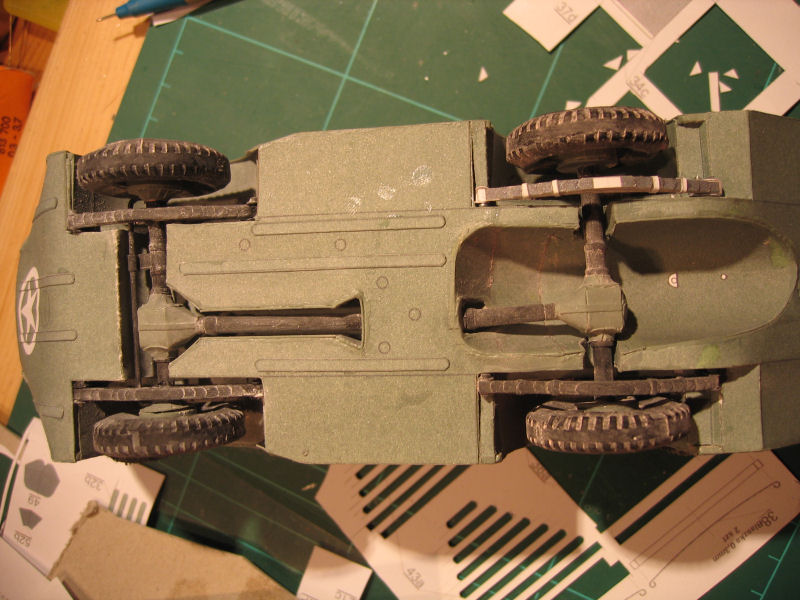
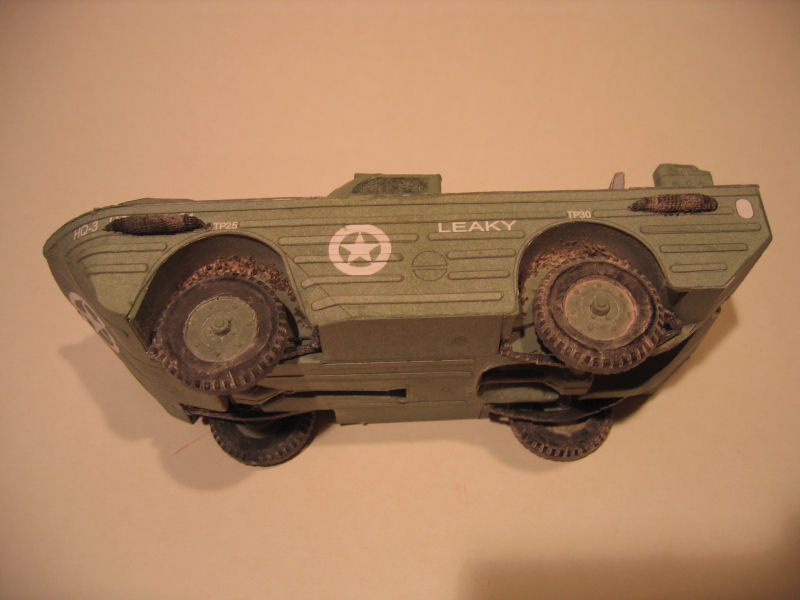
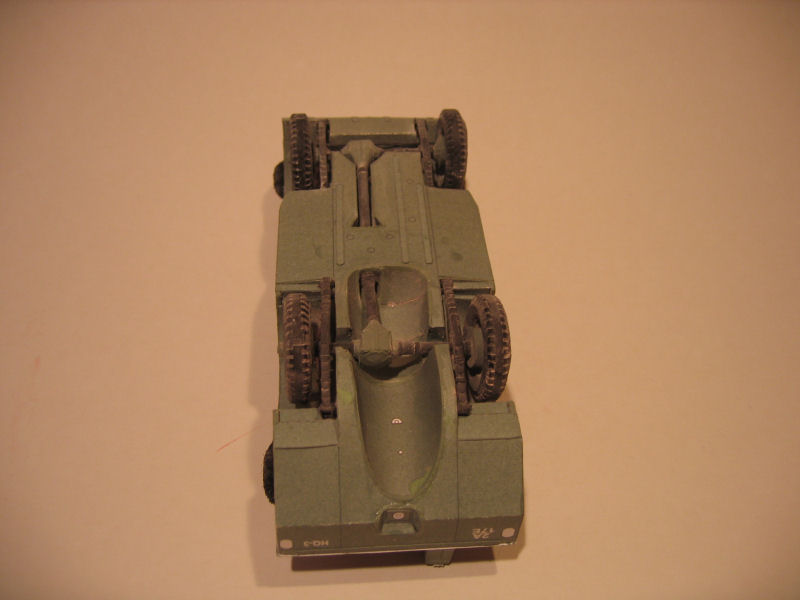
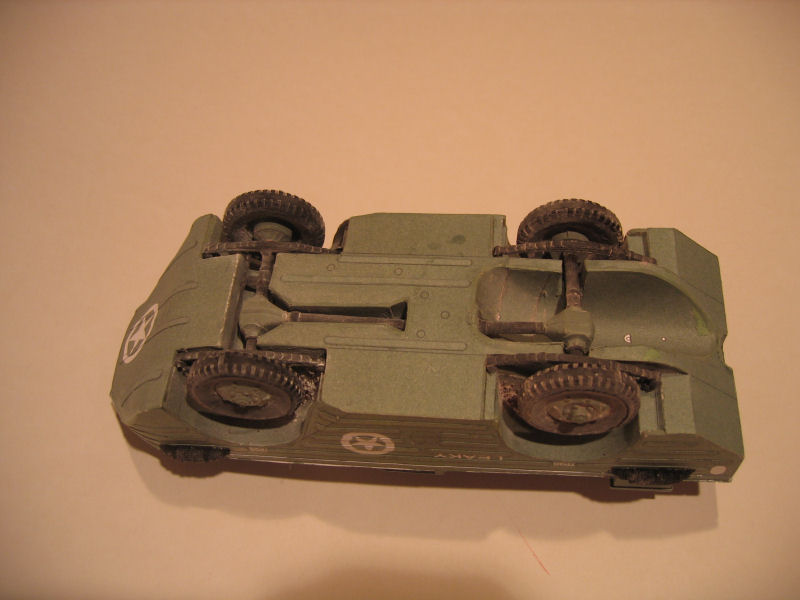
| Seen from under. |
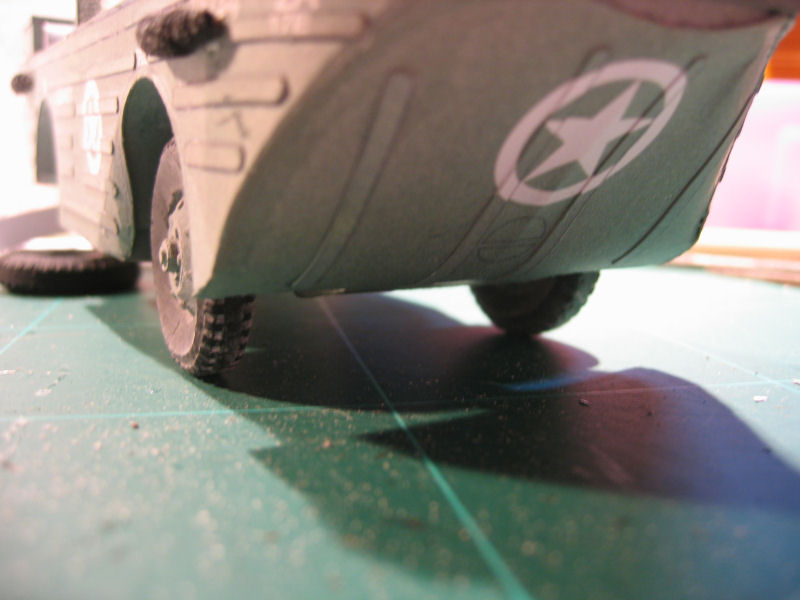
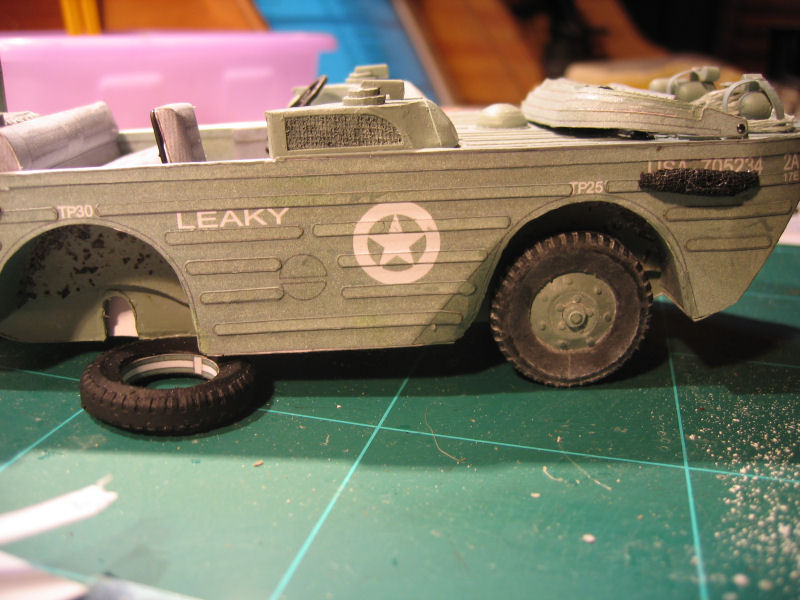
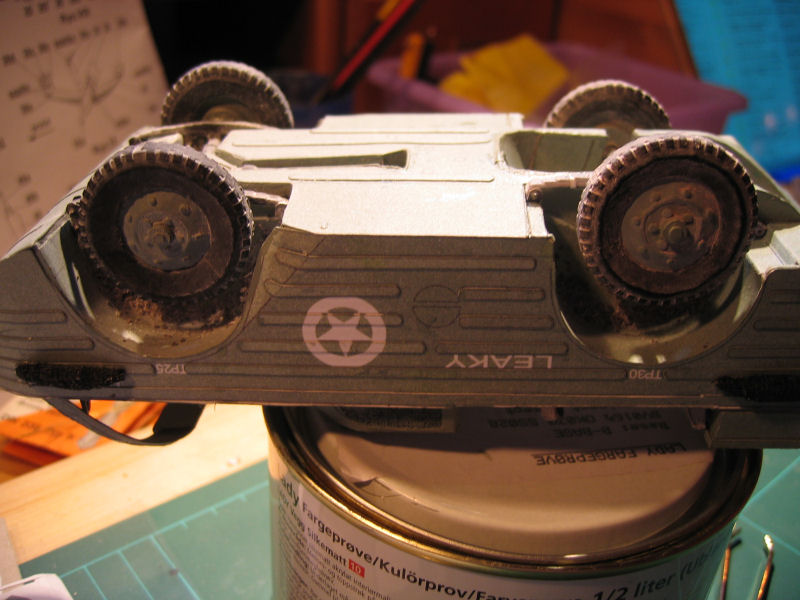
All wheels in place. |
Overview |
Overview. |
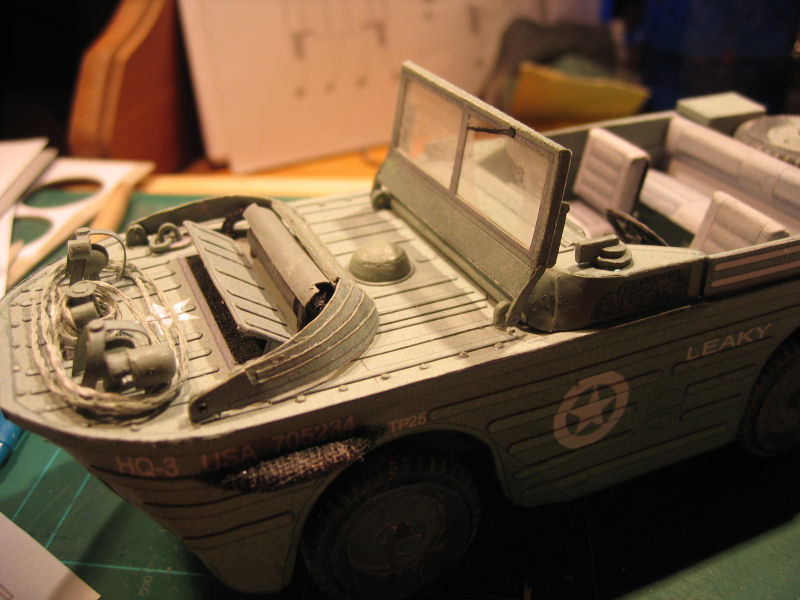
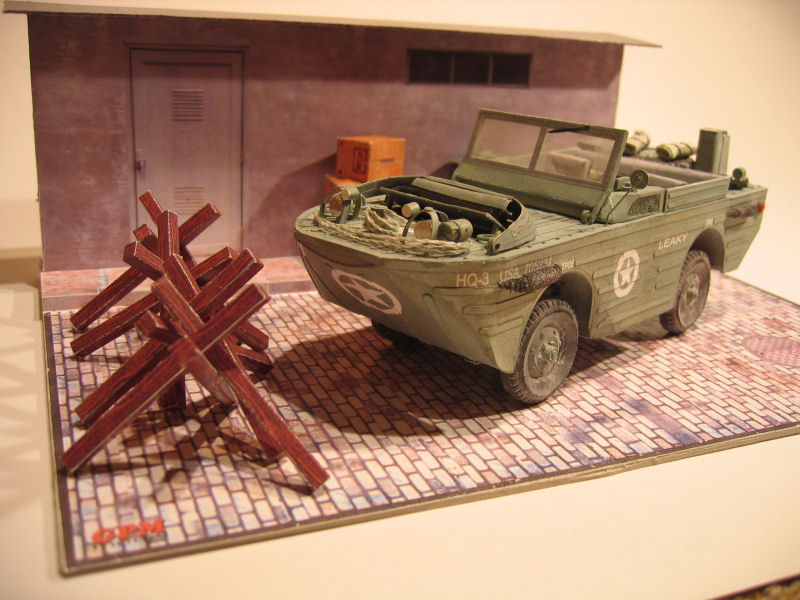
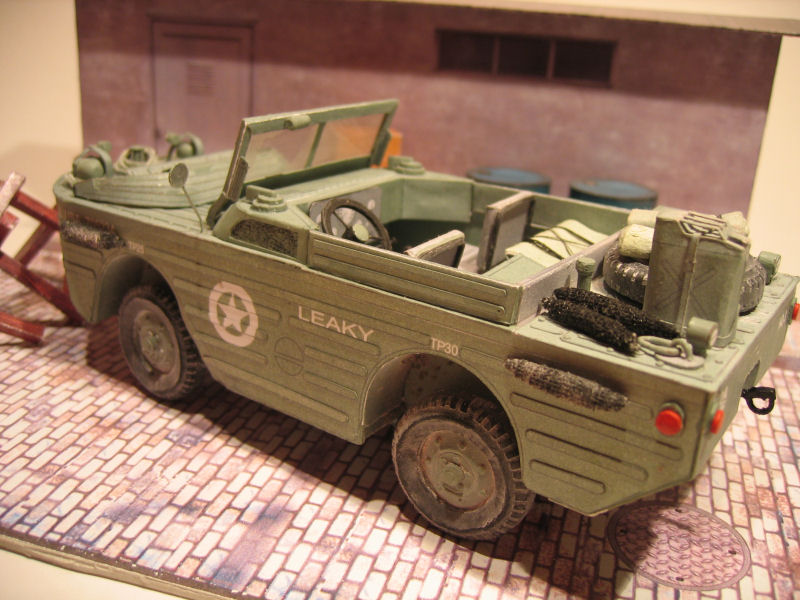
| A series of the present stage of the car. |
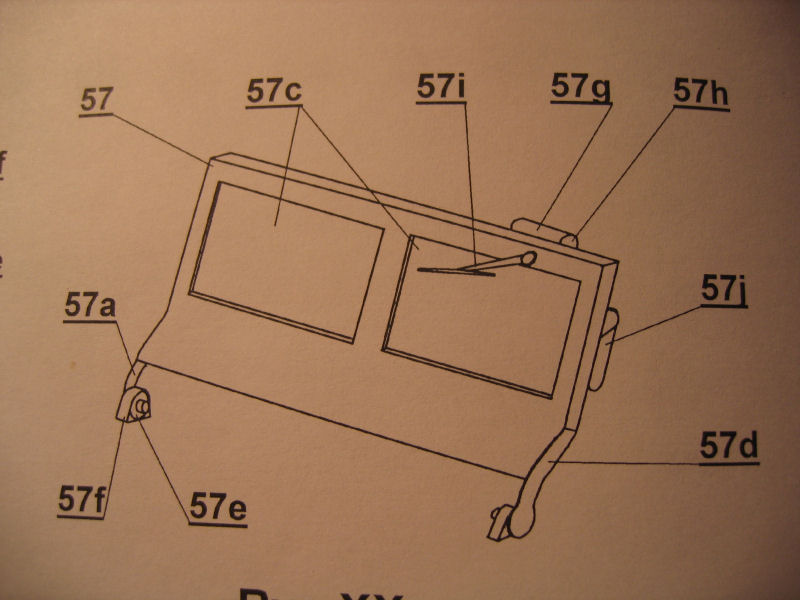
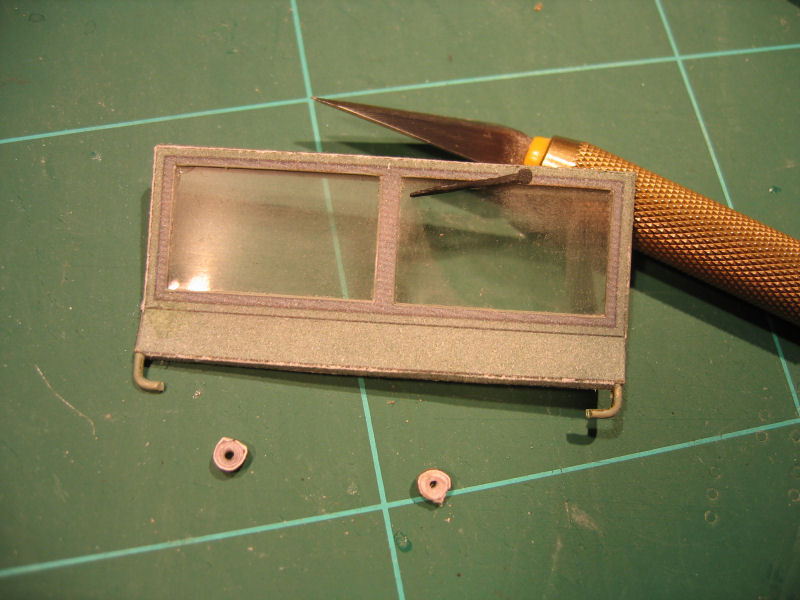
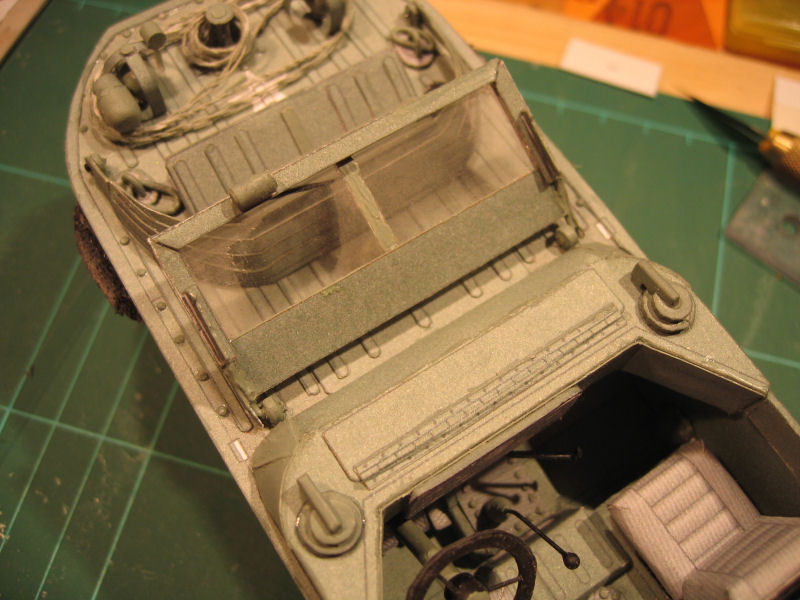
Windshield
| Drawing. |
The windshiels is put together. |
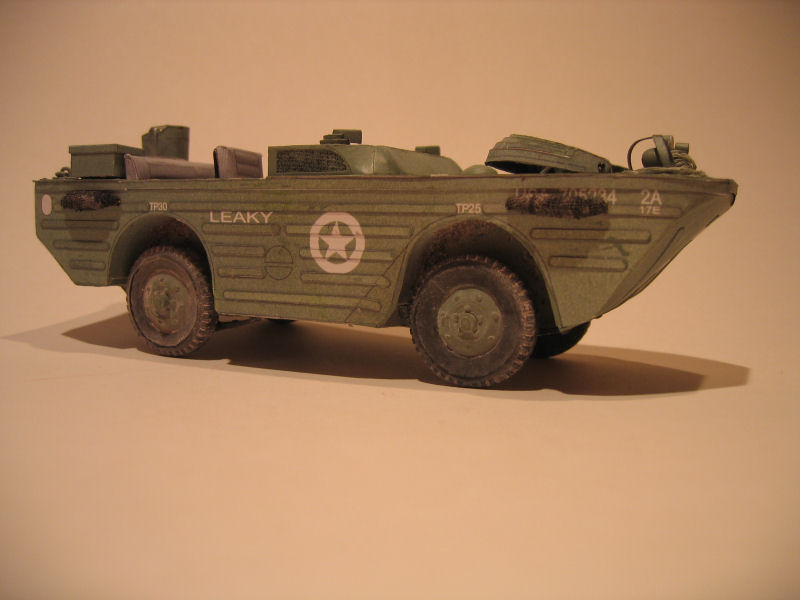
Overview |
Overview. |
| Front view. |
Side view. |
Working hinges |
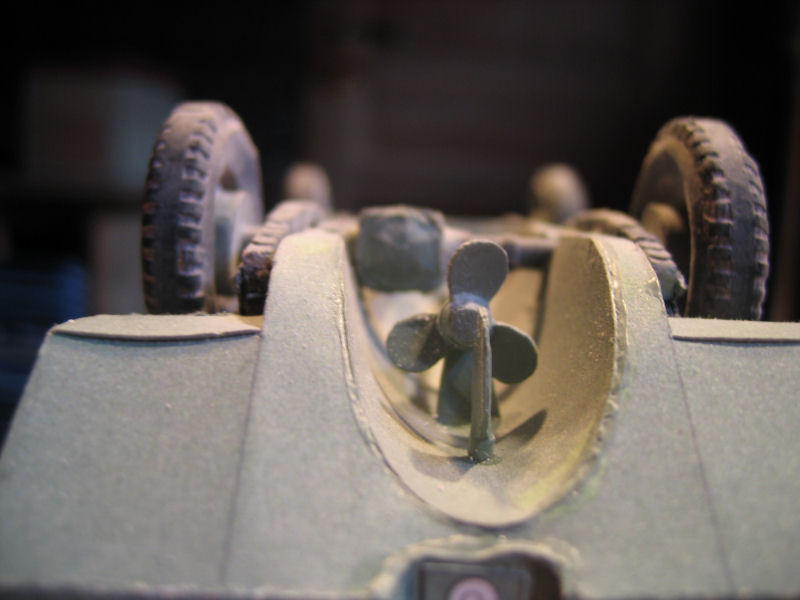
Propeller and rudder
| Propeller. |
Rear view. |
Finished. |
Finished. |
This model can be bought from MODELIK
Last Modified 09/21/2007 06:29:48
©Johnny Svensson 2007