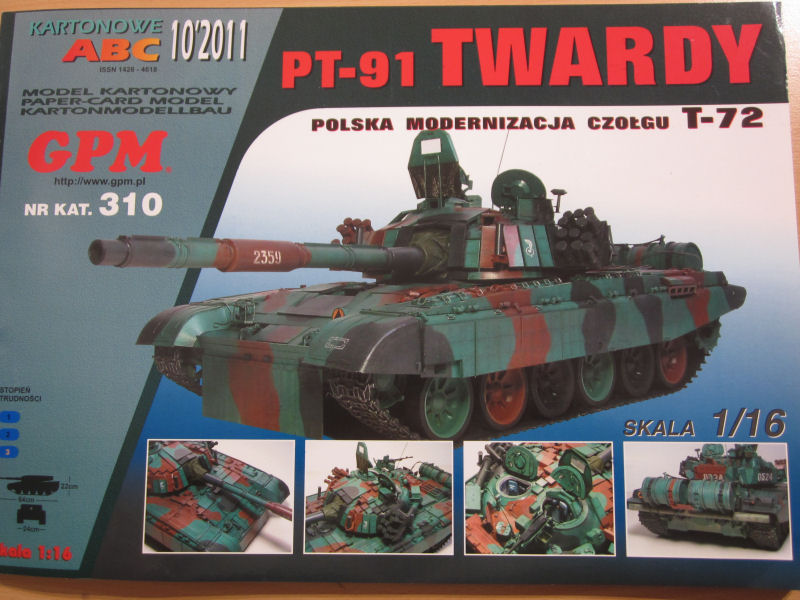
P91 Twardy 1:16 GPM
Construction report
Hello my friends
Im starting a new build....and its a huge one...its the Pt-91 Twardy, modified from the T72.
Its my most massive build so far, and it will be long lasting
So wish me luck...im going to need it .
So the build have started....
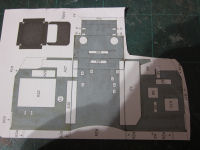
With buildgroup1 the hull. I did of course get the laserparts for this model and it seems like the partsfit is very good here.
Havent been able to find english instructions for this model...so I make it in a slow pace with a lot of research....
but there seems to be very few builds out there of this model.
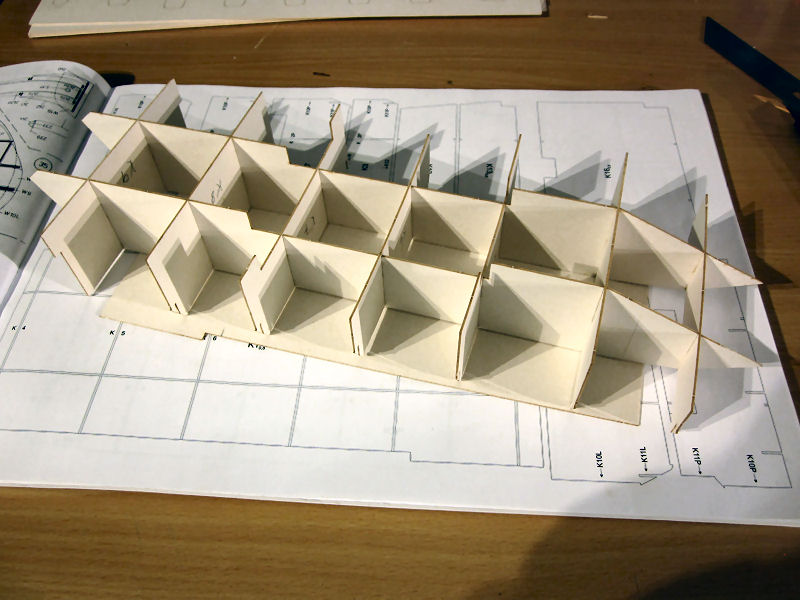
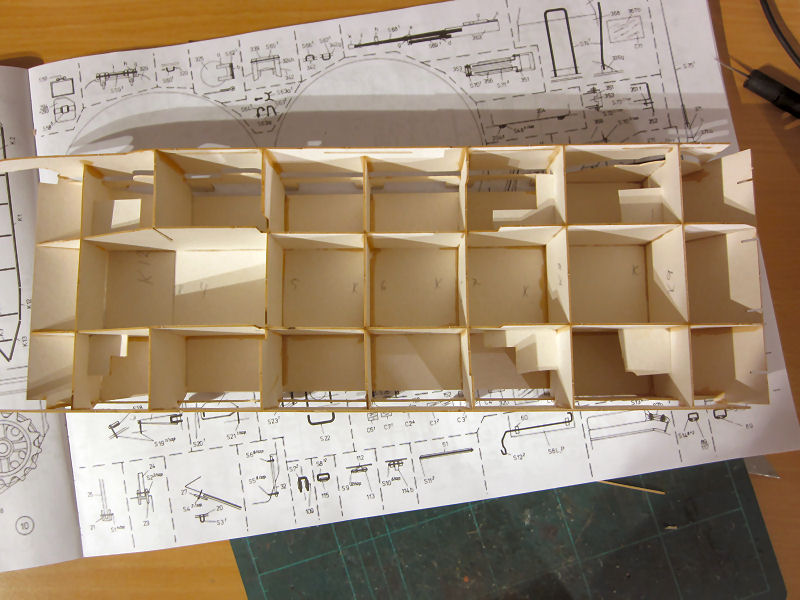
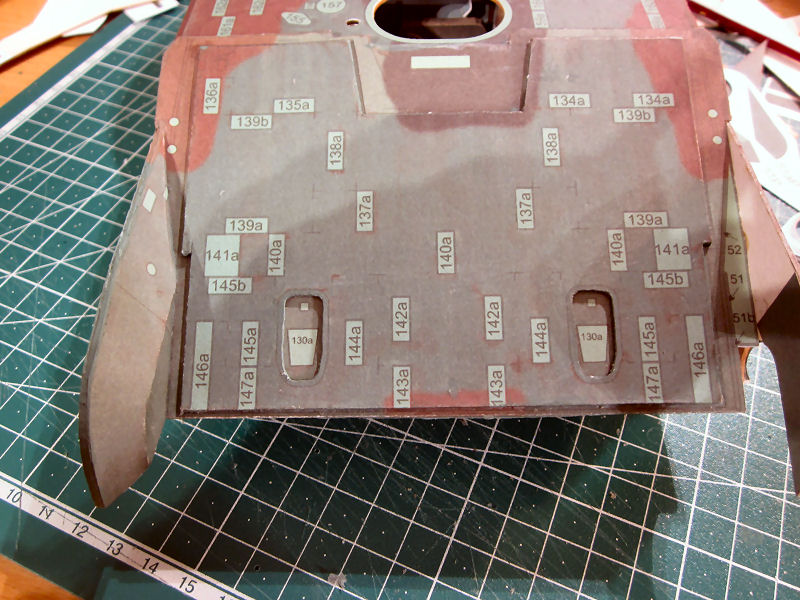
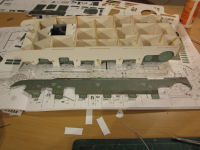
Ok..enough said, on to the build. A lot of frames here, and I did some custom stiffeners to assure a 90degree angle between the formers.
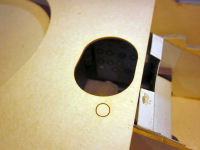
| The kit...its huge. |
starting with the frames. |
made some 90deg stiffeners to keep it straight |
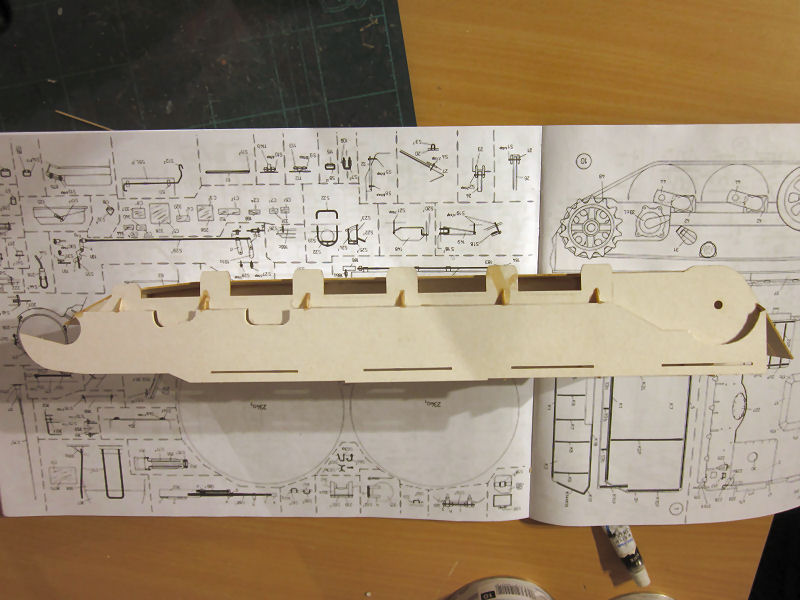
Bottom. |
 |
| Side view. |
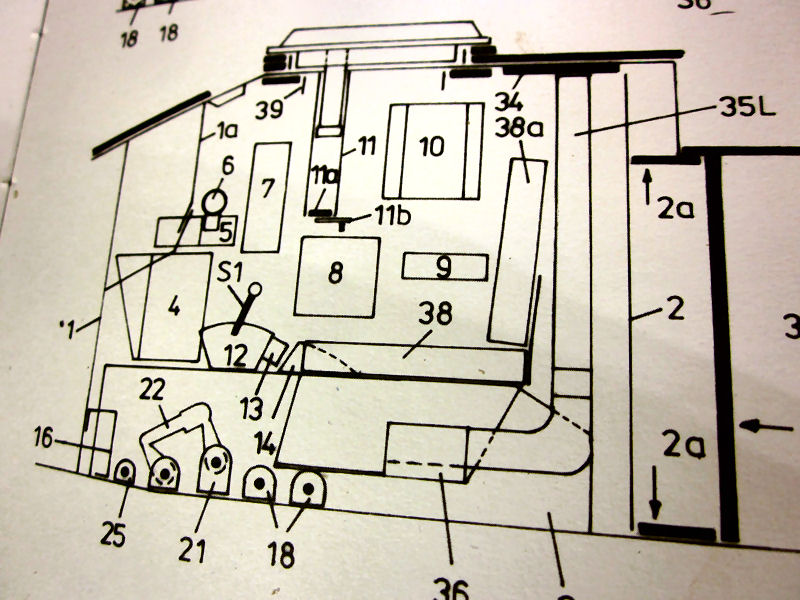
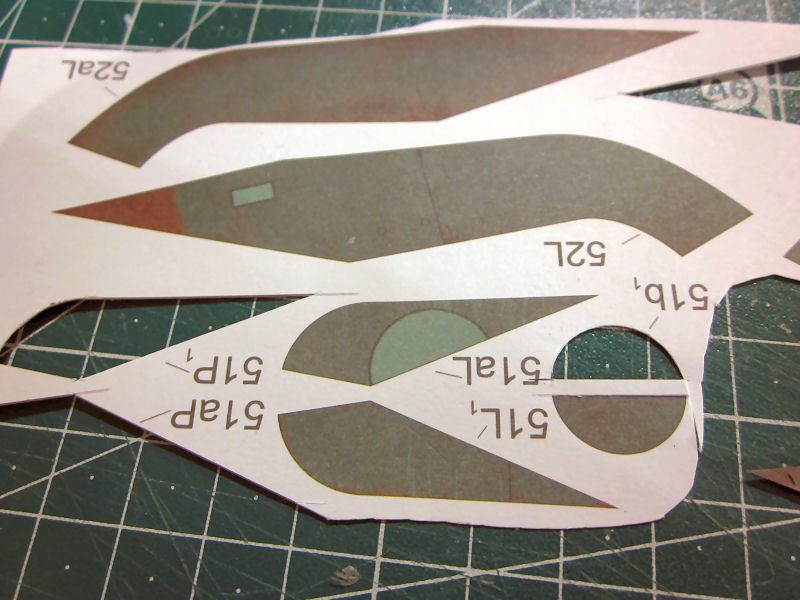
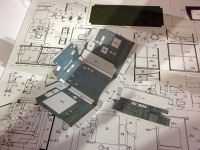
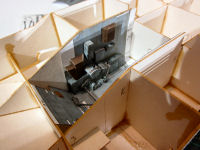
The cockpit.
 |
 |
 |
 |
| parts for the right handside is ready.. |
cockpit ready for cutting |
Cutted, scored and folded. |
Side view. |
|
 |
 |
 |
| parts for the right handside is ready. |
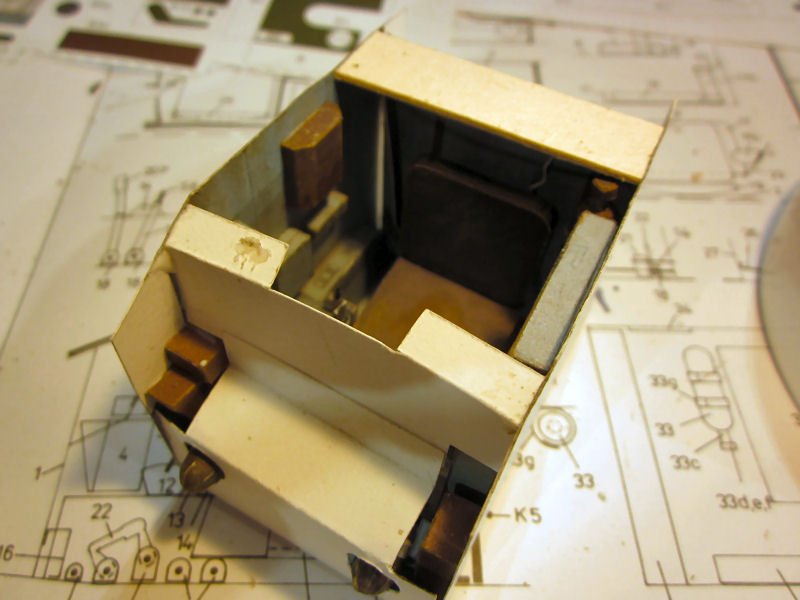
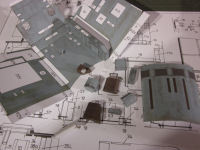
Started mounting the different parts on the right side in the cabin. |
started making the pedal arrangement on the floor. |
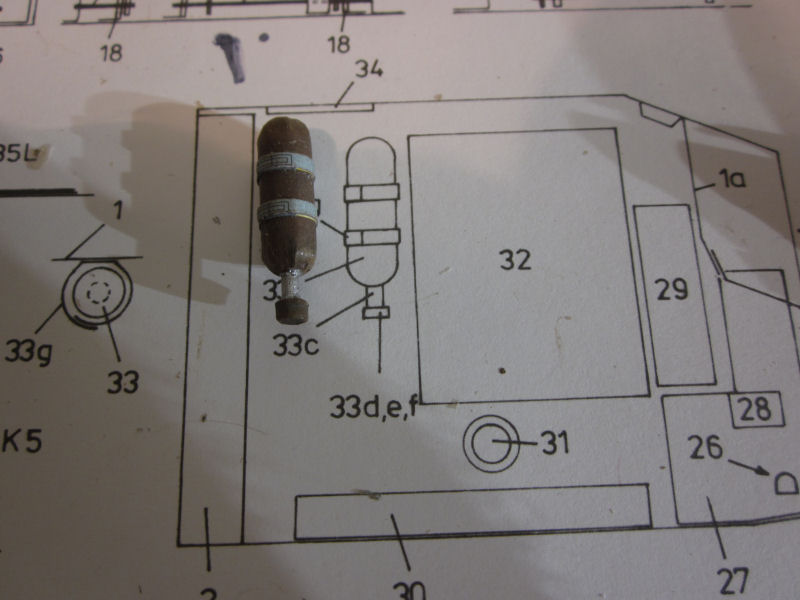
And the fire extinguisher. |
 |
 |
 |
 |
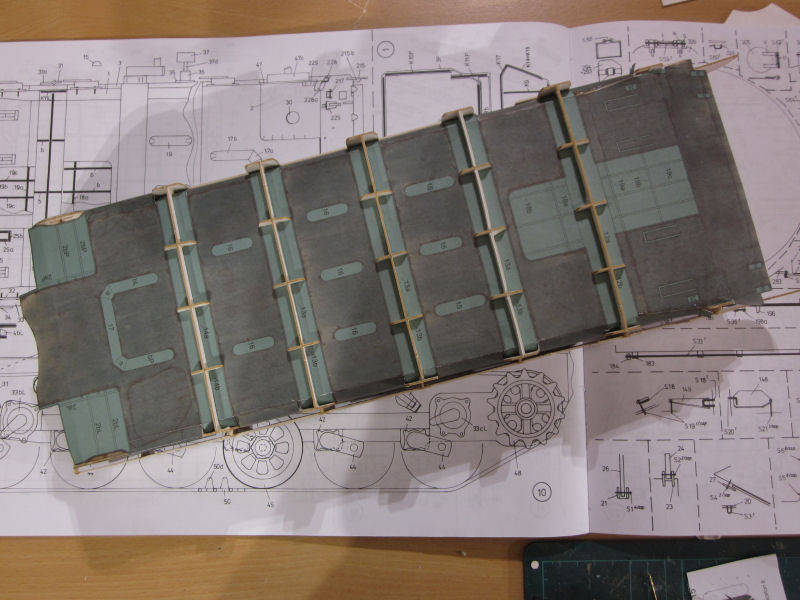
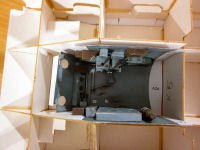
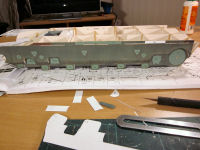
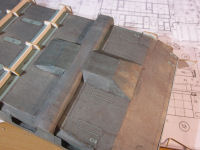
| Started skinning the hull. Biggest skin I ever did
|
Also placed formers for the shaft |
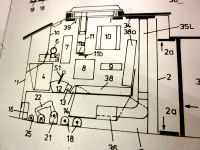
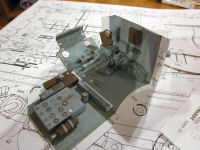
progress with the drivers cab. |
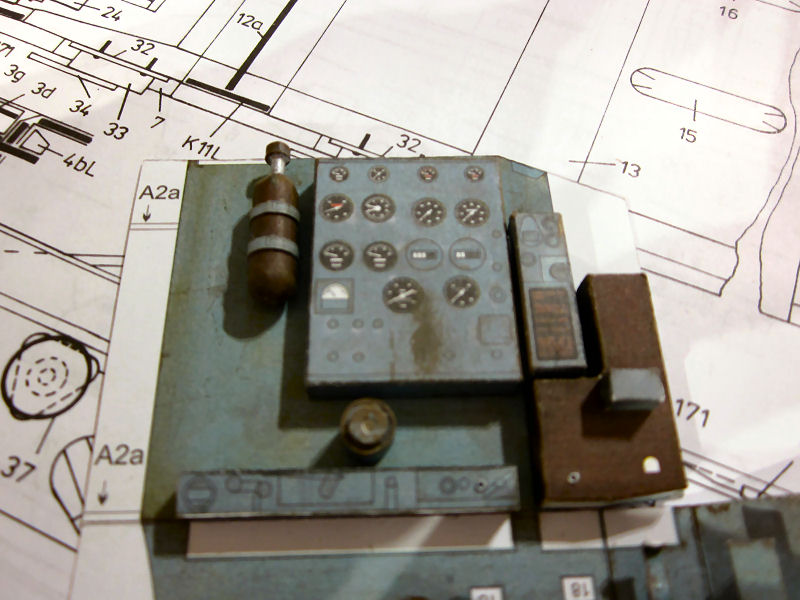
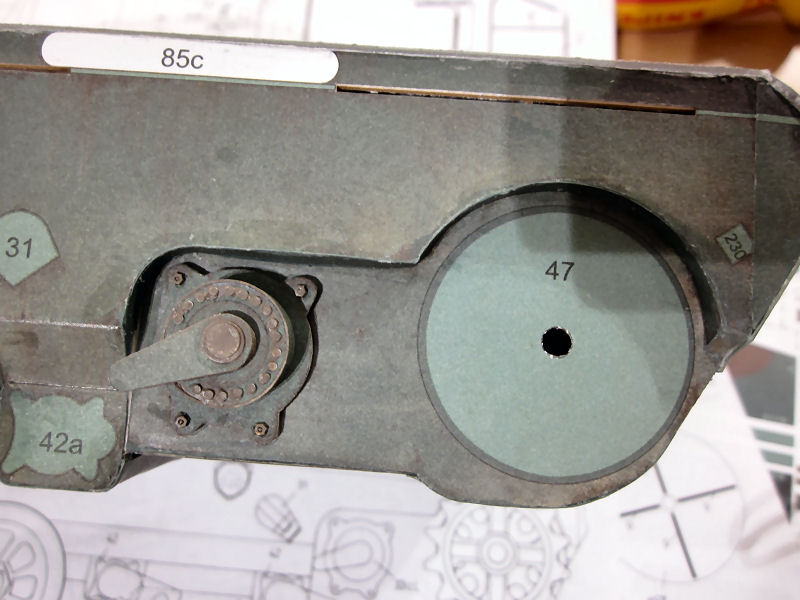
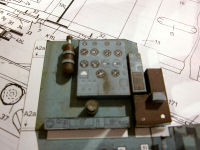
Instrument panel. |
 |
 |
 |
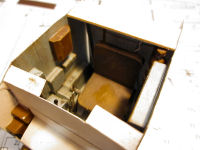 |
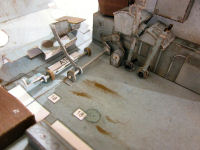
| Closeup of the floor. |
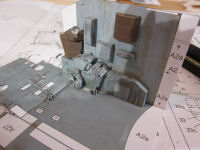
Placed into the hull. |
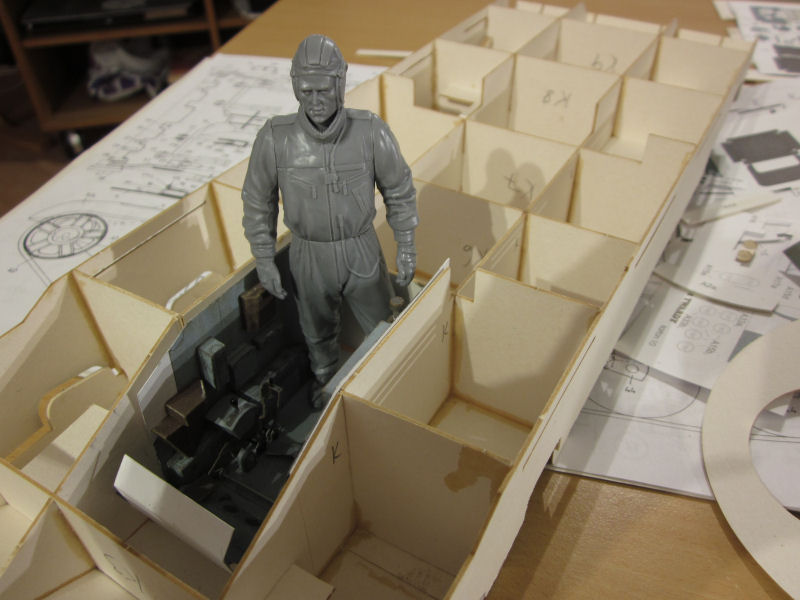
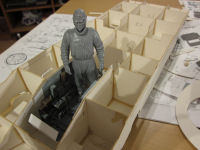
The driver is waiting |
Drivers cabin is done.. |
 |
 |
 |
 |
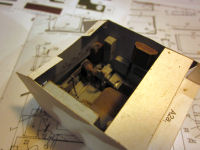
| a lot of work for almost nothing since the inside will nearly be visible through the drivers hatch.. |
Plenty of details inside the cabin. |
The drivers "hole" |
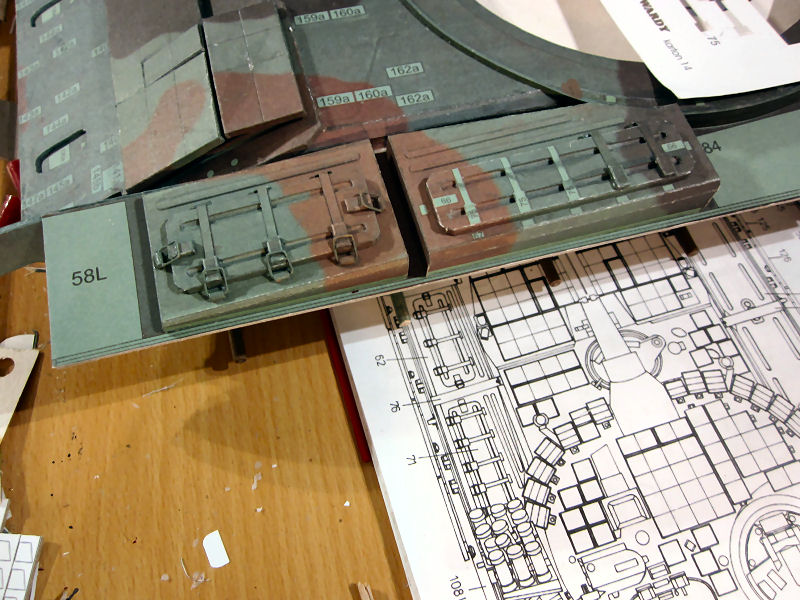
Continued skinning the beast..... |
The hull.
 |
 |
 |
 |
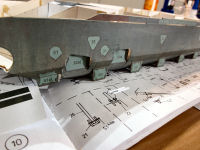
| The fit of the skin is not the best I have seen...but its good enough with some help with trimming and paint.. |
Its so big that everything goes. |
Top layer in place |
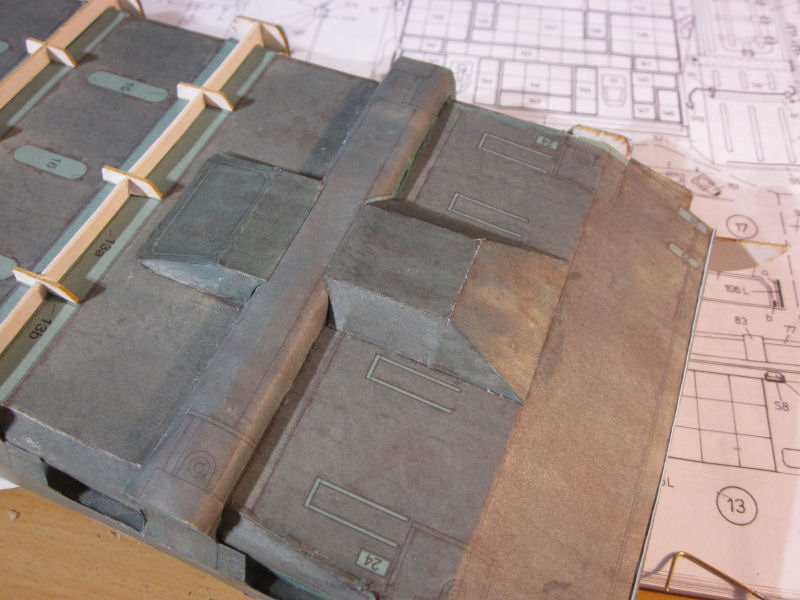
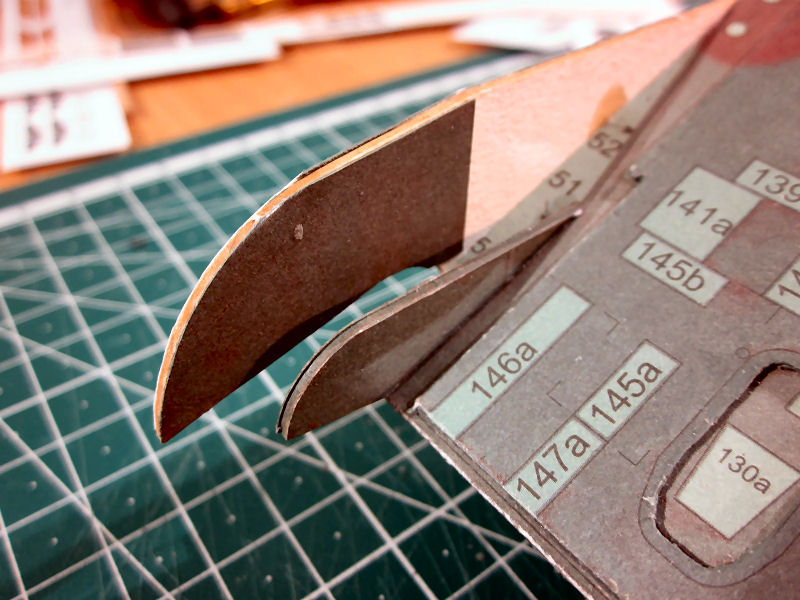
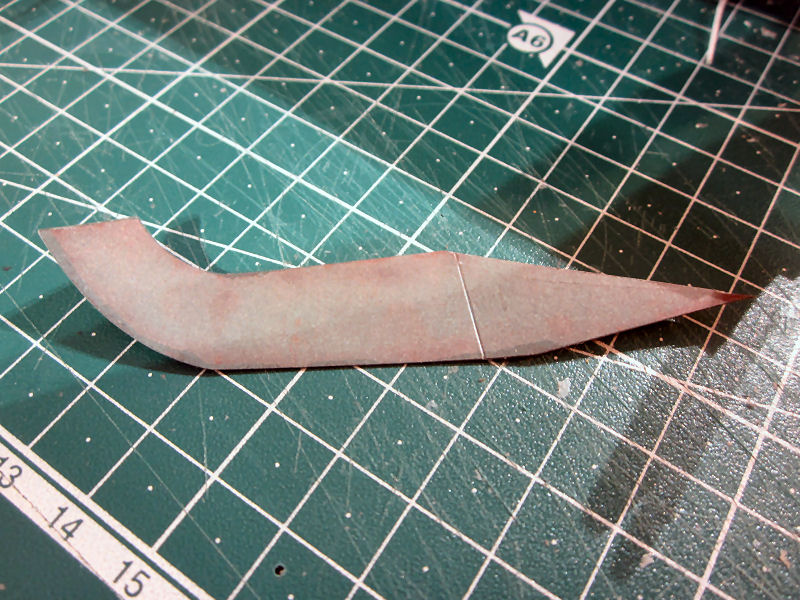
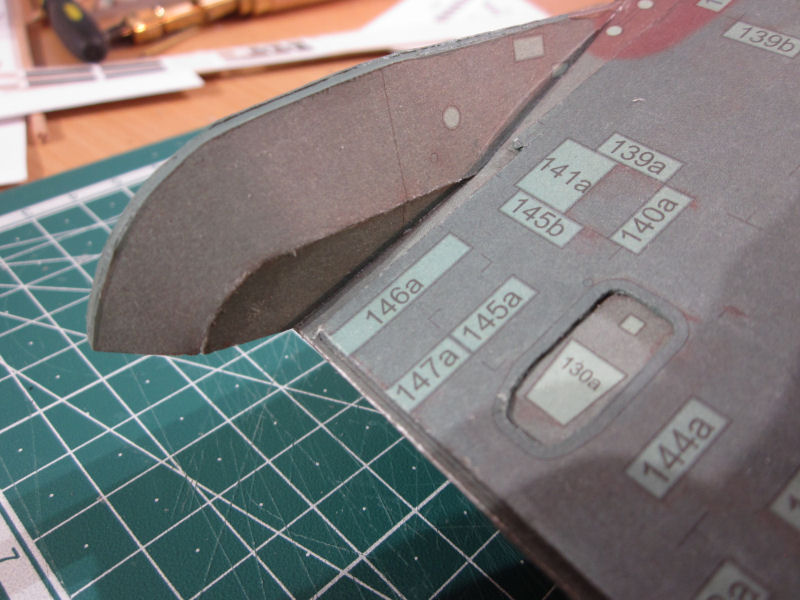
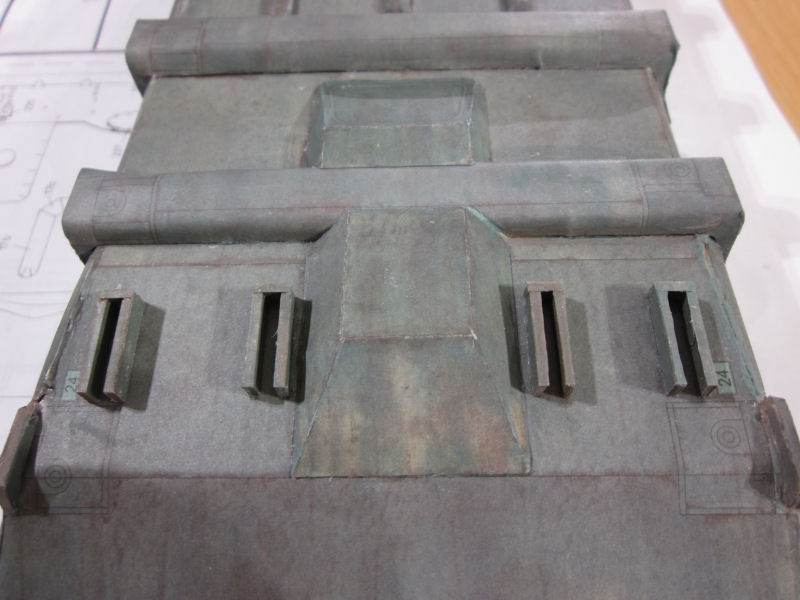
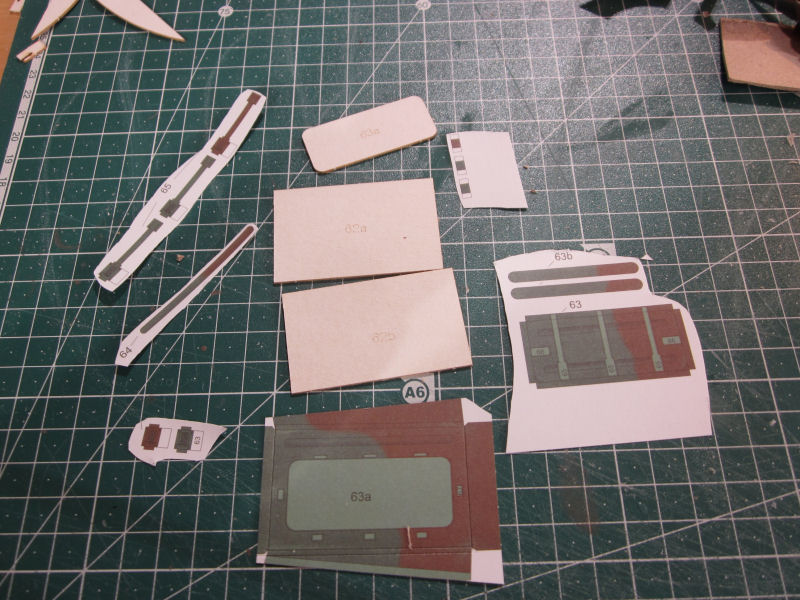
The front part. A lot of parts and details on this side of the tank |
 |
 |
 |
 |
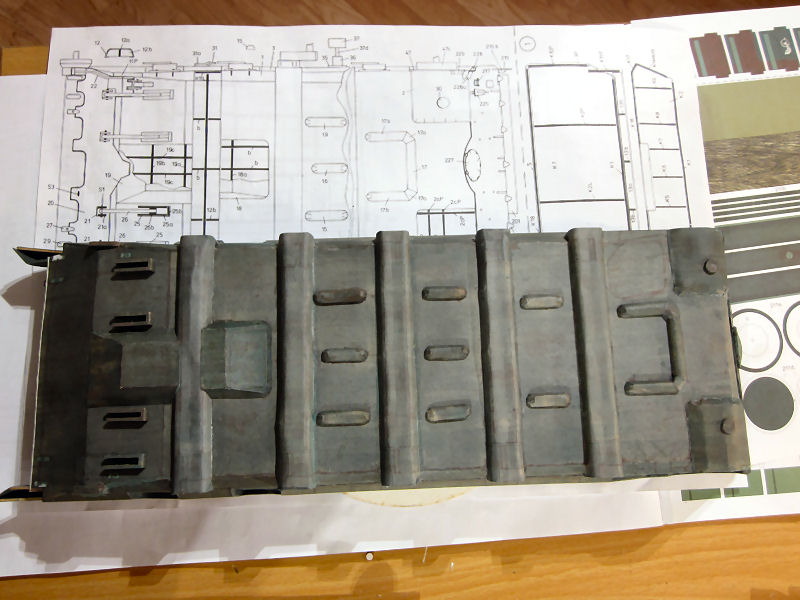
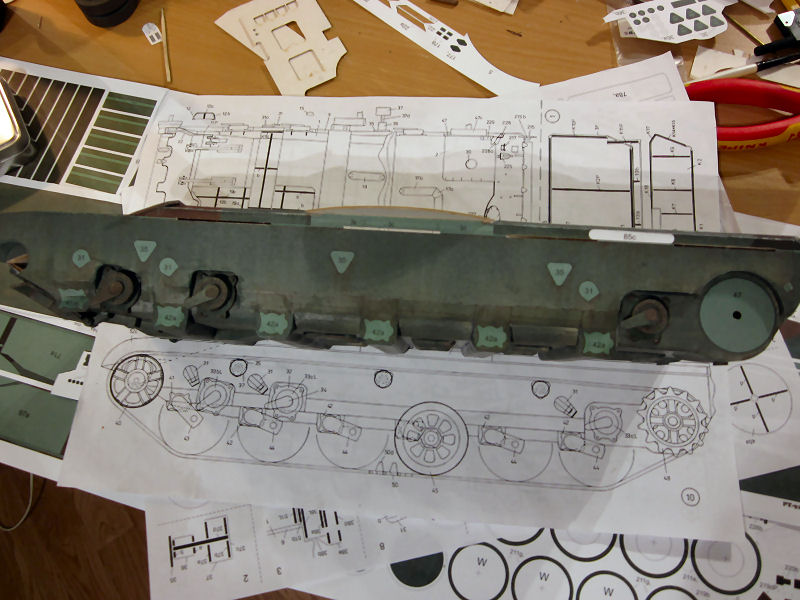
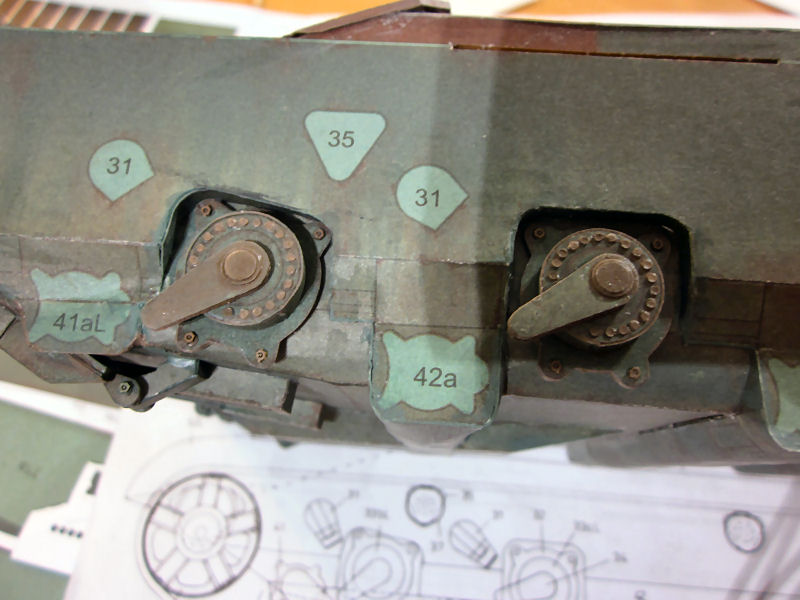
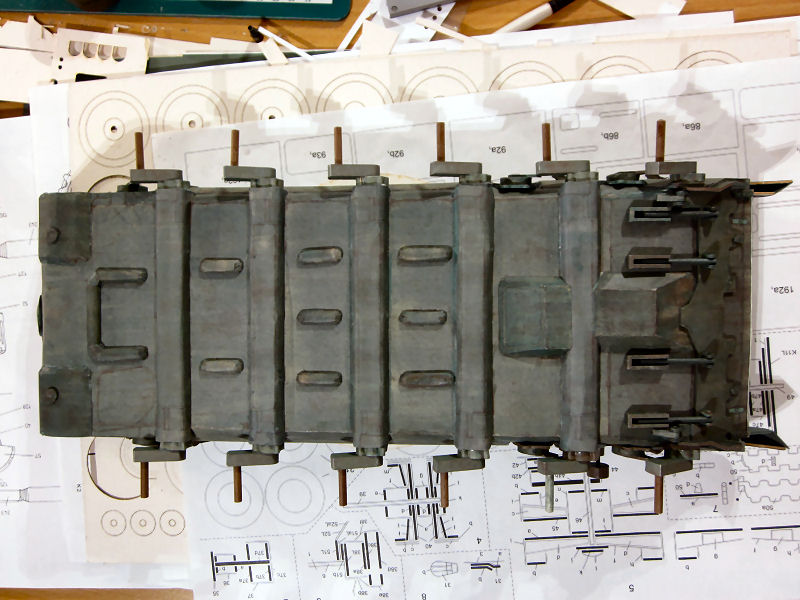
| Also started to build up the underside of the hull. The shafts and other parts. |
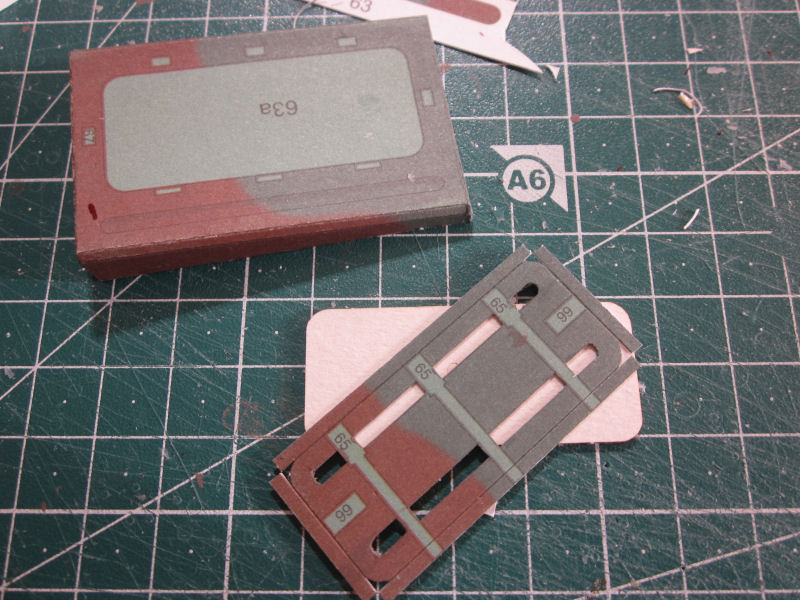
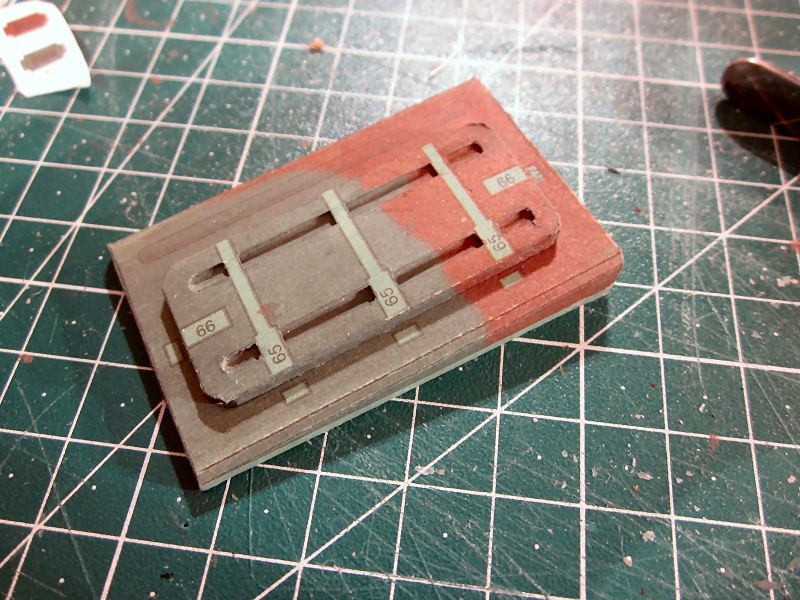
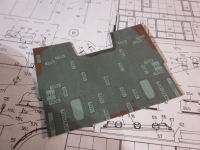
Rear and the front plate that will be stuffed with parts... |
The front plate.. |
and the drawing |
This kit is really a massive one, and will take some time to finish
But as I see it..the pleasure with this hobby is so great that the time does not count.
So lets continue.. ...
 |
 |
 |
 |
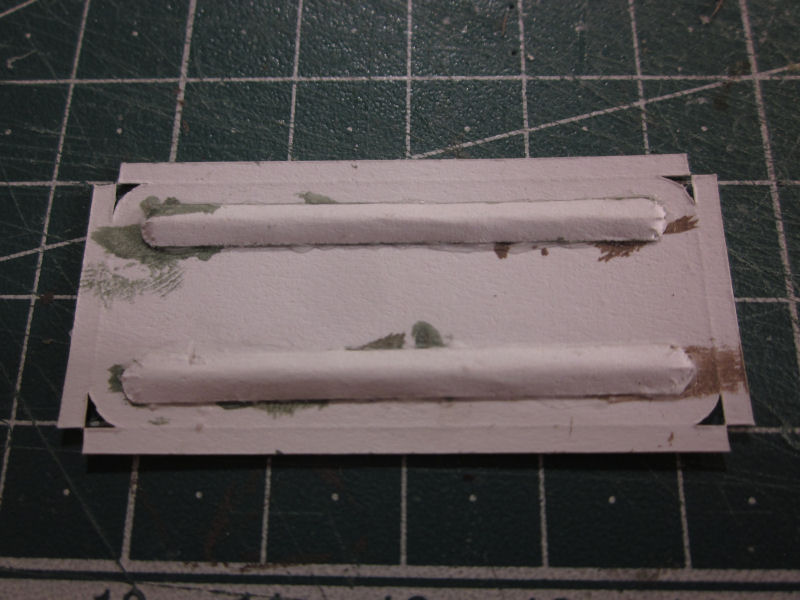
| Front plate mounted.. |
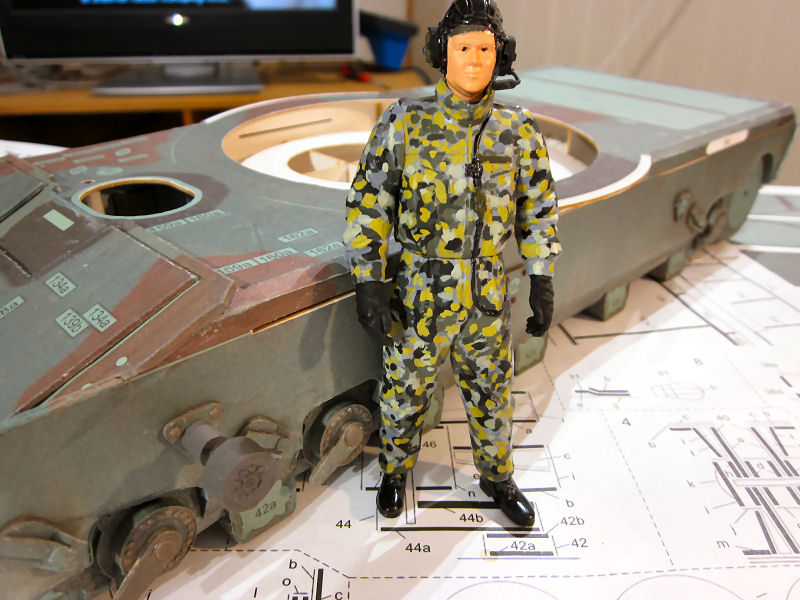
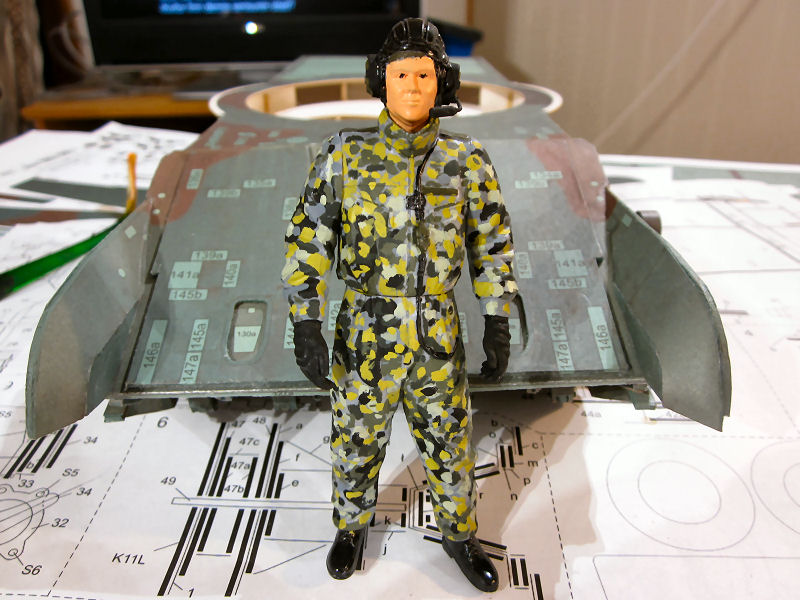
Driver testing the compartment... |
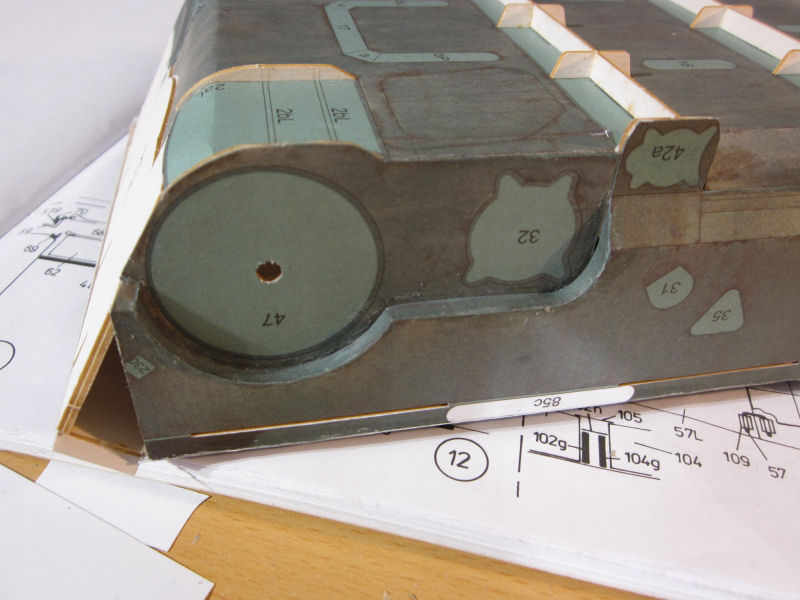
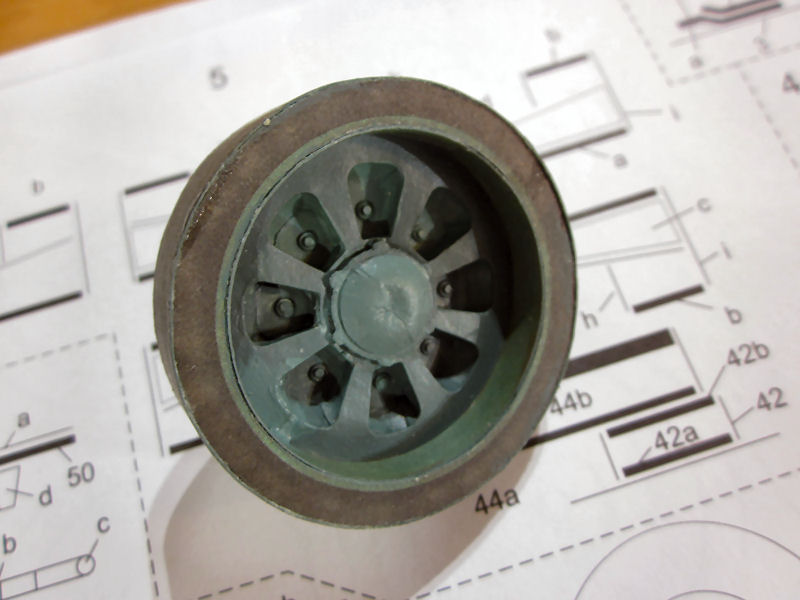
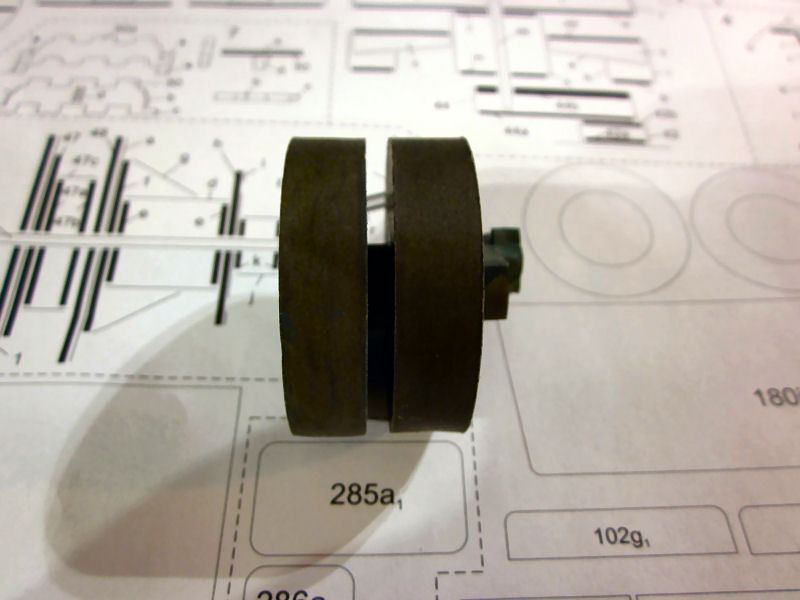
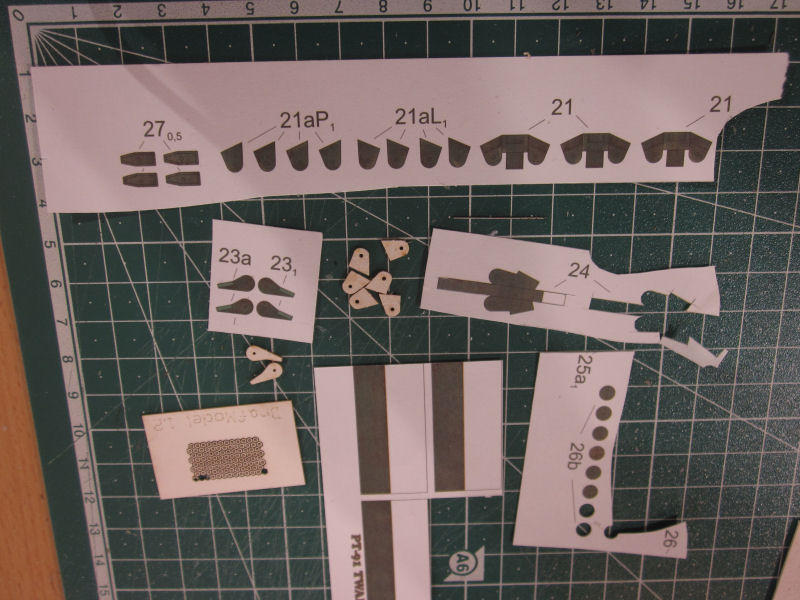
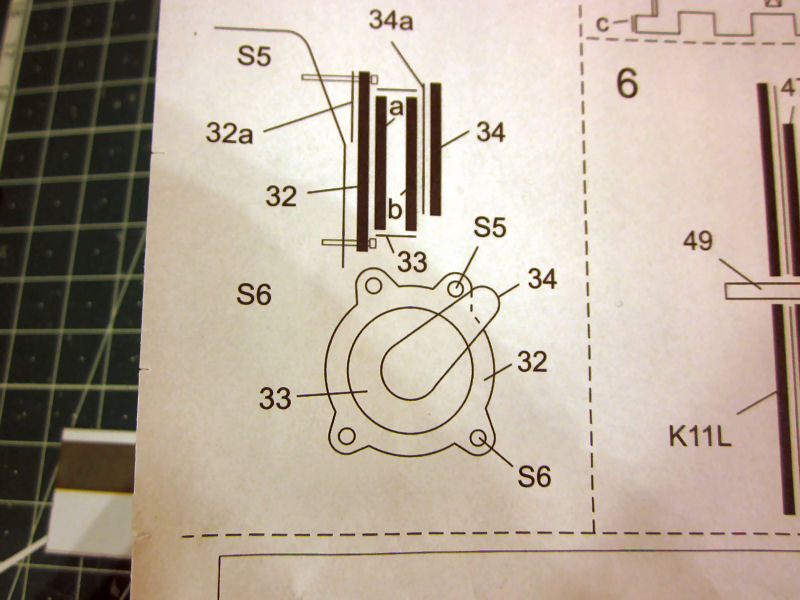
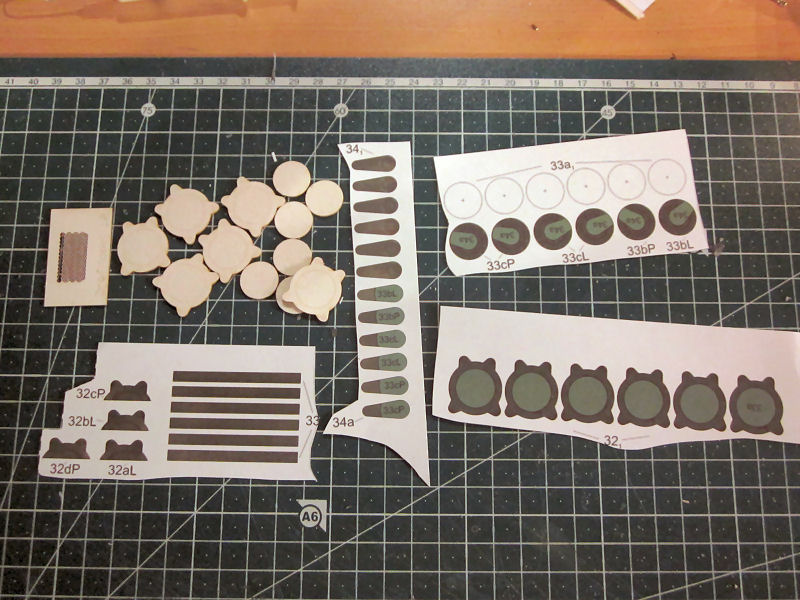
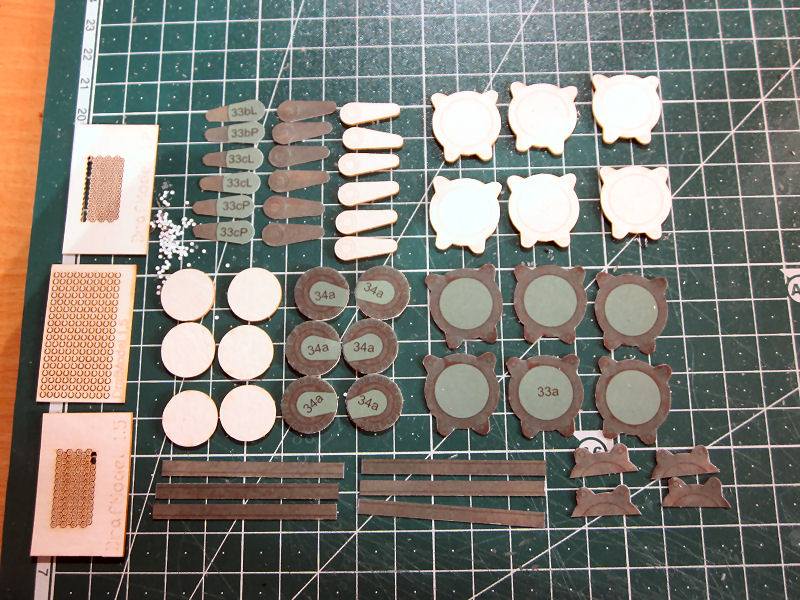
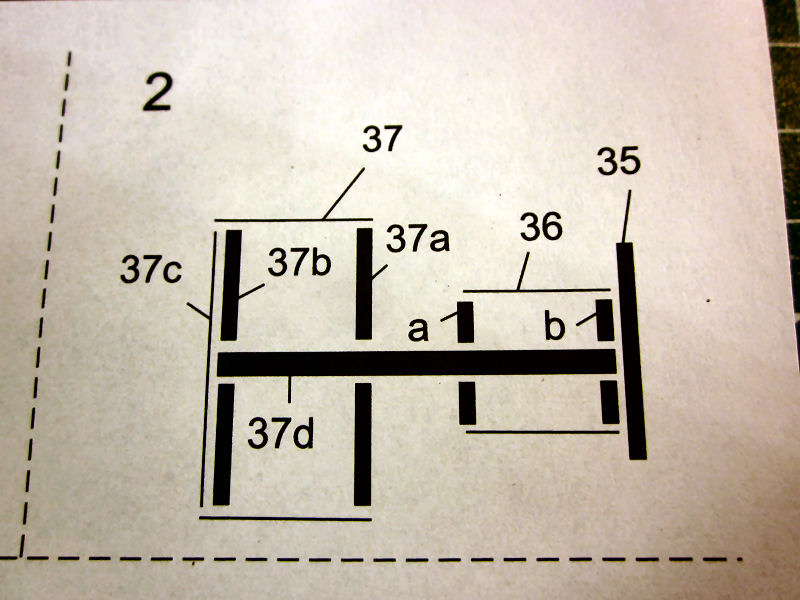
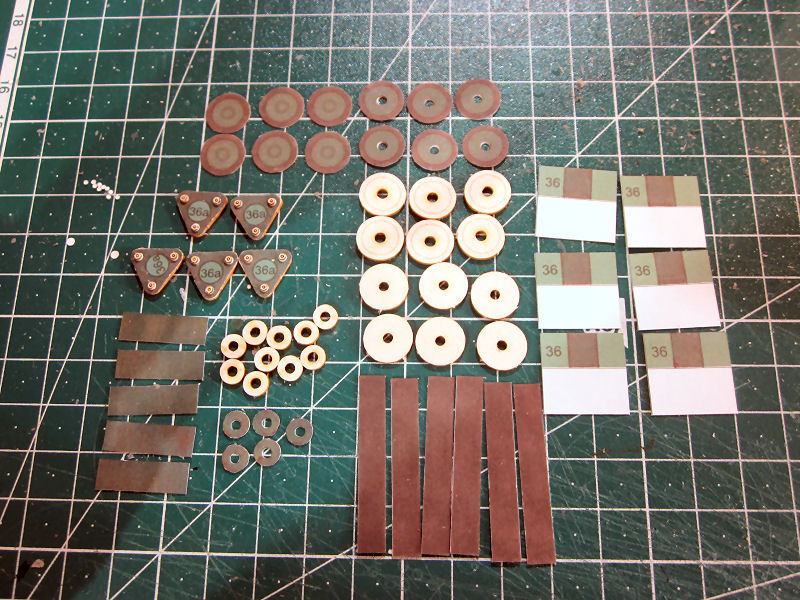
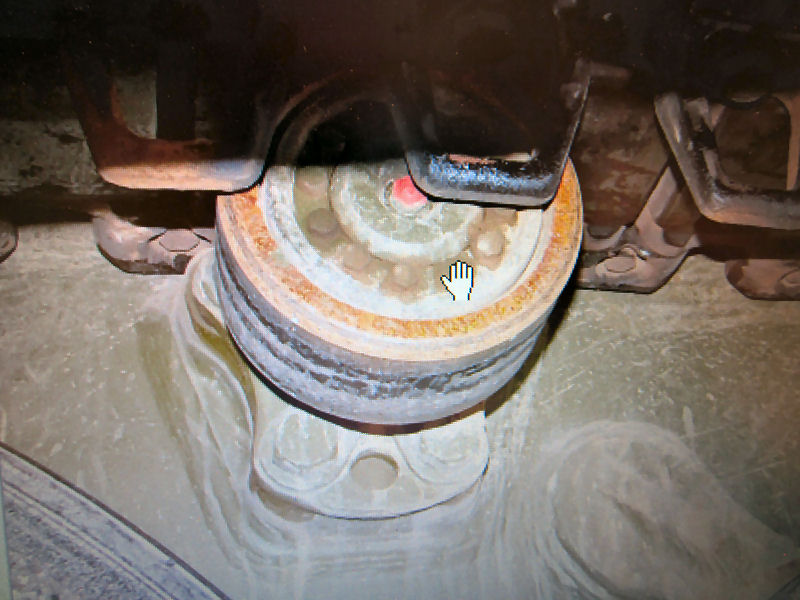
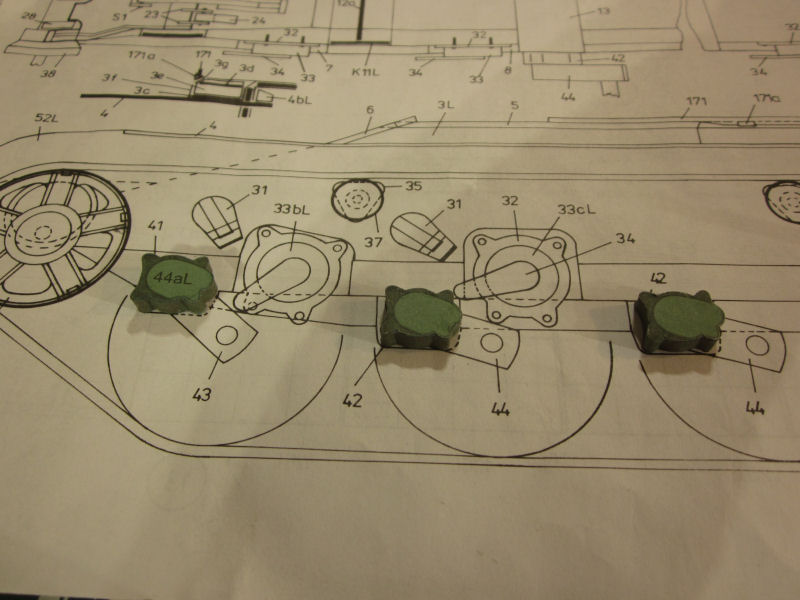
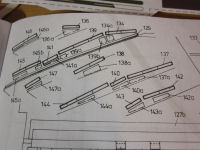
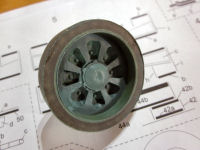
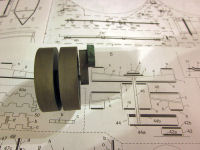
Wheels...
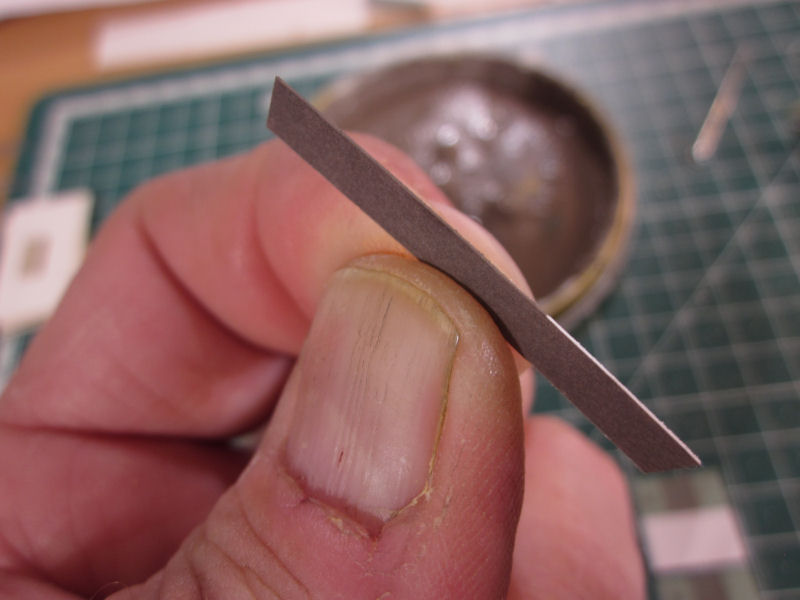
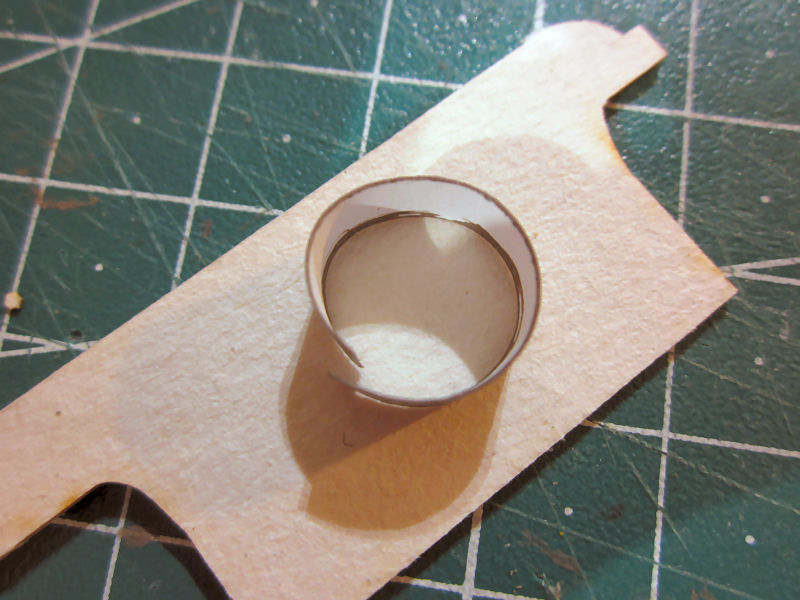
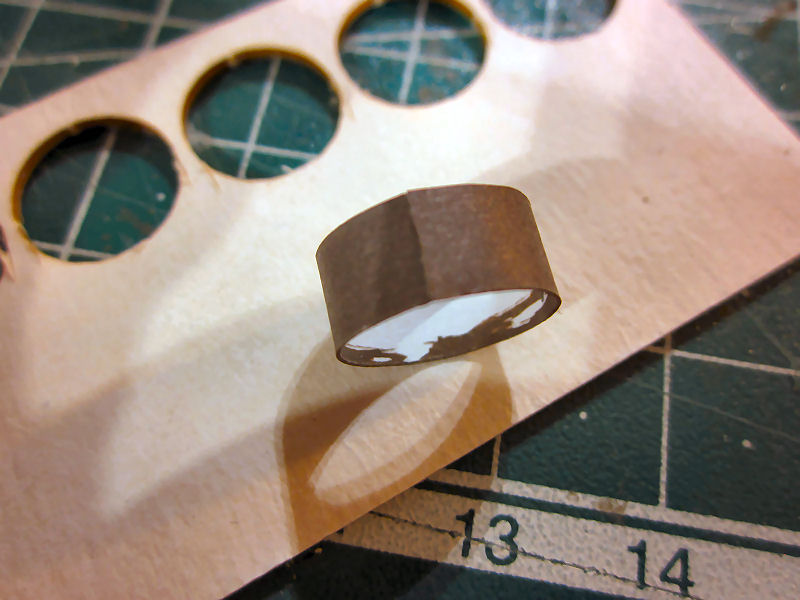
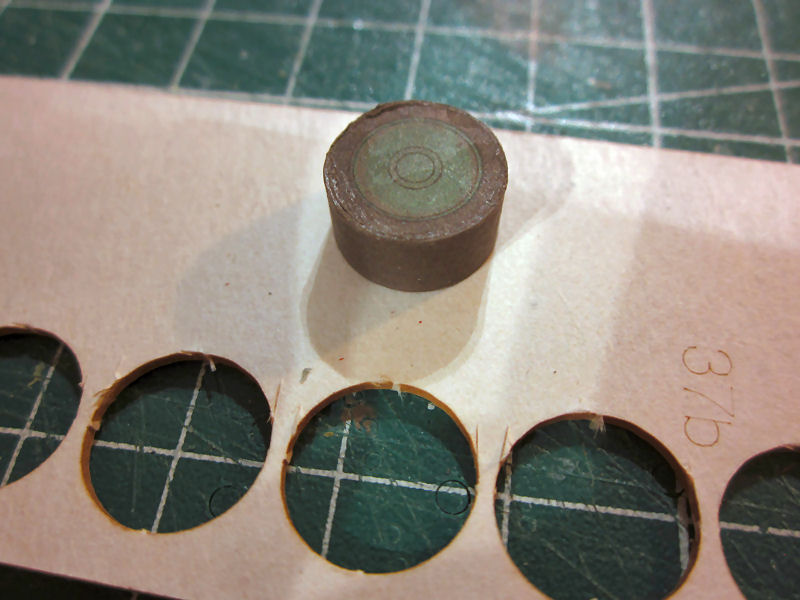
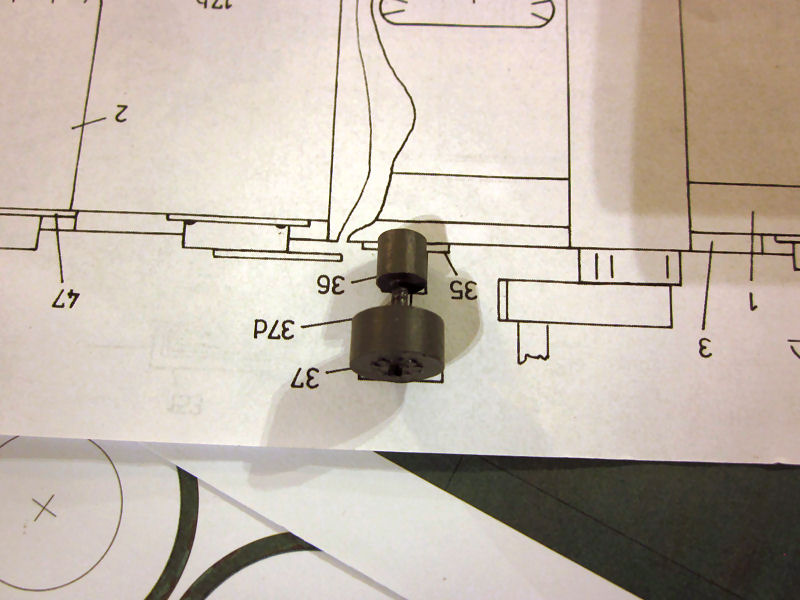
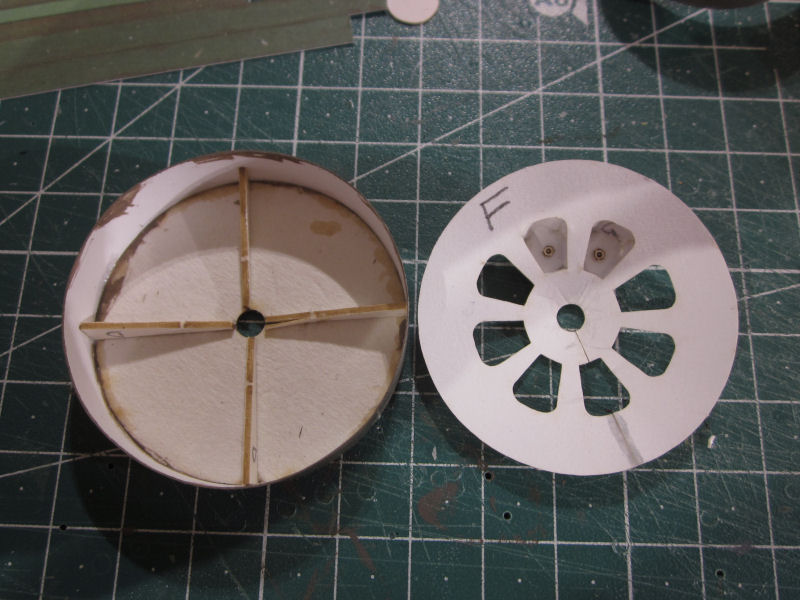
Had to try to make one of the roadwheels. Oh my...what a timeconsuming job it was on this model. Used about 4 hours to make half a wheel
It contains a lot of parts as you can see of the drawing. |
Its a lot of nice details. Also did some weathering...or accident if you like |
 |
 |
 |
 |
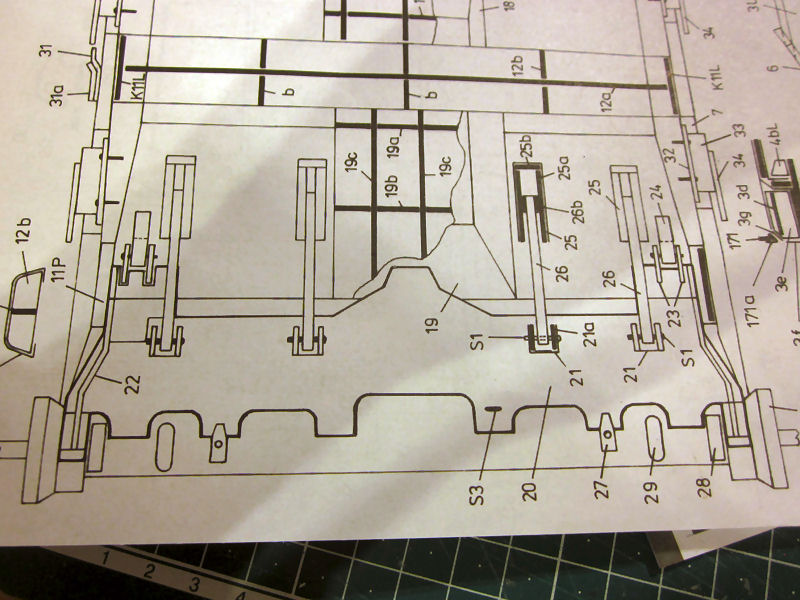
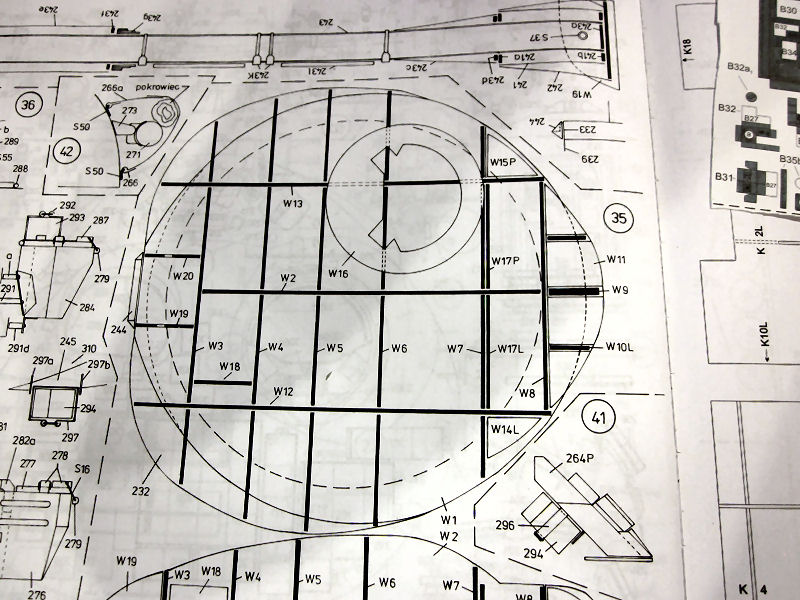
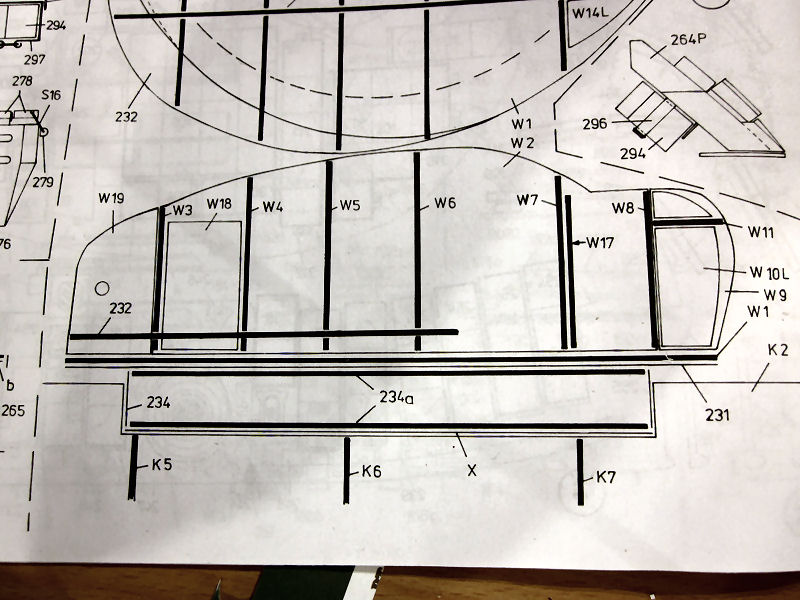
| Im not used to this type of drawings so I use a bit of time to study parts and drawings...And have not found any buildreports of this kit that are much helpful..so I struggle on.
I have decided to make the tank in several sections. First section to be finished is the underside of the hull.
The part isA bulldozer blade is mounted on the T-72's nose and can be deployed to dig firing positions or clear debris.
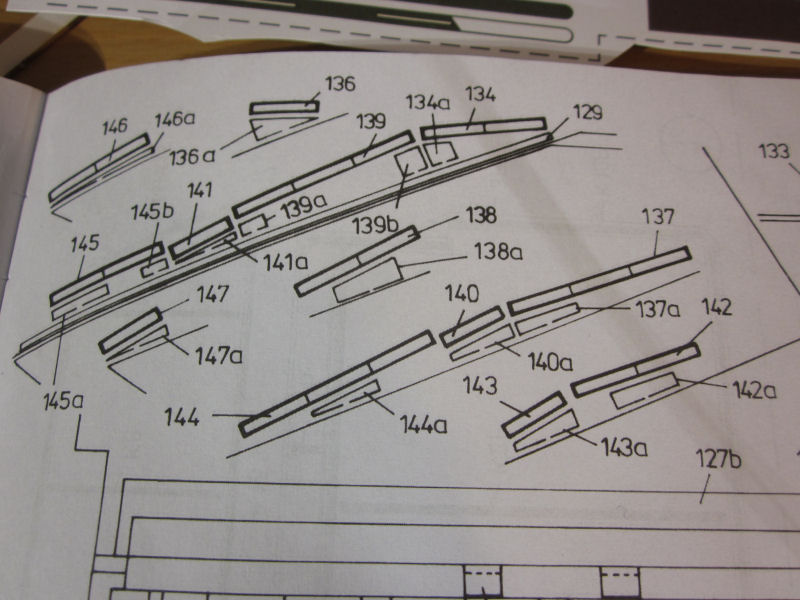
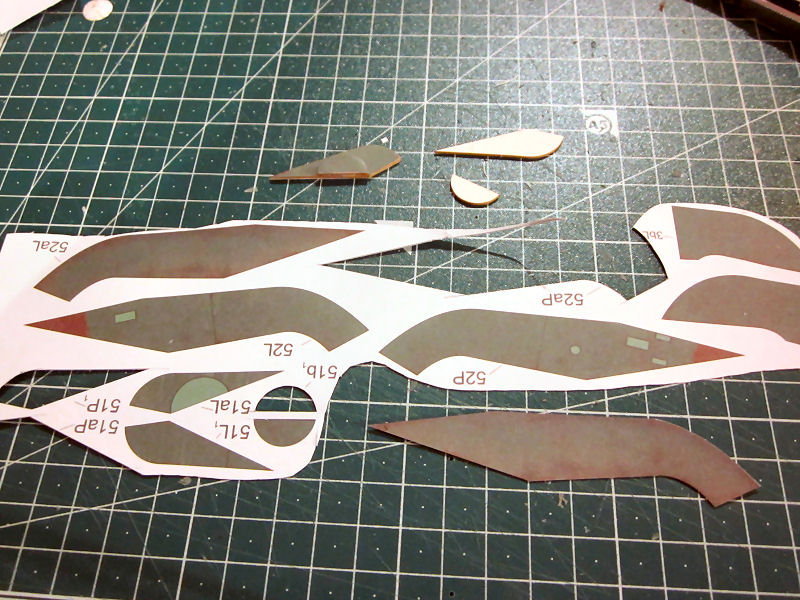
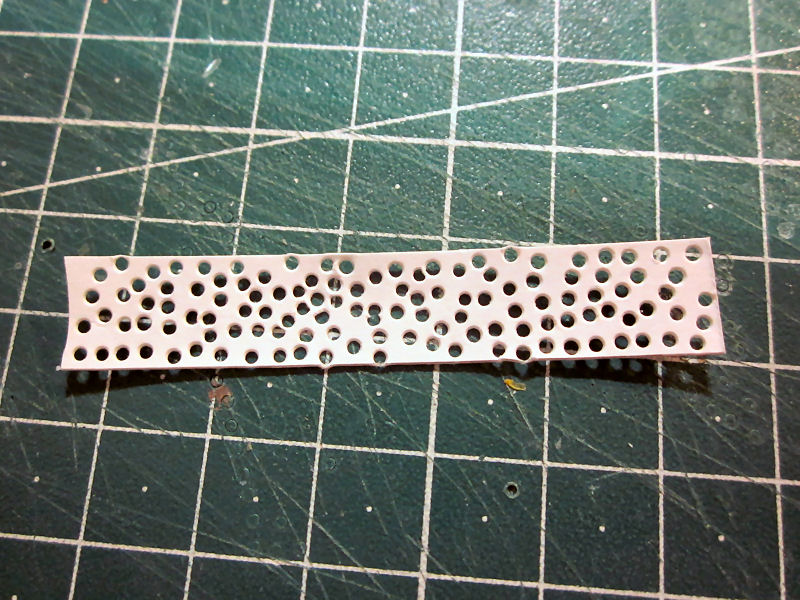
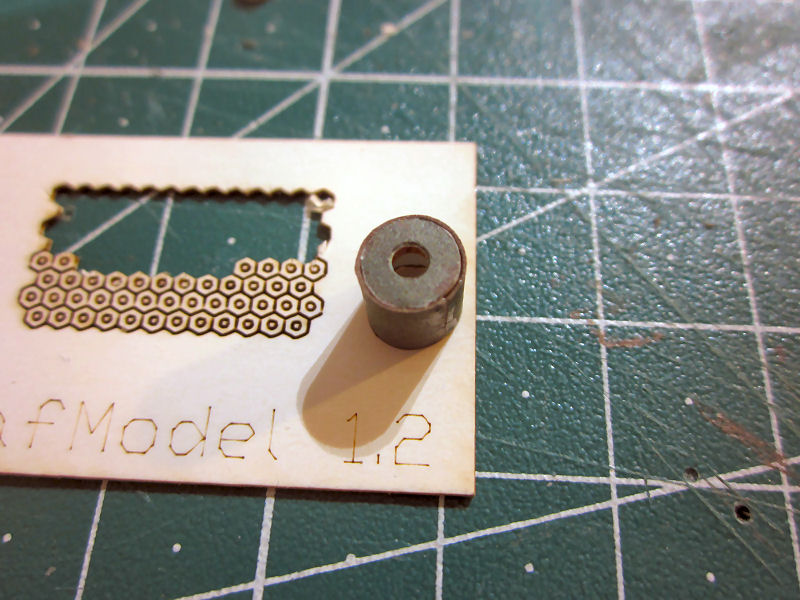
Drawing tells me the number of parts is 50..The top side is laminated to 1mm lasercut part Just have to say that the laserpackage for this tank is really huge!!! Almost complete covering of 1 and o,5mm parts.
Not very strange it was pricy |
|
|
|
|
 |
 |
 |
 |
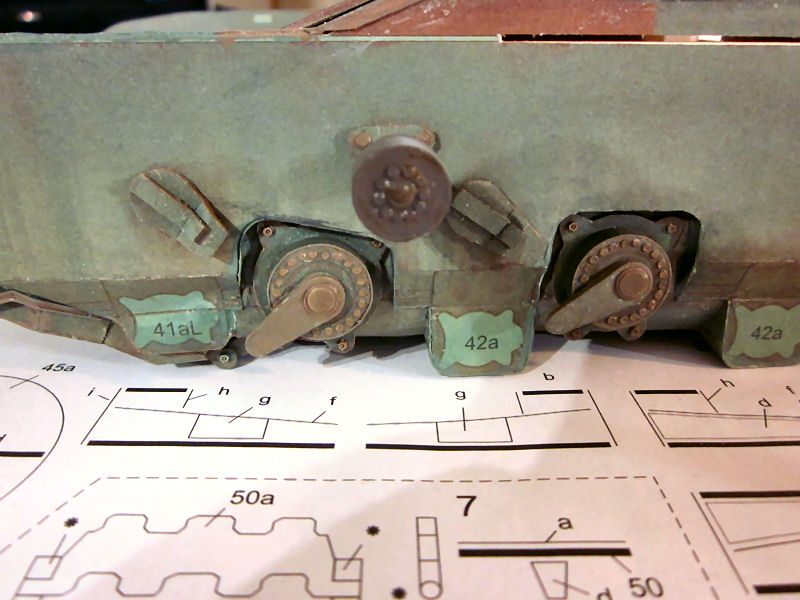
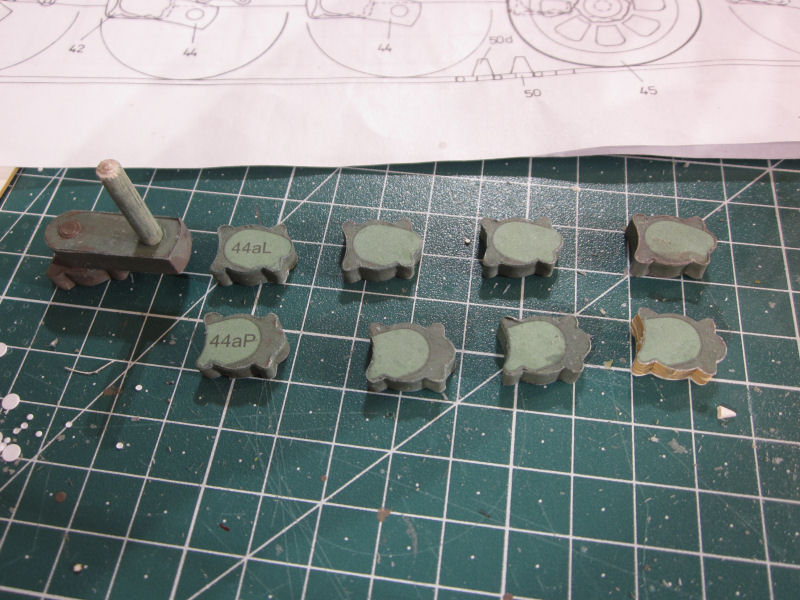
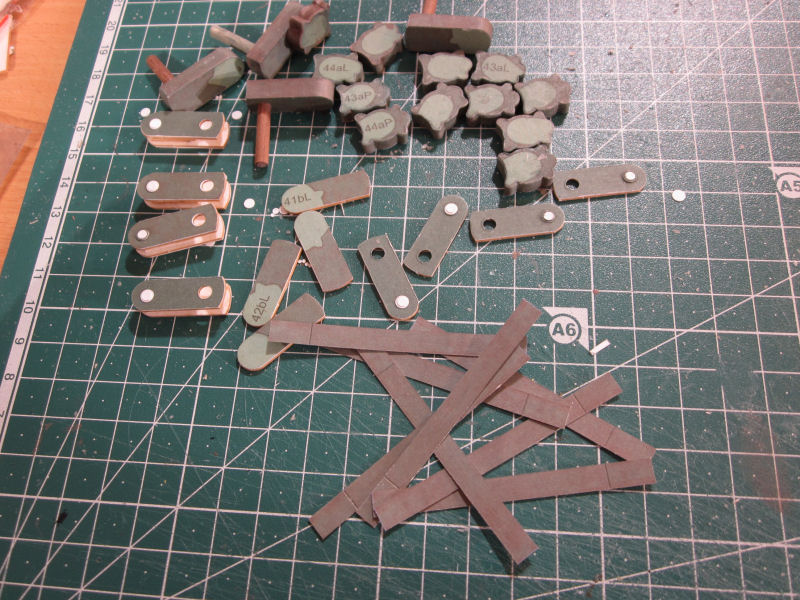
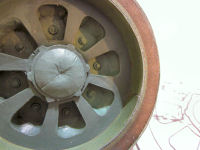
| The testbuild of the wheel is finished...Each wheel contains 54 parts...will do a more pictured build of the wheels later
But all in all I think it came out fairly good |
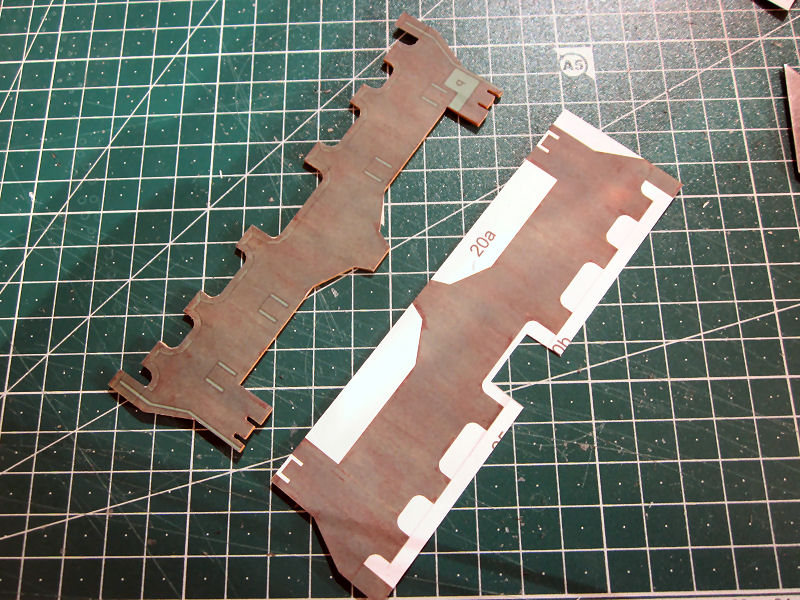
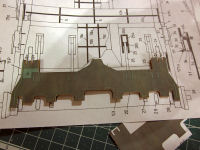
The drawing of the underside |
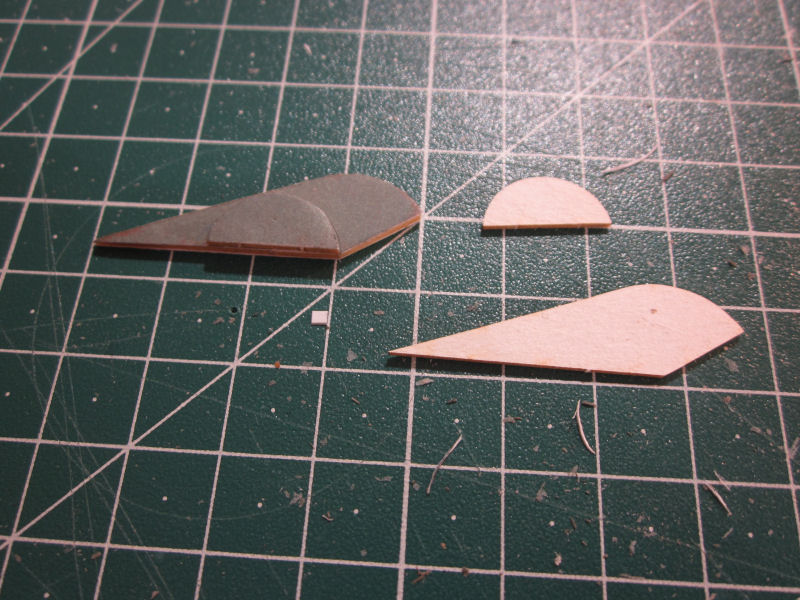
cutted |
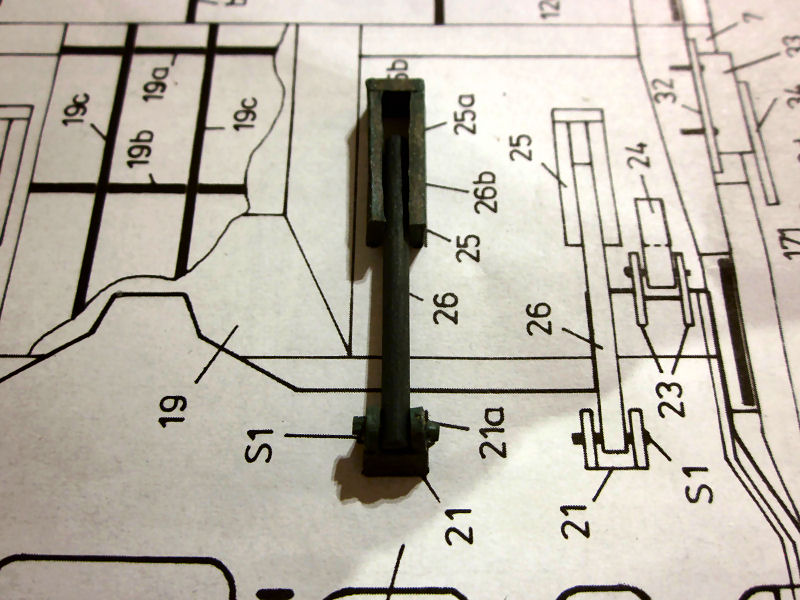
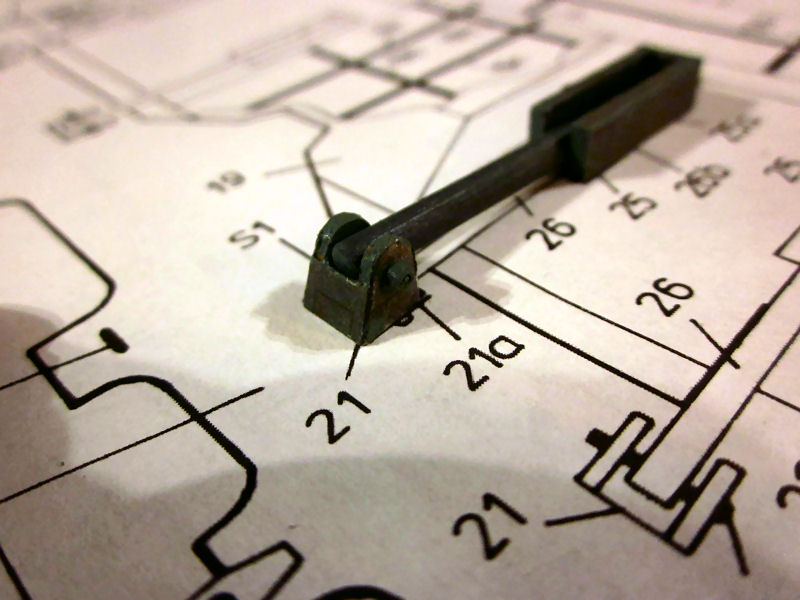
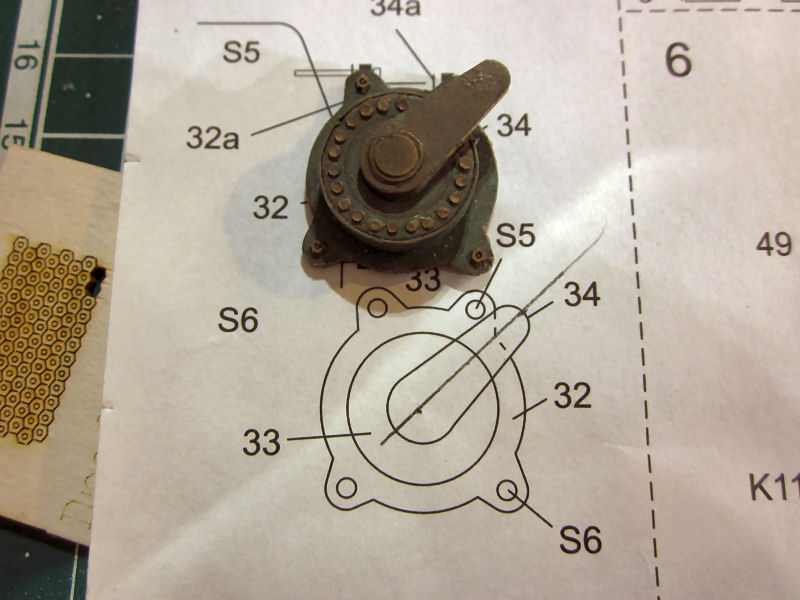
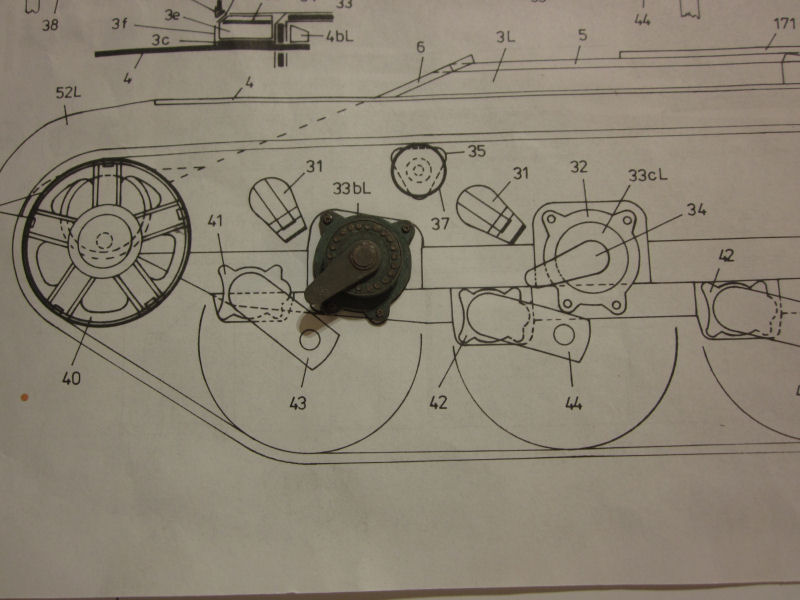
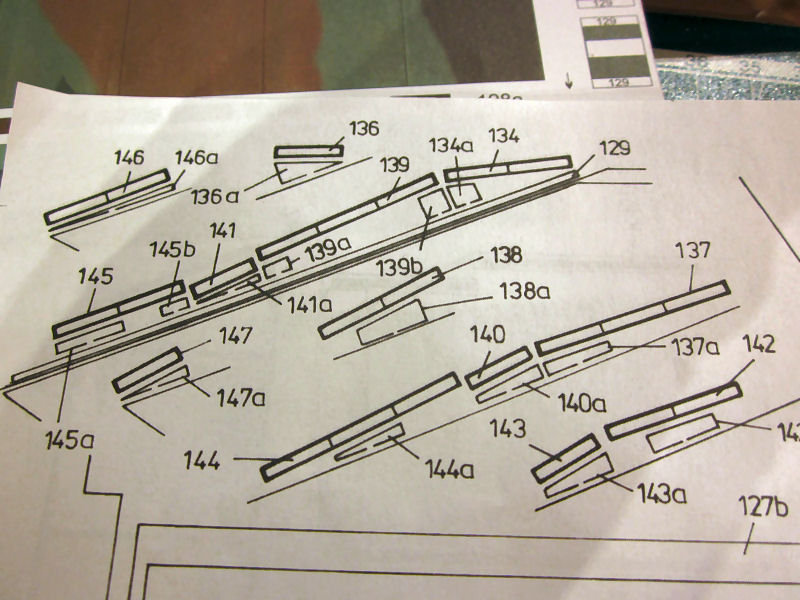
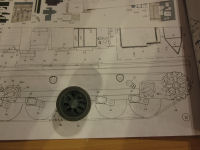
Another neat thing with this model is the 1:1 drawing. A lot of them As you can see here, the finished part is placed on the drawing. |
 |
 |
 |
 |
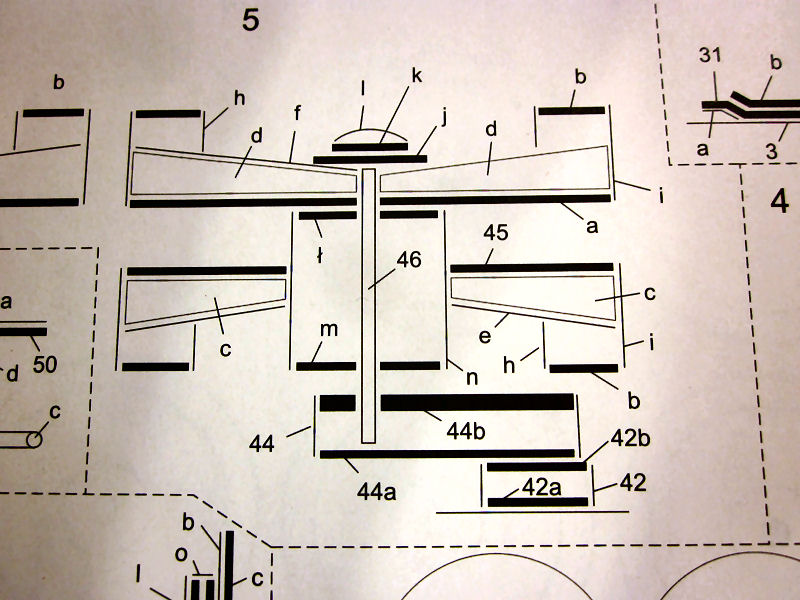
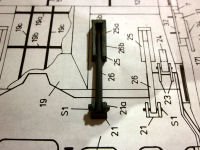
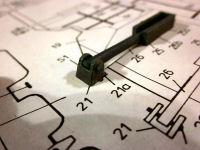
| Next was to start making the cylinders |
Pretty straight forward building here. |
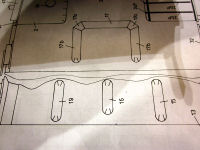
A lot of bulbes or some halftubedshaped parts on the underside |
Im not sure what this is for parts...maybe someone can enlighten me??
|
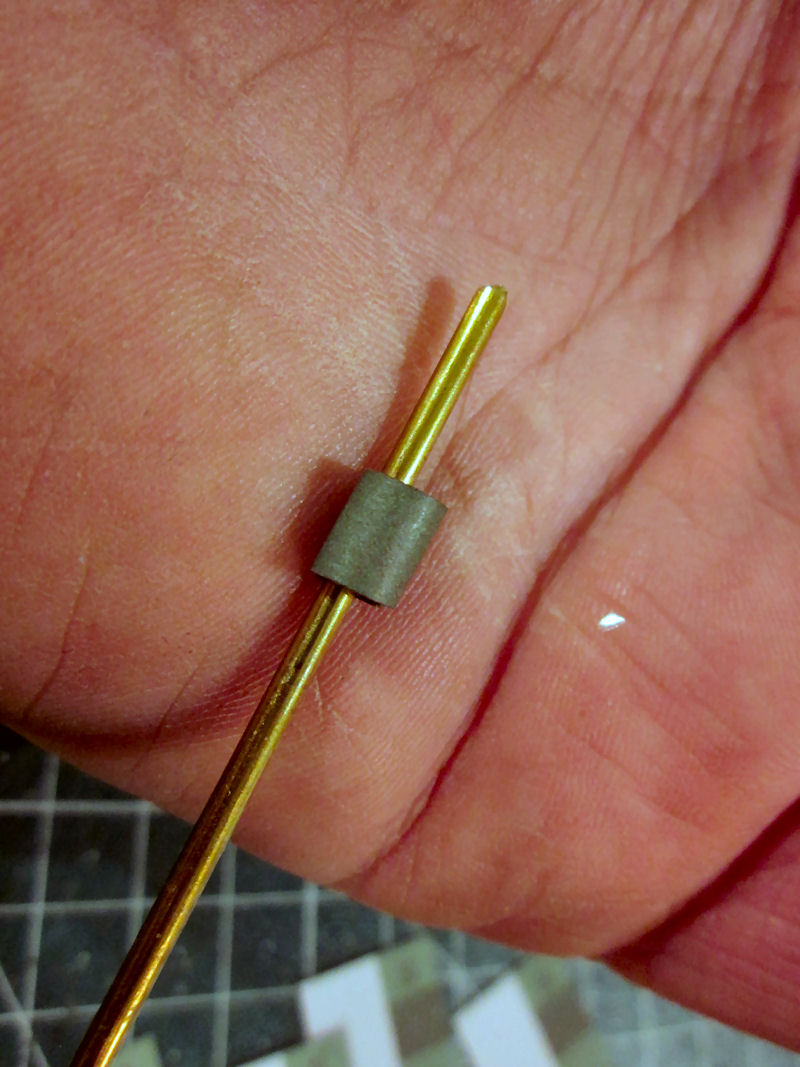
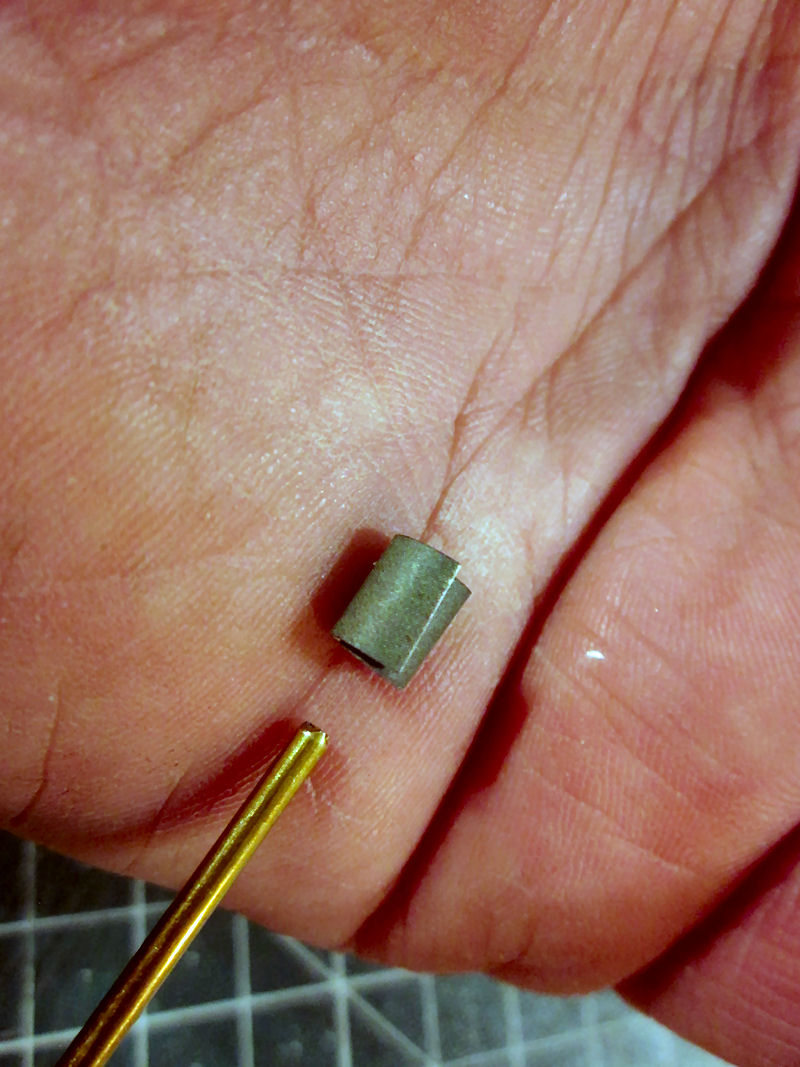
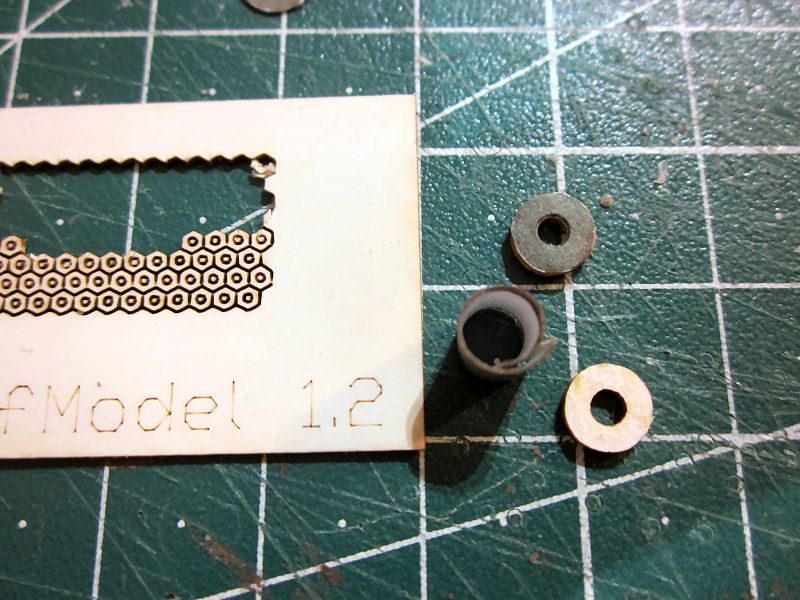
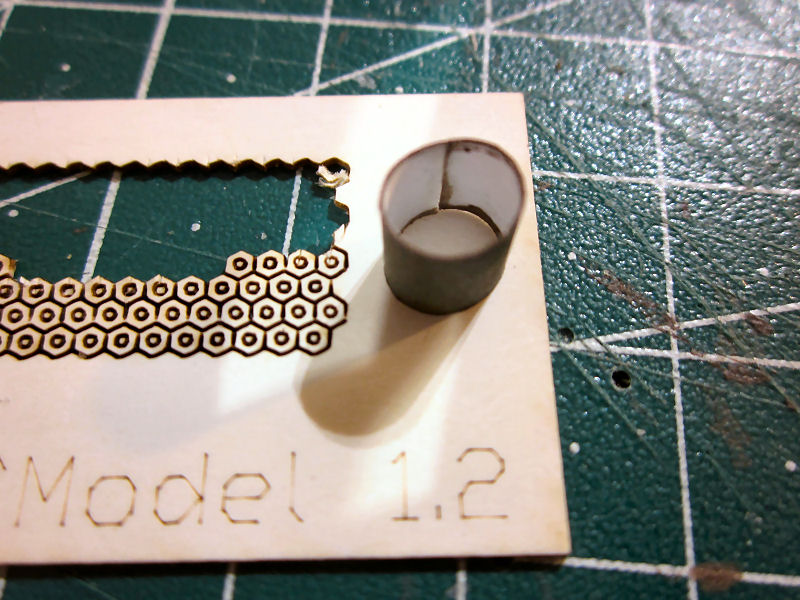
Exhaust
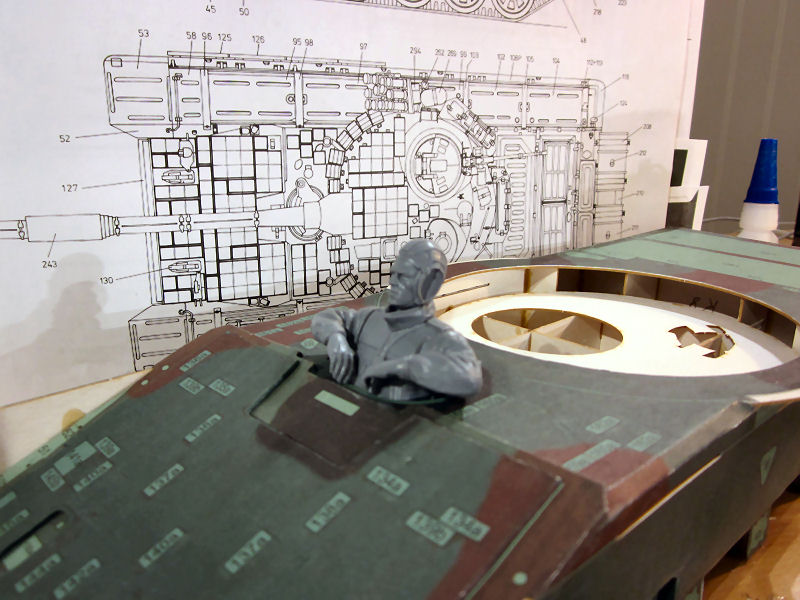
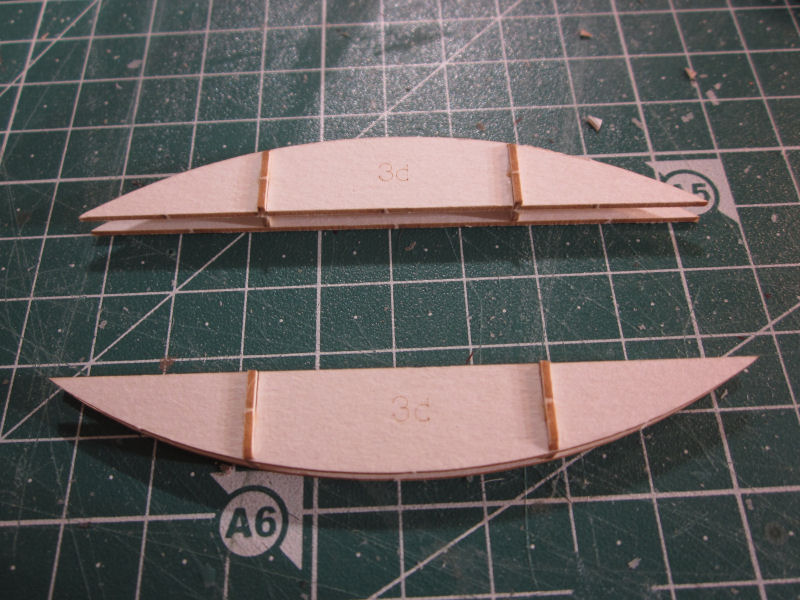
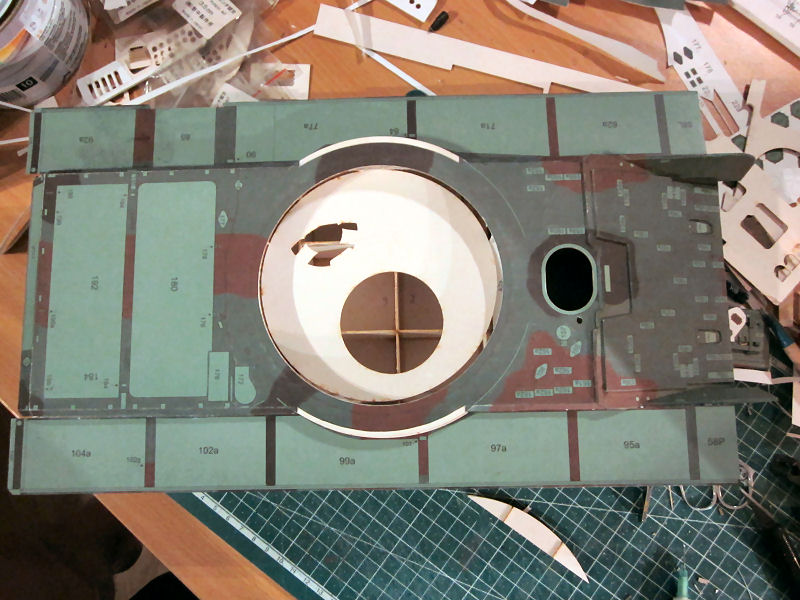
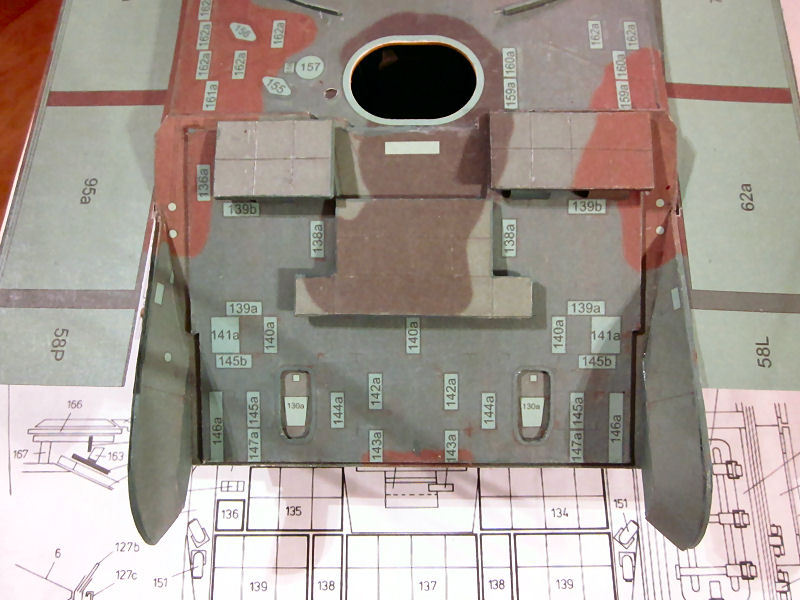
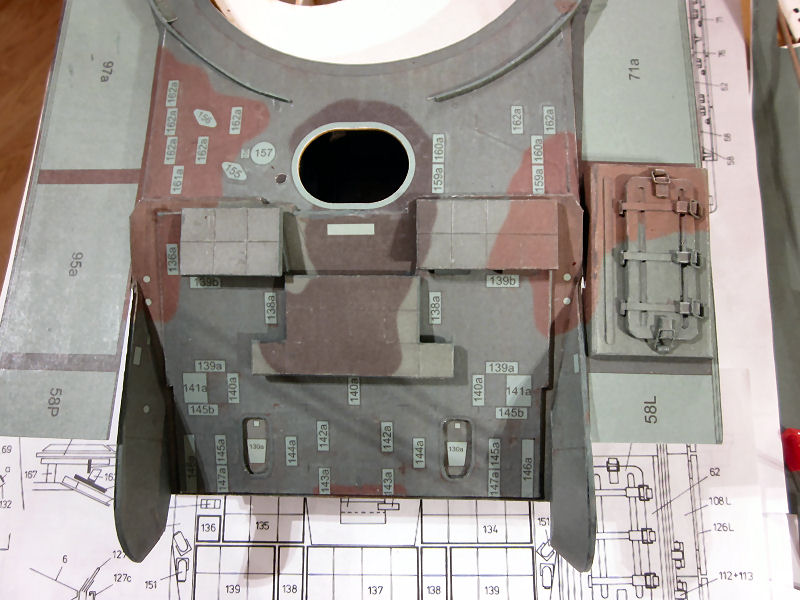
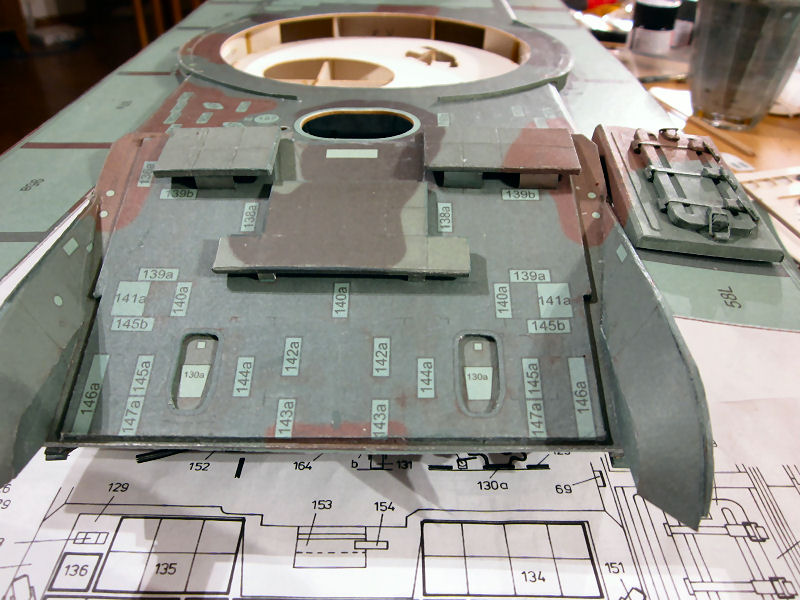
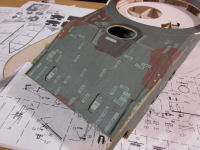
Finishing the upper part of the hull and the tower
| The rest of the handgrips are in place. |
The handgrips are made of 0,5mm copperwire |
The tower machinegun |
A closer look. |
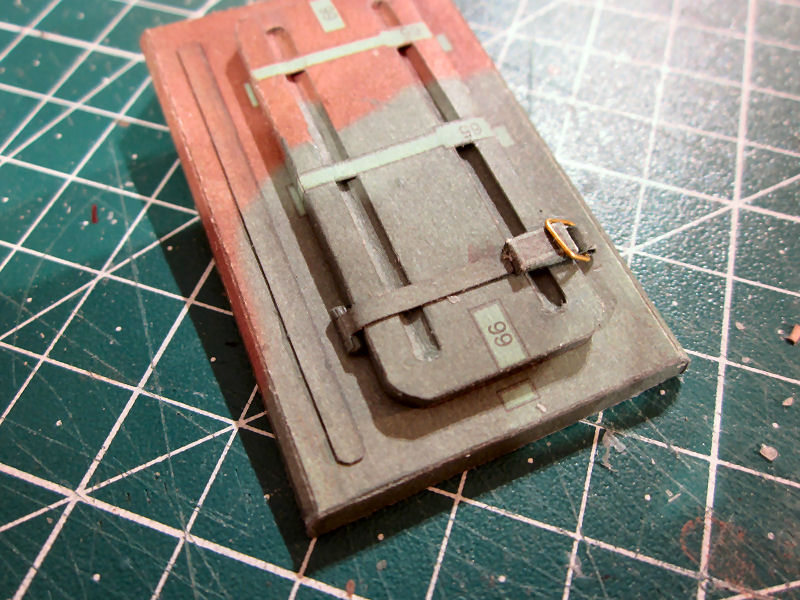
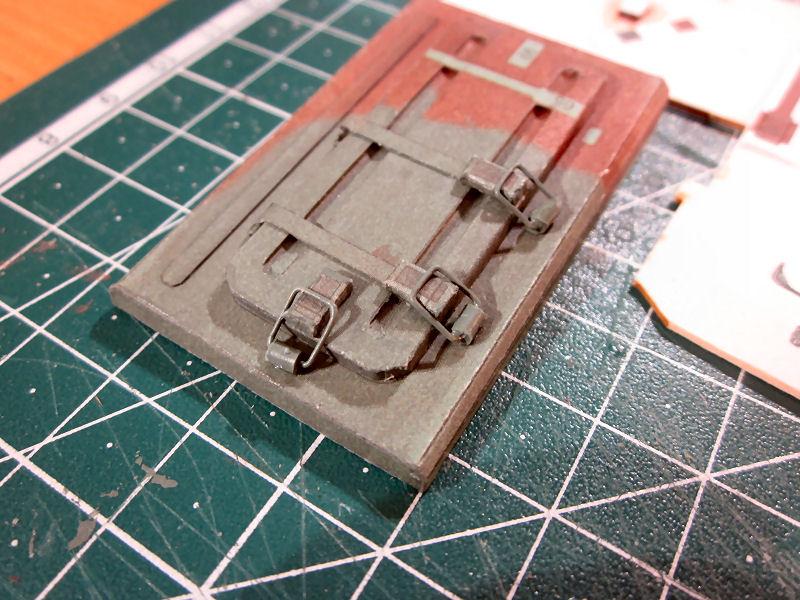
The jack and hatch locks
| The hatch locks was tiny....With a little patiente and some superglue I got them in place |
The rear hatch |
Overview |
Last Modified 12/15/2024 14:55:44
©Johnny Svensson 2007