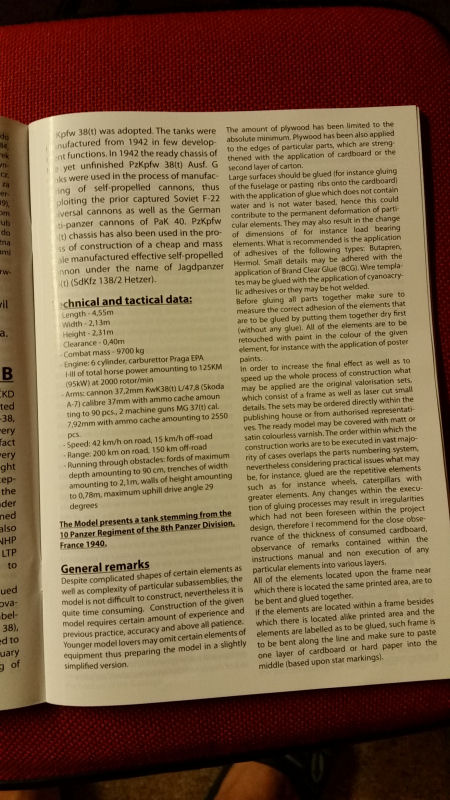
 The model comes with instructions in Polish, english and german |
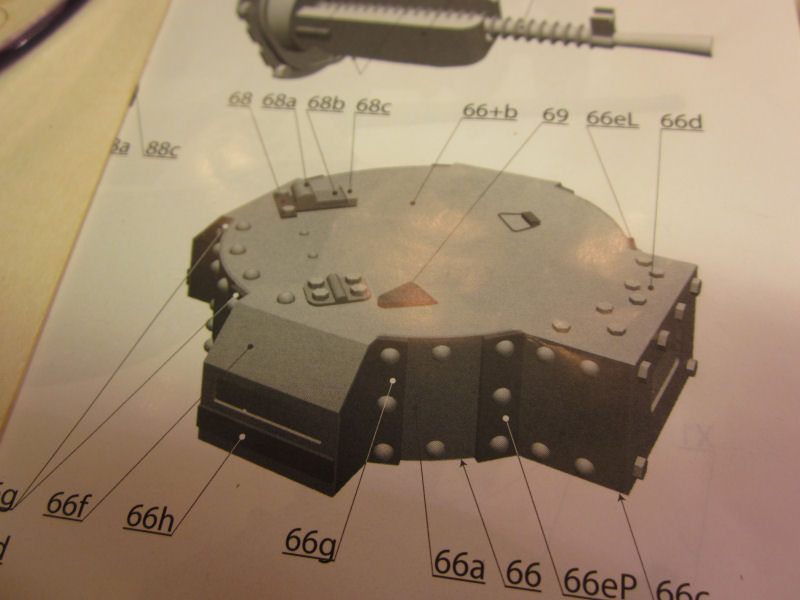
 Drawings and instructions are very good |
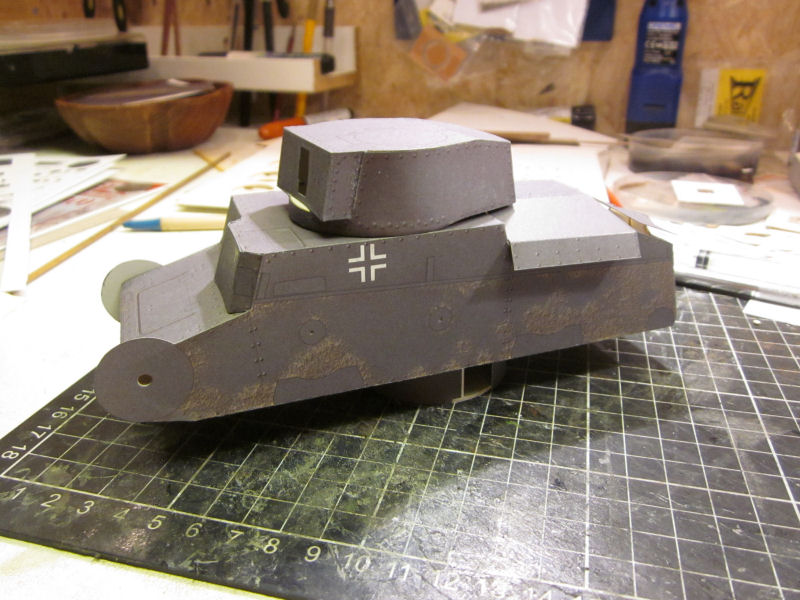
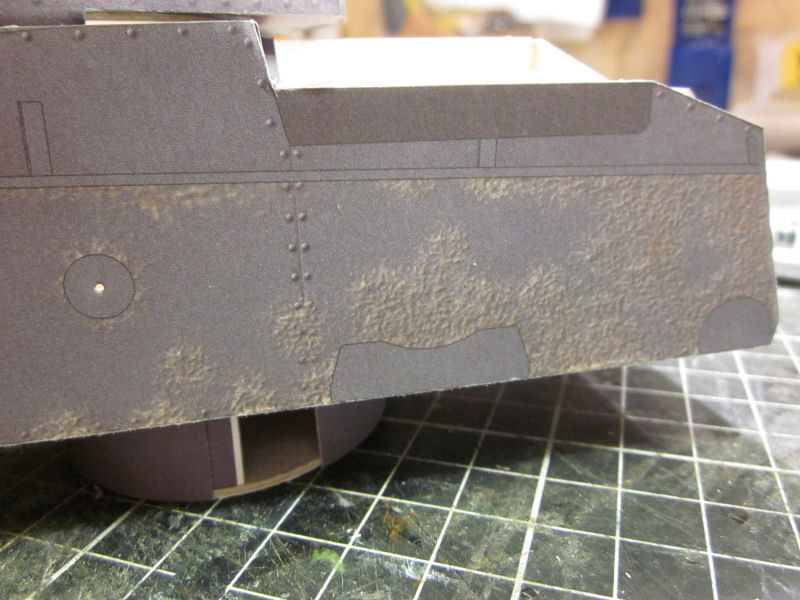
 Colouring and weathering |
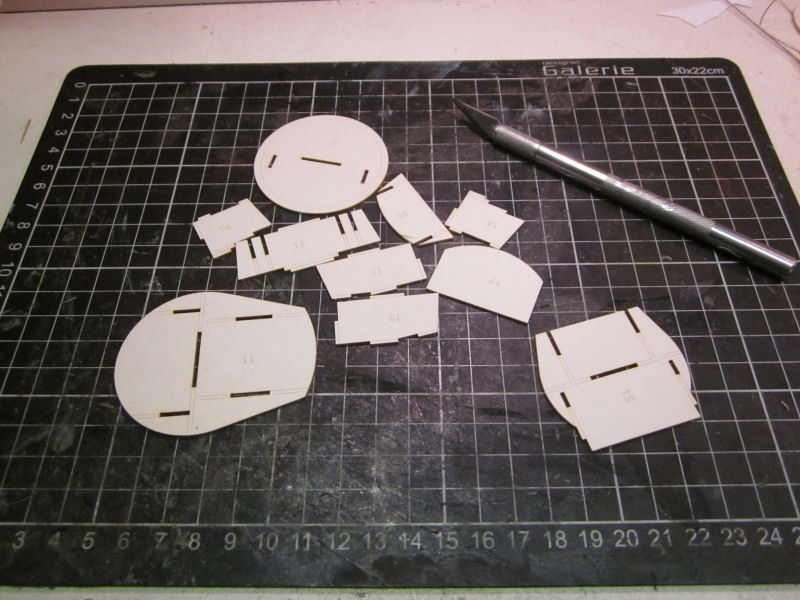
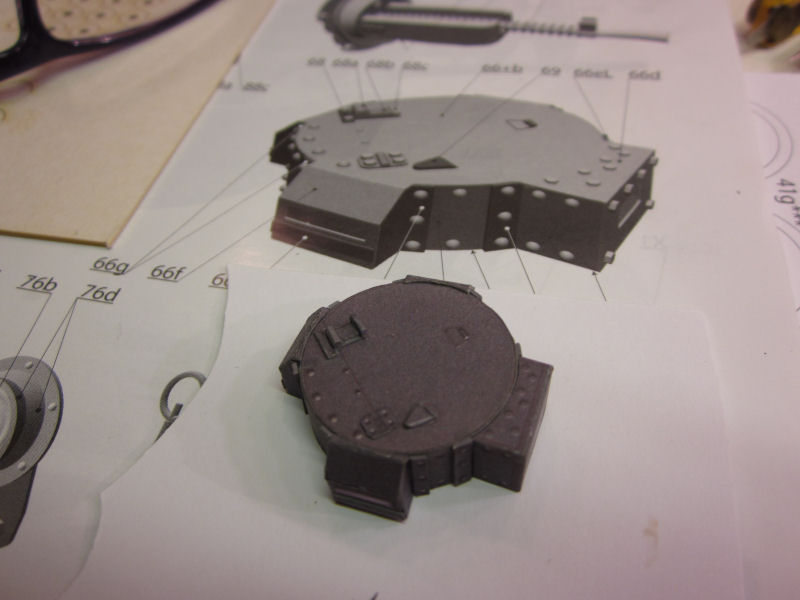
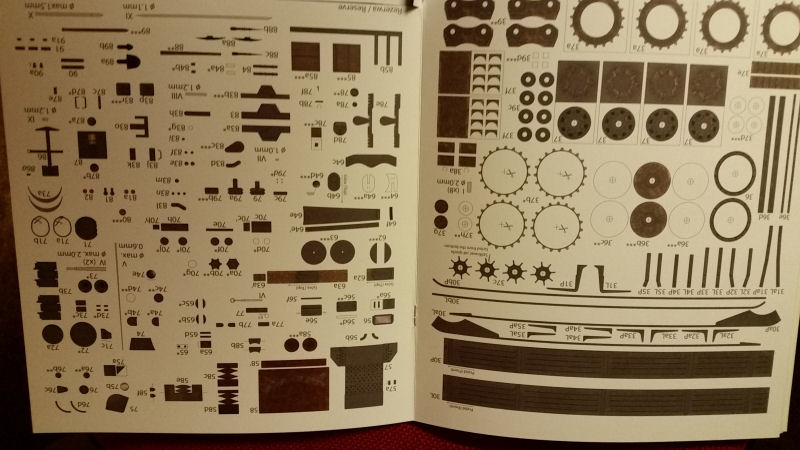 Parts are well organized |
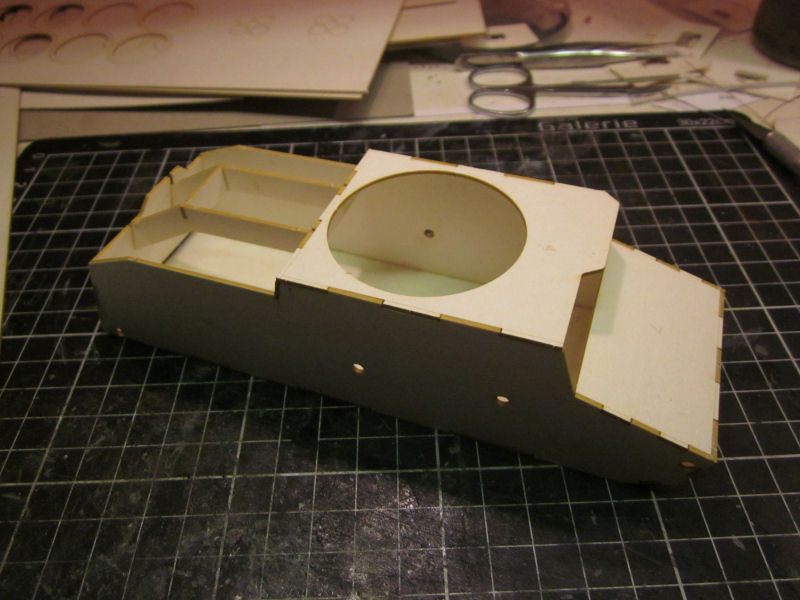
The build starts
 |
 |
 |
 |
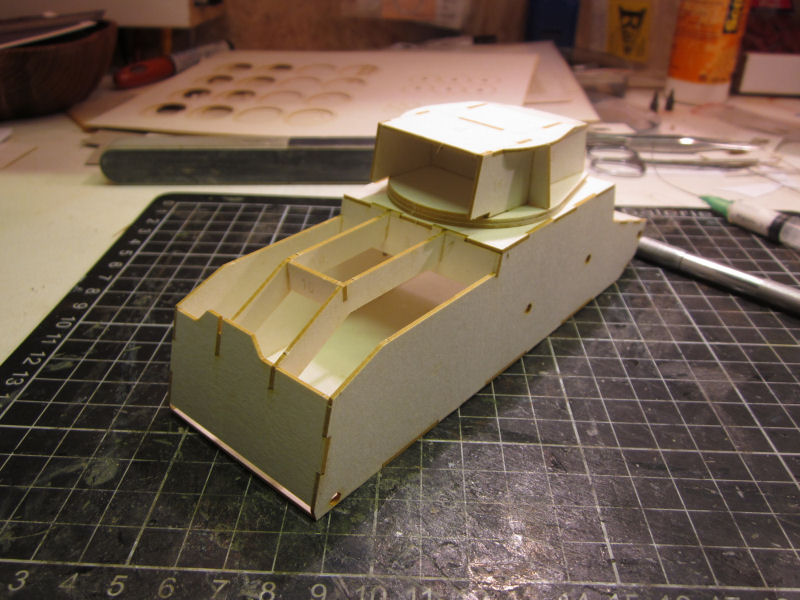 |
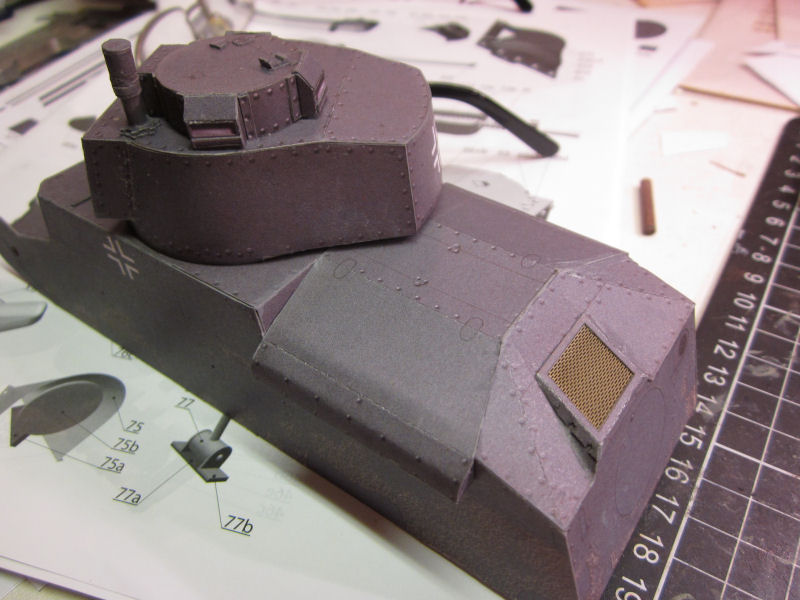
The hull and tower are made of laserparts. Laserparts make the build less time consuming in the early stage of the build. Then you get faster to the point and can start with the parts and skinning of the model.Its now the fun begins....and maybe some challenges |
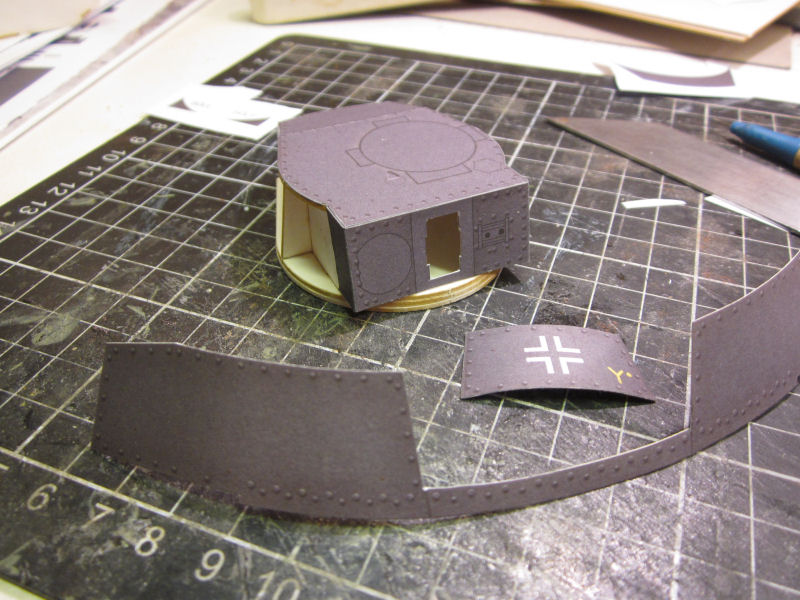
Skinning the hull and tower
 |
 |
 |
 |
 |
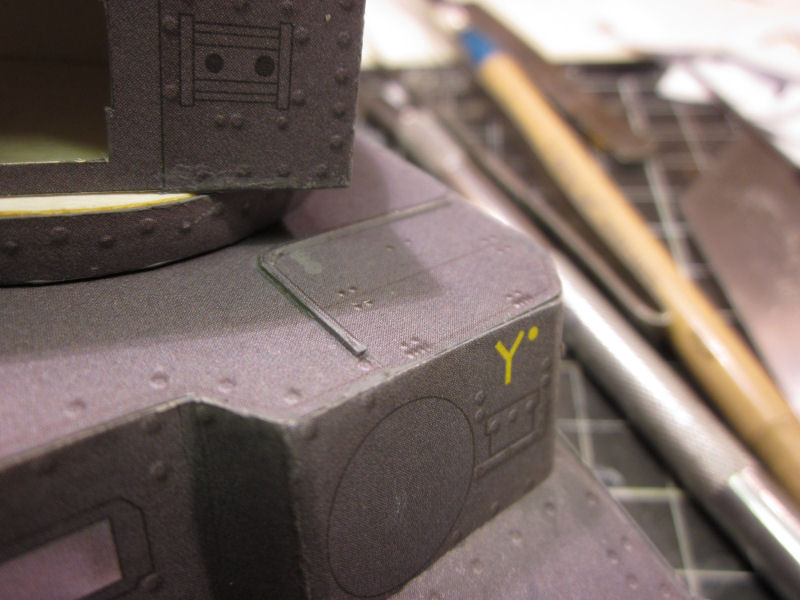
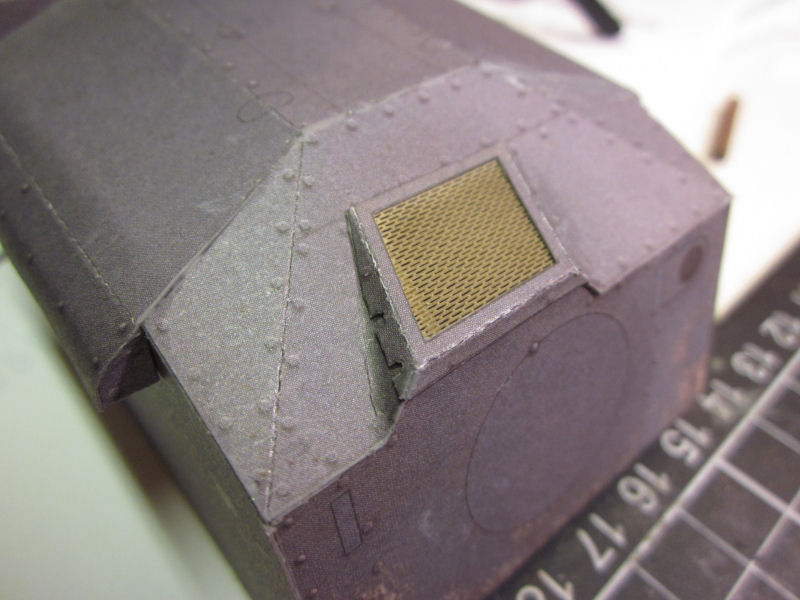
I started to put the skin on the tower and hull.Every piece fits perfect so the work is pretty straight forward here.Just have some patience and shape the parts before its glued in place.The top-rear part of the hull has to wait before its glued in place. The skin has to be shaped a bit before gluing,and the sides has to be curved and some mesh needs to be put in place.Not very difficult, but the parts are delicate and need some carefullness :) |
 |
 |
 |
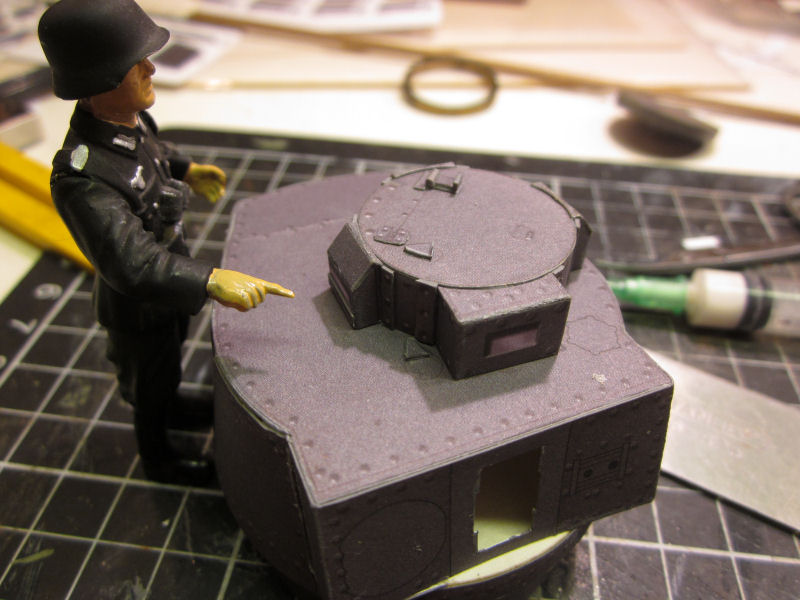 |
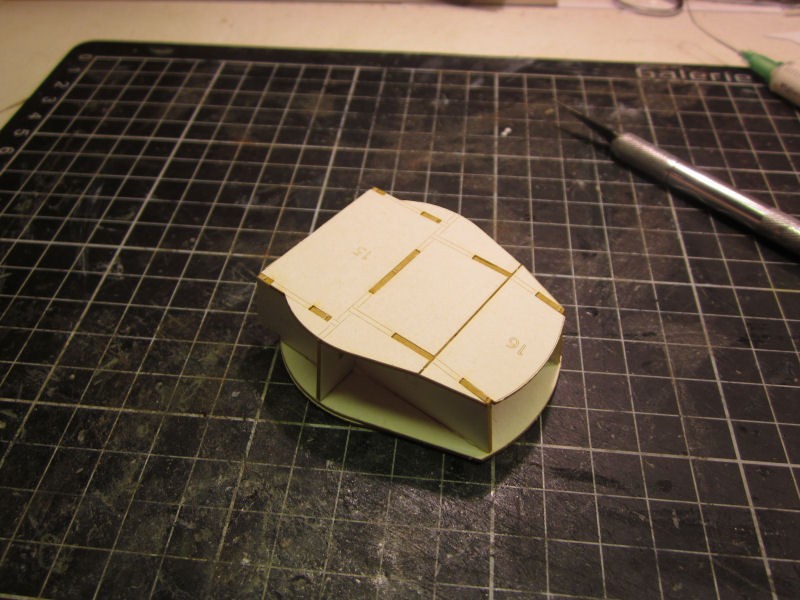
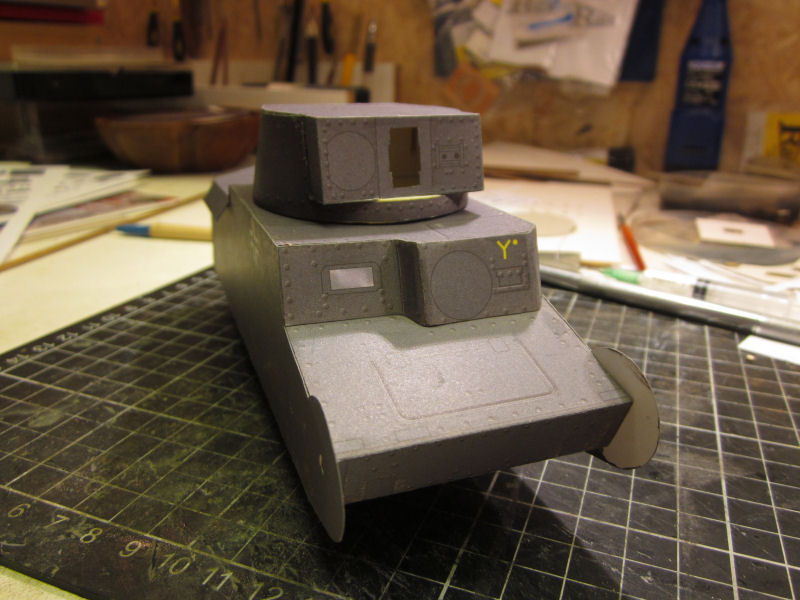
The top hatch is made of 22 parts and its the first challenge you will get on this build. Just be careful and score all lines before you cut the parts,and fold.Its not very difficult,but gluing small edges together can be a bit tricky. Just be careful with the glue, dont put on too much. |
First wheel :)
 |
 |
 |
 |
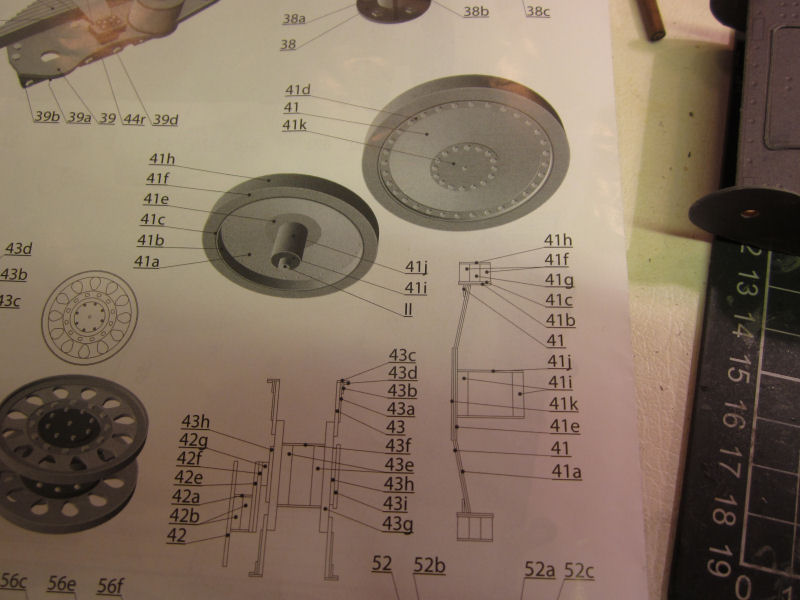
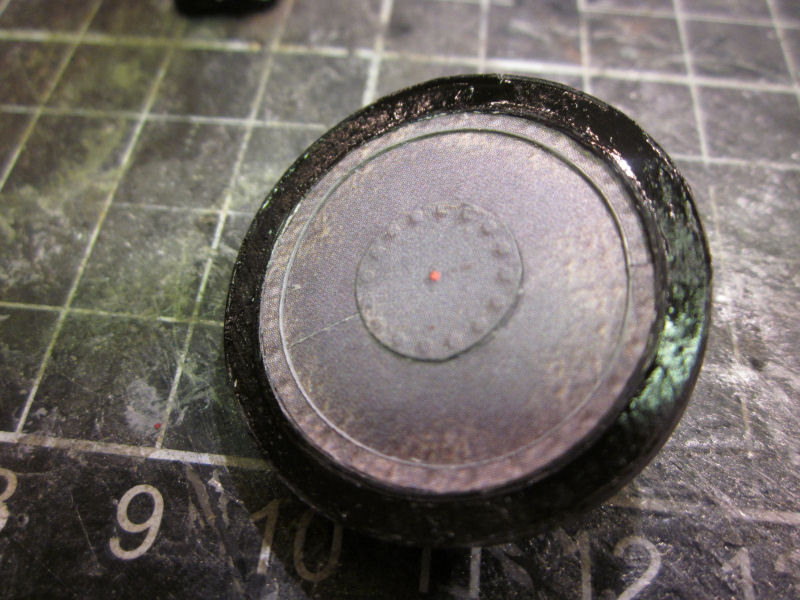
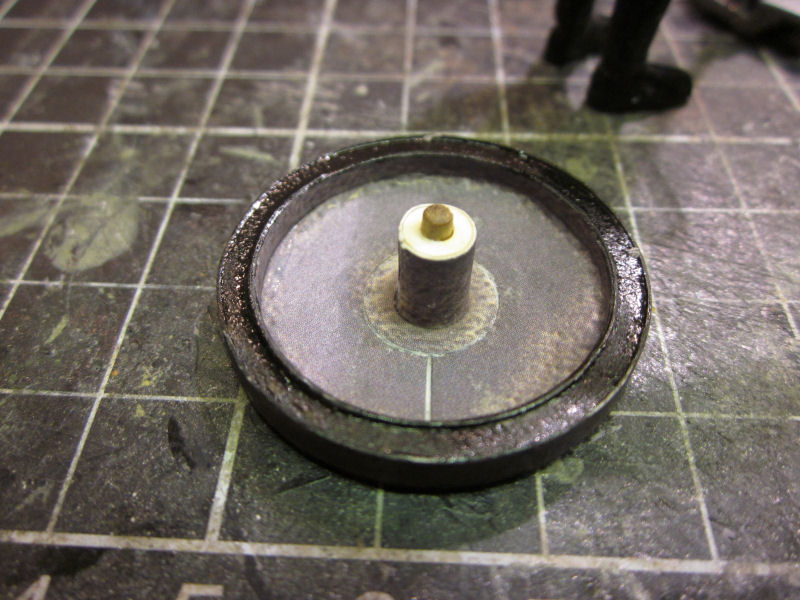
Wheels are always a pain in the ass when it comes to tanks....always a lot of them and in different types. On this tank there are only two kinds, the roadwheels and the rollers.And not too many.The laserparts makes it a bit less time consuming to build them. The roadwheels are pretty basic straight forward building.The parts fit very good, and not much trimming are neccesary.The center of the wheels are coned, and the tecnique is not very difficult.The tecnique is explained HERE |
Air intake
 |
 |
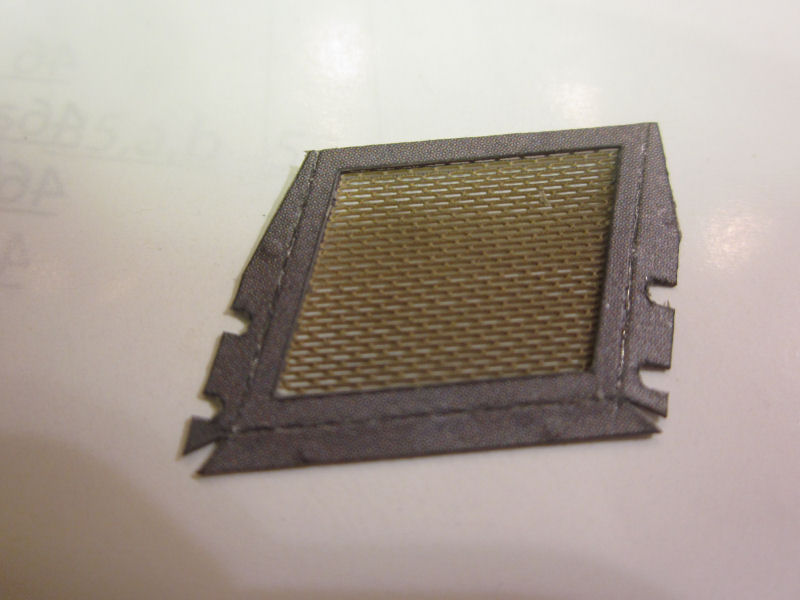 |
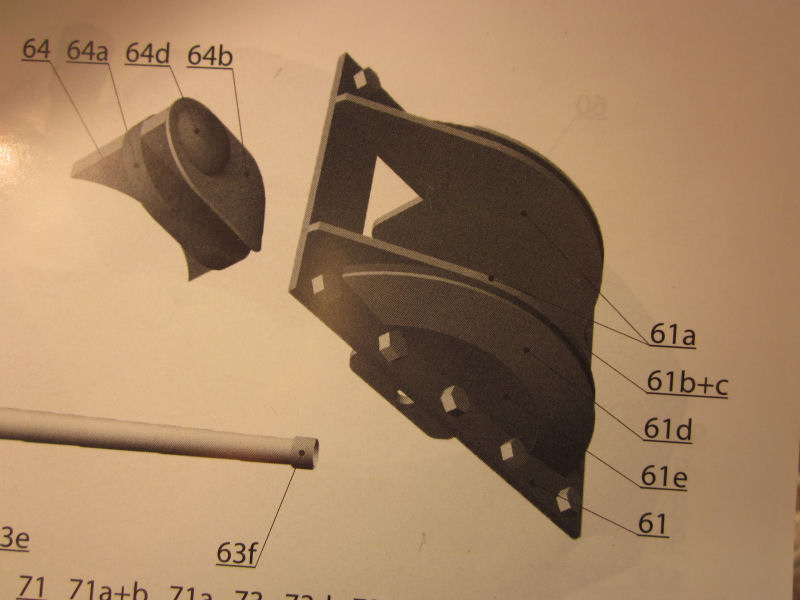
The air intake is also a laserpart.Very nicely done.To make the frame look good, its important to score and fold baefore you cut it out, since the sides are very narrow and can be tricky to fold if cutted and not folded. |
 |
 |
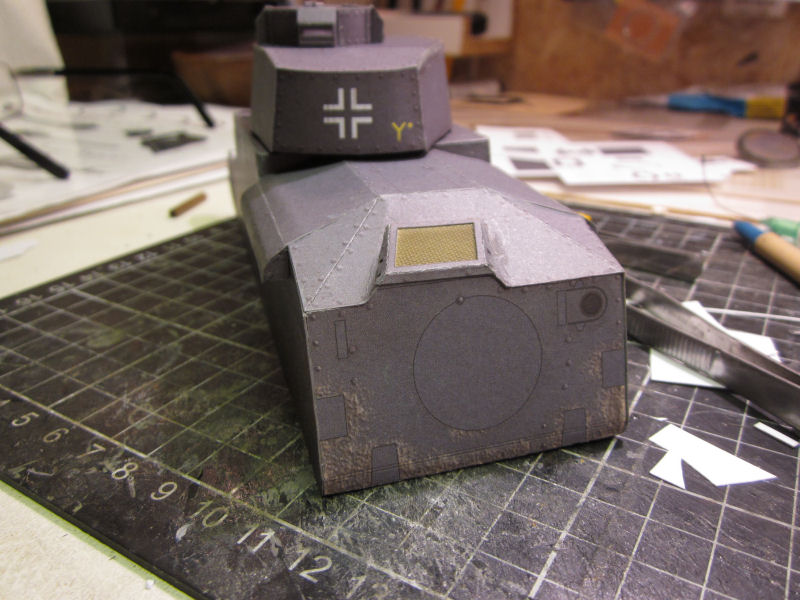 |
Here the air intake is put in place.Now it just need some paint :)Also the rear upper part of the hull has been shaped and glued in place. |
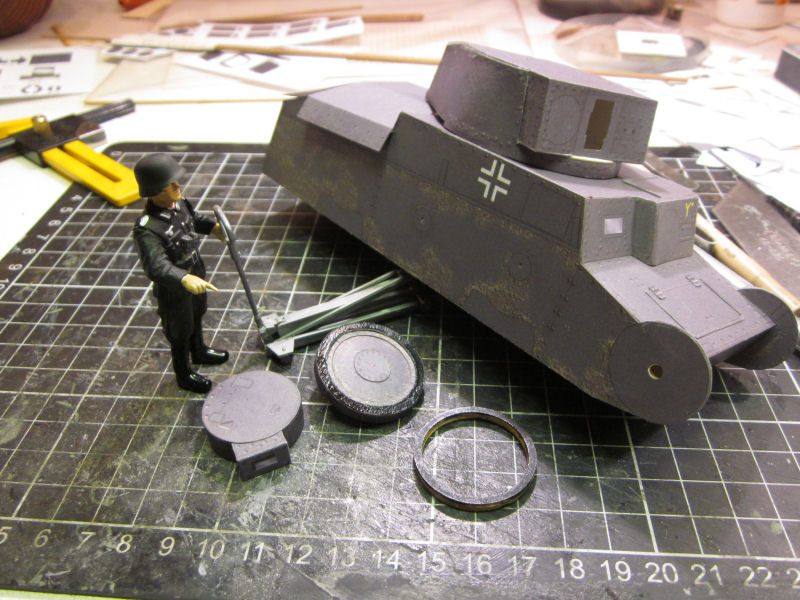
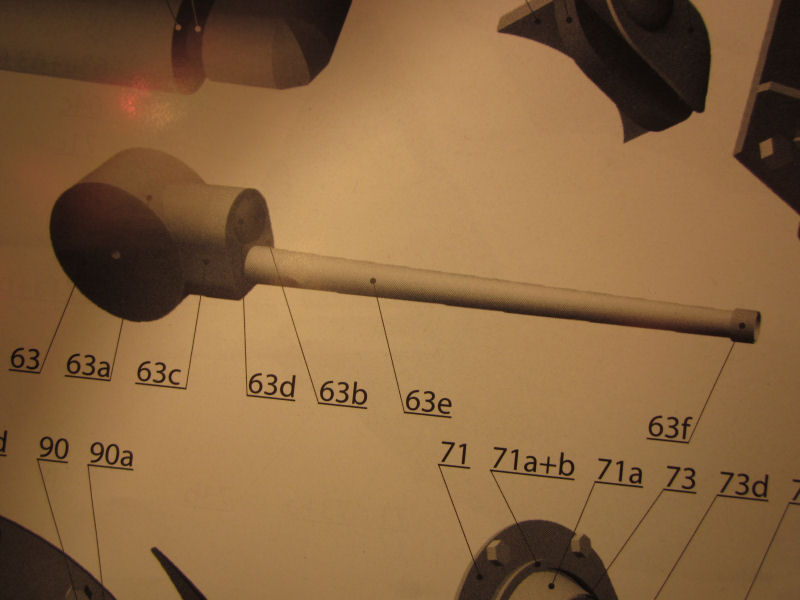
Next out is the main cannon.
The cannon can be built in two ways.One adjustable ,and the usual way,just glued in place.Here i show the adjustable one
 |
 |
 |
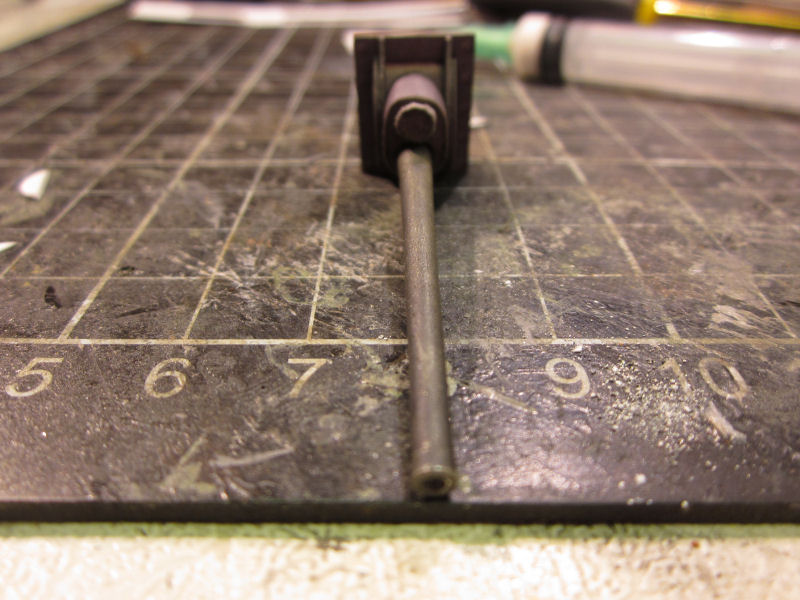
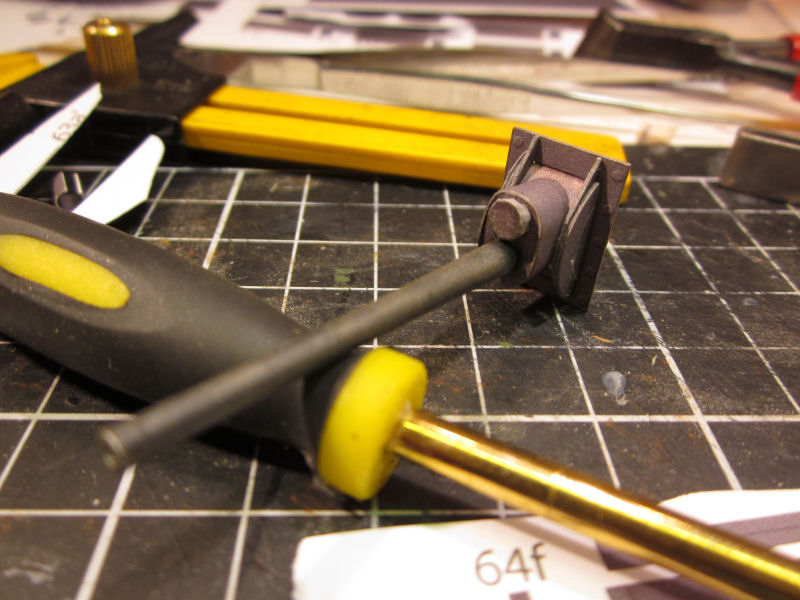
The partsfit are as usual up to Rafals high standards, everything fits 100%
 |
 |
 |
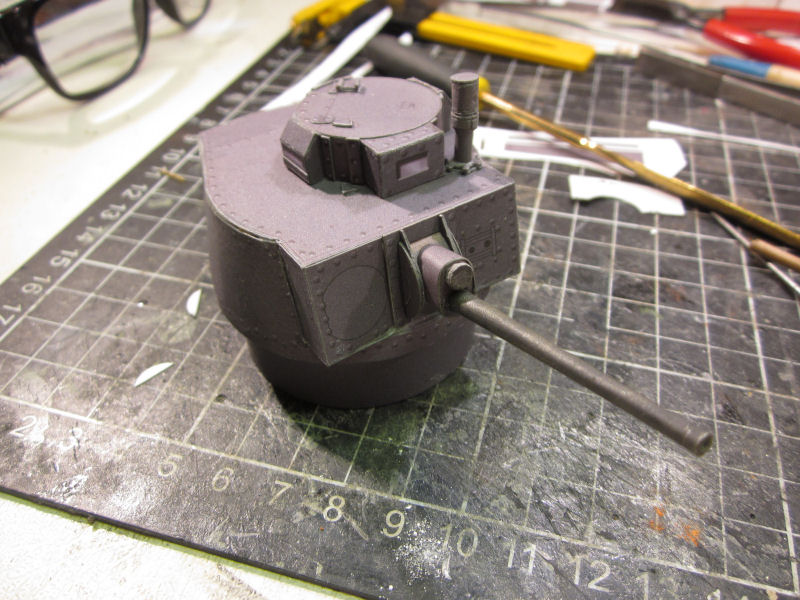
The cannon mounted on the turret
 |
Johnny Svensson 2014