 |
 |
 |
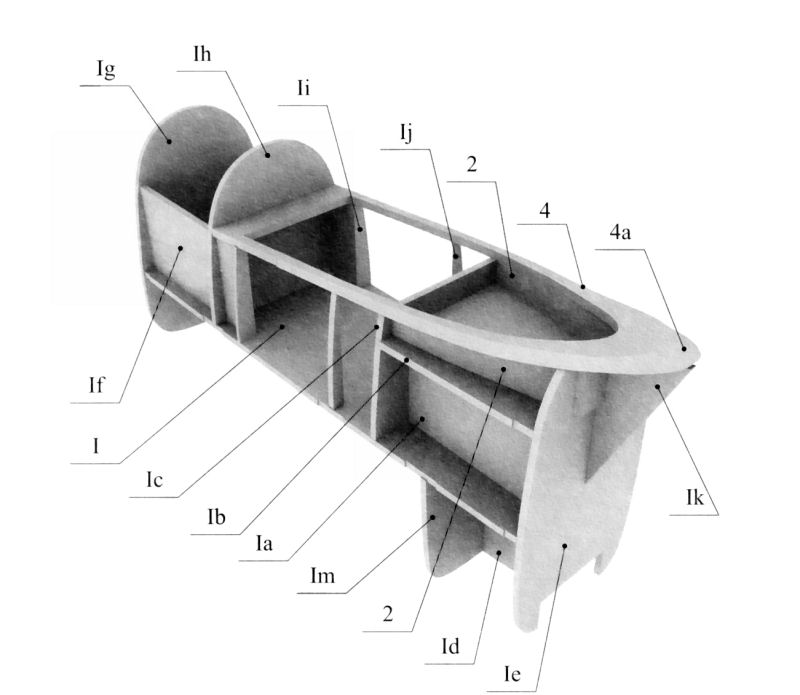
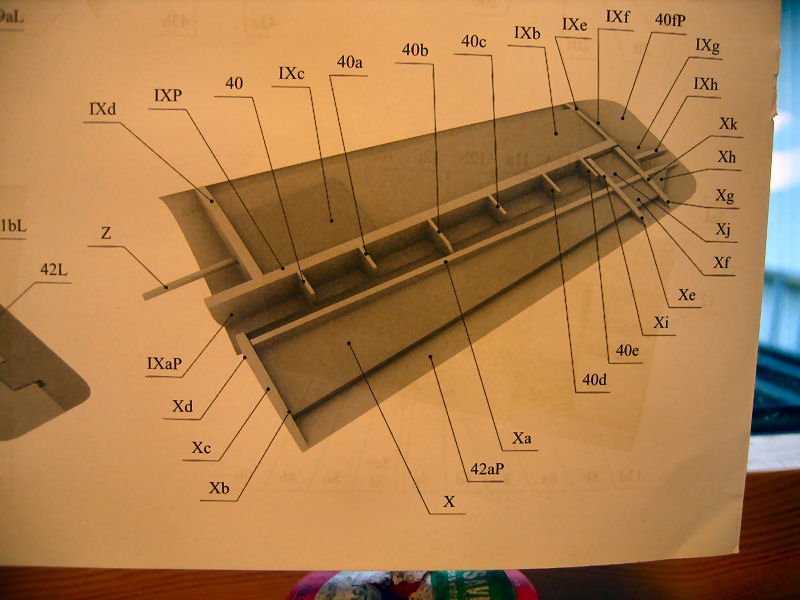
The drawing of the section |
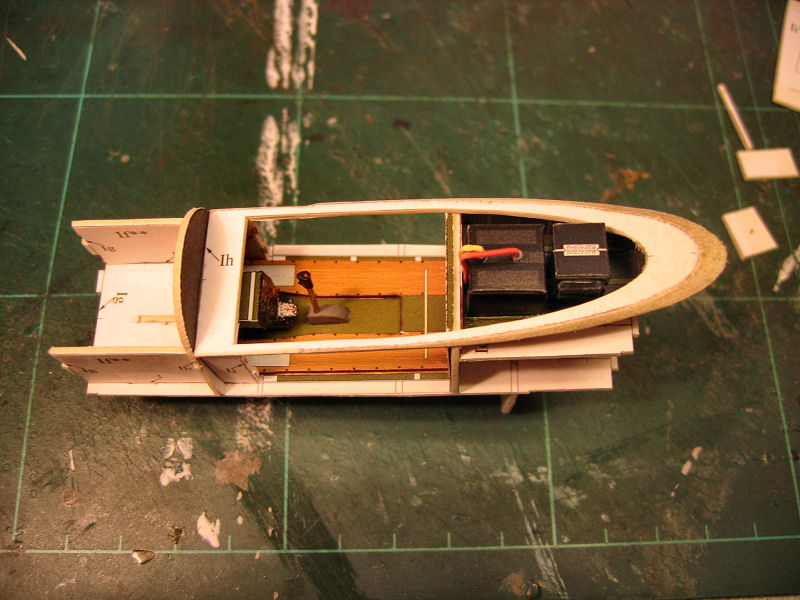
Dryfitting of the diferent components |
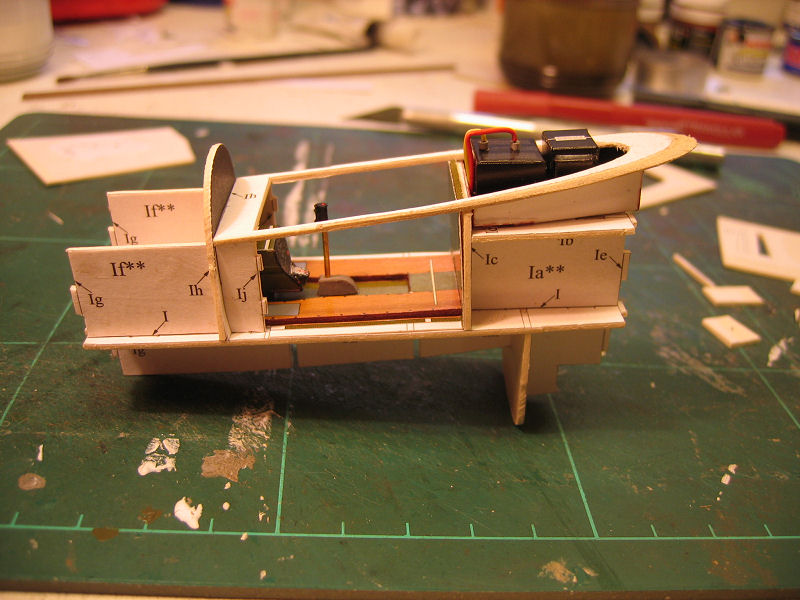
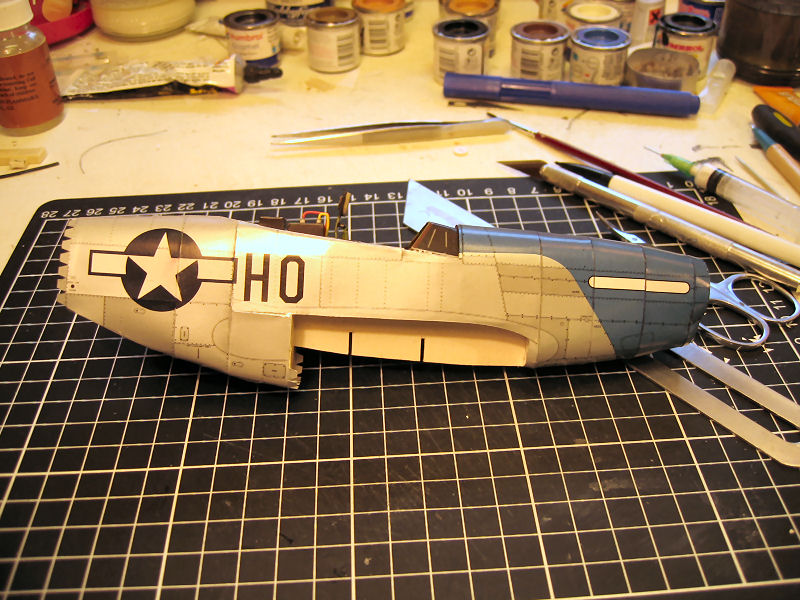
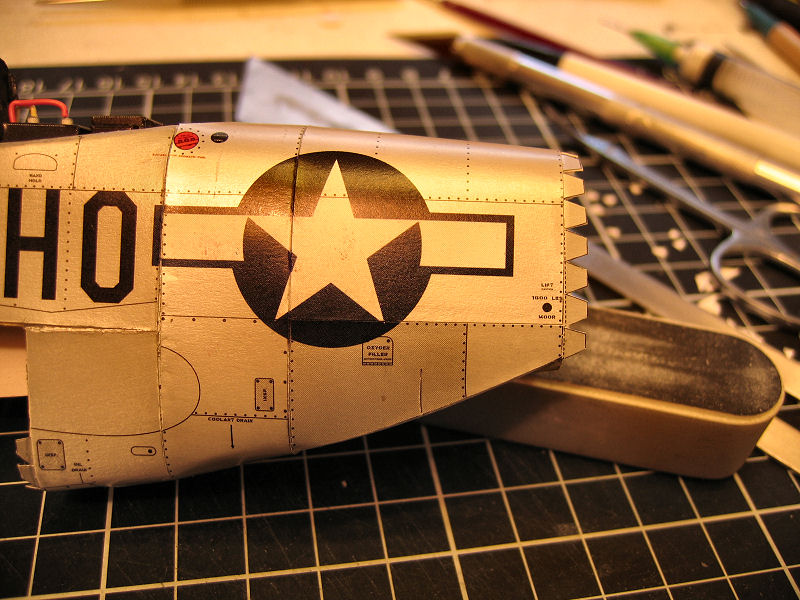
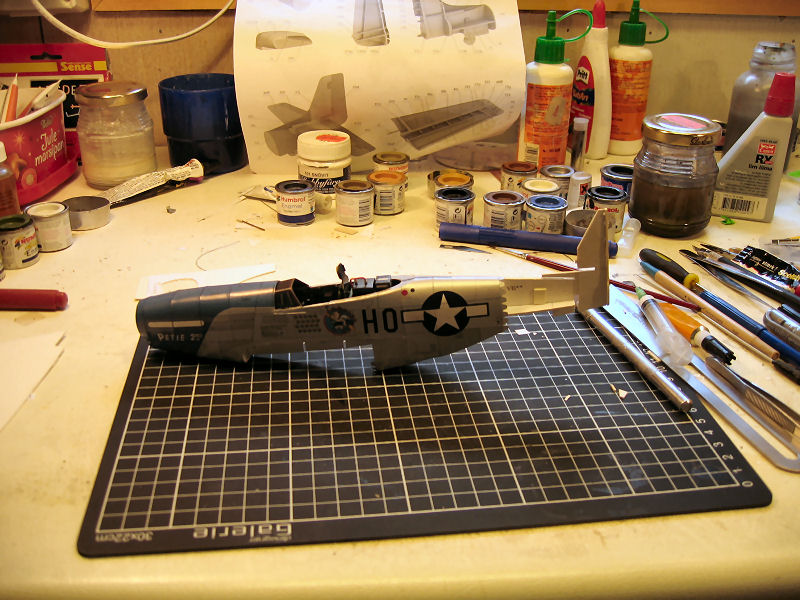
Side view |
 |
 |
 |
 |
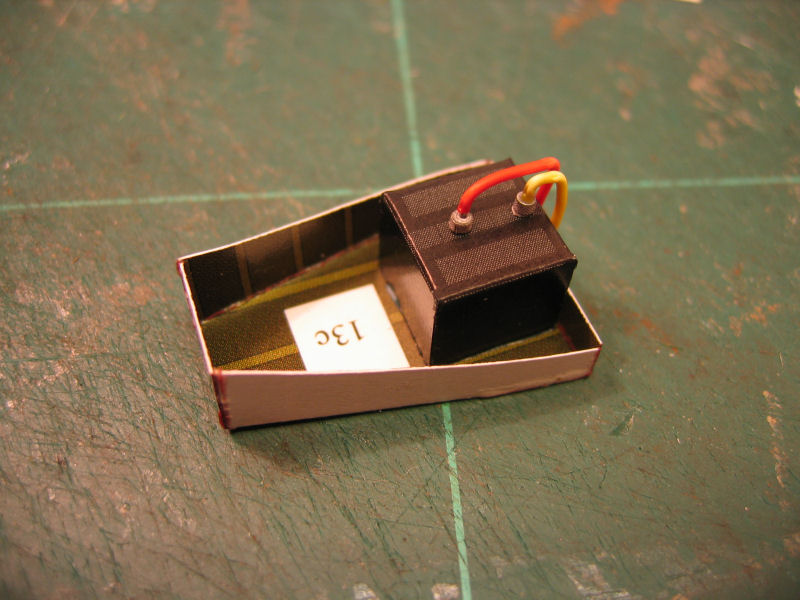
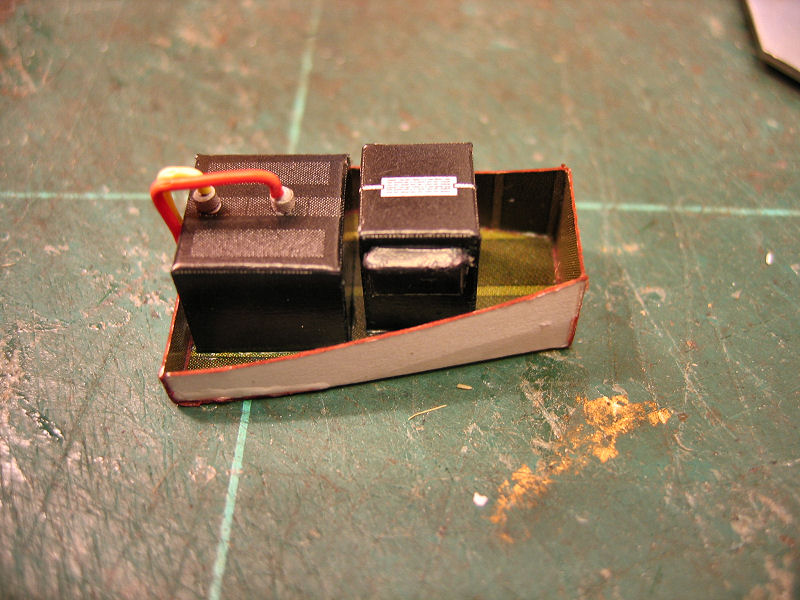
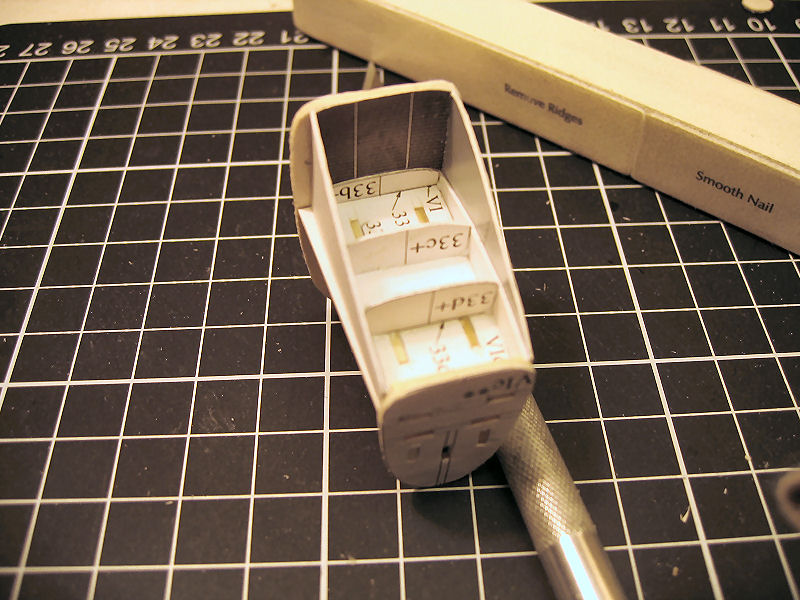
I started easy with the battery |
And another box... |
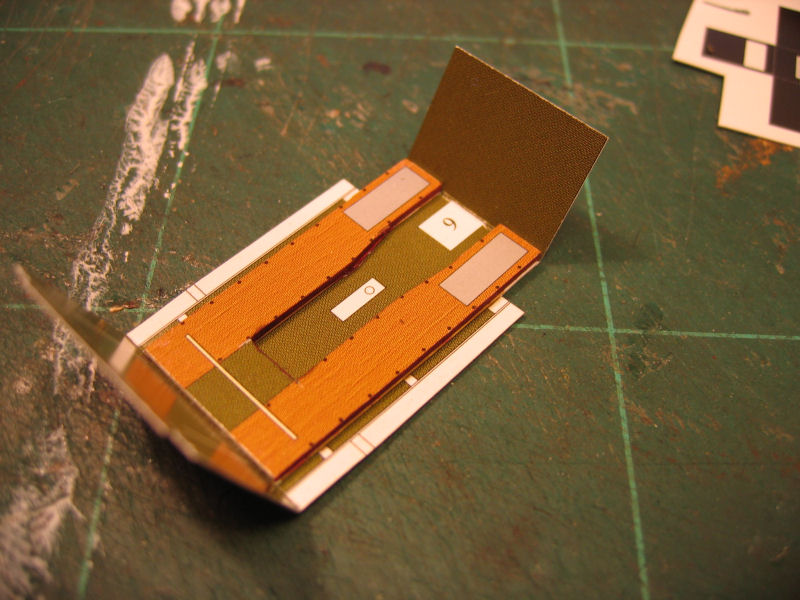
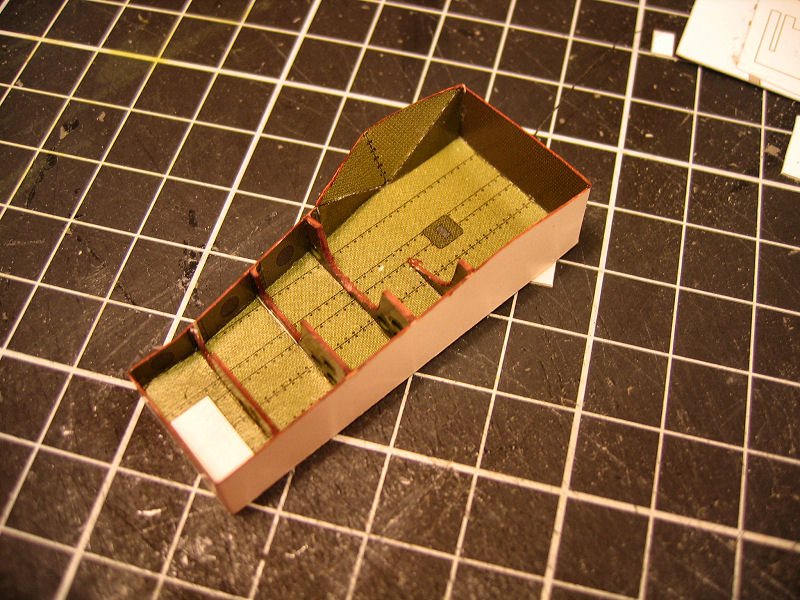
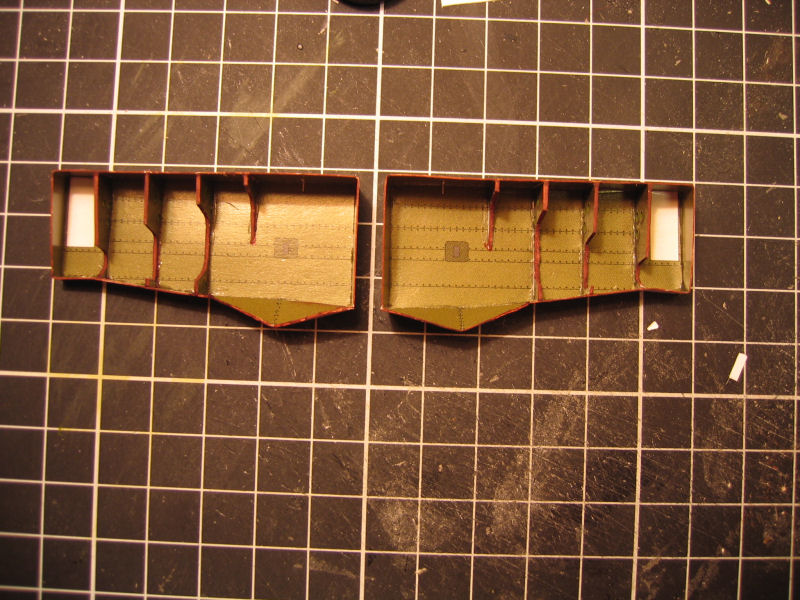
Then I did the floor |
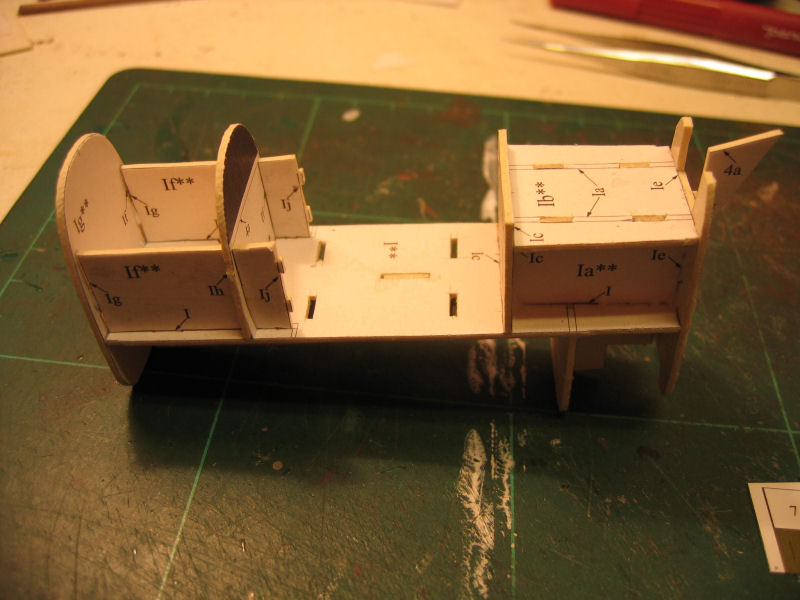
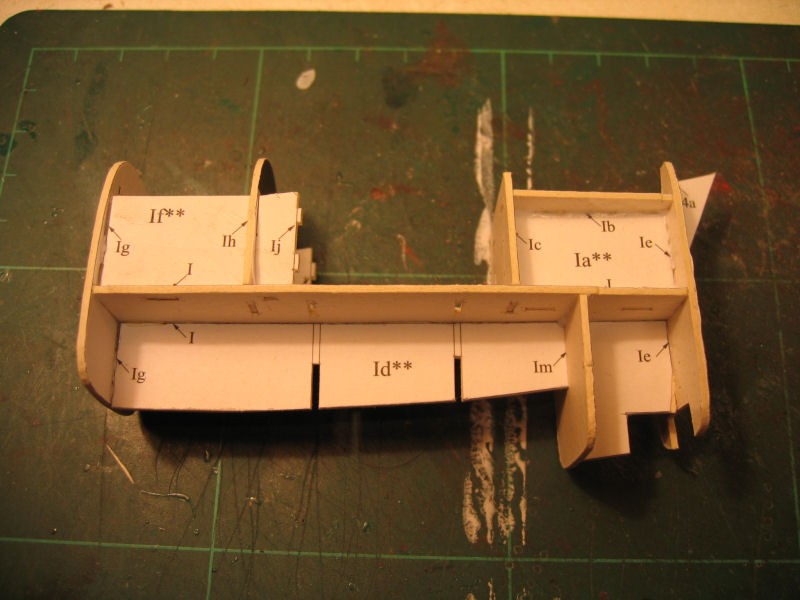
A closer look of the framing |
 |
 |
 |
 |
The frames seen from the side |
Drawing of one of the sidepanels. |
Here I have started to build ou the structure on the panel |
The frame in place |
 |
 |
 |
 |
Another skin was to be placed over the frame |
Not the easiest thing to get nicely done.... |
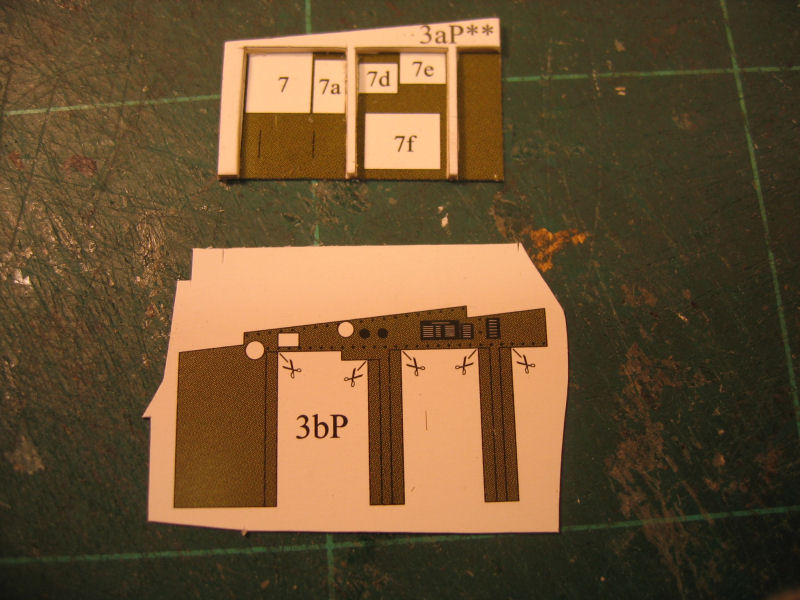
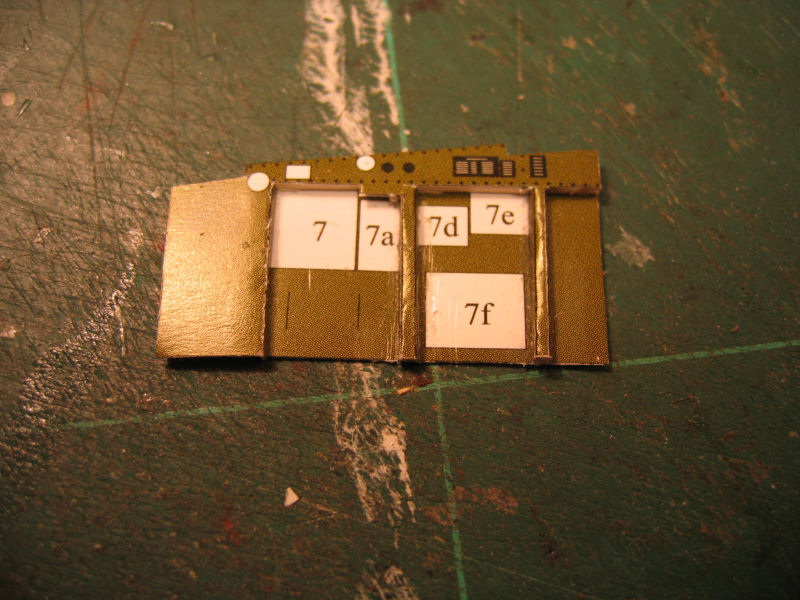
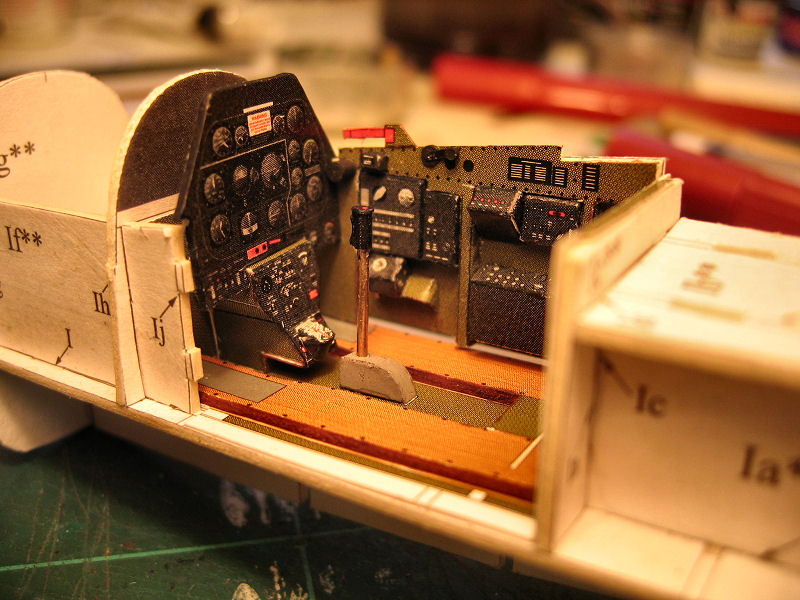
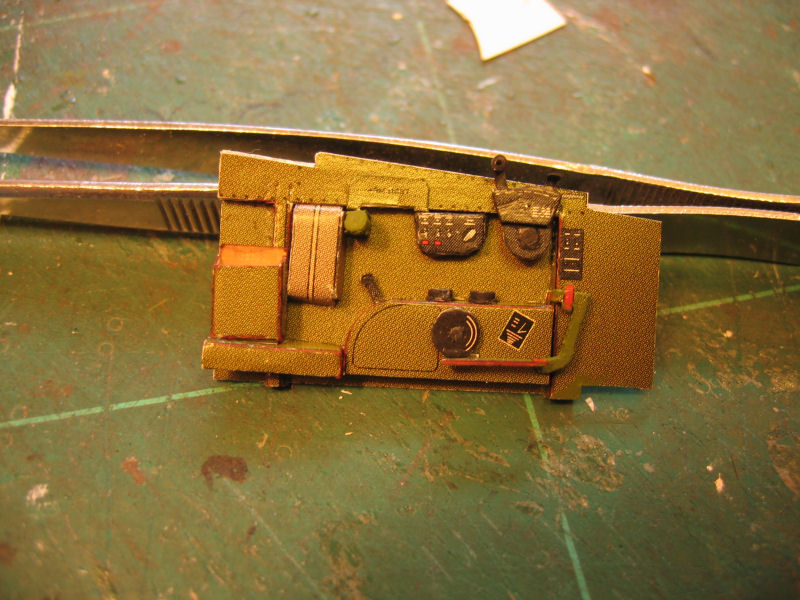
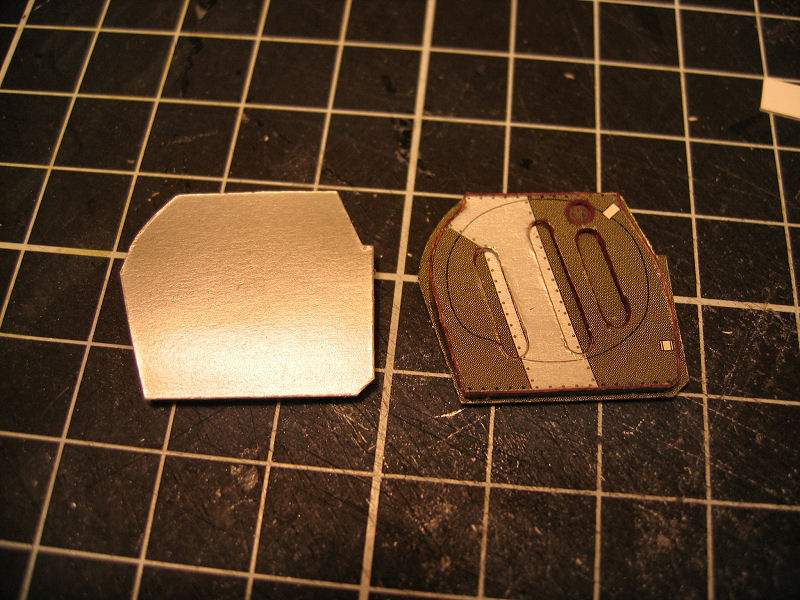
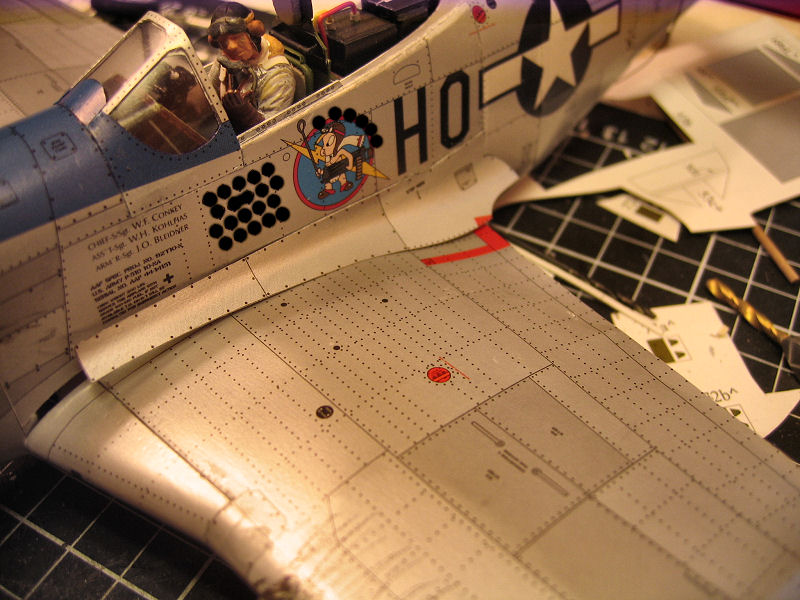
Adding instruments |
The panel in place |
 |
 |
 |
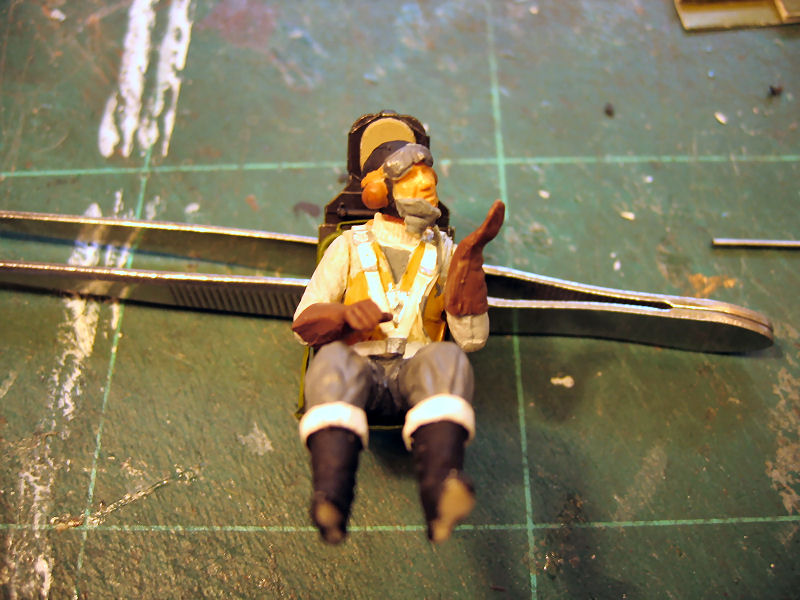 |
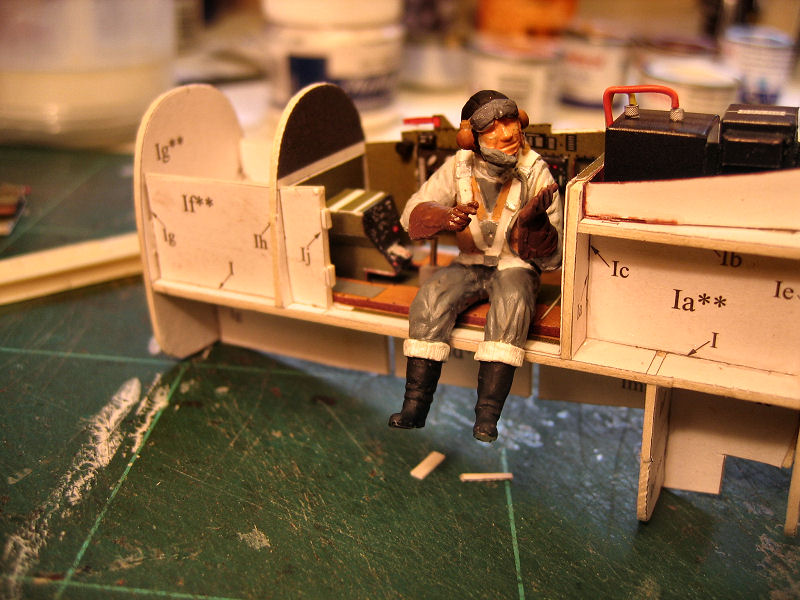
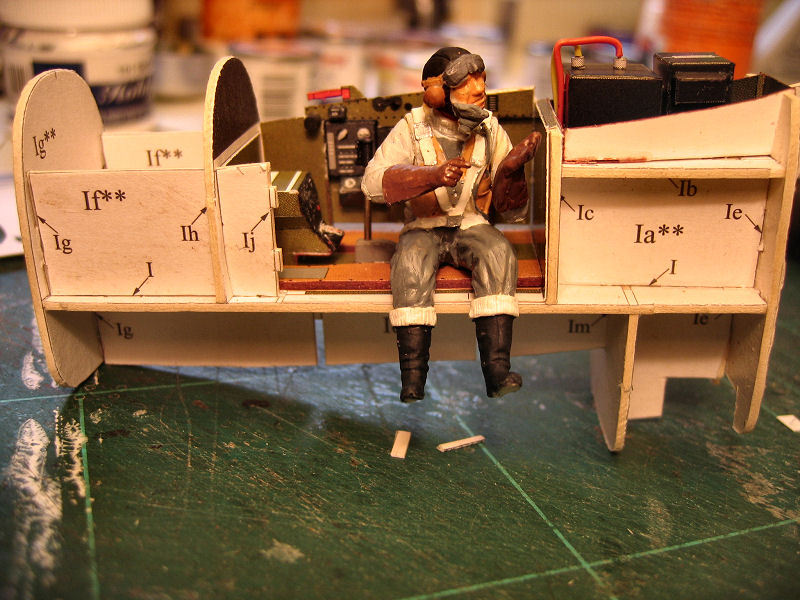
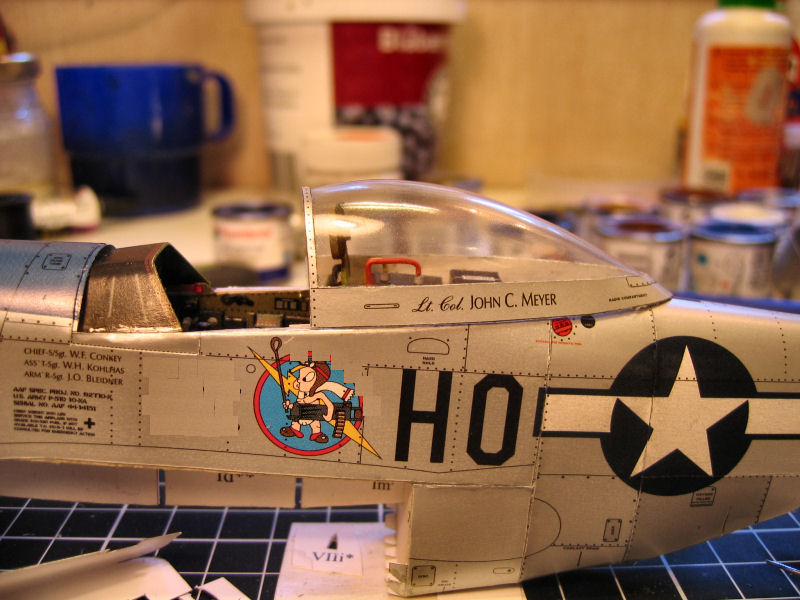
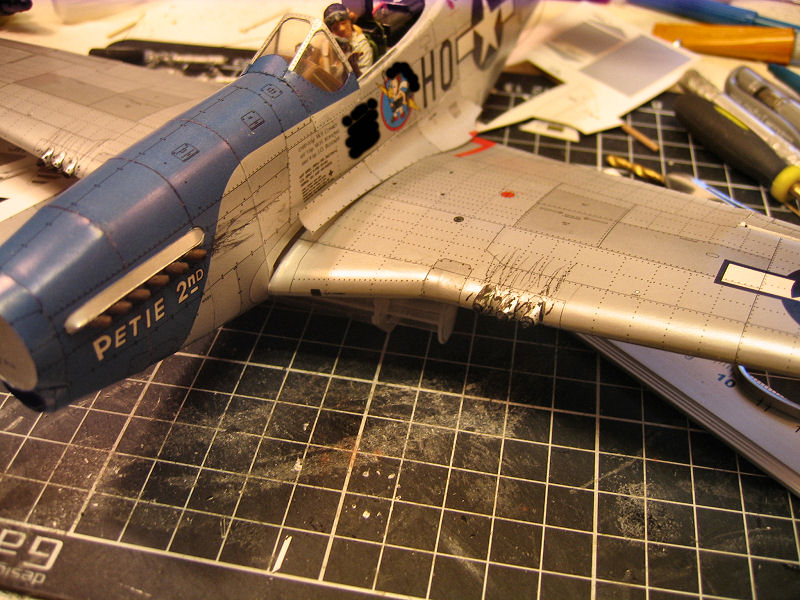
Pilot John came on inspection |
He is happy with the result |
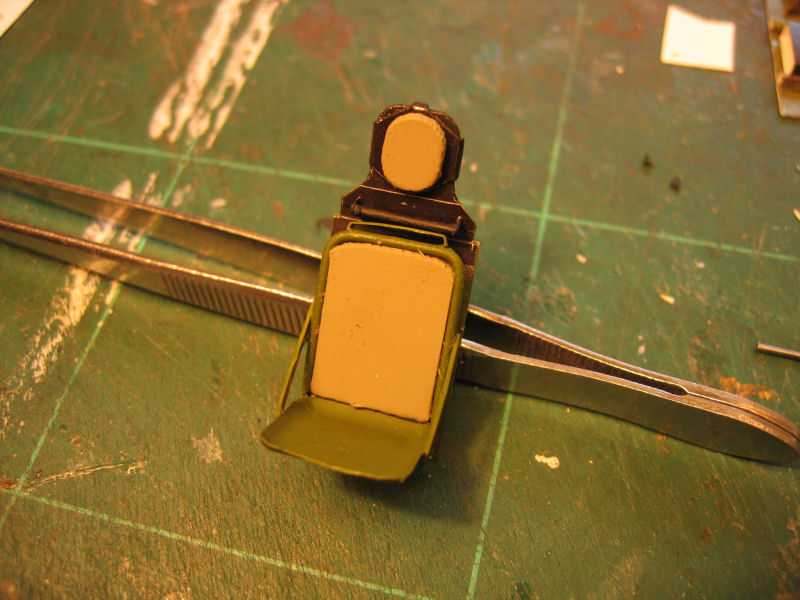
Pilots seat |
The pilot fitted just fine |
 |
 |
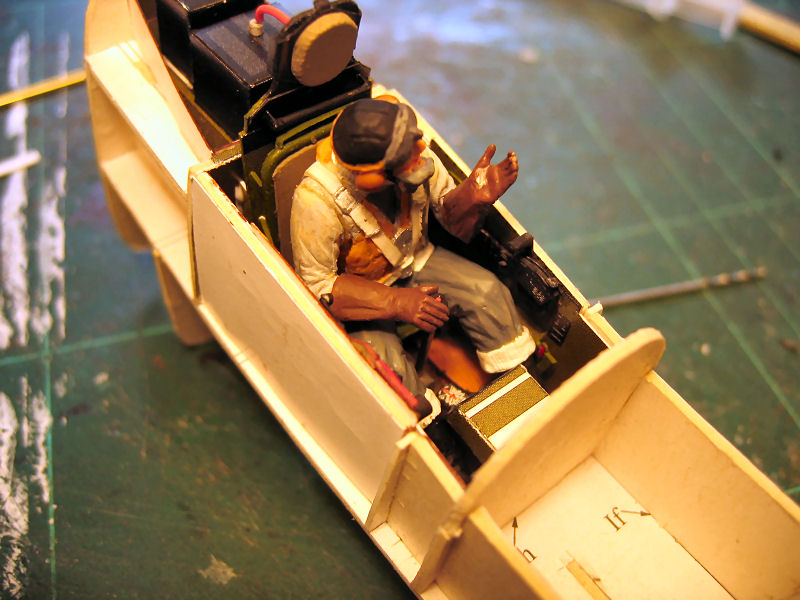 |
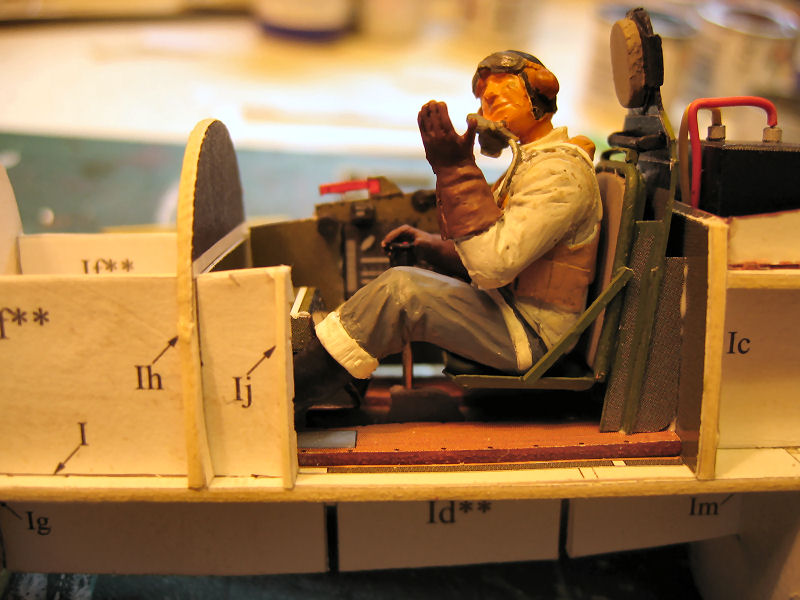
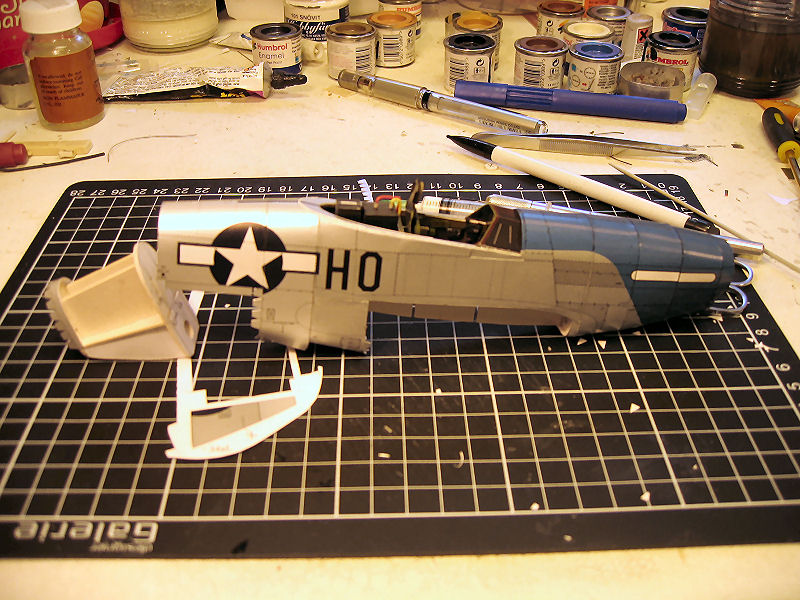
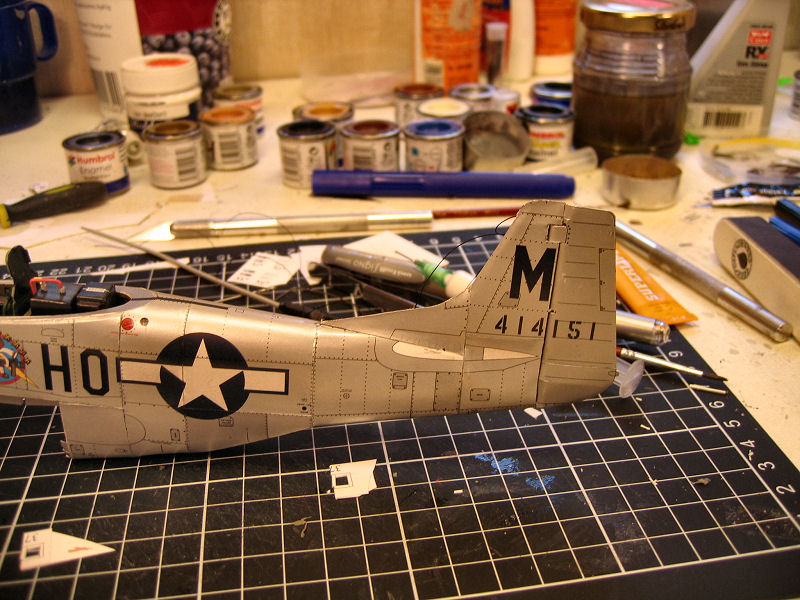
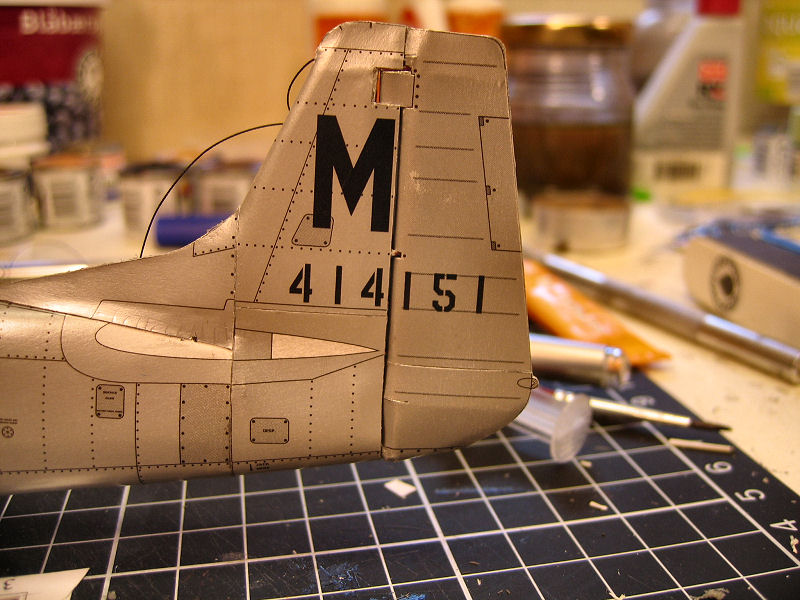
Pilot John inside his plane |
The other sidepanel |
Both panels inserted |
 |
 |
 |
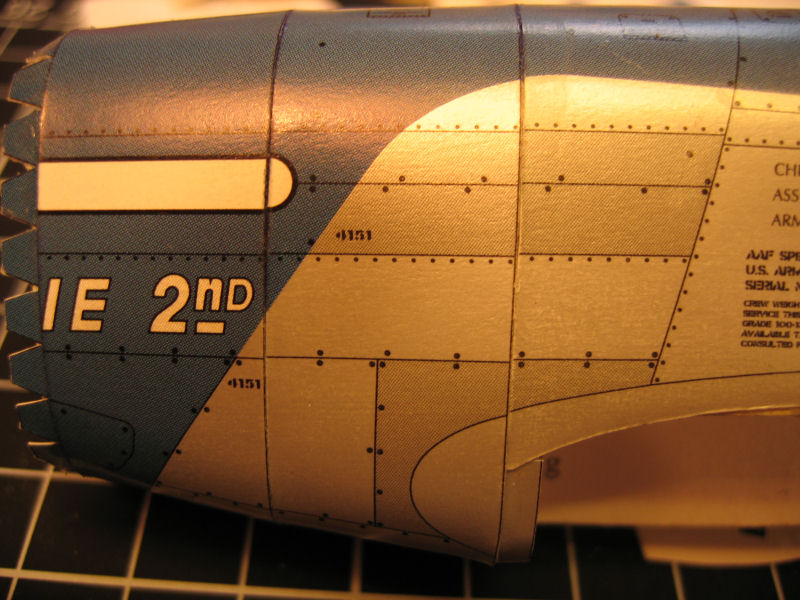 |
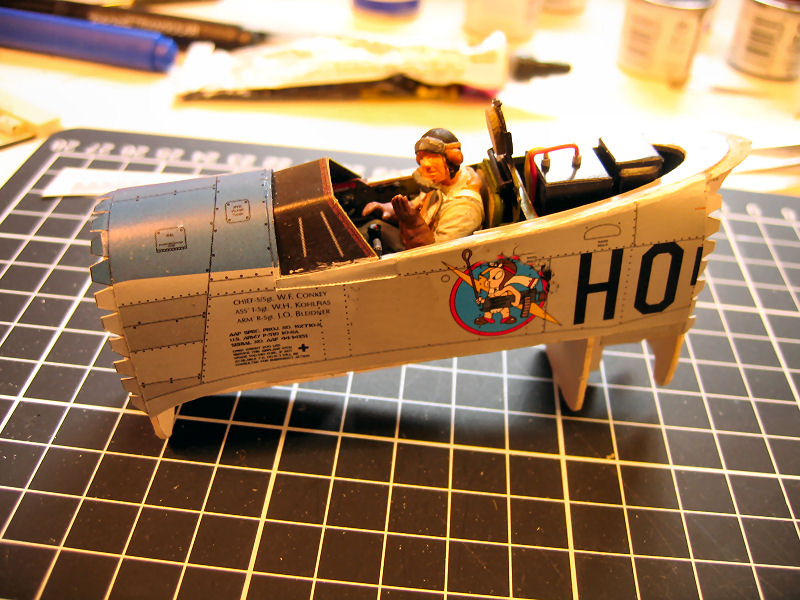
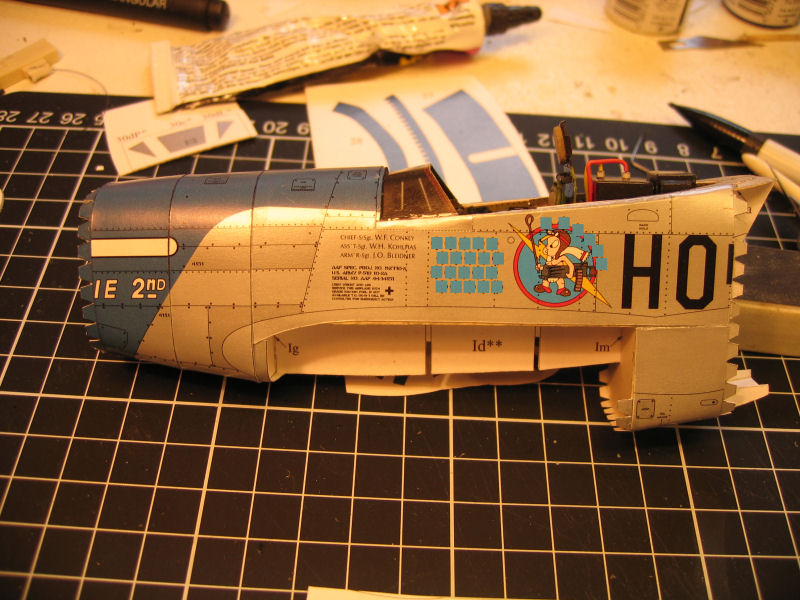
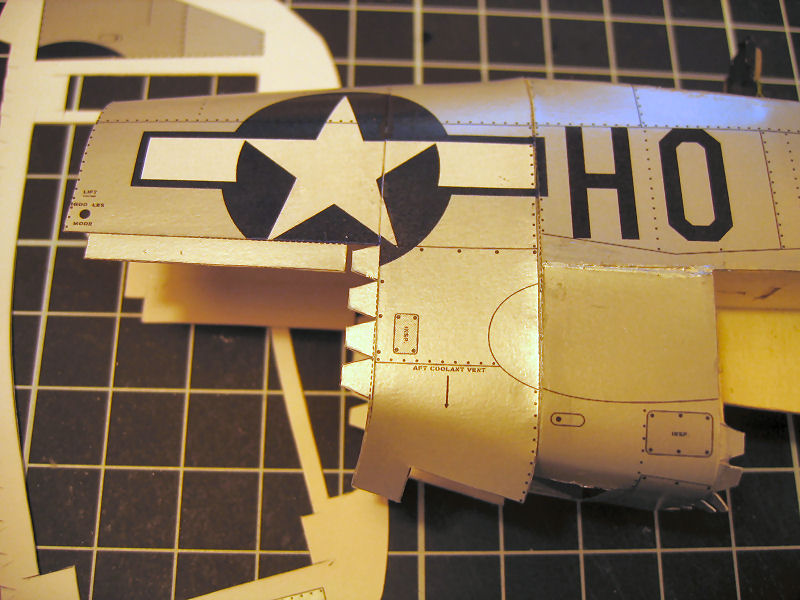
The skin has a perfect fit |
Other side |
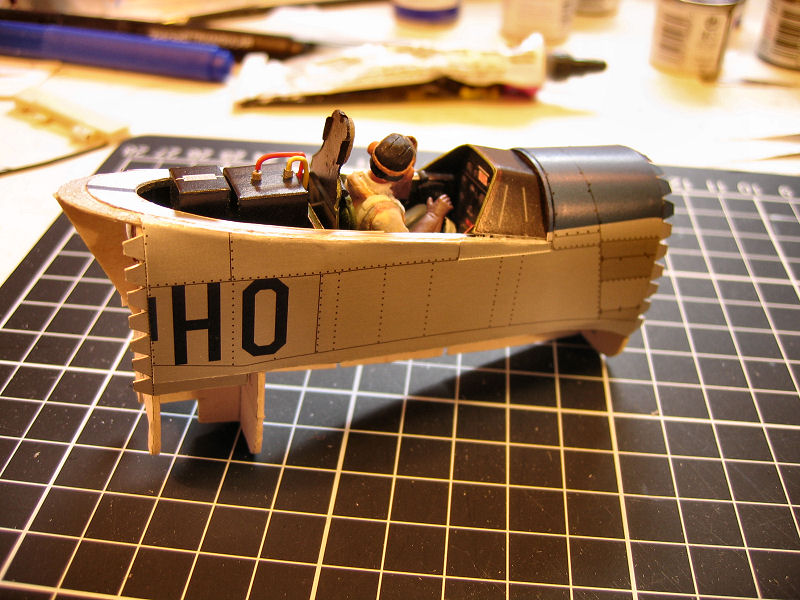
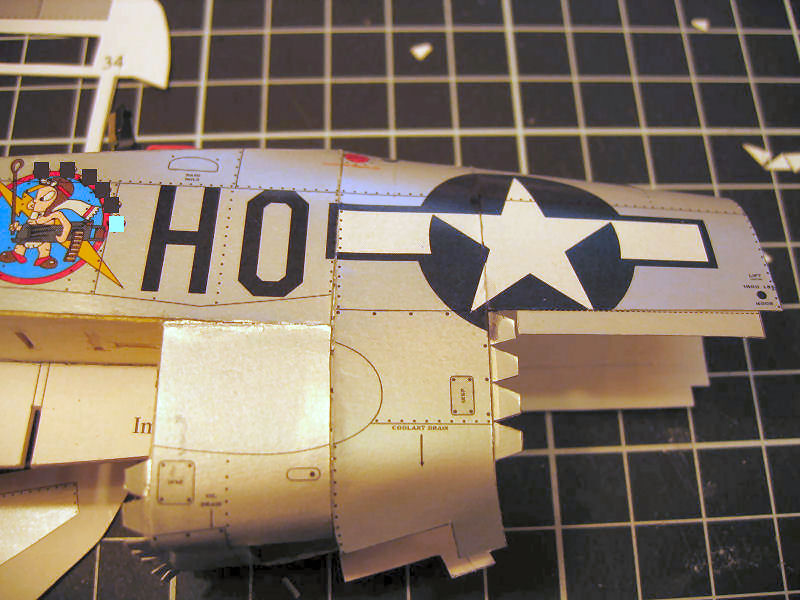
The front sections |
Also fitted just fine |
|
|
|
|
All sections in place |
The air inlet was a bit tricky |
But it turned out nice enough |
Seen from the side |
 |
 |
 |
 |
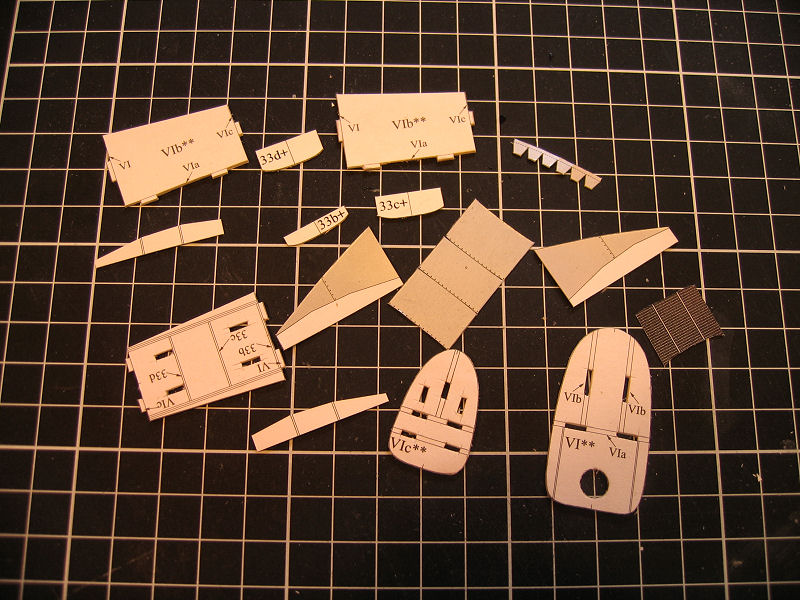
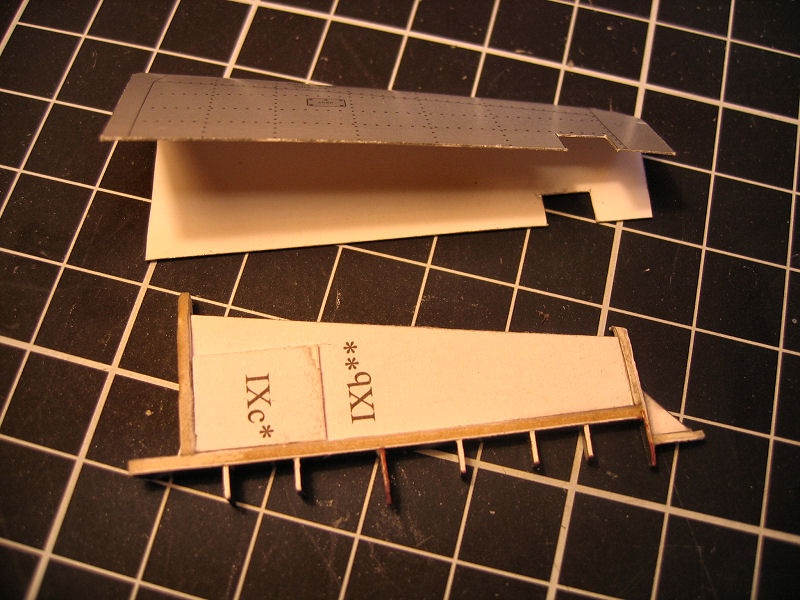
All parts for the framing of the next section is cutted out |
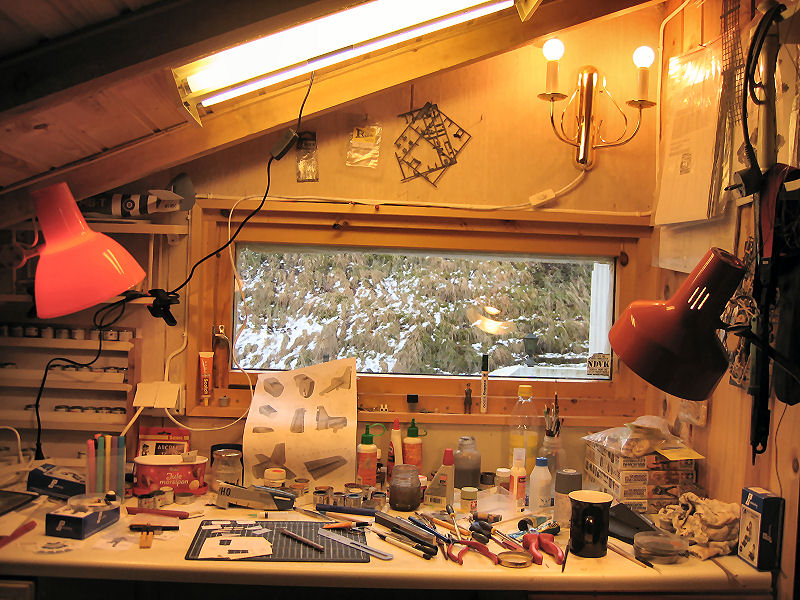
My desk.....and the mess |
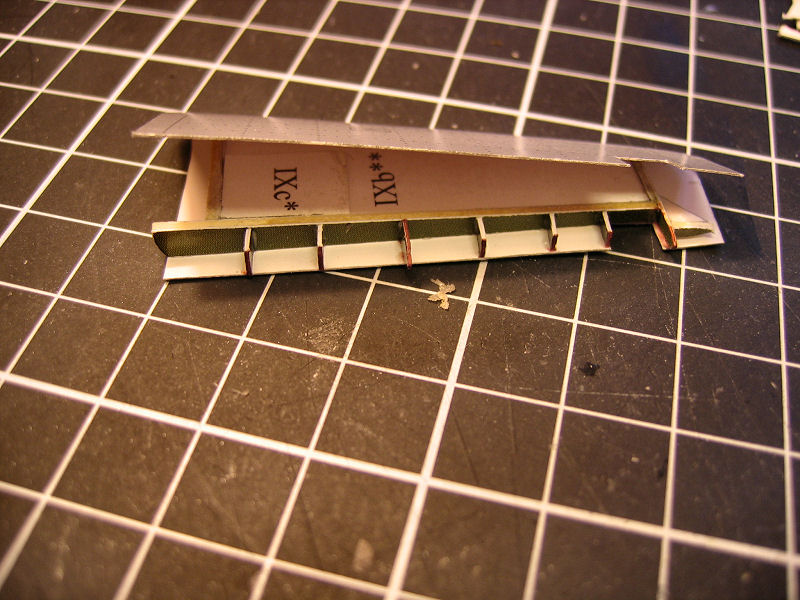
The inner structure is assembled |
On this part I decided to put the skin on first to be sure all the panel lines aligned perfectly |
 |
 |
 |
 |
A closer look at the skin |
The other side |
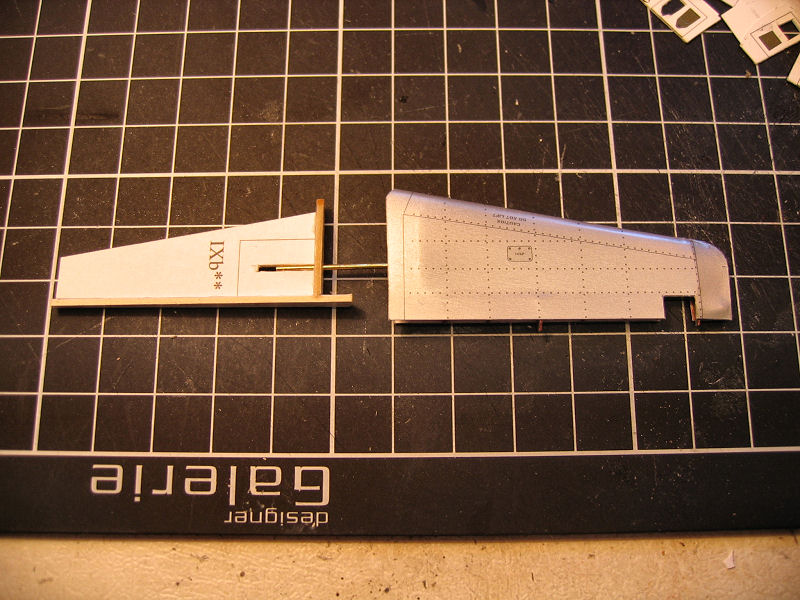
Then I inserted the frames |
And closed up the underside |
 |
 |
 |
 |
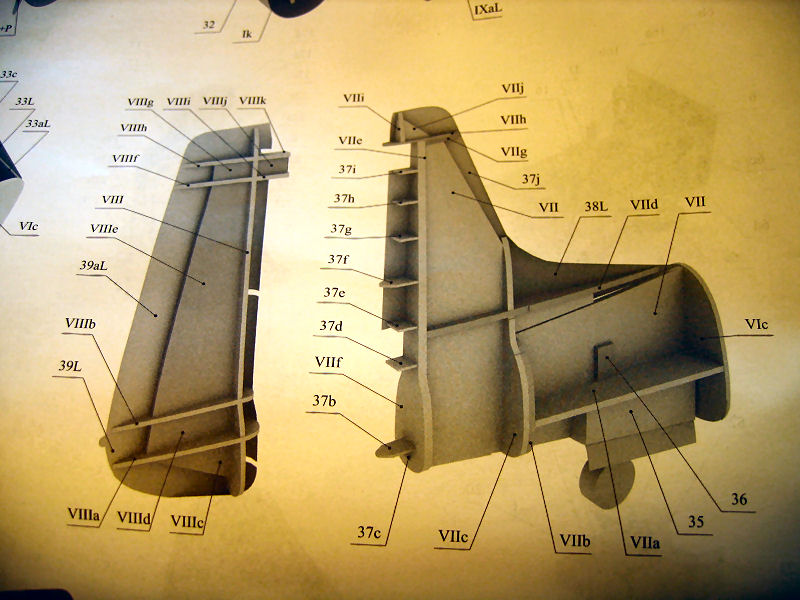
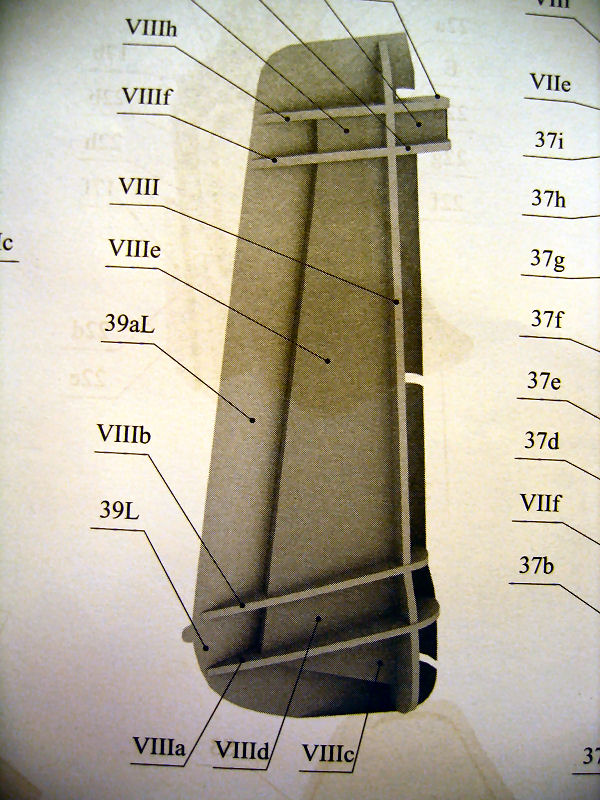
The drawing of the tail |
The framing is glued in place |
Closer look |
And I added the last frames to the section |
 |
 |
 |
 |
The skin is preshaped |
Then I glued the skin on |
And added the last piece |
The upper part in place |
 |
 |
 |
 |
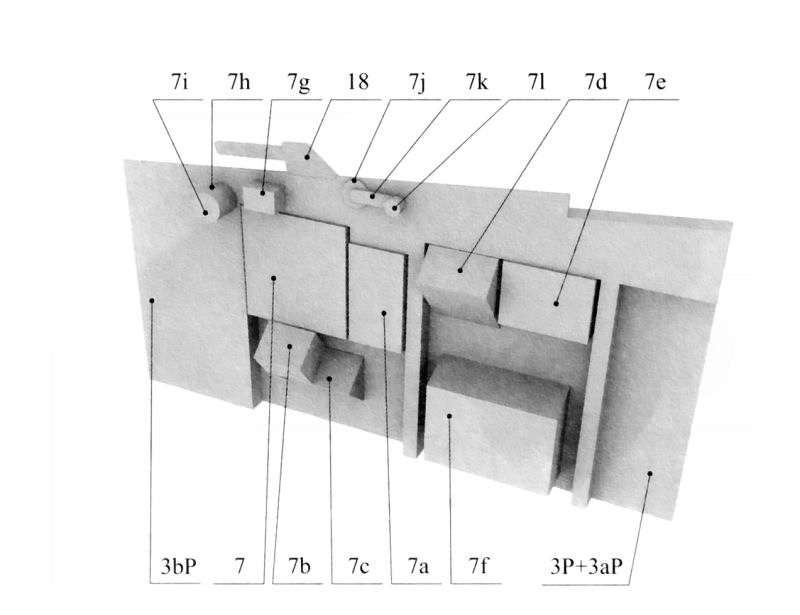
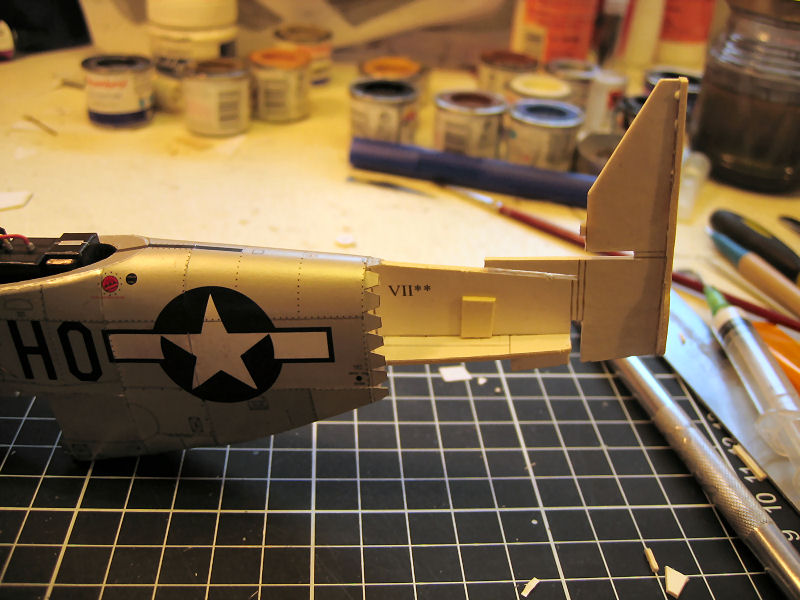
The drawing showing the inner structure |
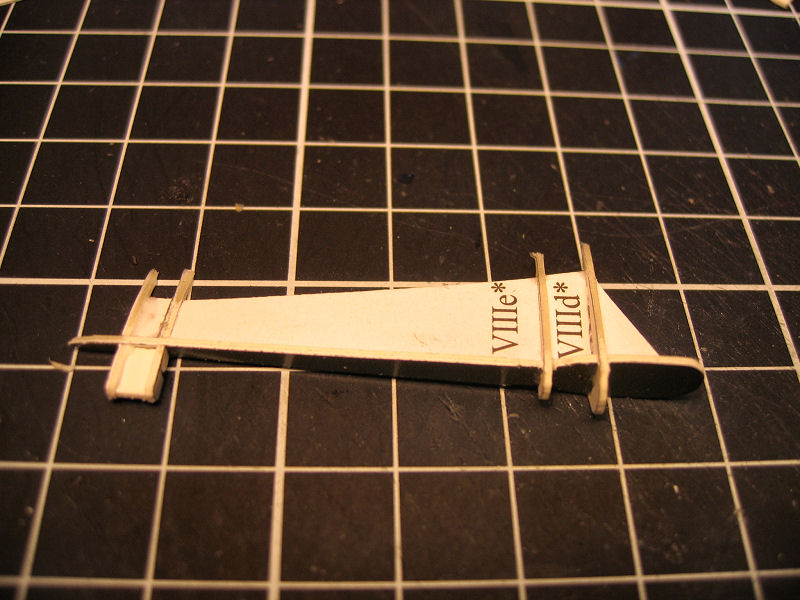
The framework |
The skins had to be formed before gluing and it's kind of picky work to get this joints nicely done.
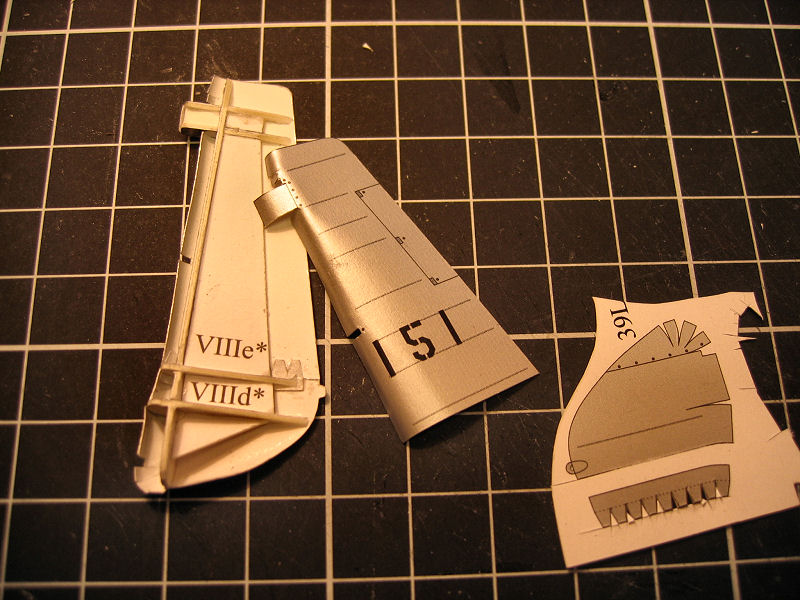
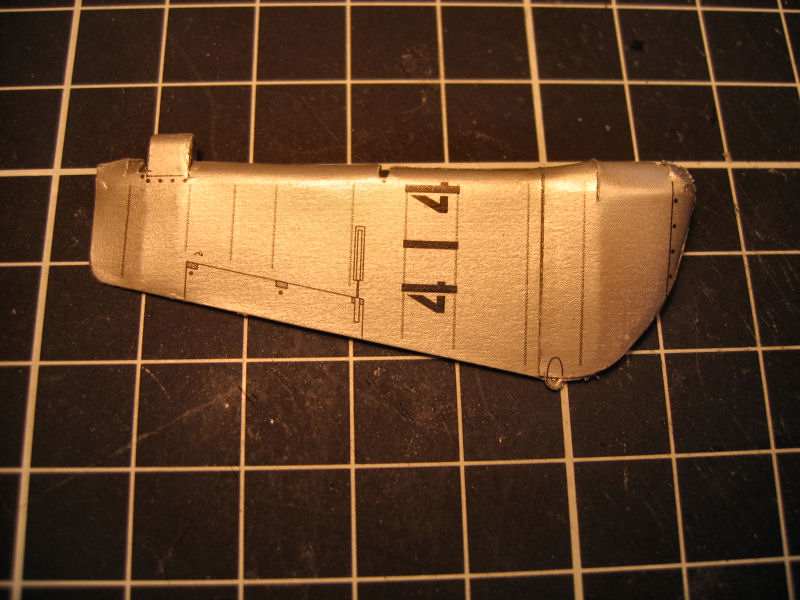
Here I have glued one side to the rudder |
And the skins are on. |
 |
 |
 |
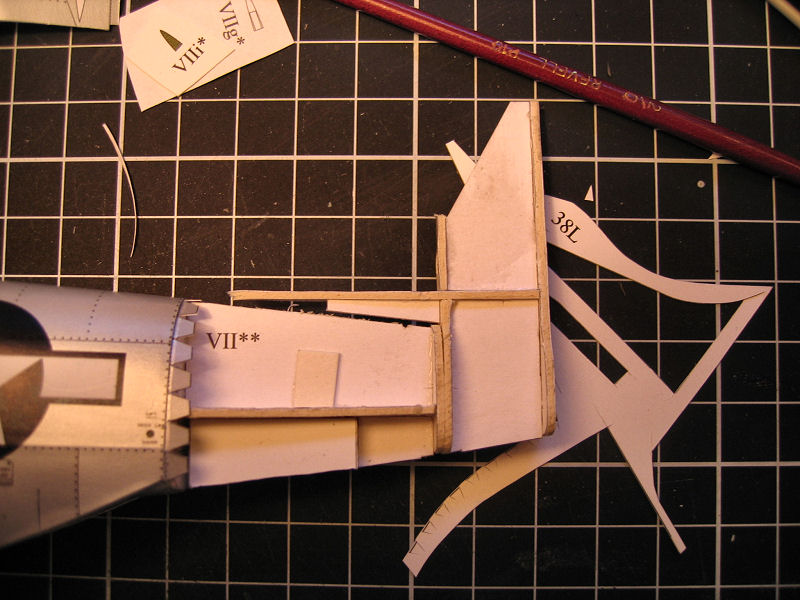
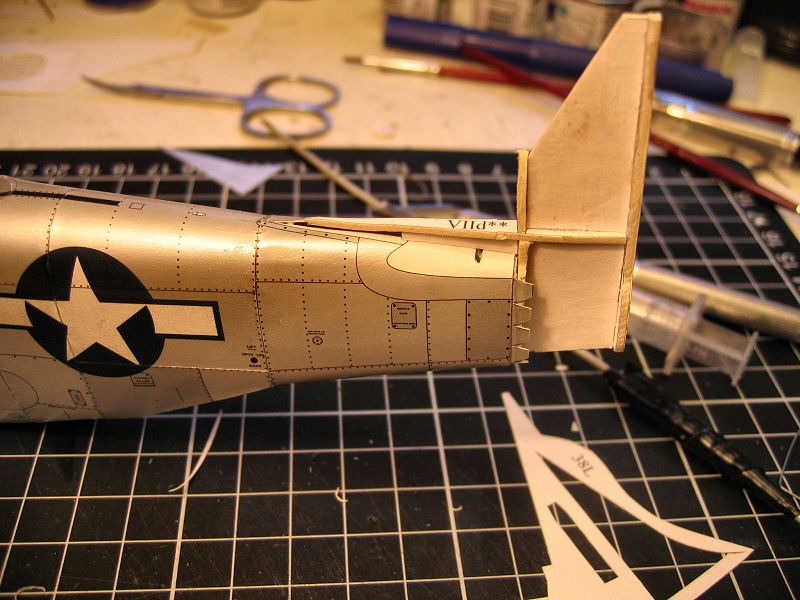
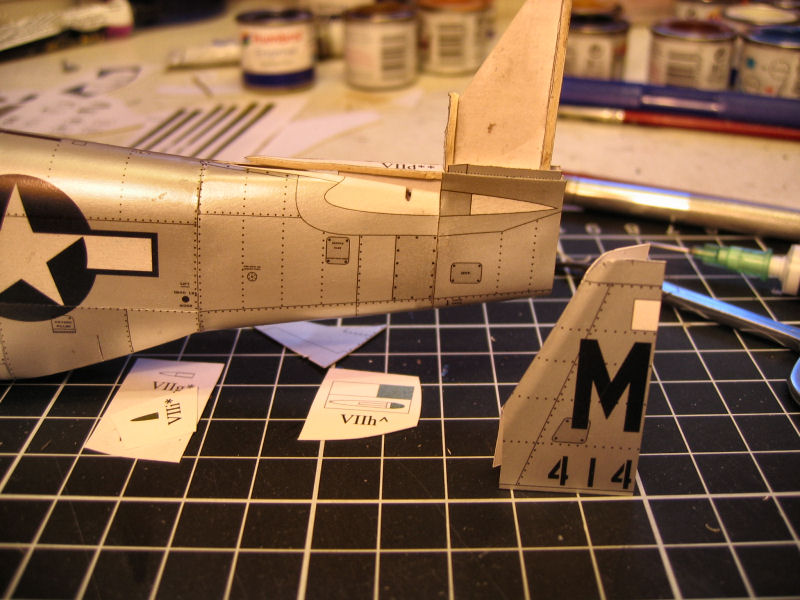
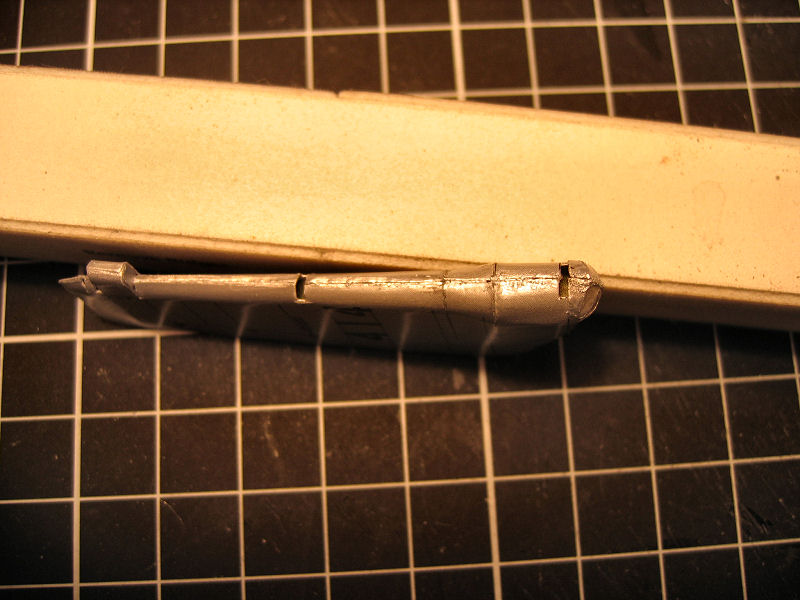
The side facing forward had some flips to be joined.I found it a bit hard to get this niceely done,but it's invisible after the rudder is mounted...so I let it pass |
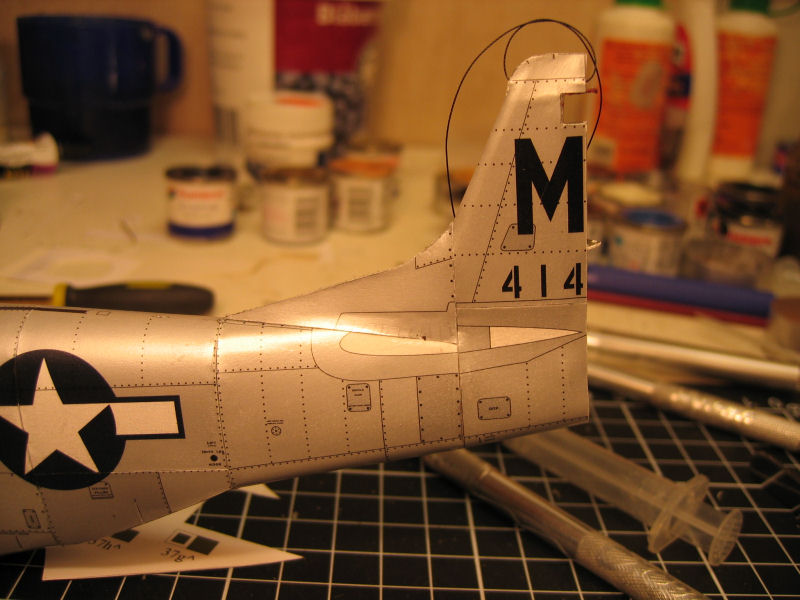
The rudder put loosely on.It won't be glued in place before I have the radio antenna going from the top of the tailfin through the canopy and onto the pilots seat...So to have a chance of getting it straight it will be tightened up through the tailfin after glued in front. |
A closer view |
 |
 |
 |
 |
The drawing. Also a lot of parts involved in theese parts.... |
The first stab. here I have made the framing and preshaped the skin. |
Next is to glue the frame to the bottom part of the skin. |
And the top are glued in place. |
 |
 |
 |
 |
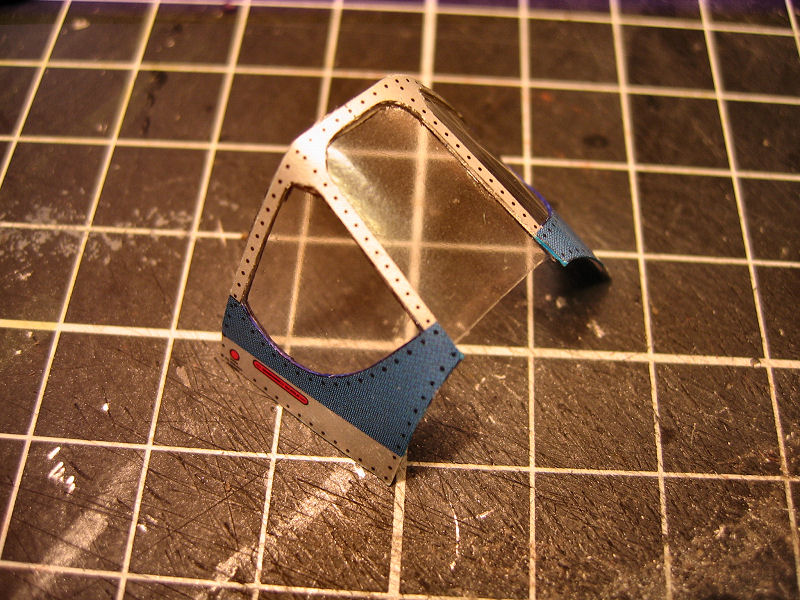
Canopy |
Canopy |
The control surfaces was next out.
Here I have prepared the framework . |
The fins are glued in place. |
 |
 |
 |
 |
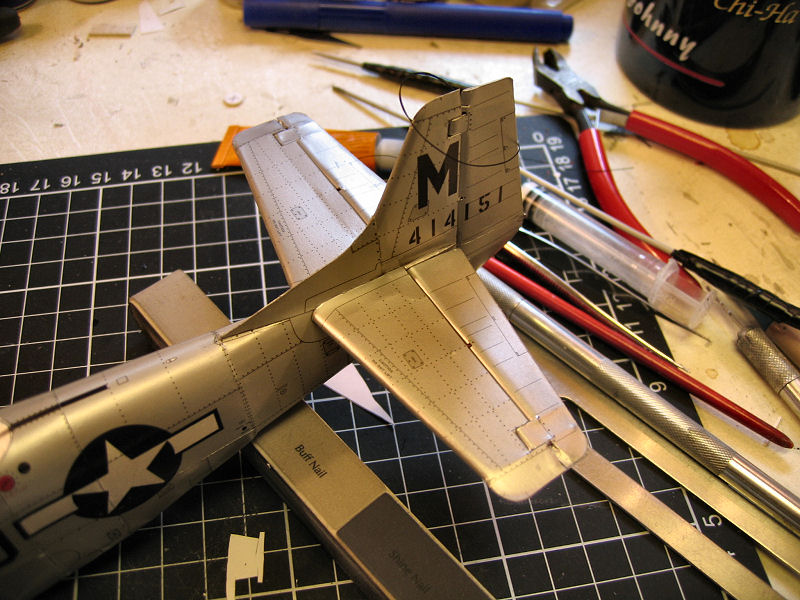
And the control surfaces are in place. |
Seen from behind. |
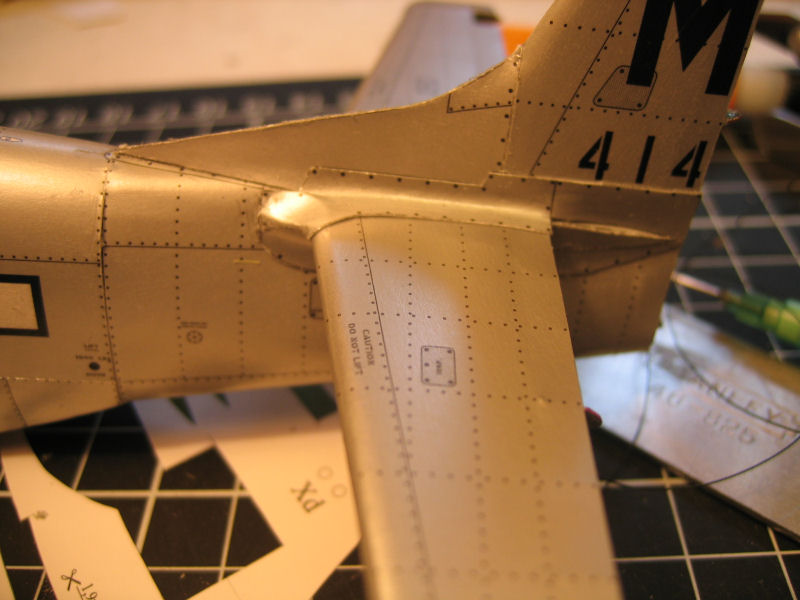
One side of the fairings are done. |
And an overview at last.... |
 |
 |
 |
 |
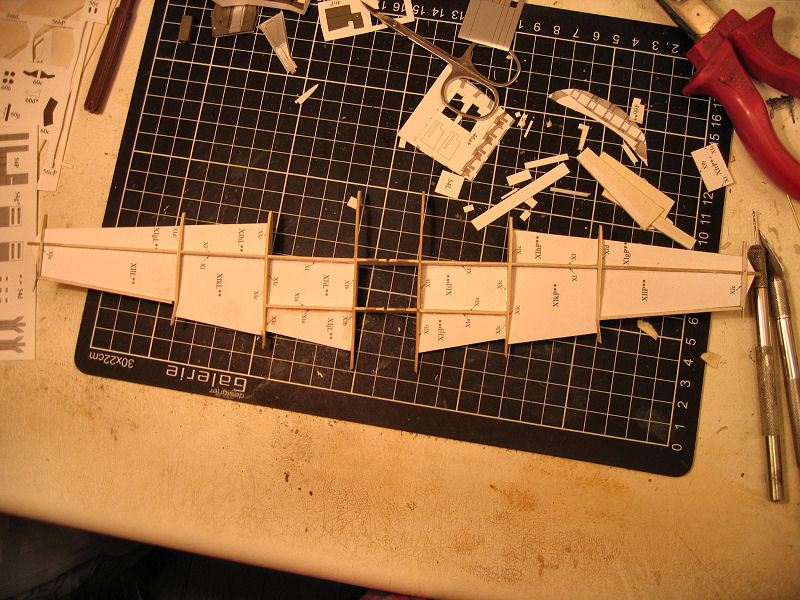
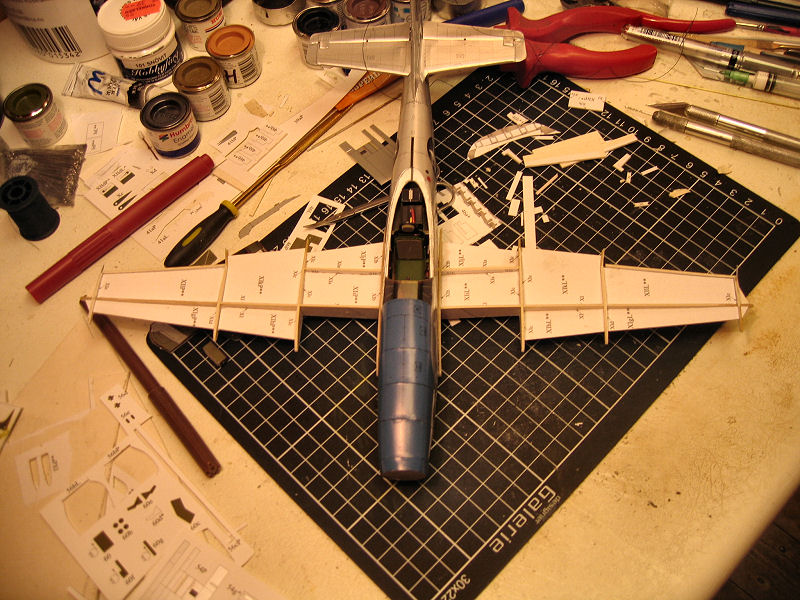
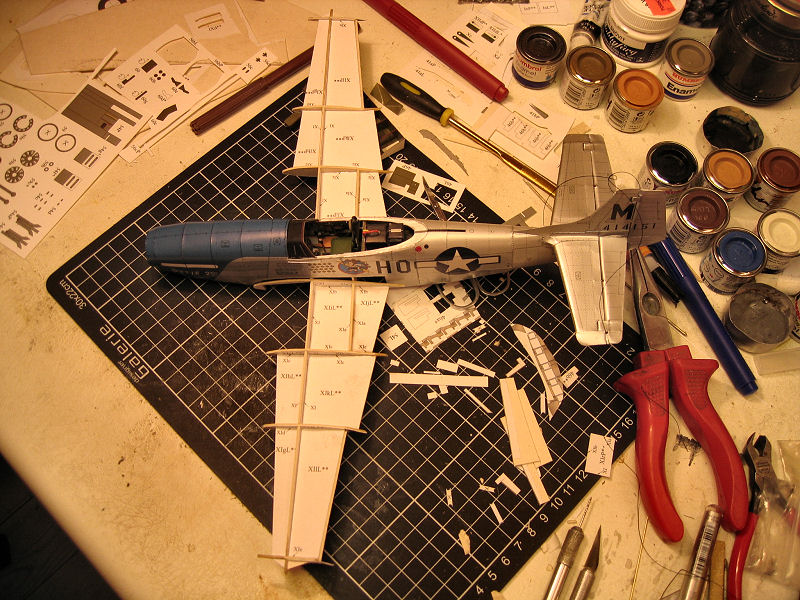
The inner framework of the wings. |
Wingframes put loosely on. |
Just to see how it looks :) |
Started on one of the wheelwells. |
 |
 |
 |
 |
And I made the wheel covers . |
and the cover that is attached to the landing gear. |
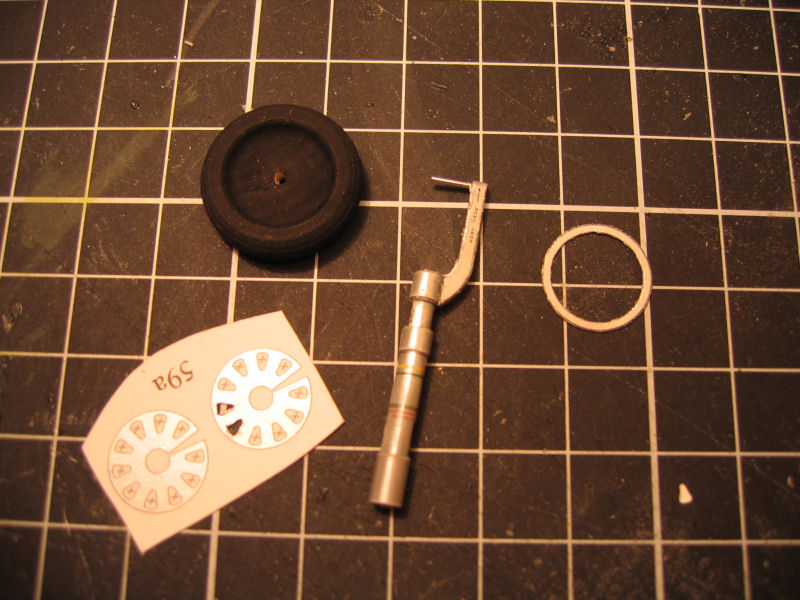
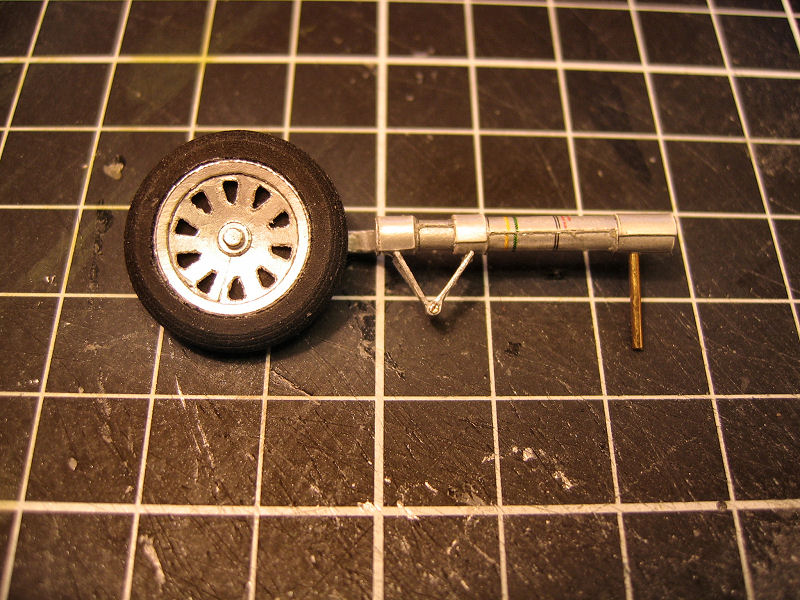
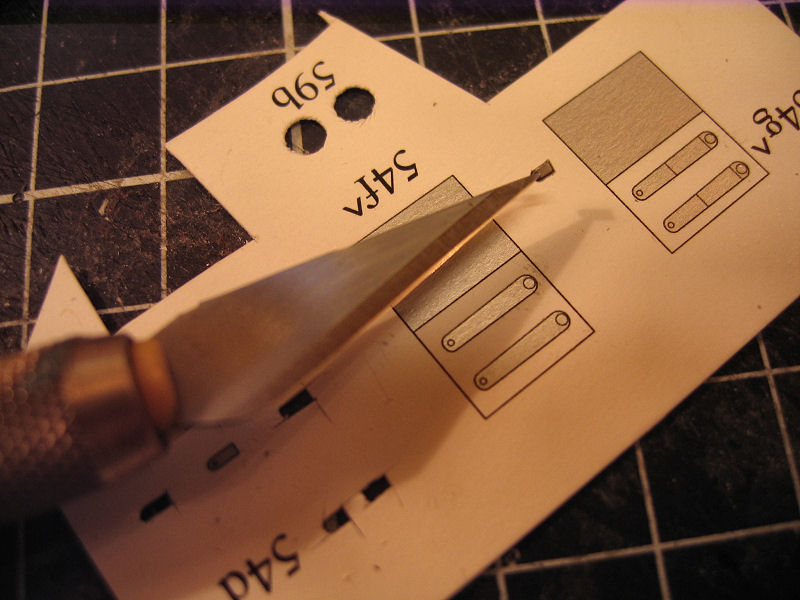
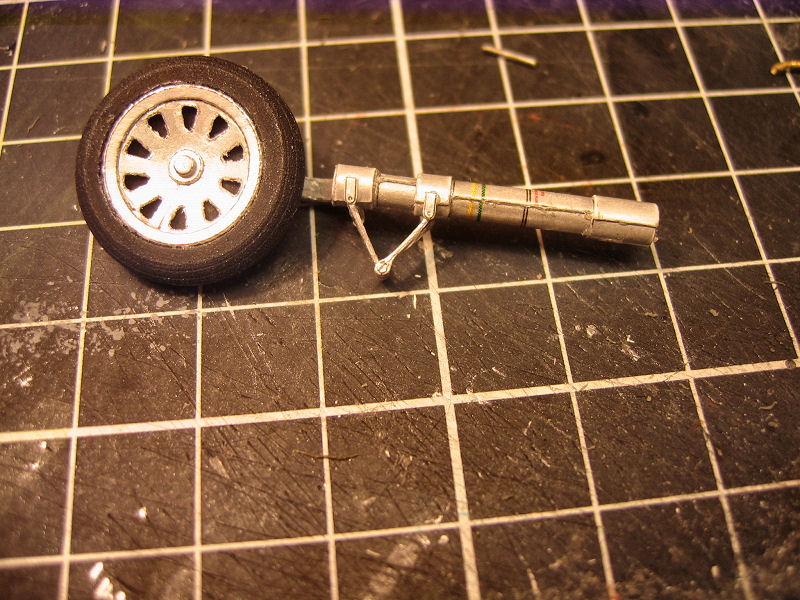
Also started on the landing wheels |
I did one of the legs for the landing wheels. |
 |
 |
 |
 |
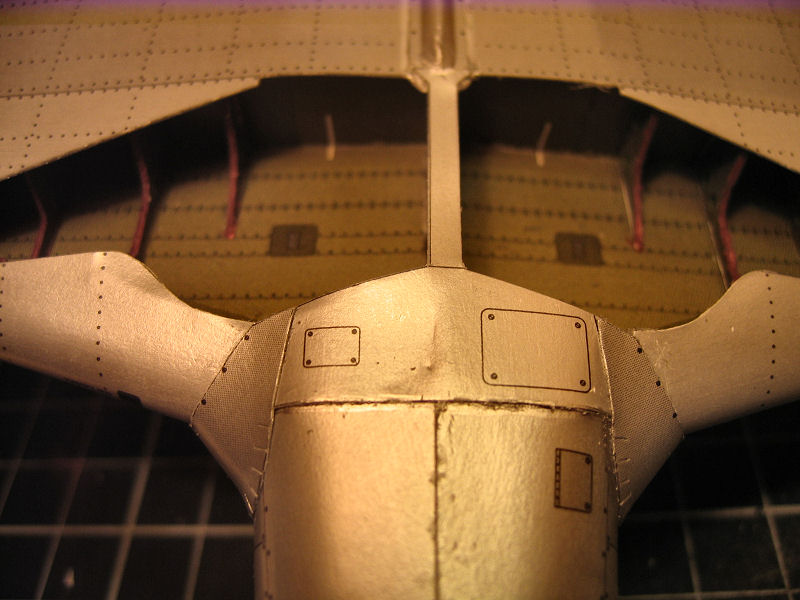
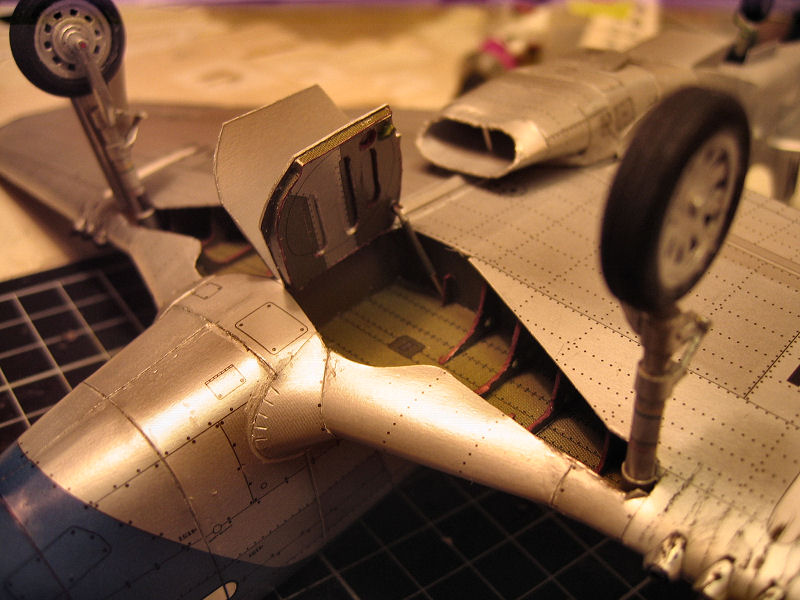
And both wheelwells are done.Just some minor parts to add.Such as the landing light and some push cylinders for the hatches that will be put on after the skinning of the wings are done. |
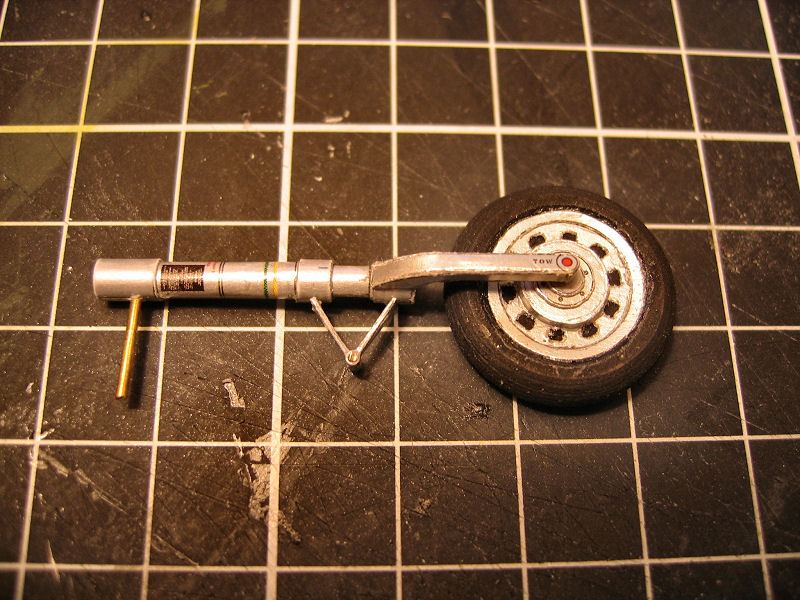
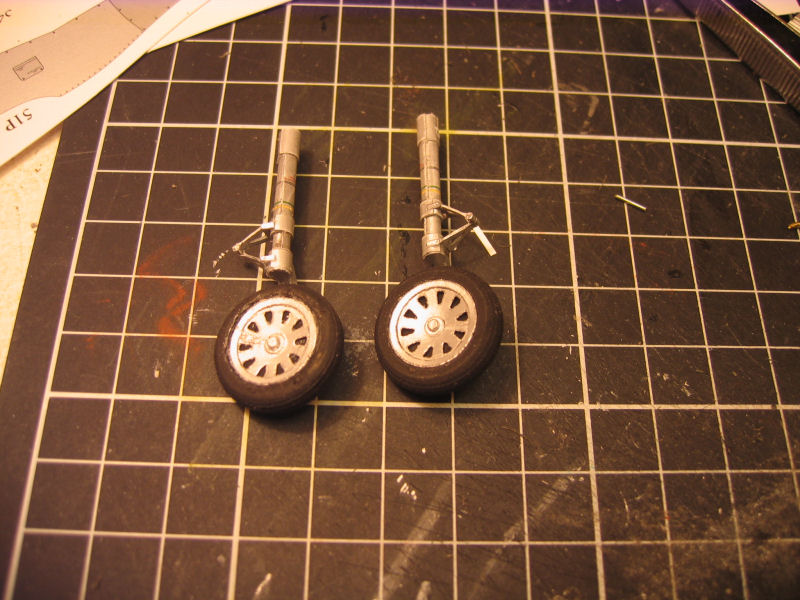
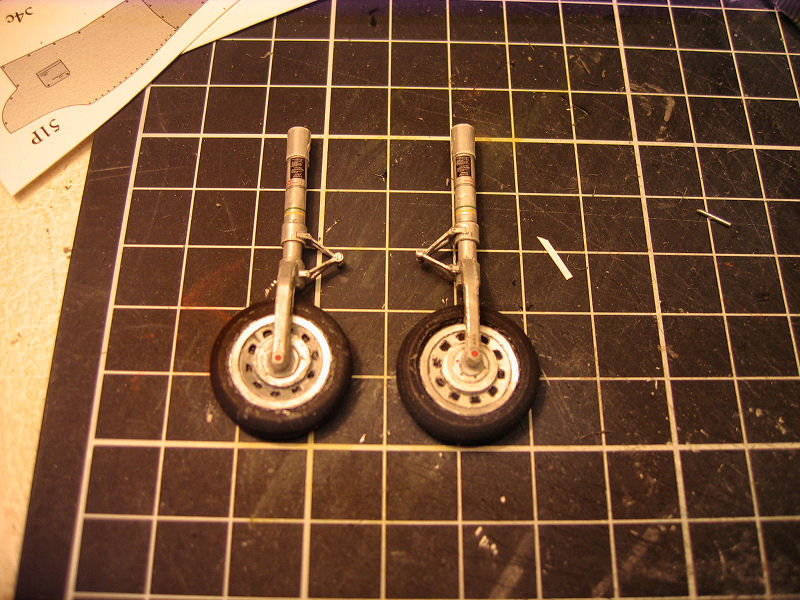
One of the landing gears is mostly done.. |
Another angle |
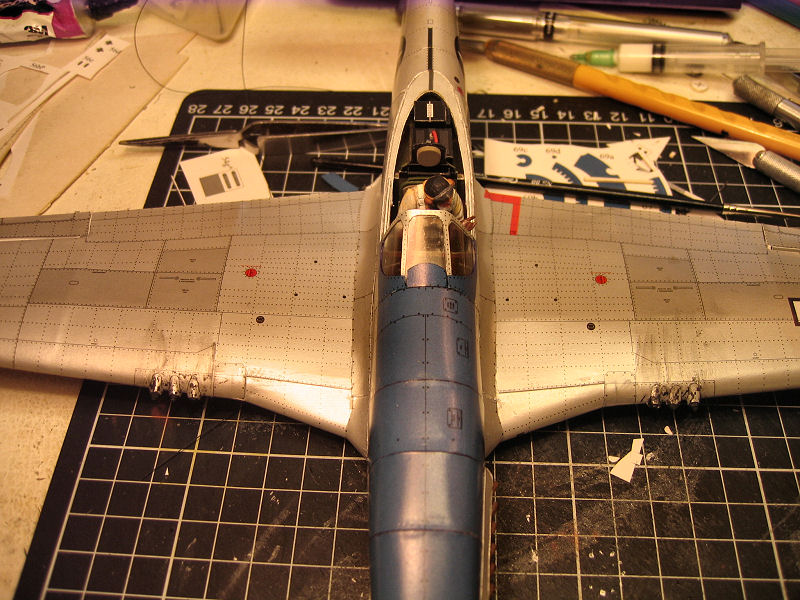
Pilot John is satisfyed with his wings. |
 |
 |
 |
 |
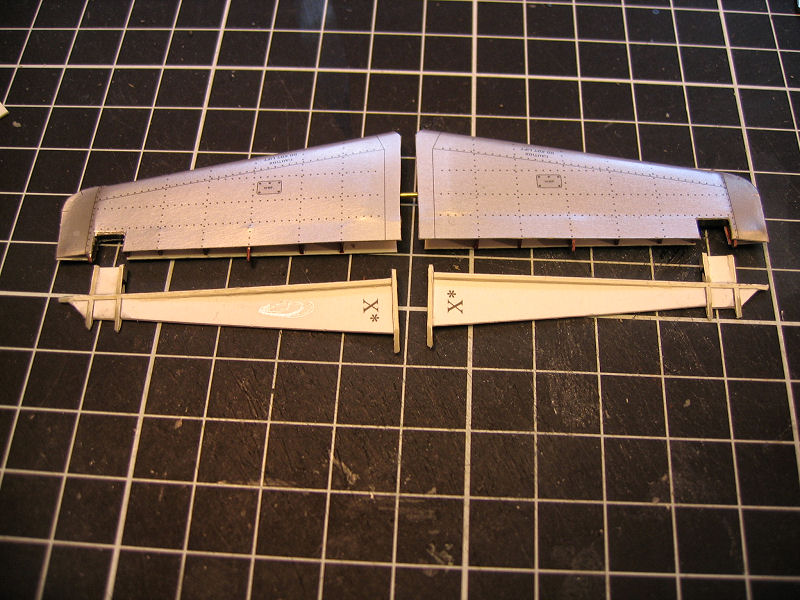
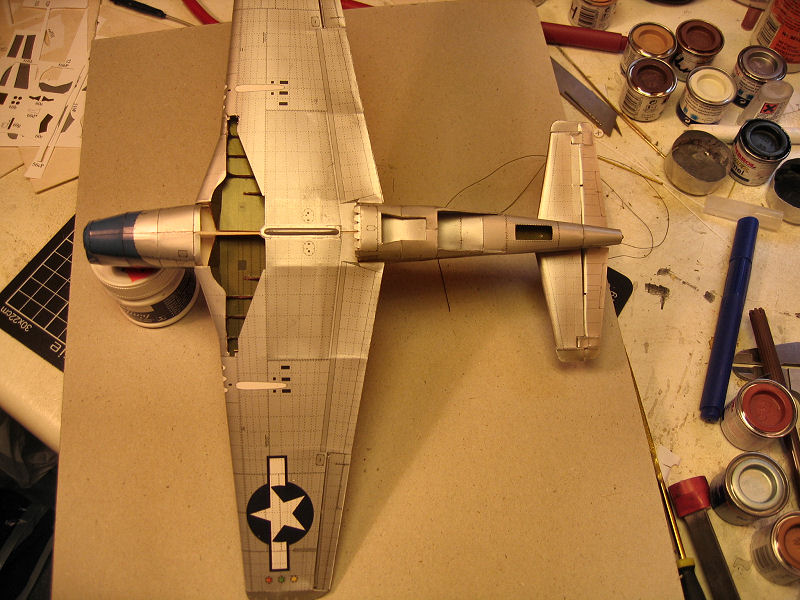
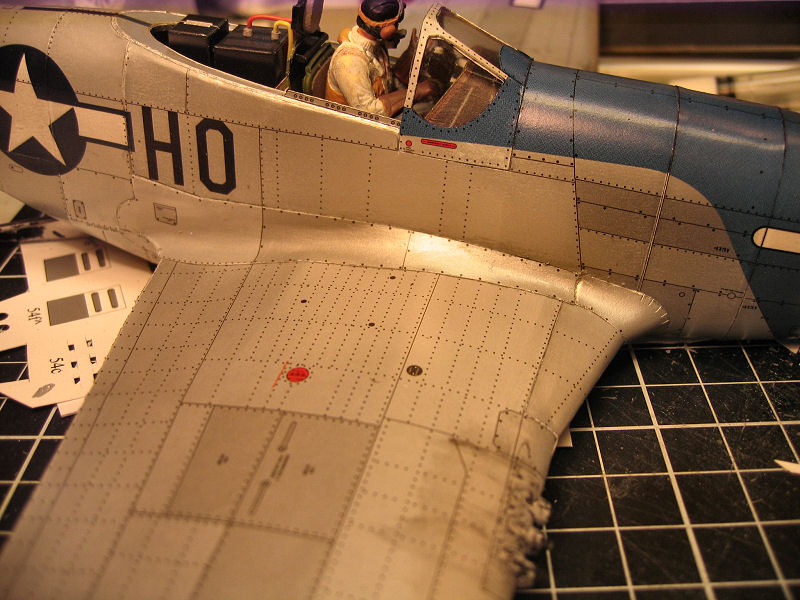
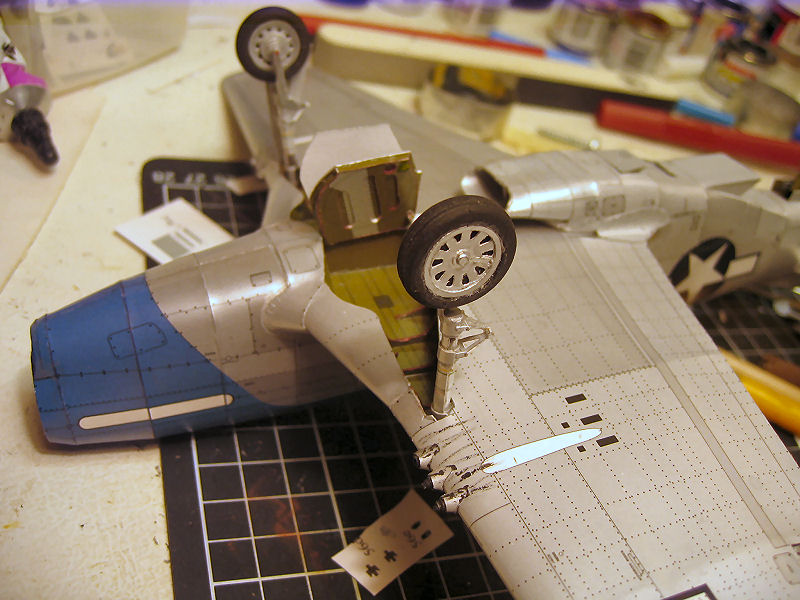
Underside of the wings. |
Upper side. |
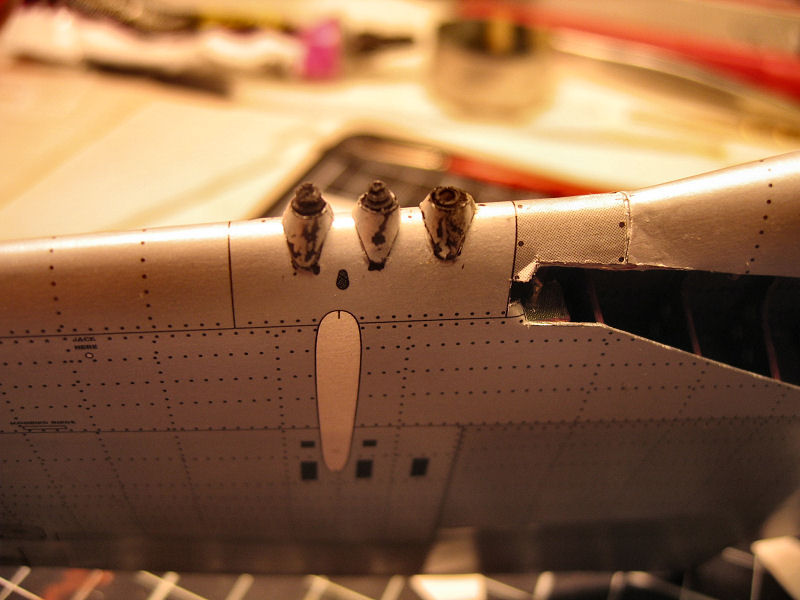
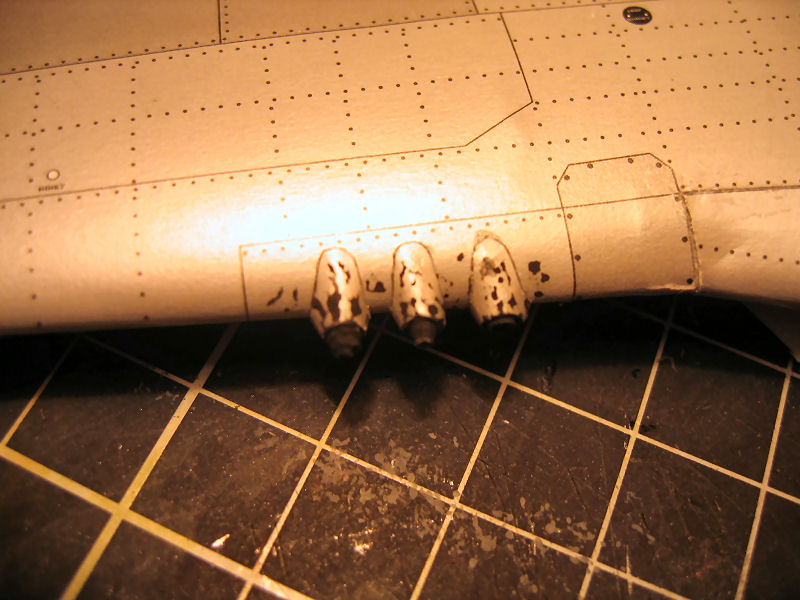
Machineguns |
Machineguns. |
 |
 |
 |
 |
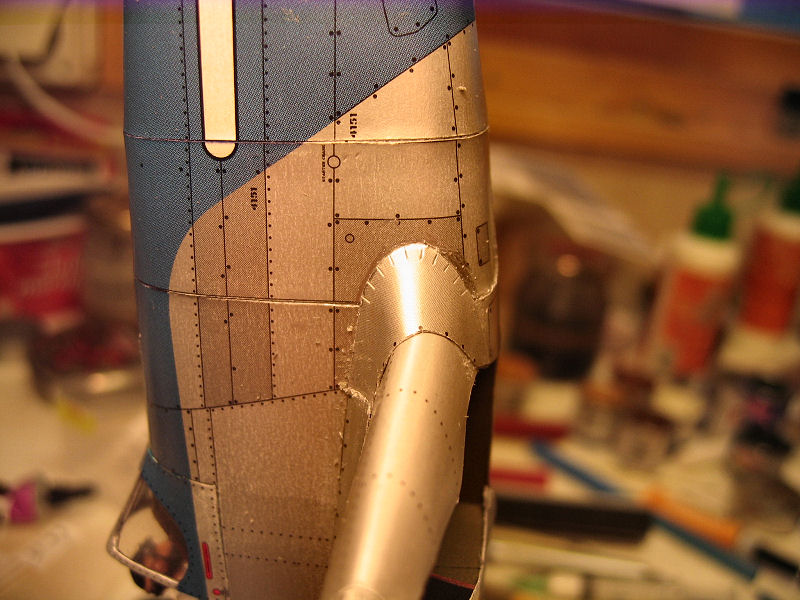
Exhaustpipes. |
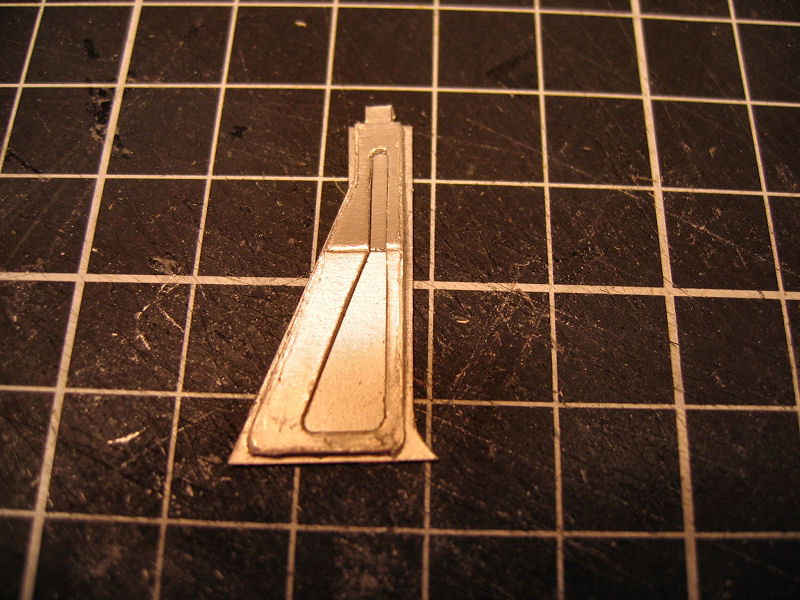
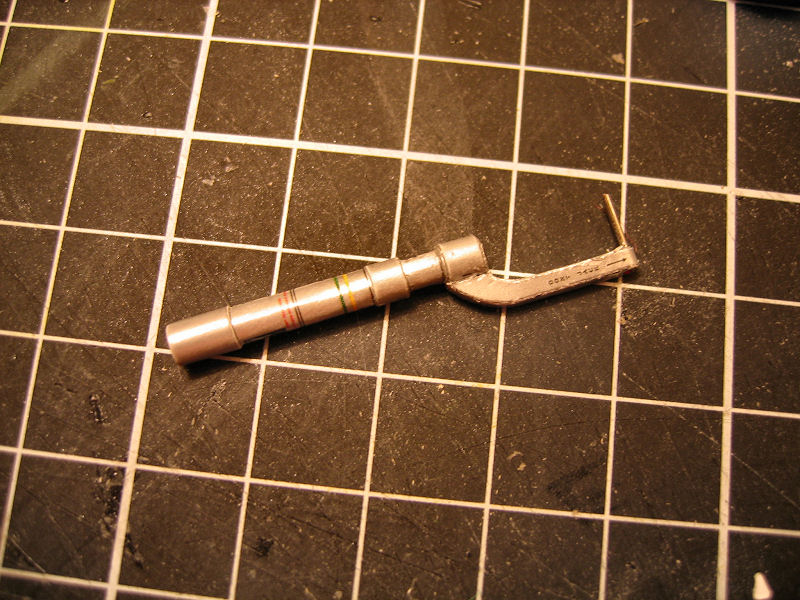
Tiny parts for the landing gear movable shock absorbers. |
Landing gear |
Landing gear. |
 |
 |
 |
 |
Both done. |
Front part of the canopy. |
The pilot seems satisfied |
front view. |
 |
 |
 |
 |
Started to make the fairings. |
Fairing . |
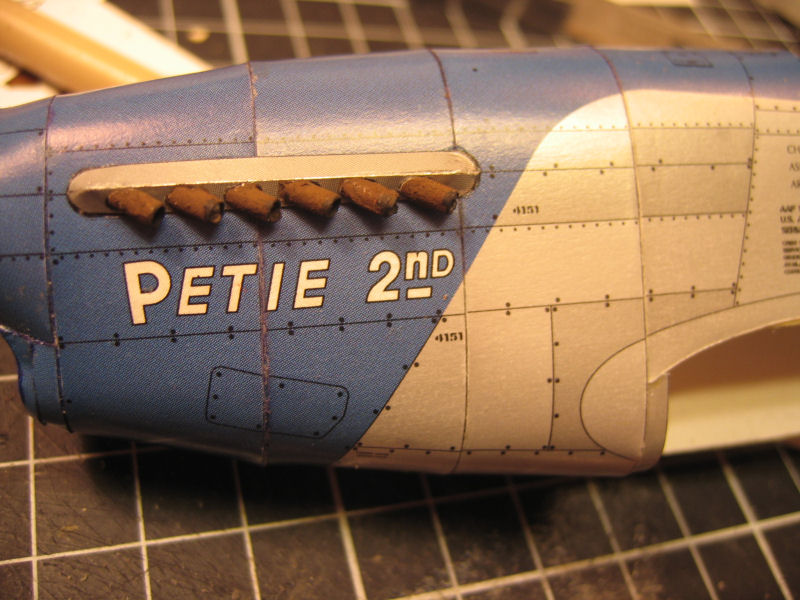
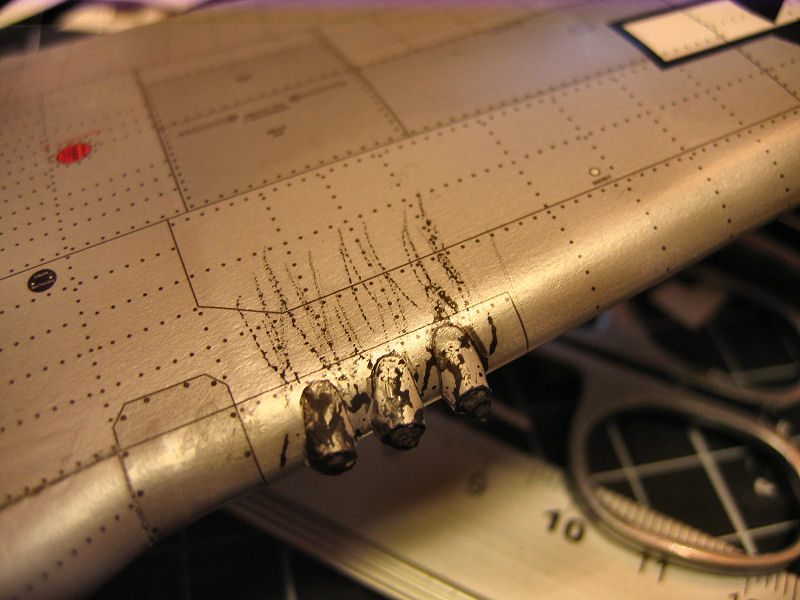
Tried to make some gunsmoke sludge around the gunports |
One fairing done. |
 |
 |
 |
 |
Front part of the fairing. |
Both sides done. |
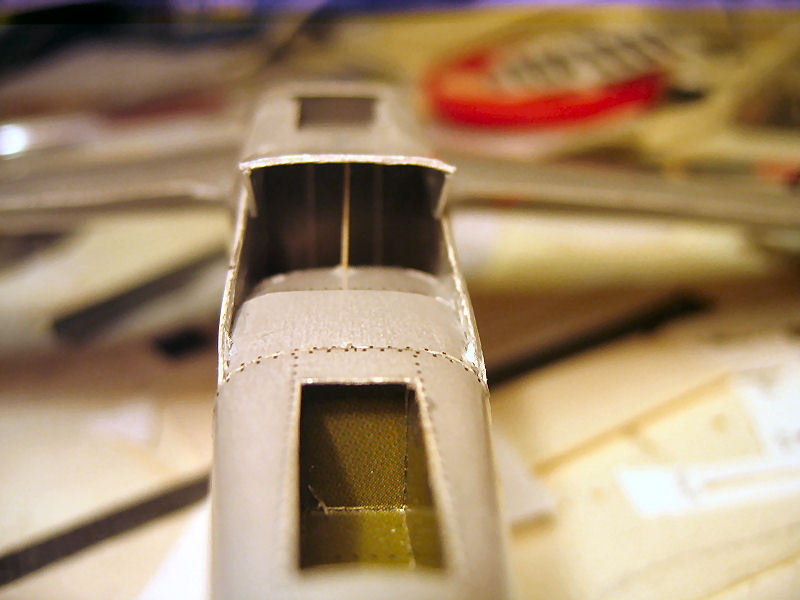
Wheelwells |
Rear outlet. |
 |
 |
 |
 |
Rear view. |
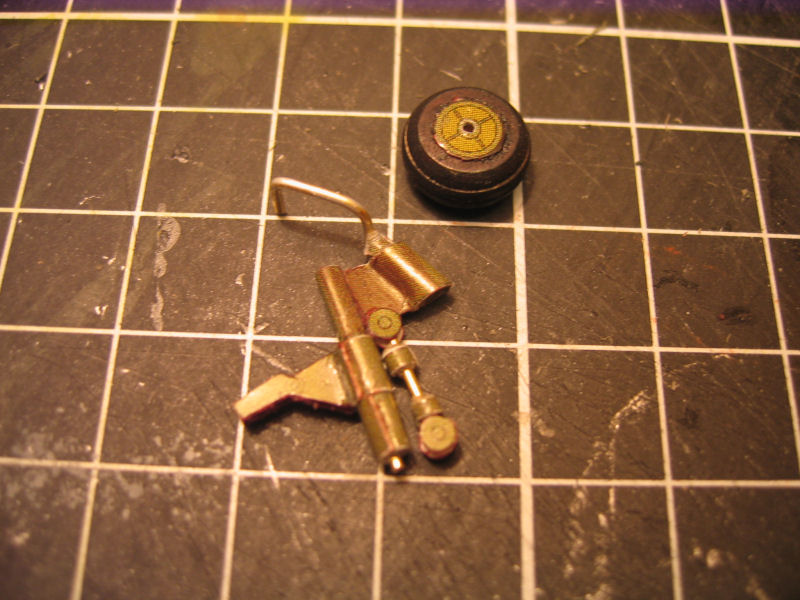
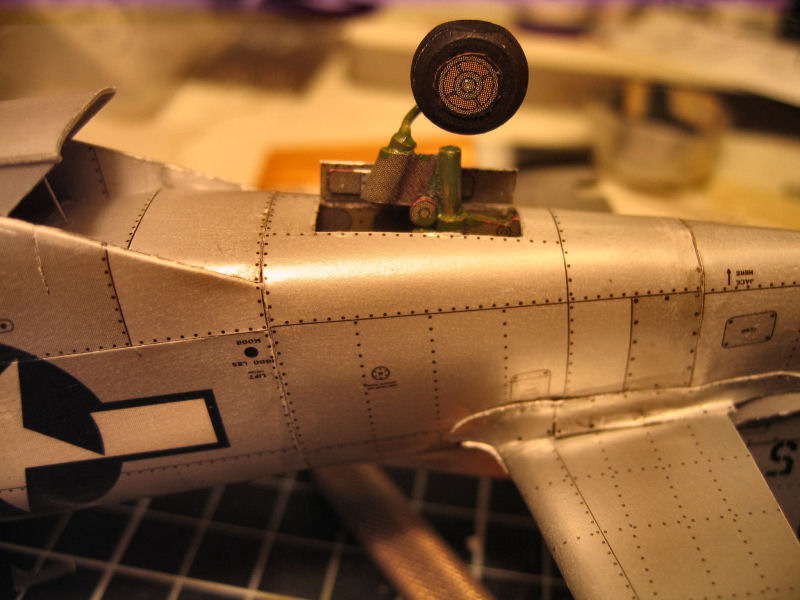
The tailwheel. |
Assembled and inserted |
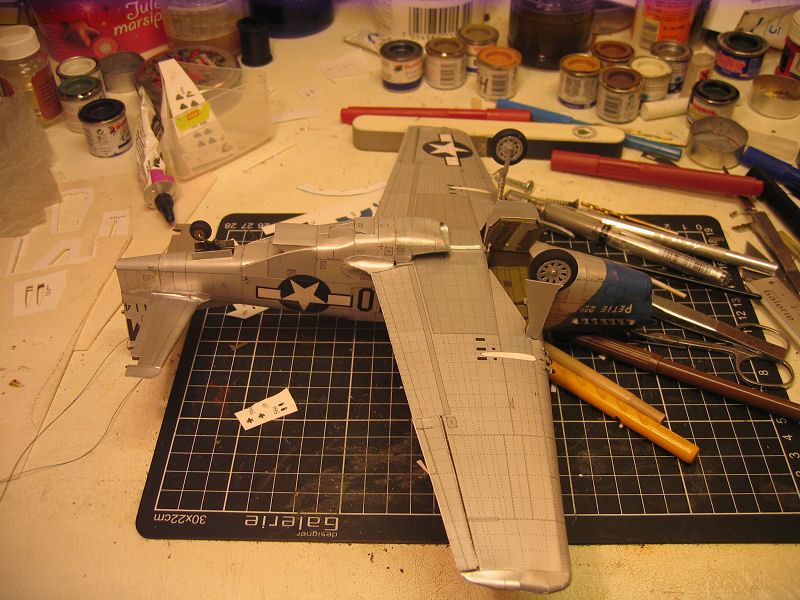
The underside is taking shape. |
 |
 |
 |
 |
A closer look at the wheelwell hatches. |
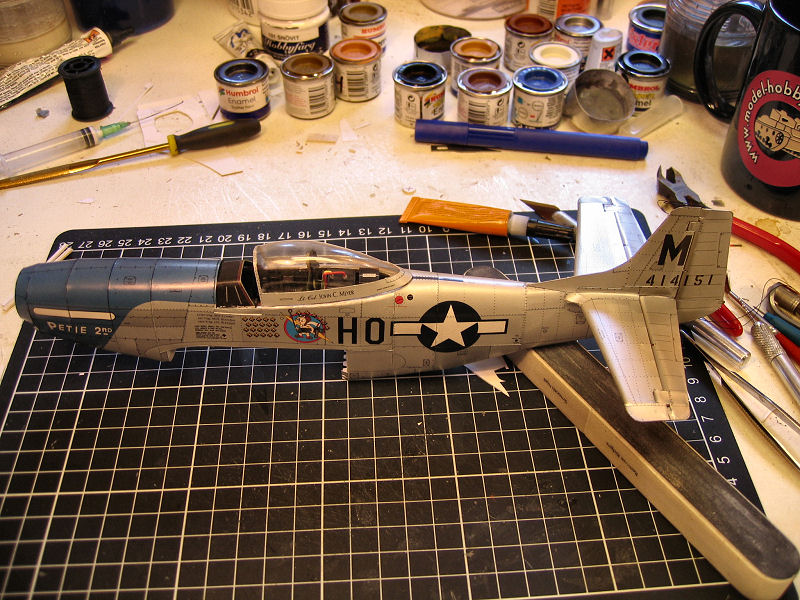
Overview. |
On her wheels for the first time |
Seen from Down under. |