Construction report
Of the
Me 109-G2 1:33 Orlik
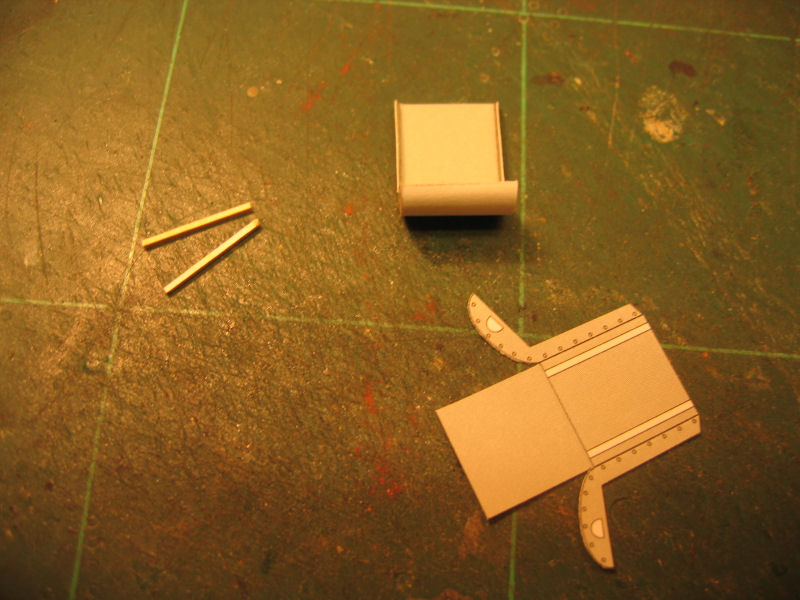
First step is to make the cockpit framing.
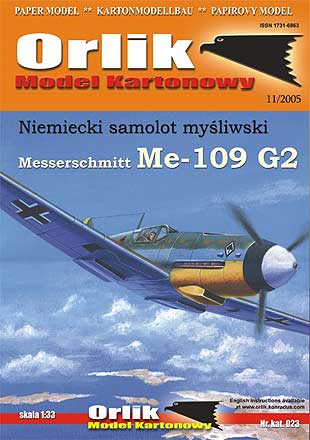
| The internal framing is done, and the floor and rear skin are in place. |
The supporters for the wingroot are placed under. |
Some boxes and the foot grid added. |
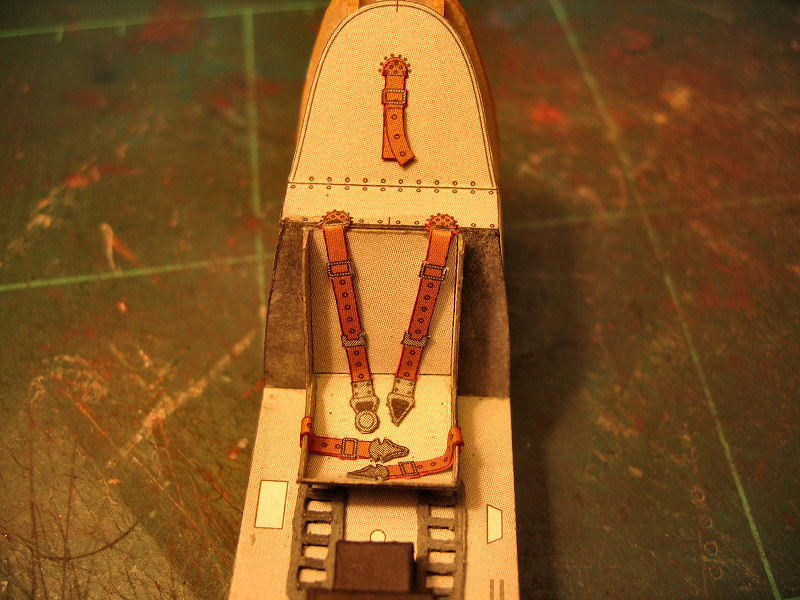
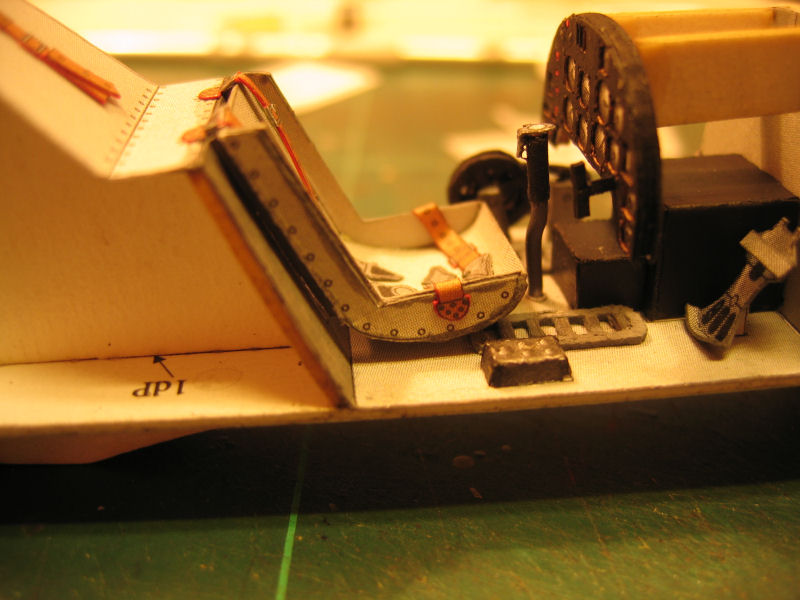
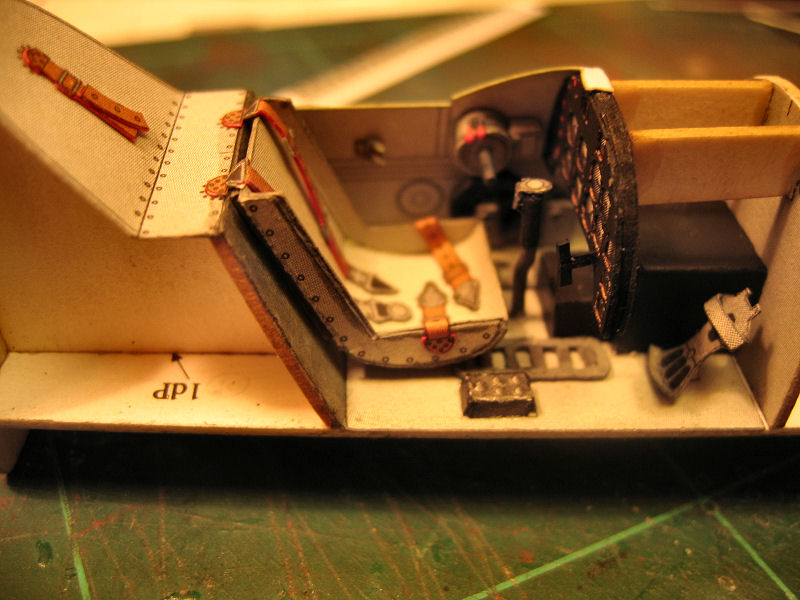
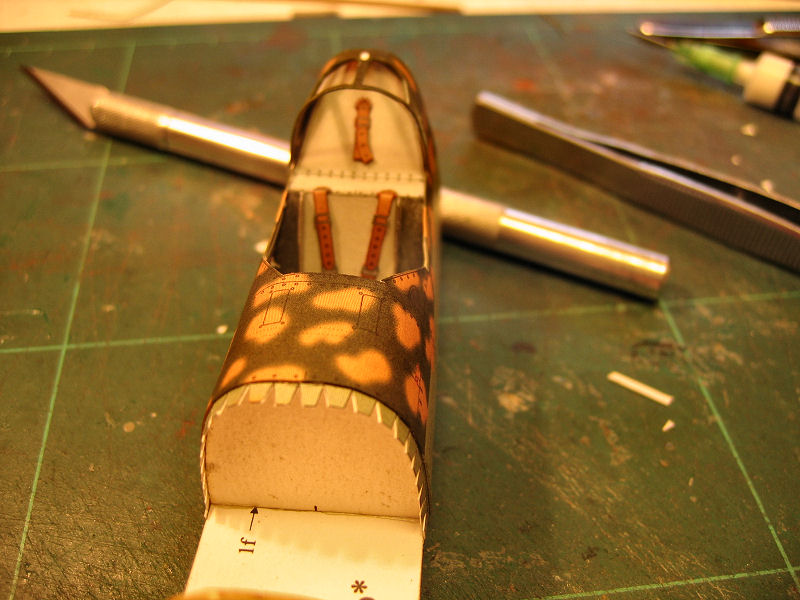
| The Pilots seat is coming together. |
The seatbelts are in place. |
Pedals. |
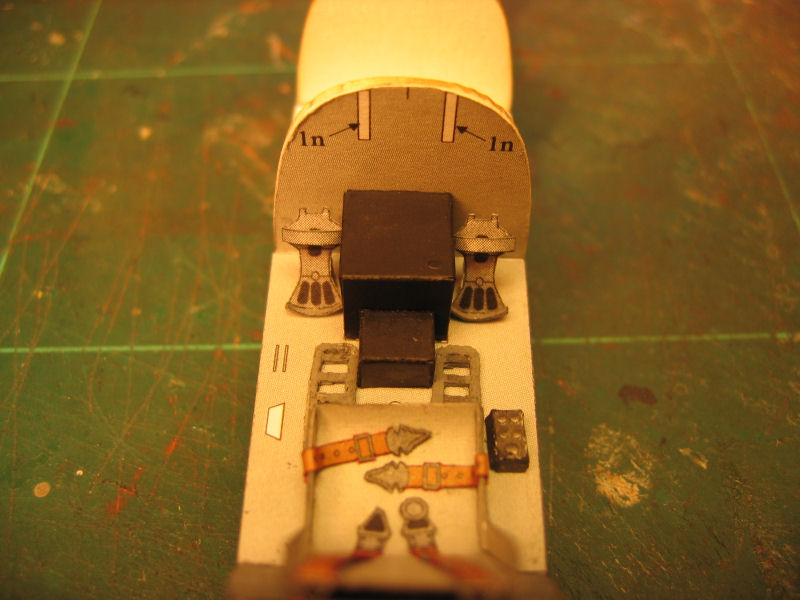
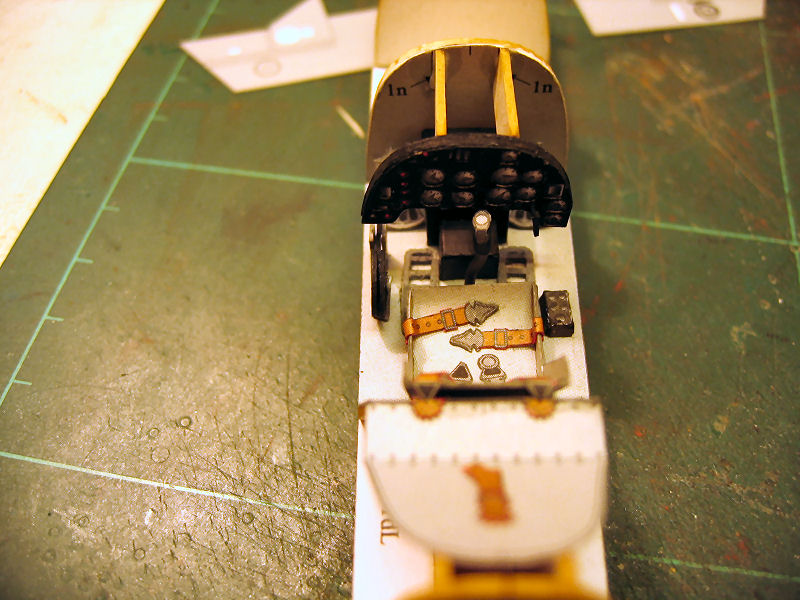
| The instrument panel. |
The control stick. |
Overview. |
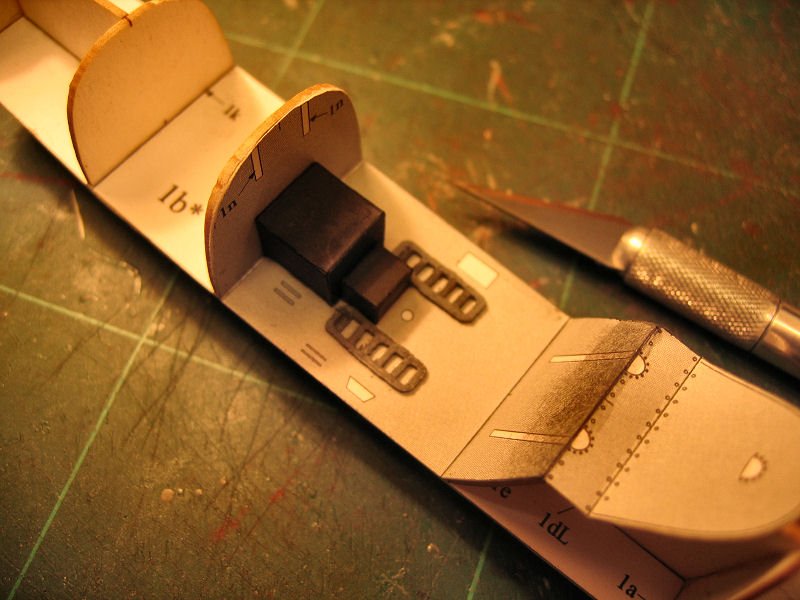
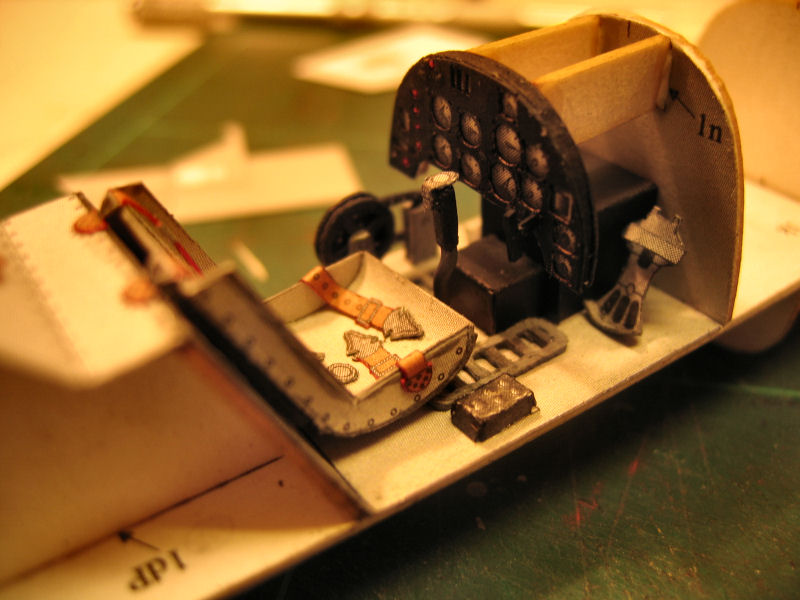
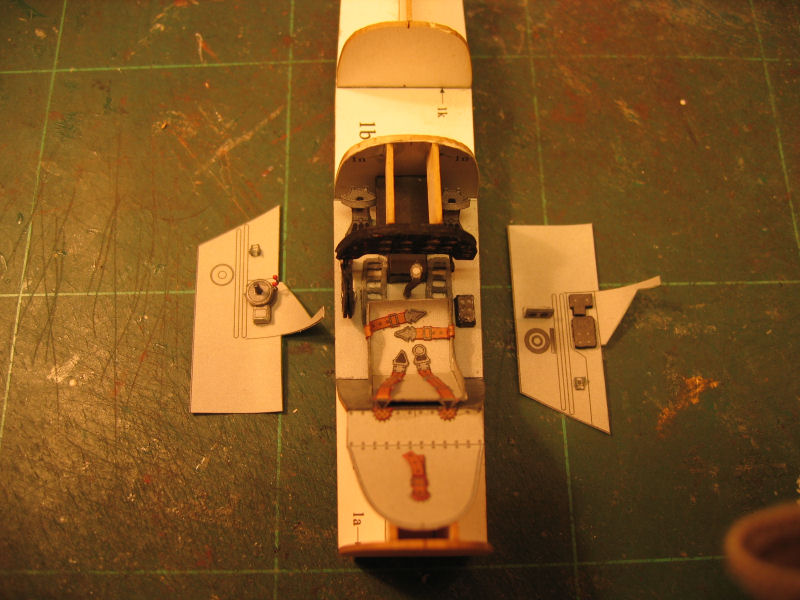
| The inside of the cockpit is made out of two skins that fits in the gap. |
The left panel with the throttle. |
When both panel are installed the ouside skin is put on. |
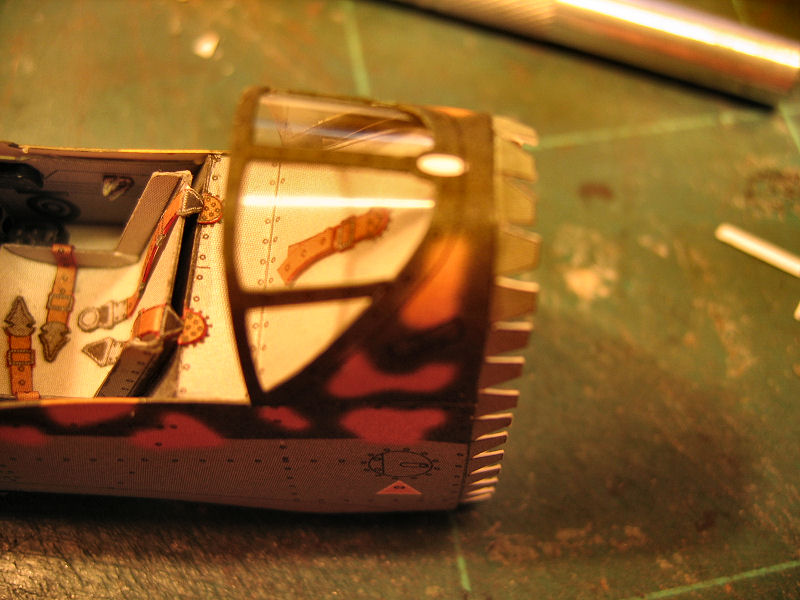
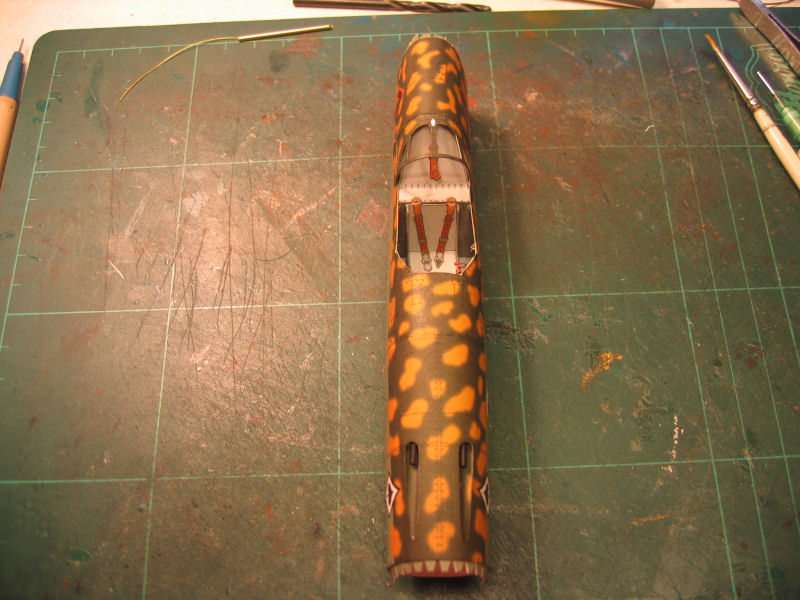
| The rear part of the canopy. |
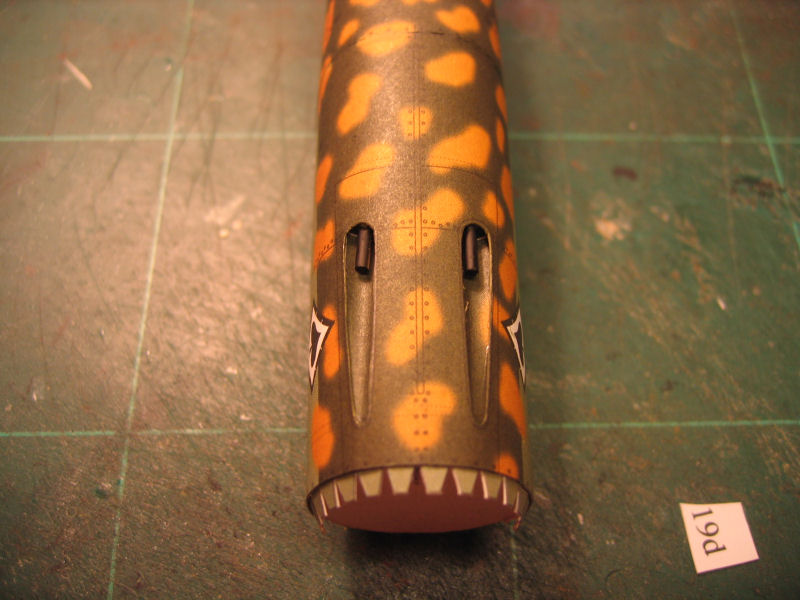
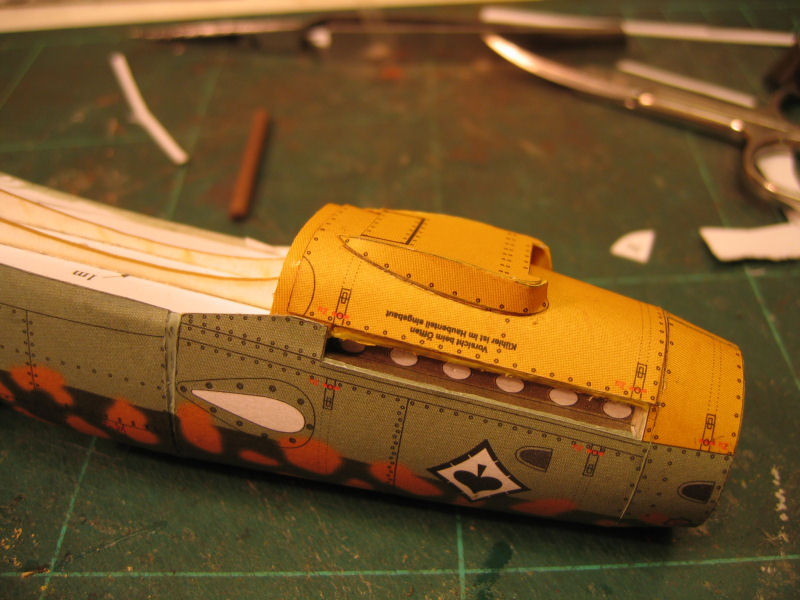
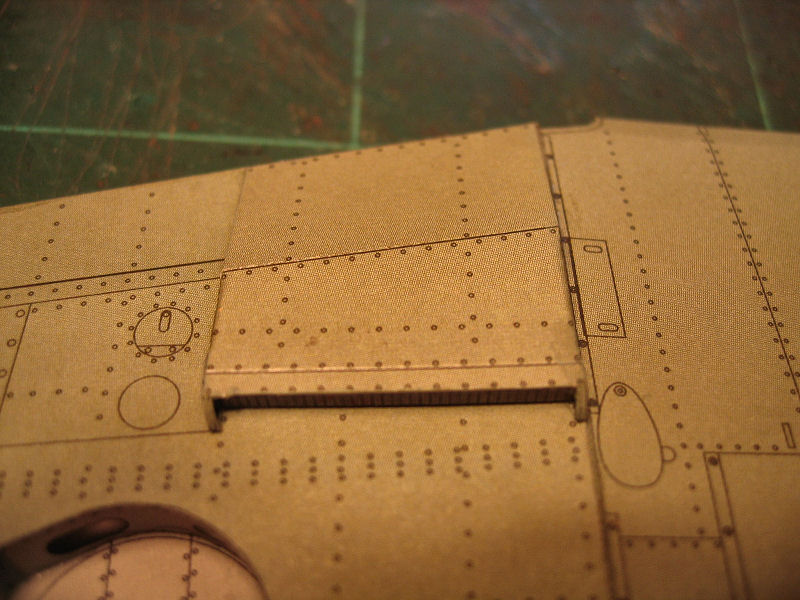
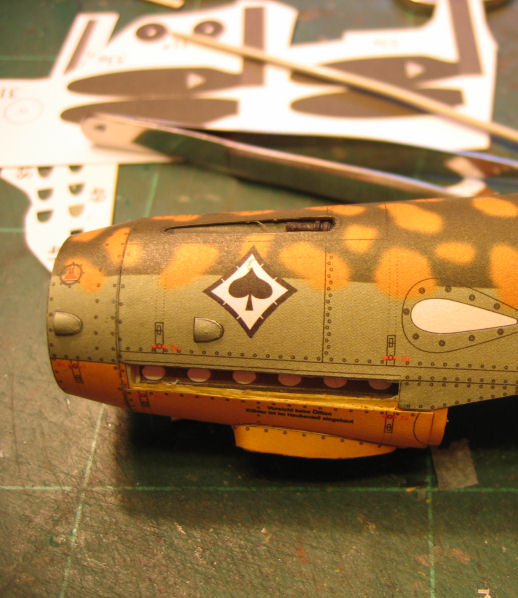
The cowling with the machinegun ports. |
Overview. |
| Machineguns installed after the cowling is glued in place. |
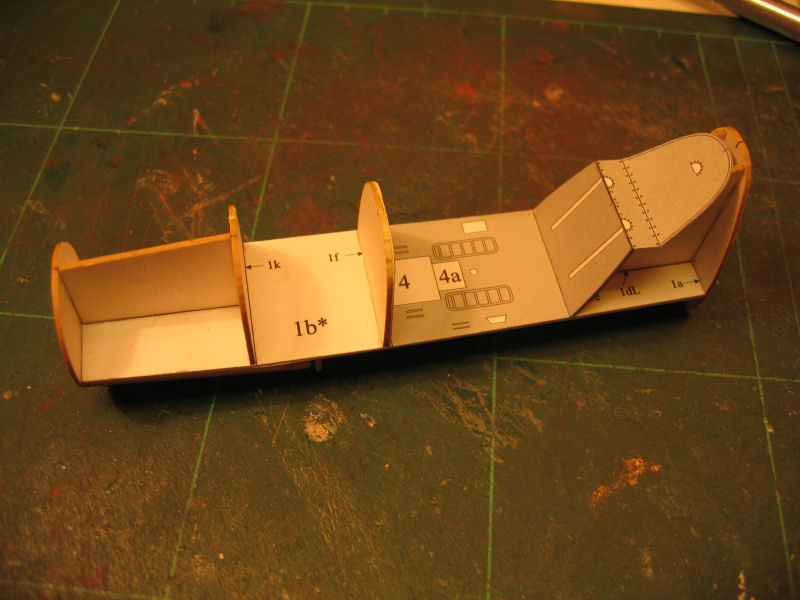
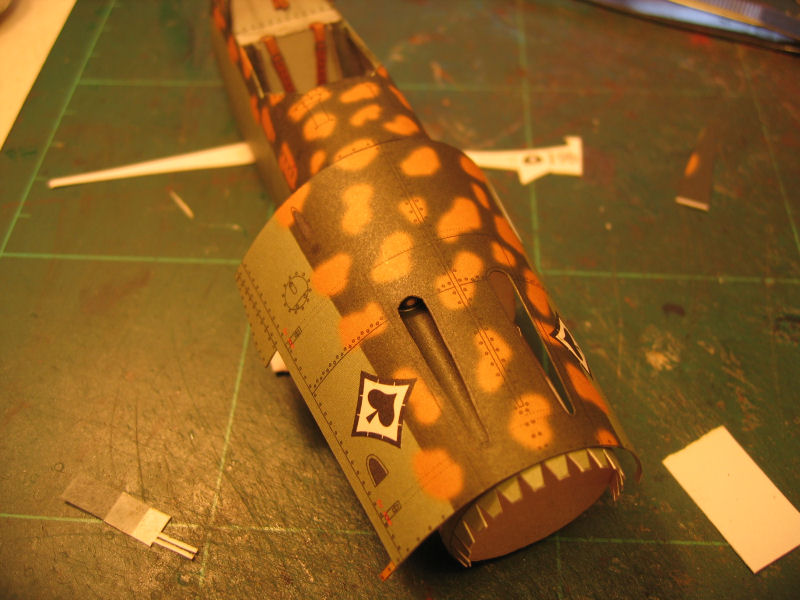
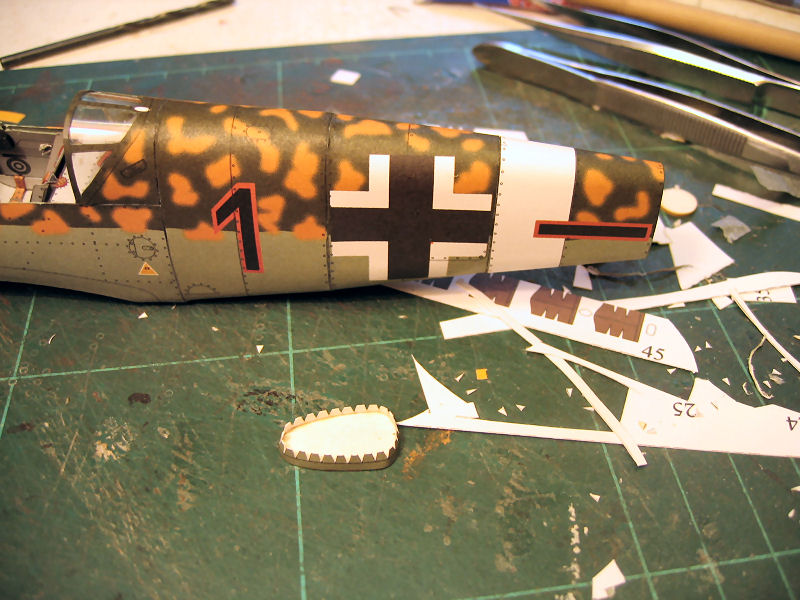
The first section of the rear fuselage in place. |
next section in place. |
When making the fuselage sections it's important to preshape the parts before gluing.The part has to have a nice fit around the bulkhead.
The joining strips also has to be bent down a bit so that the next section can be slided in over it.After some dryfitting the sections can be glued in place without leaving a gap between sections.
I also paint all edges before gluing so that no white edges are visible.
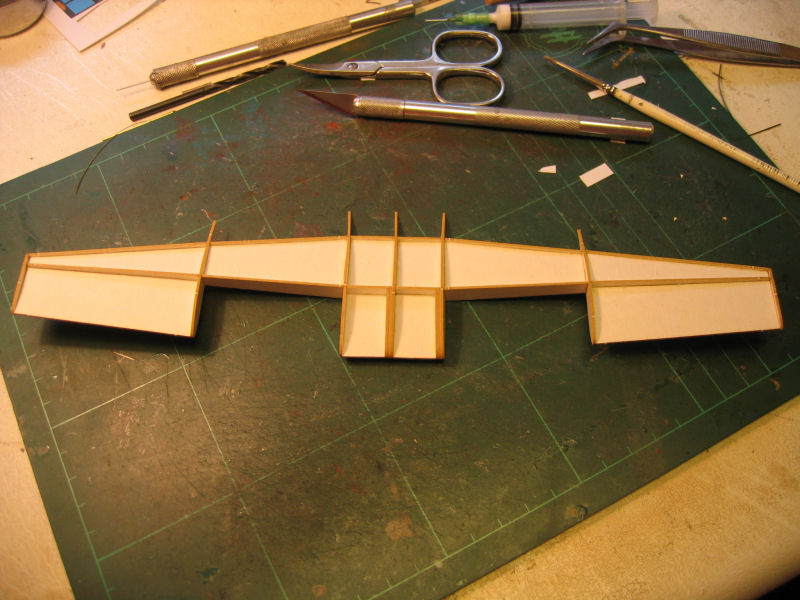
| The inner structure of the wings. |
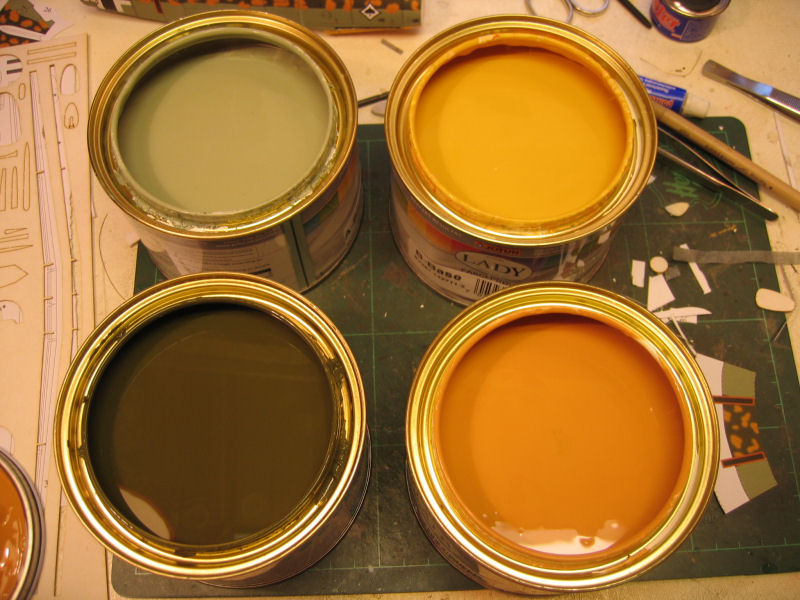
Here are the colors I use for edgepainting. |
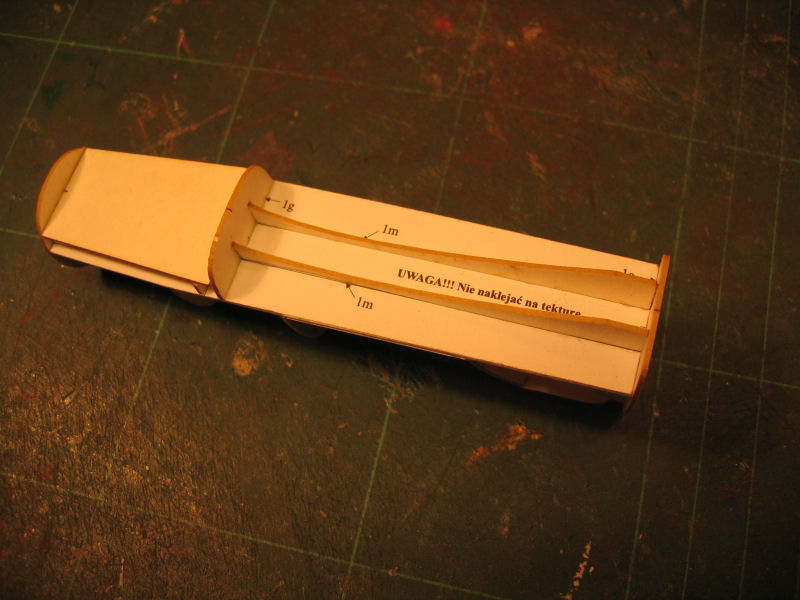
Another section of the fuselage in place. |
| I put in a small papersrip to hold the section together when inserting the bulkhead.. |
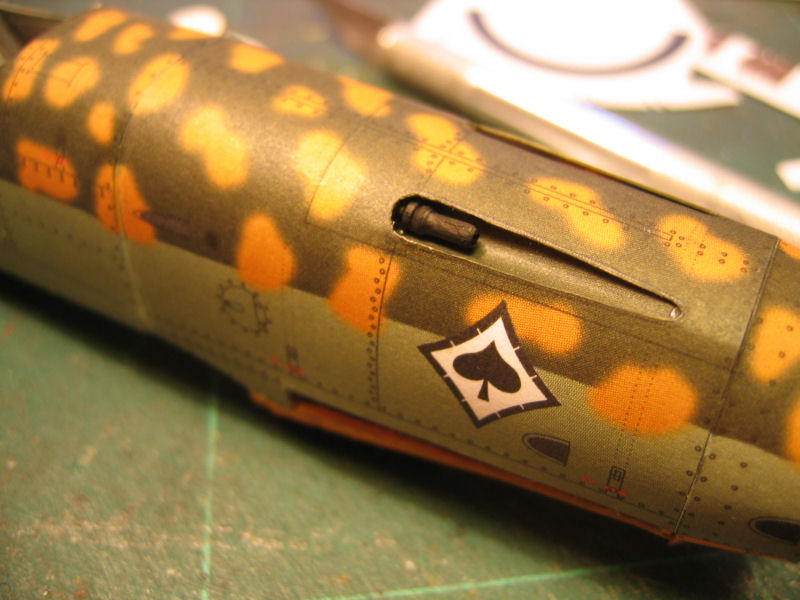
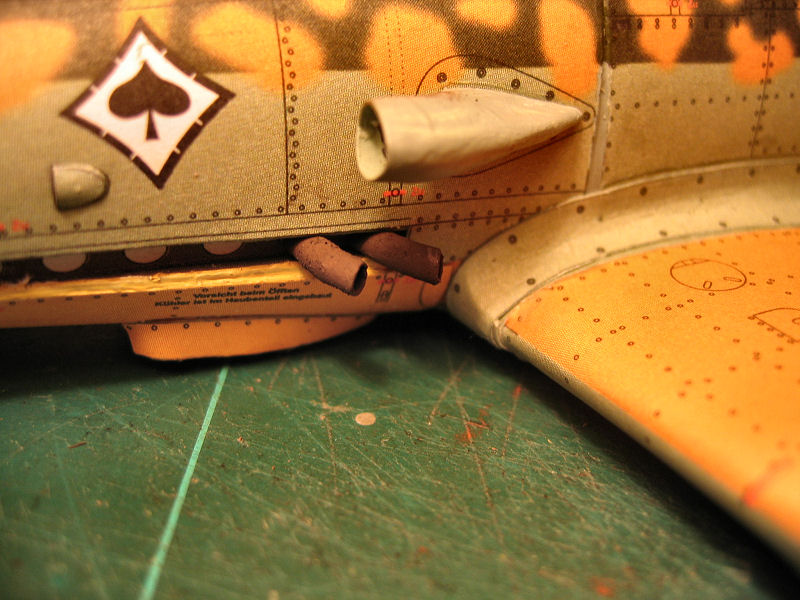
The underside of the cowling. |
Closeup of one of the machineguns. |
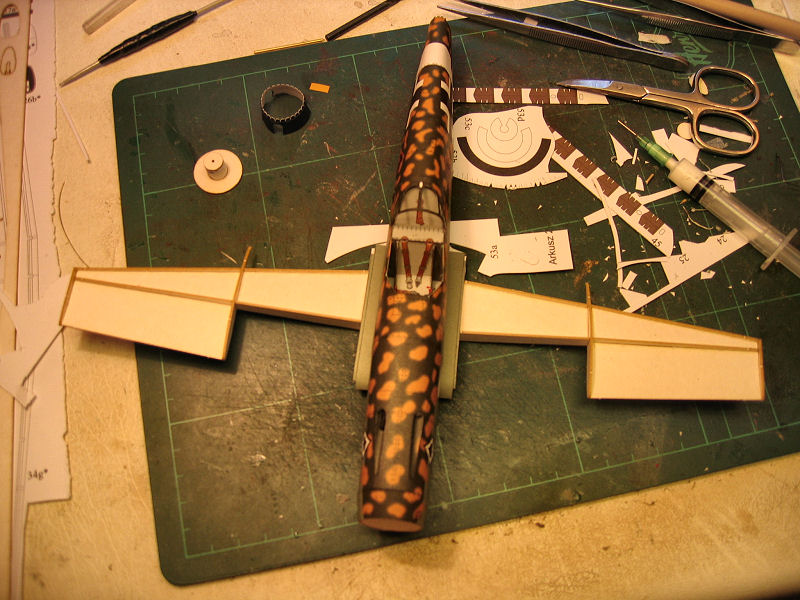
| The fuselage placed on top of the wingframe.. |
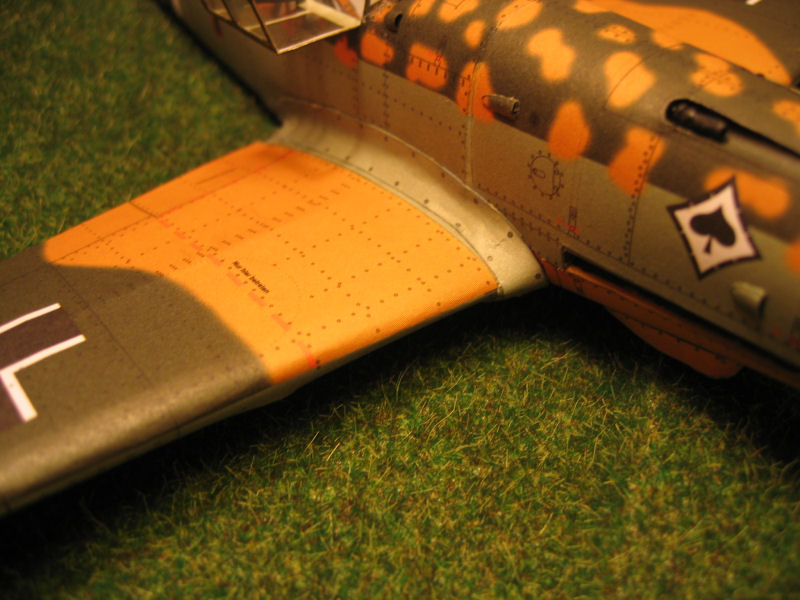
A closer look at the wingroot. |
Here we can see the shape of the wingroot. |
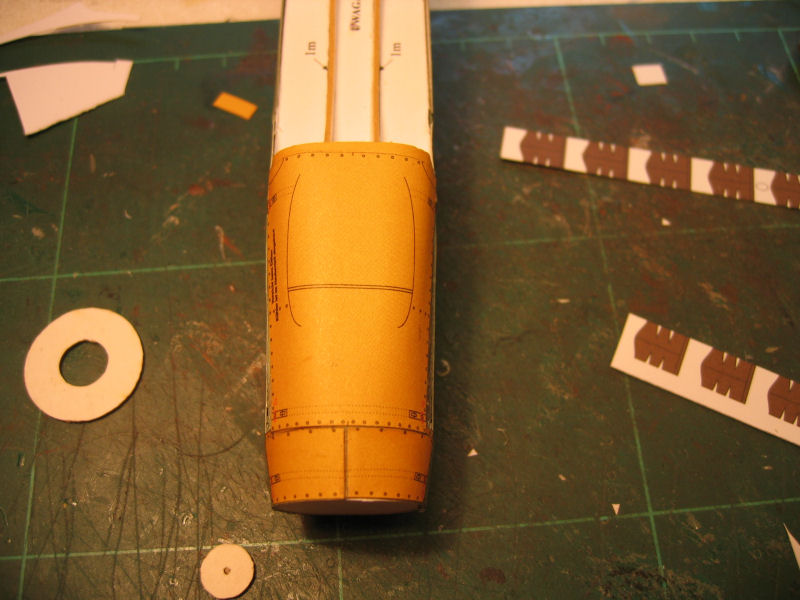
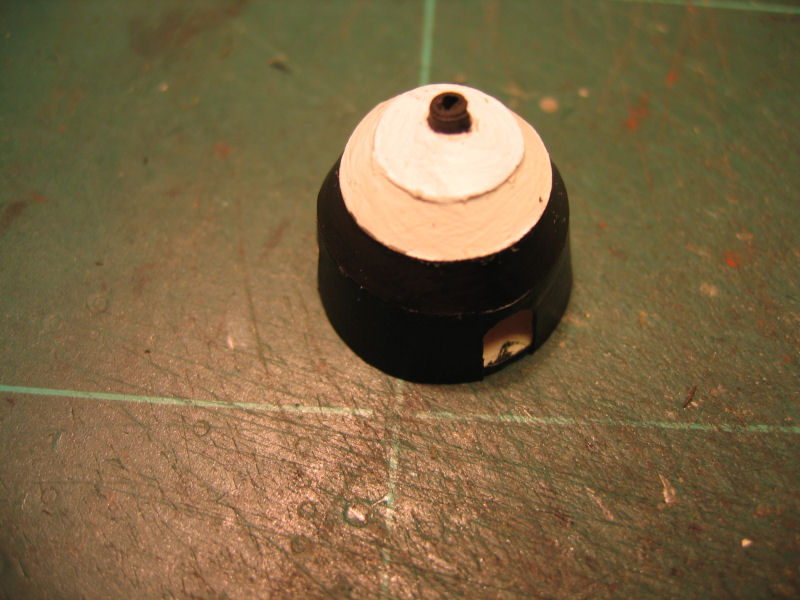
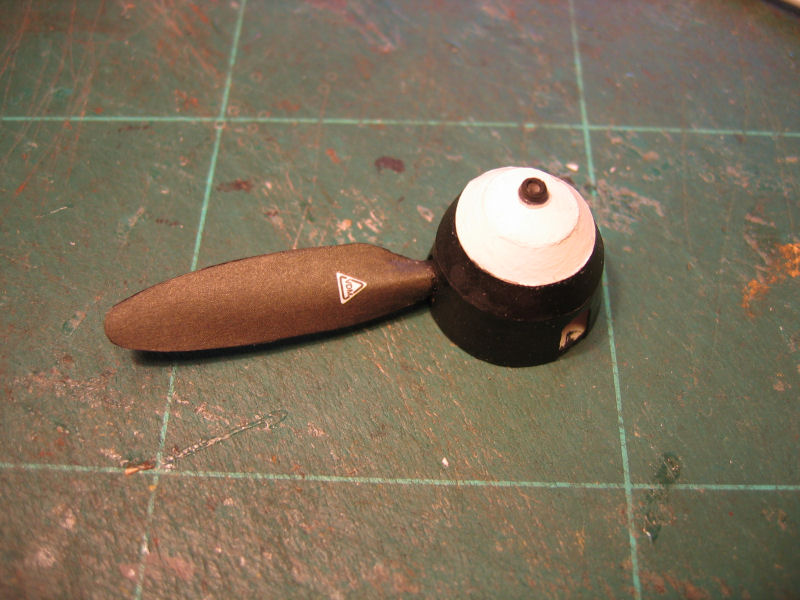
| The propell spinner. |
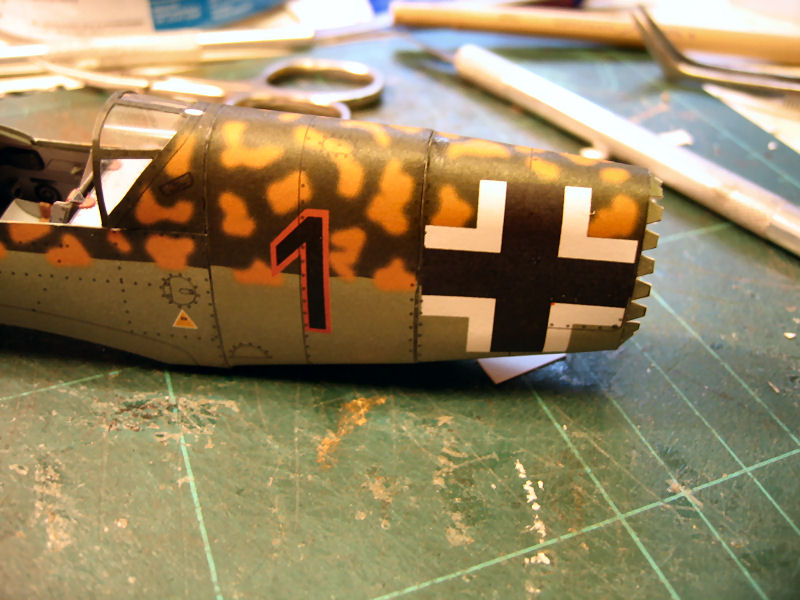
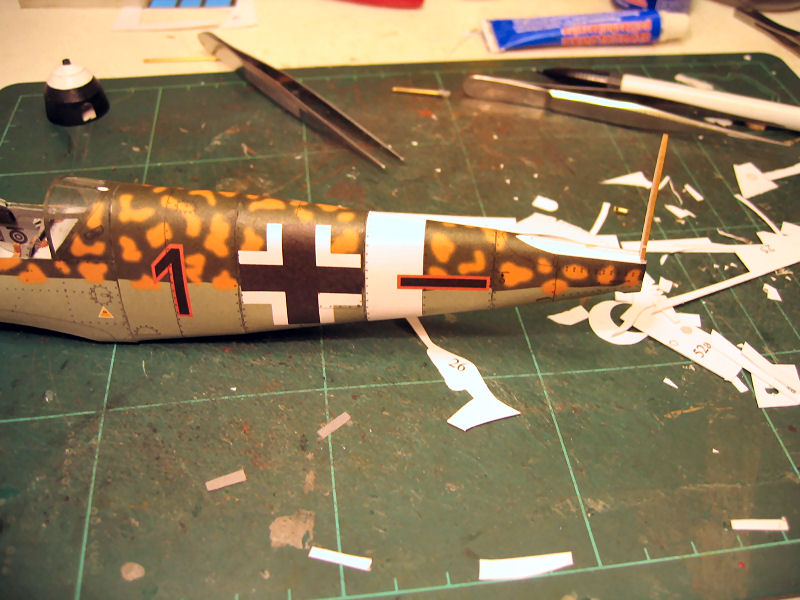
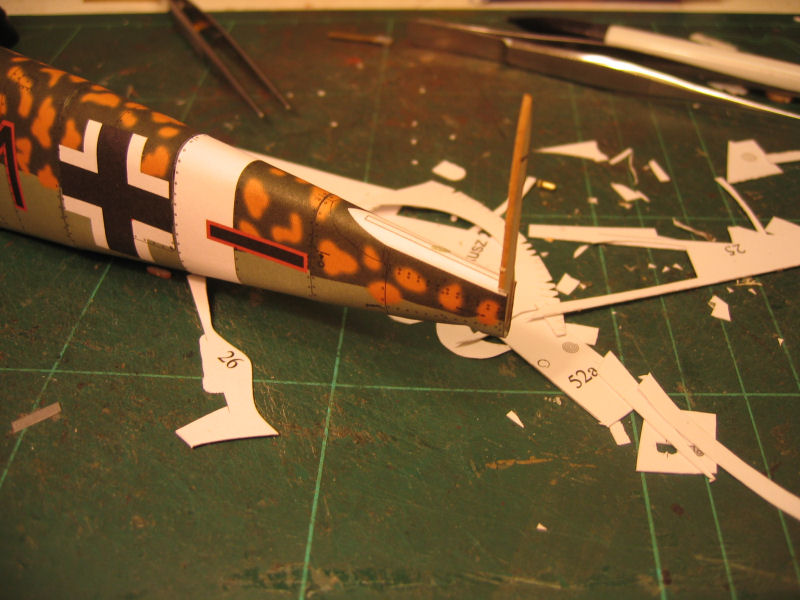
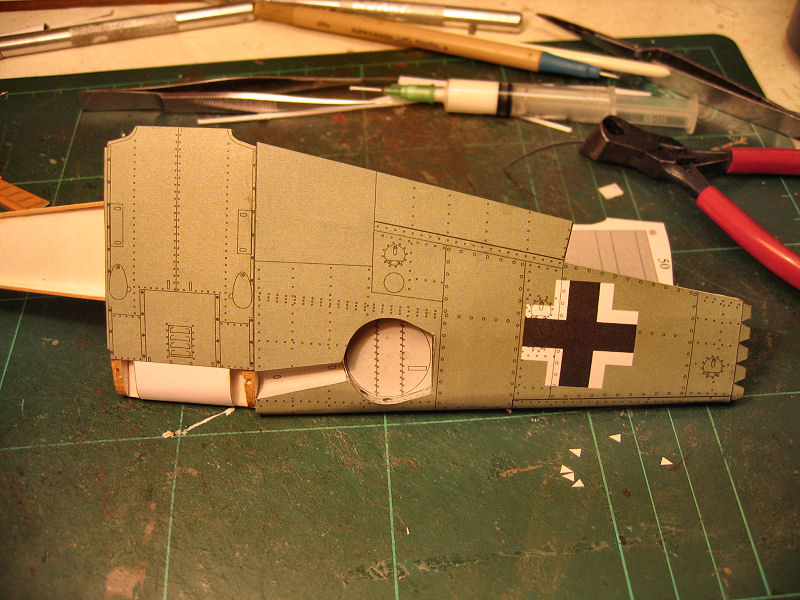
The last section of the fuselage. |
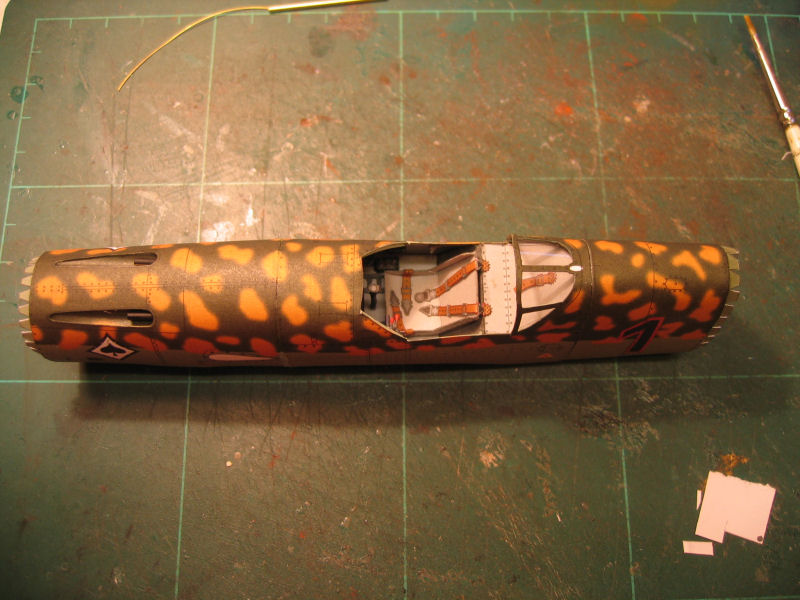
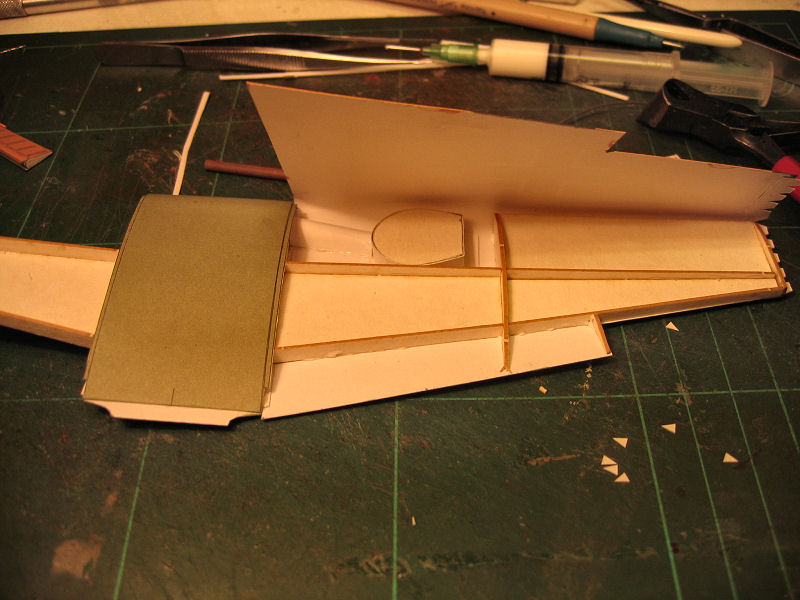
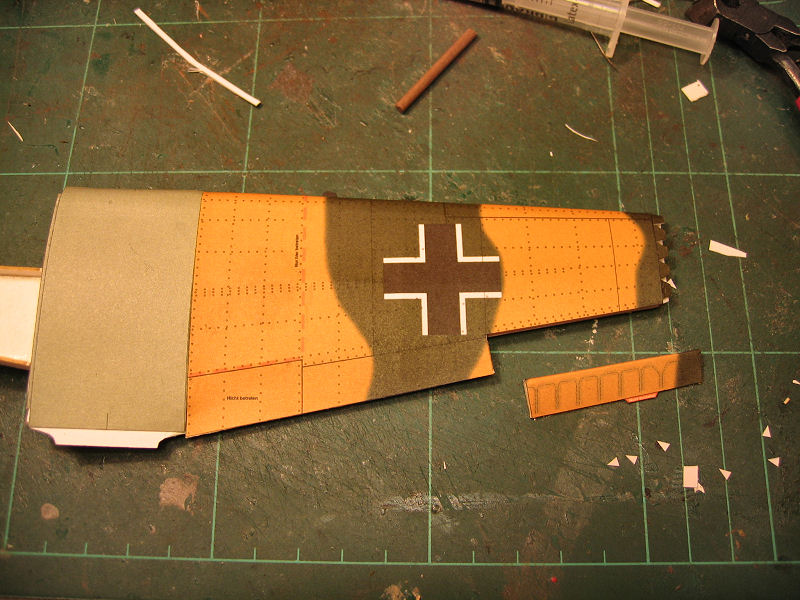
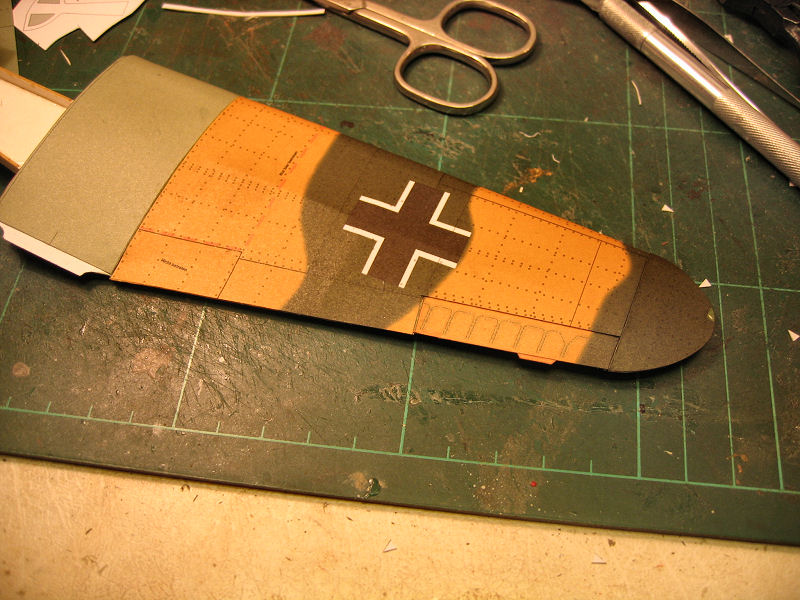
Overview. |
Construction of the tail
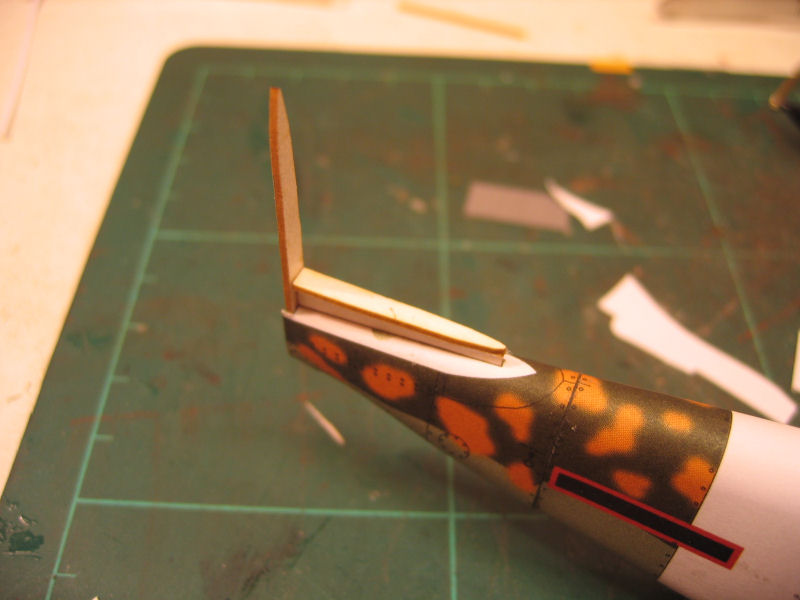
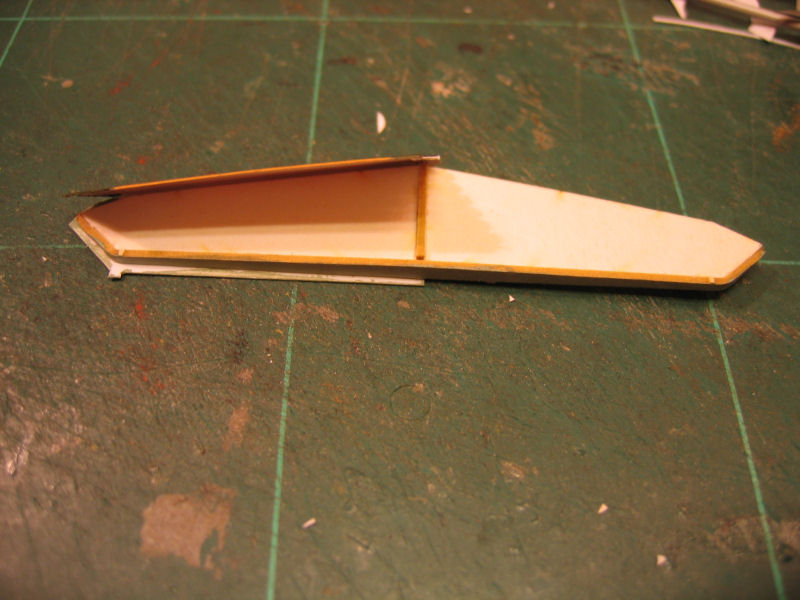
| First step was to build the inner structure to support the tailfin. |
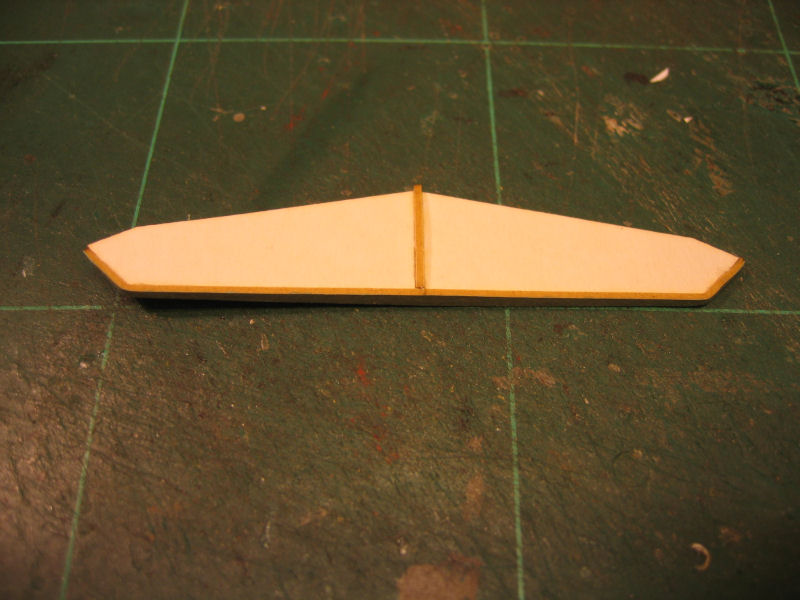
The elevators inner structure. |
Putting the skin on. |
| The elevator in place. |
Here we can see where the trimflaps is going to be placed. |
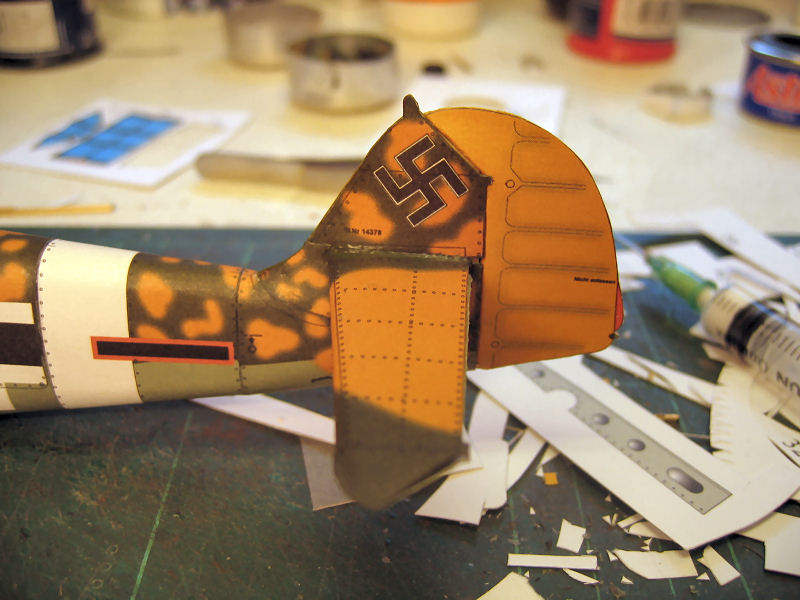
The front part of the fin is done. |
| Another angle. |
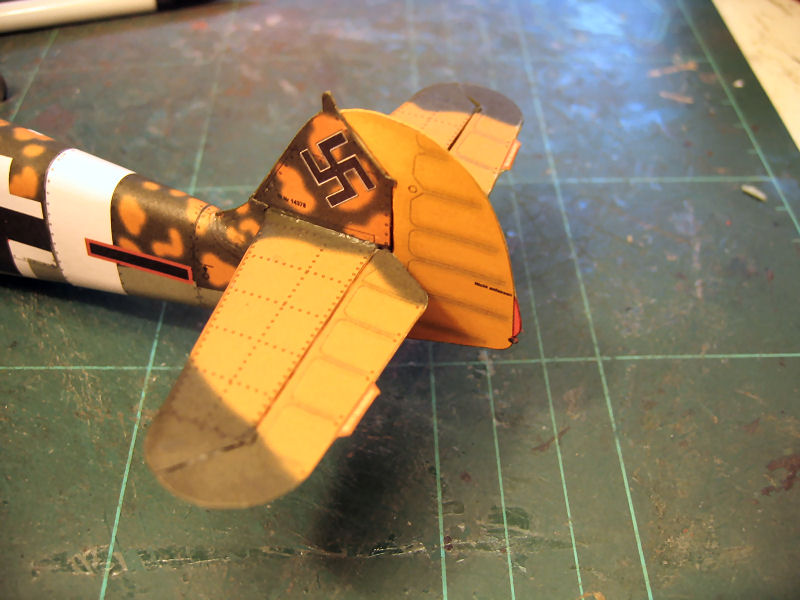
Overview. |
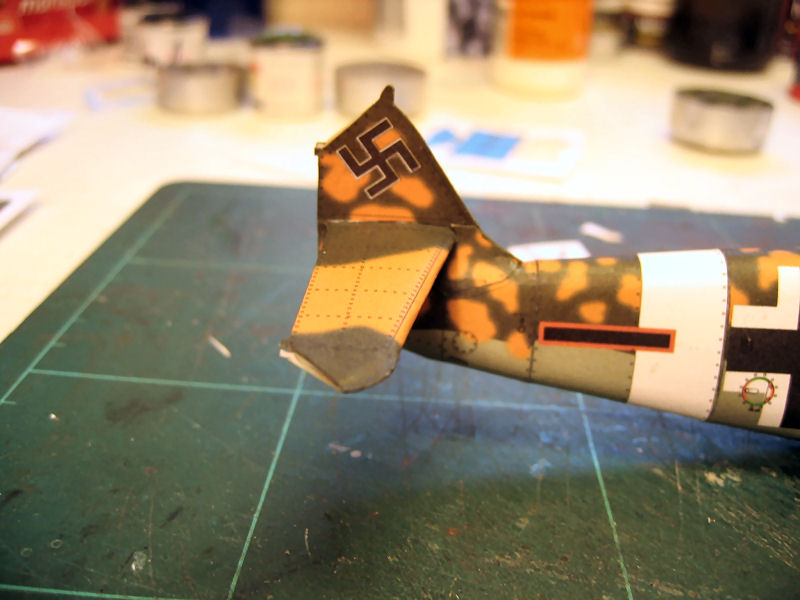
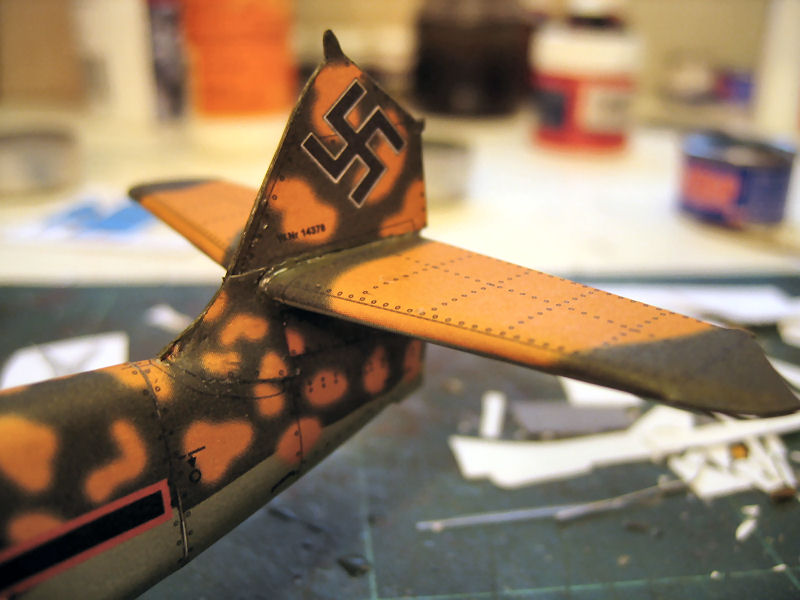
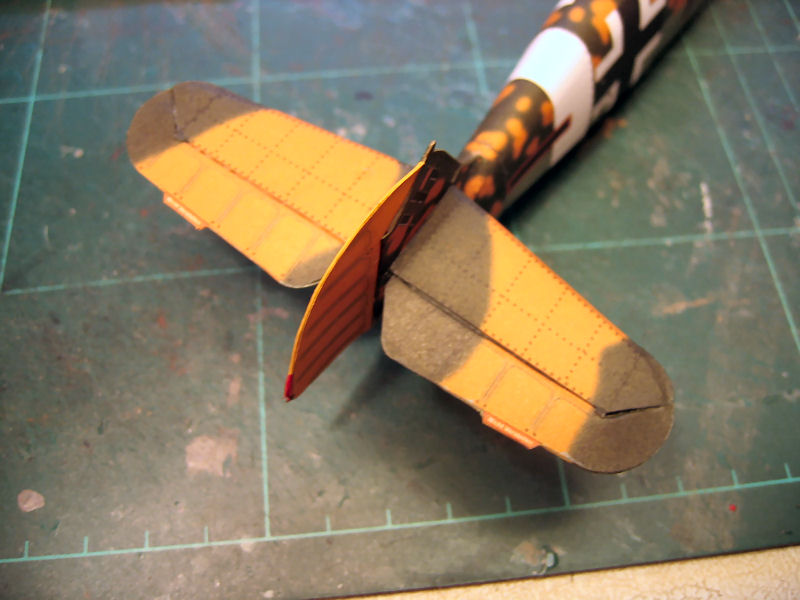
The rudder is in place. |
| Trimflaps in place. |
Another view. |
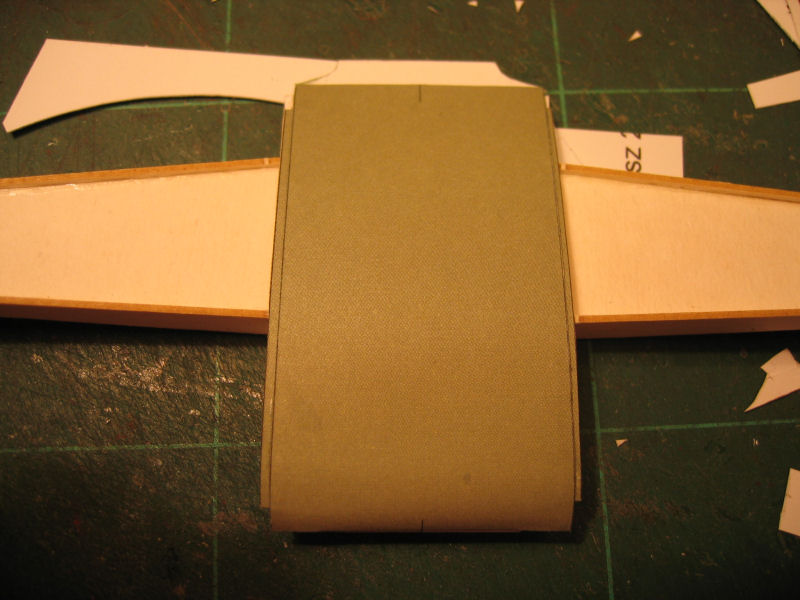
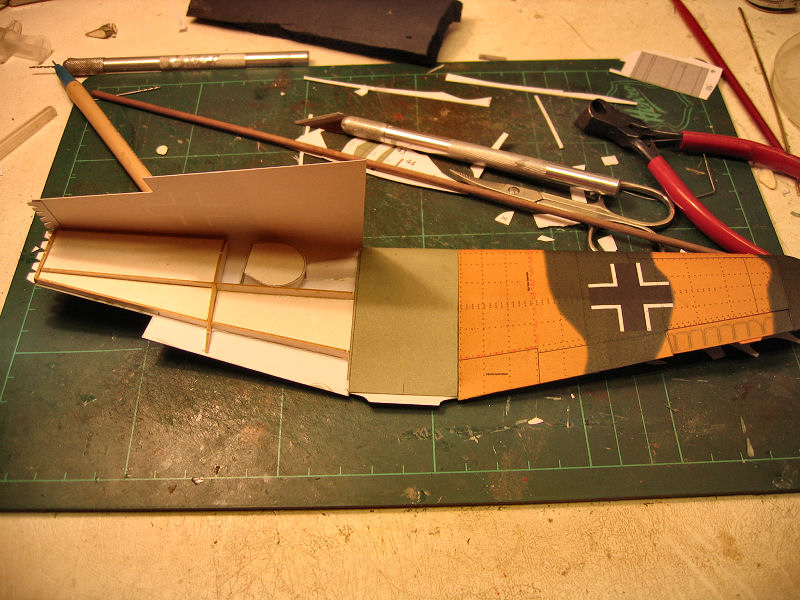
Making the wings
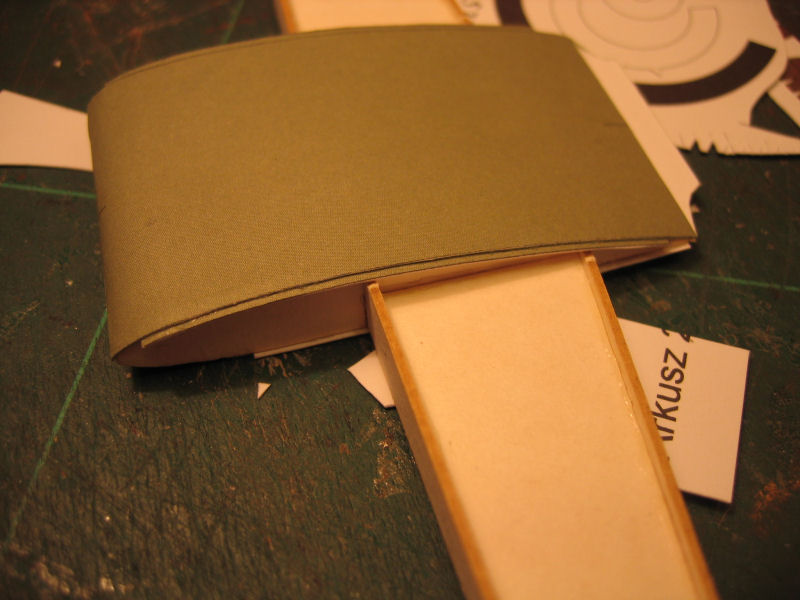
| I start the skinning of the wing by gluing the underside in place first. |
The leading edge has to be preshaped before gluing. |
Skin is on and the aileron is ready to be glued in place. |
| The wingtip is in place. |
Started on the other side. |
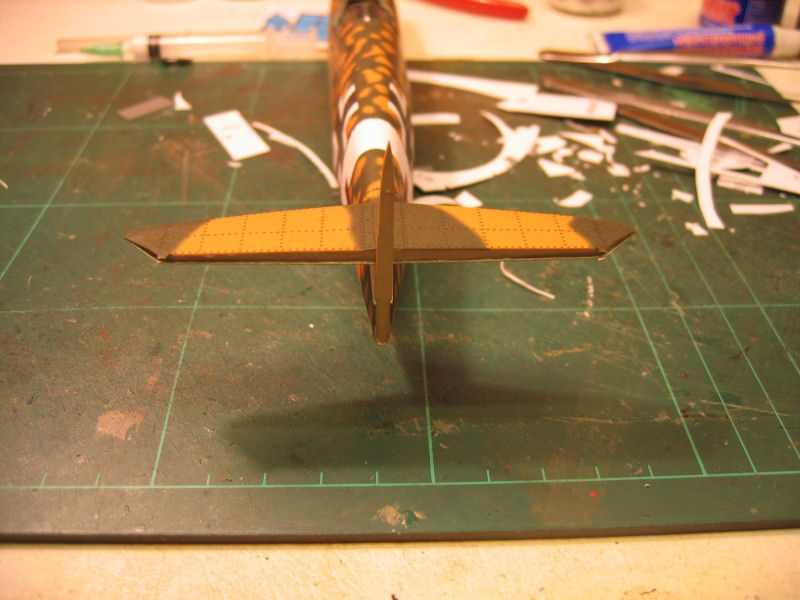
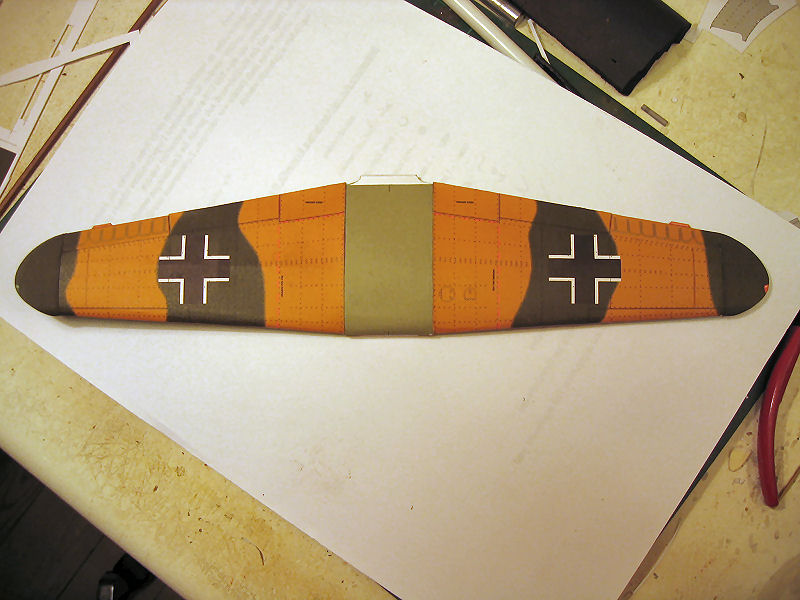
Wing is done!!. |
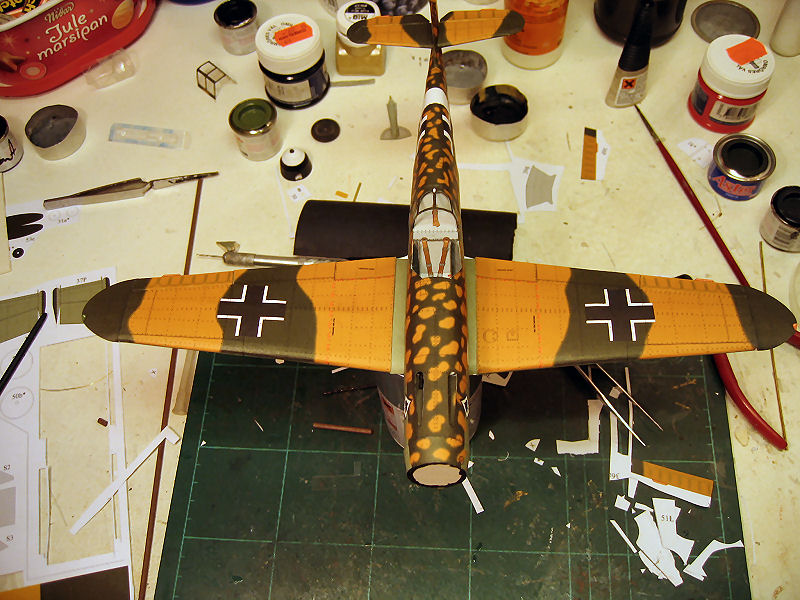
| Now it looks more like a plane. |
Some other parts made
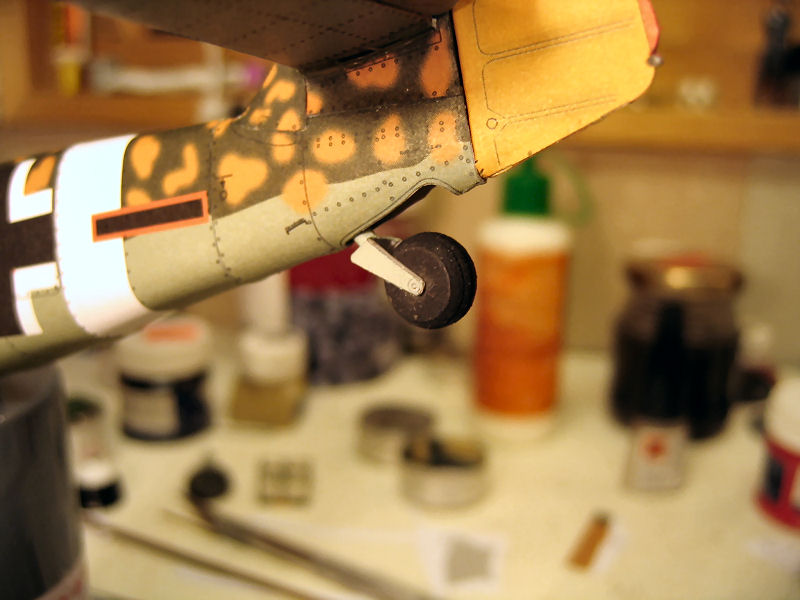
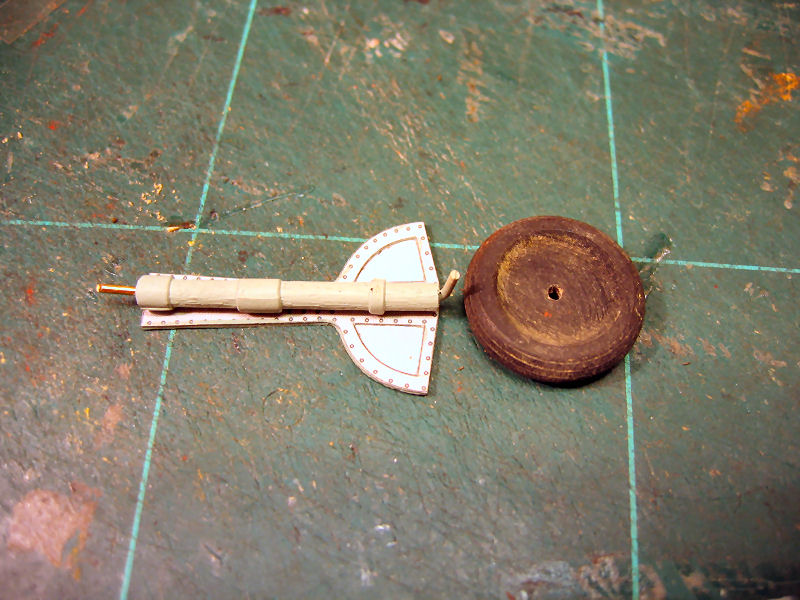
| Tailwheel. |
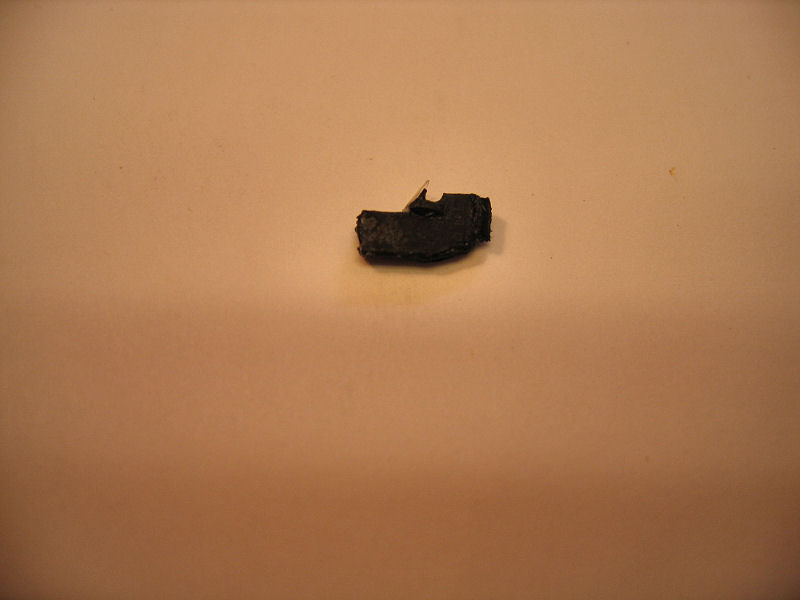
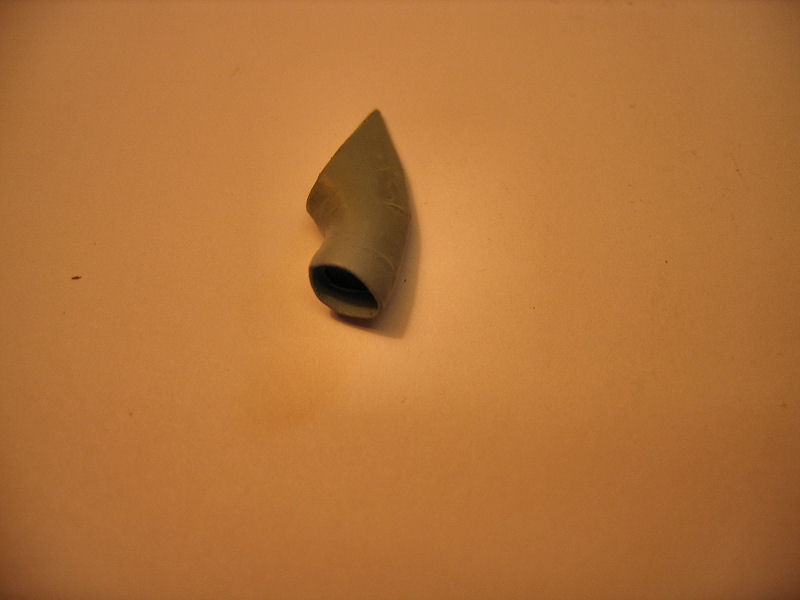
Air inlet. |
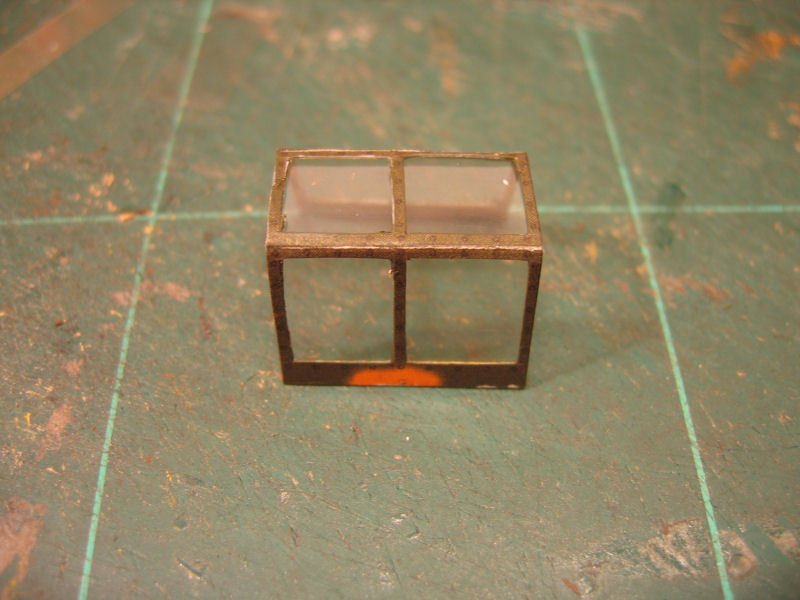
The centerpart of the canopy. |
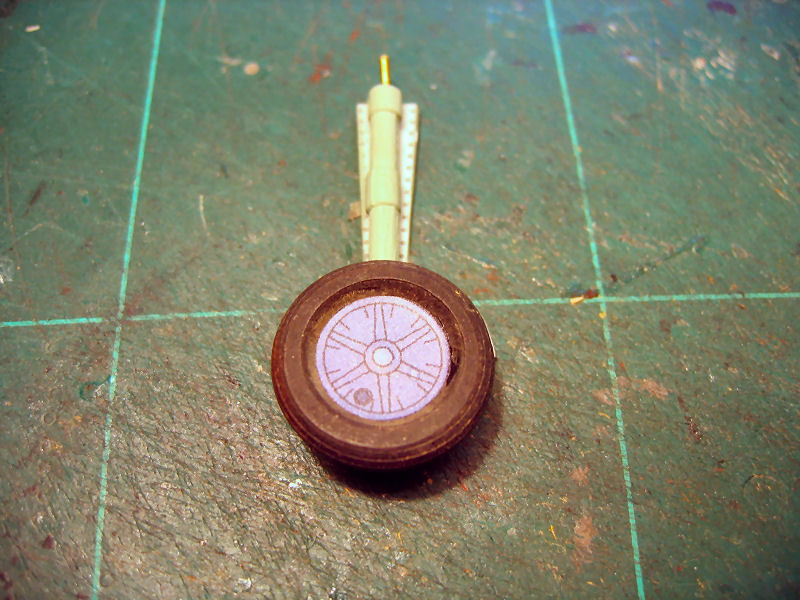
| One of the landing wheels. |
| landing gear assembled. |
Oil cooler. |
First blade on the propeller in place. |
| Some small bulbs added. |
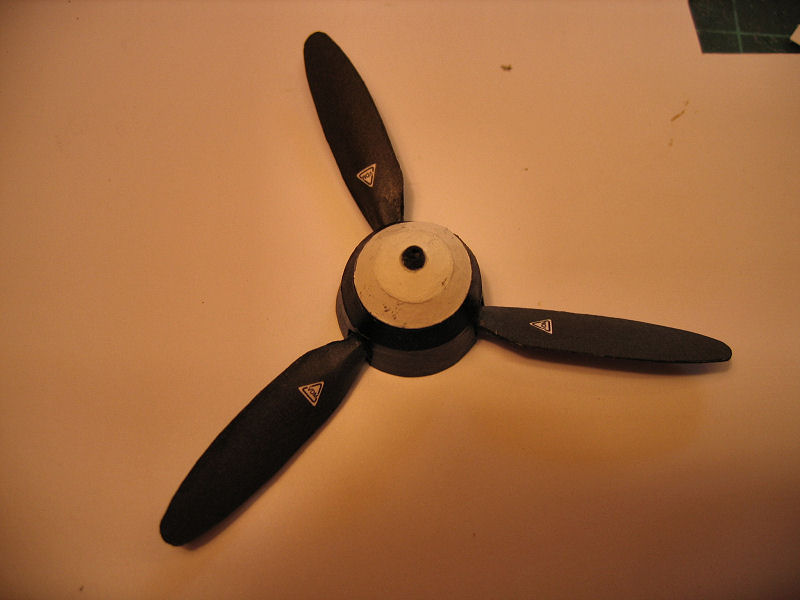
Propeller done. |
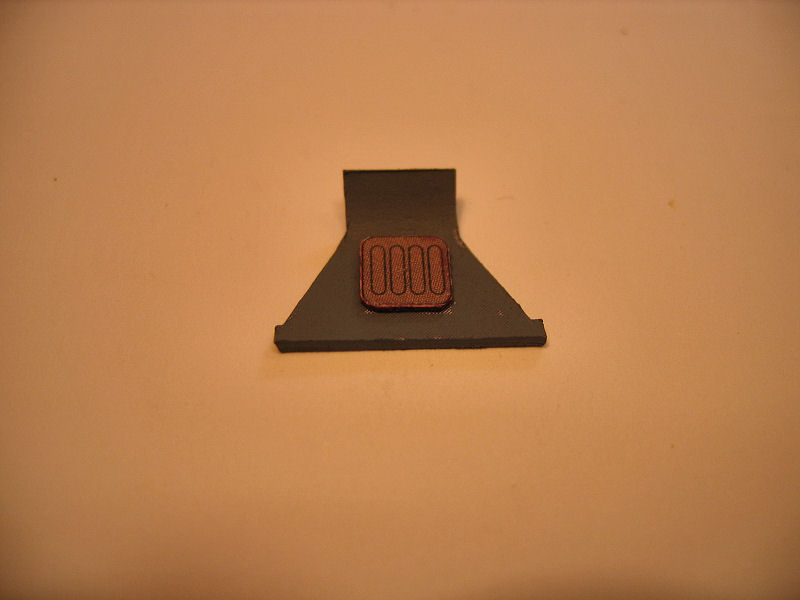
Pilot protection plate. |
| Gunsight. |
Air filter. |
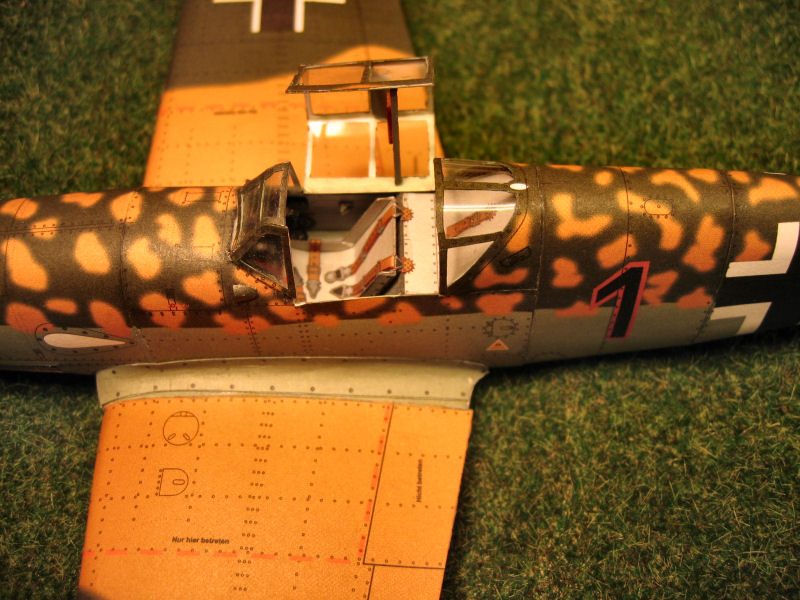
Wings mounted. |
| Opened cockpit. |
Wing fairings. |
Started adding exhaust tubes. |
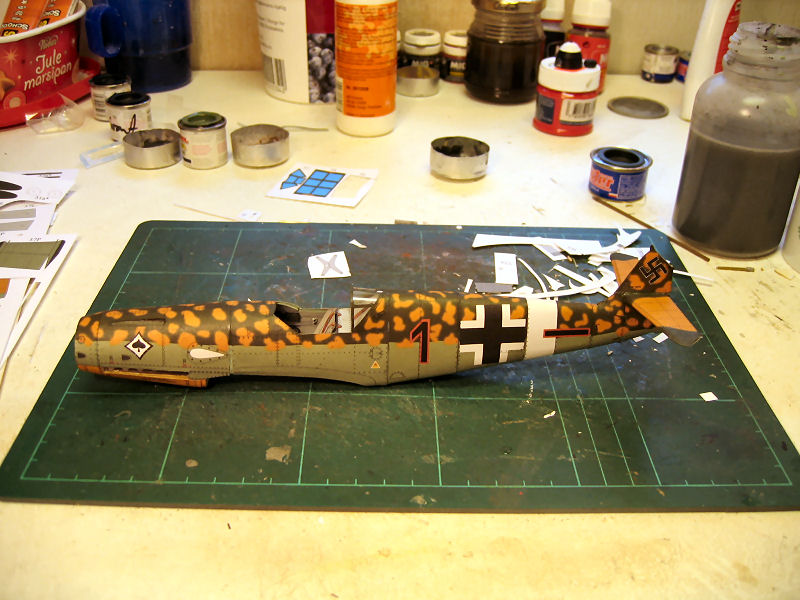
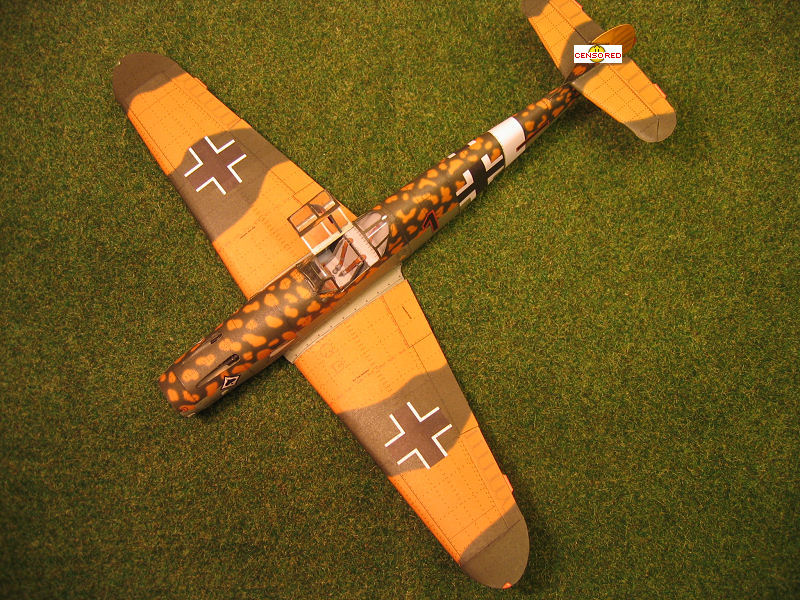
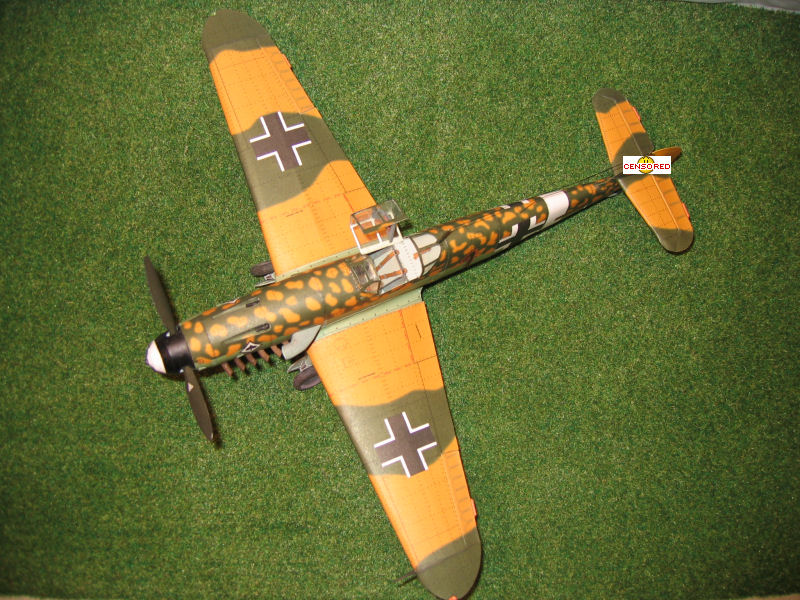
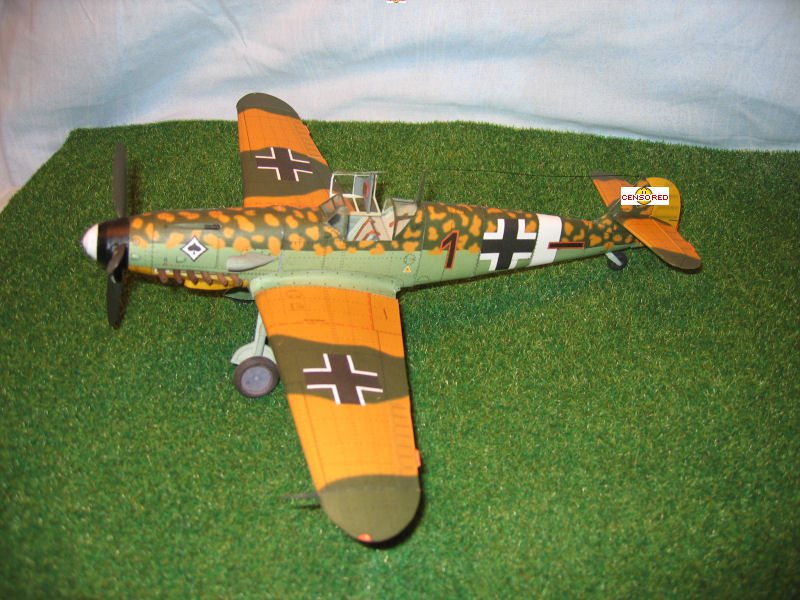
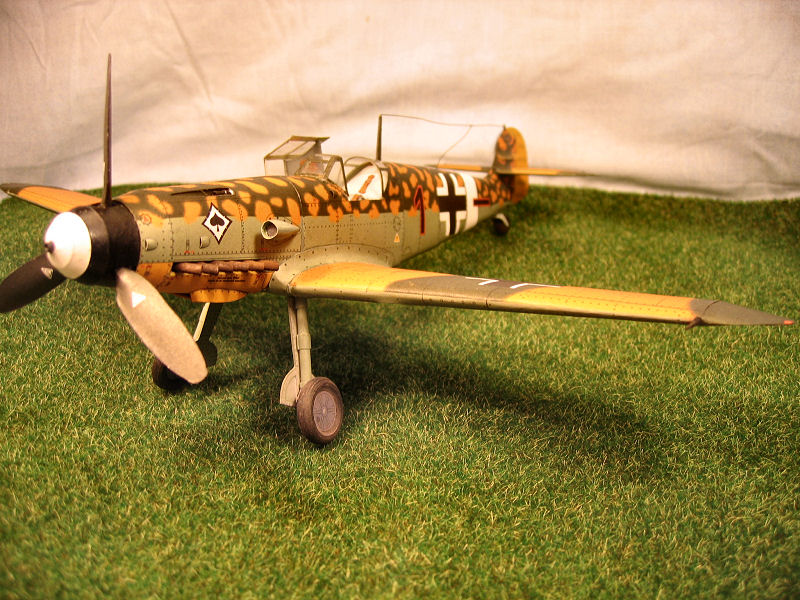
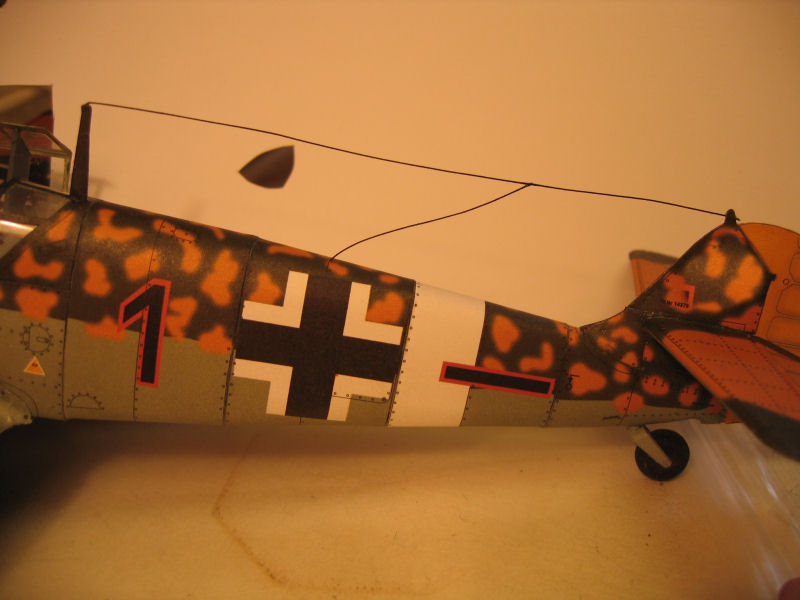
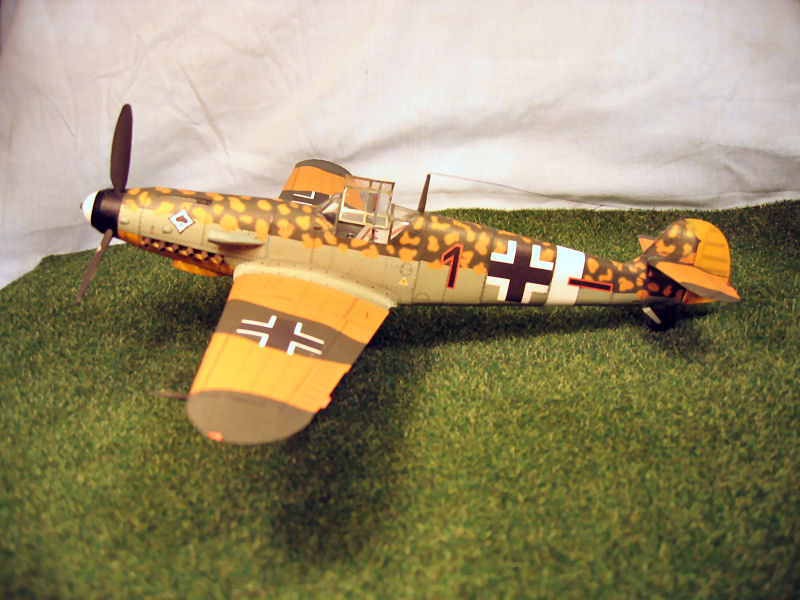
Got the bird on the wheels
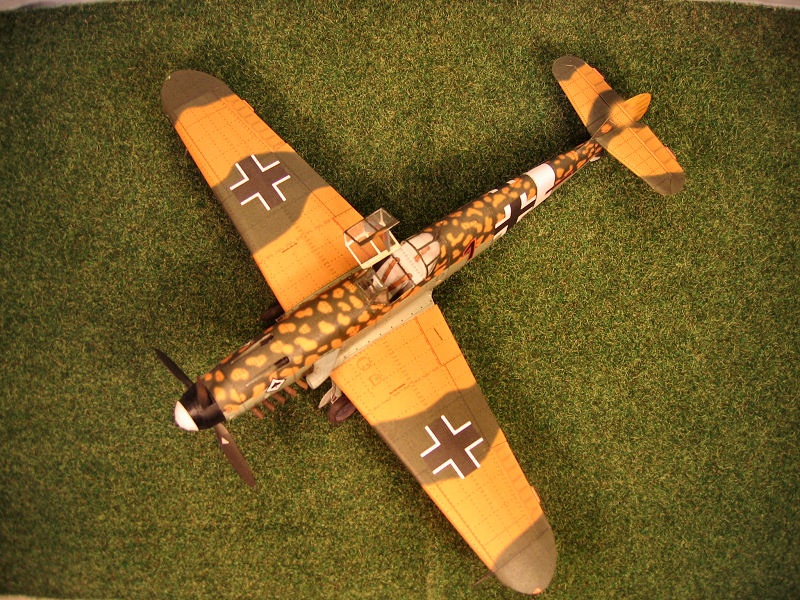
See the finished plane in the gallery!!