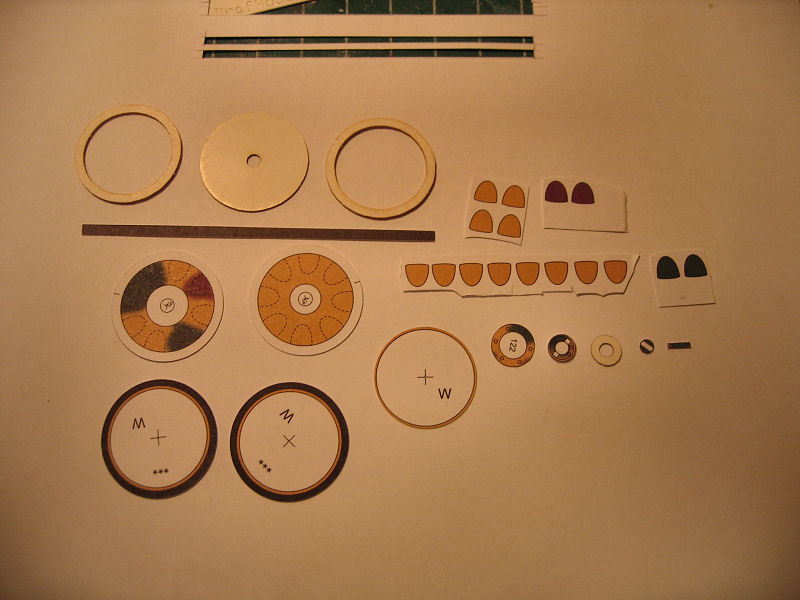
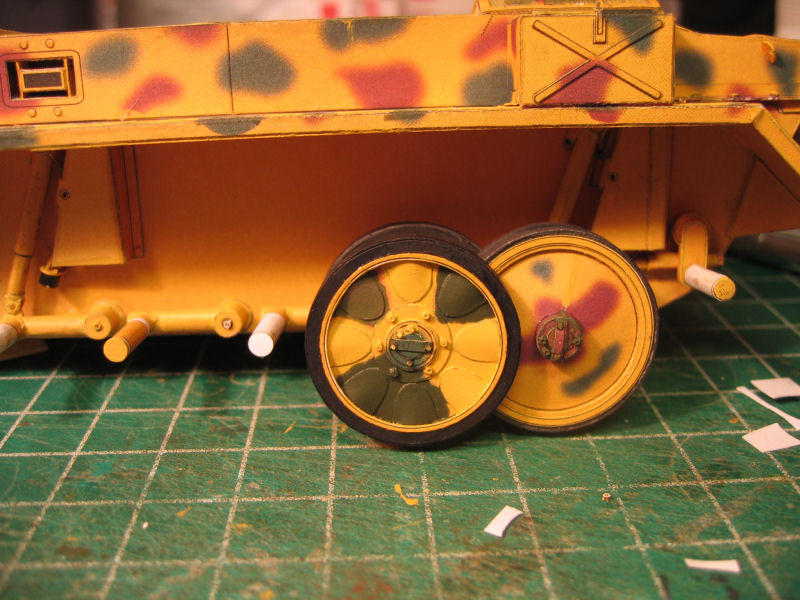
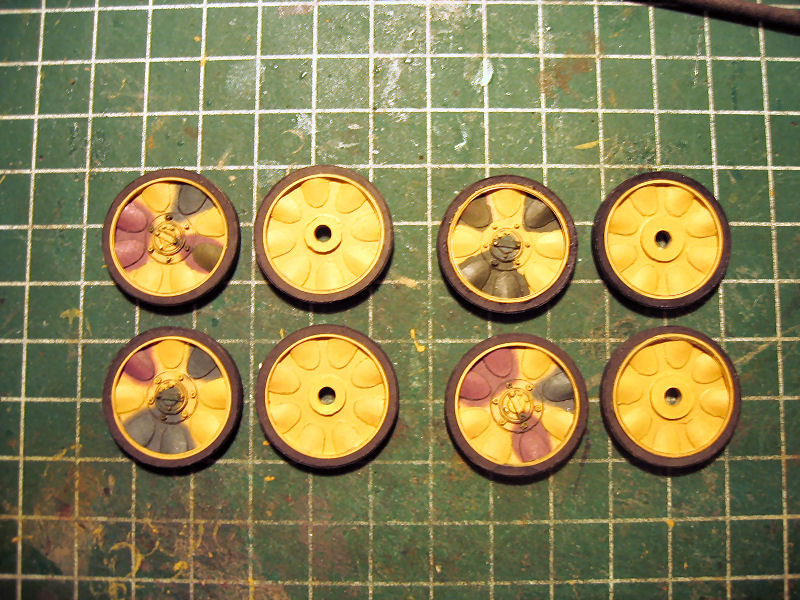
Continuing making the roadwheels.There are two kinds of roadwheels on this tank.One narrow type and one wide type.
The roadwheels fits into eachother by the spacing in the wider wheels.
|
|
|
|
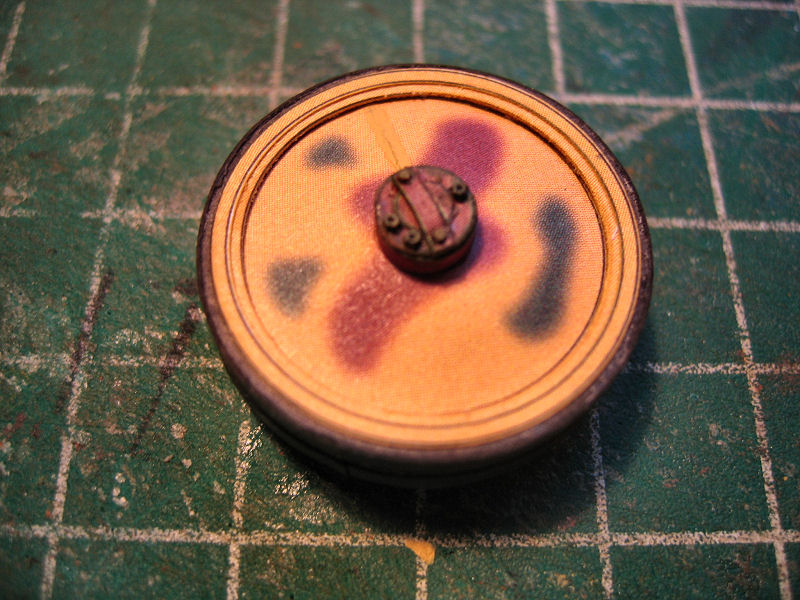
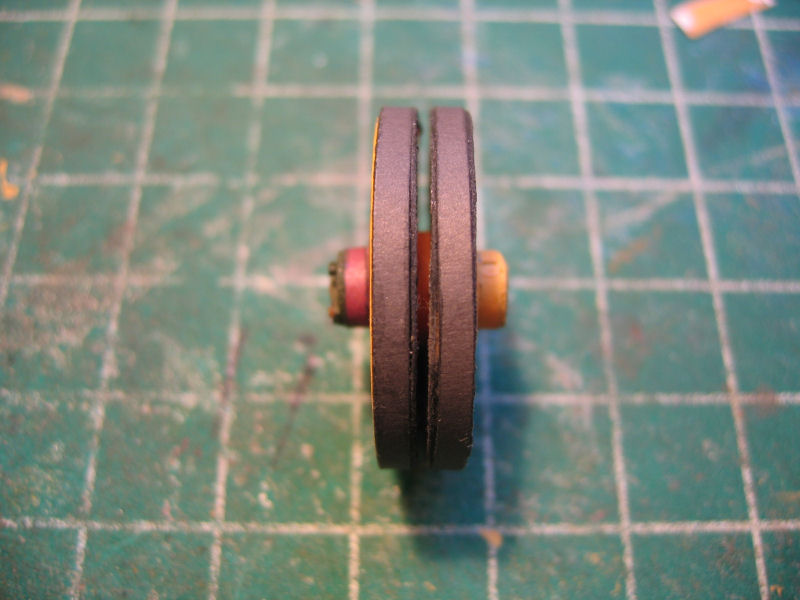
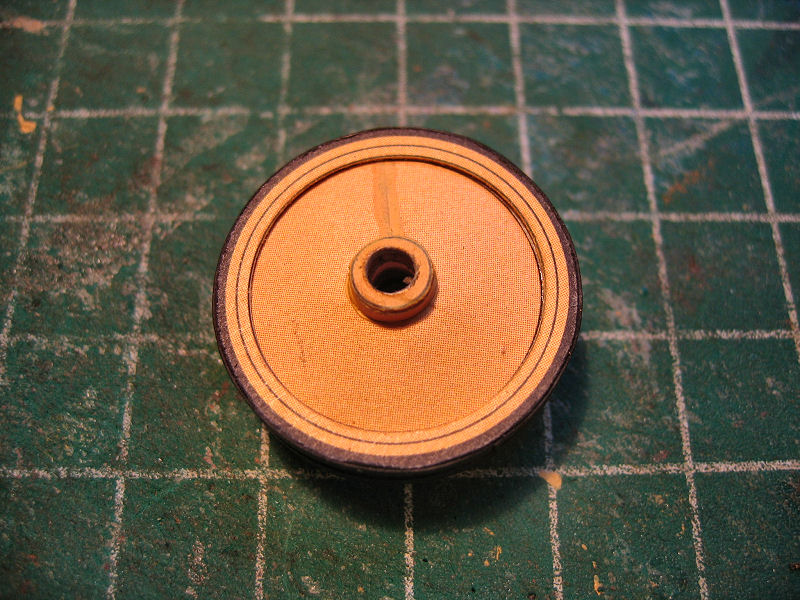
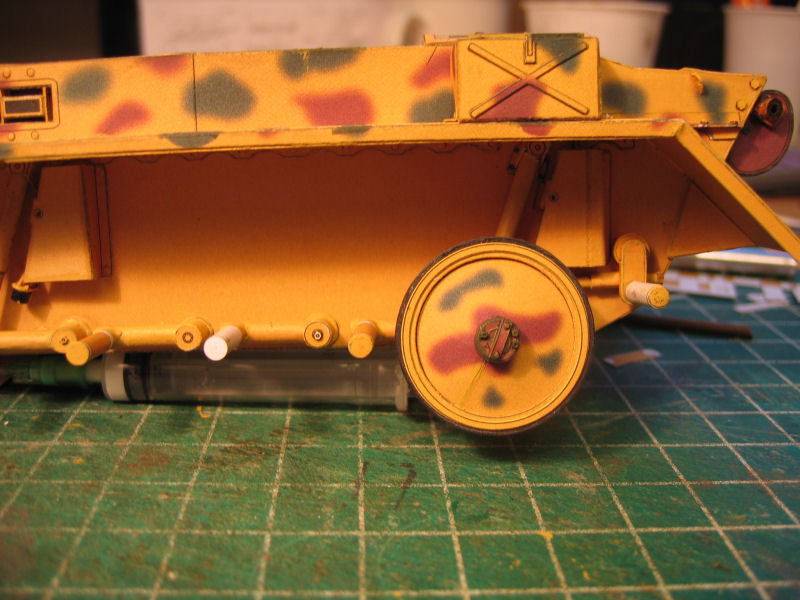
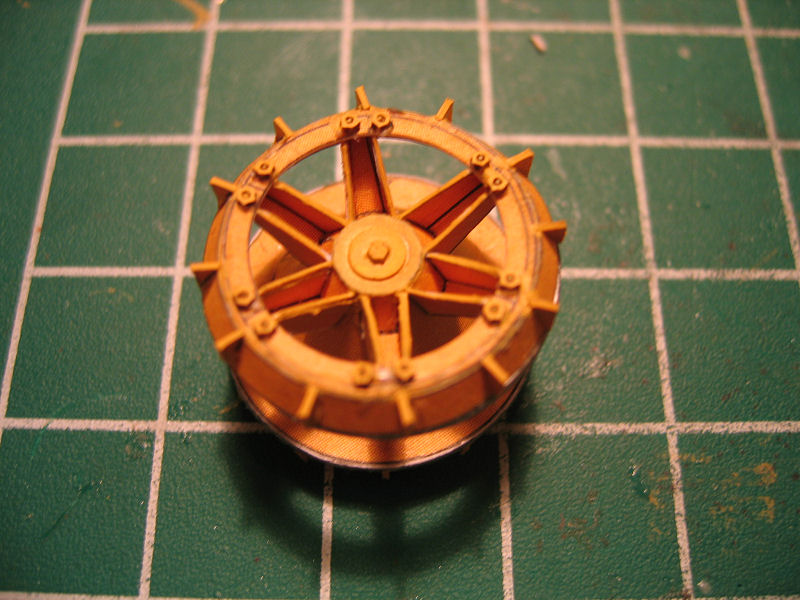
| Front view of the first wheel. | Top down view. | Rear side. | Placed loosely on the tank to see how it fits |
 |
 |
 |
 |
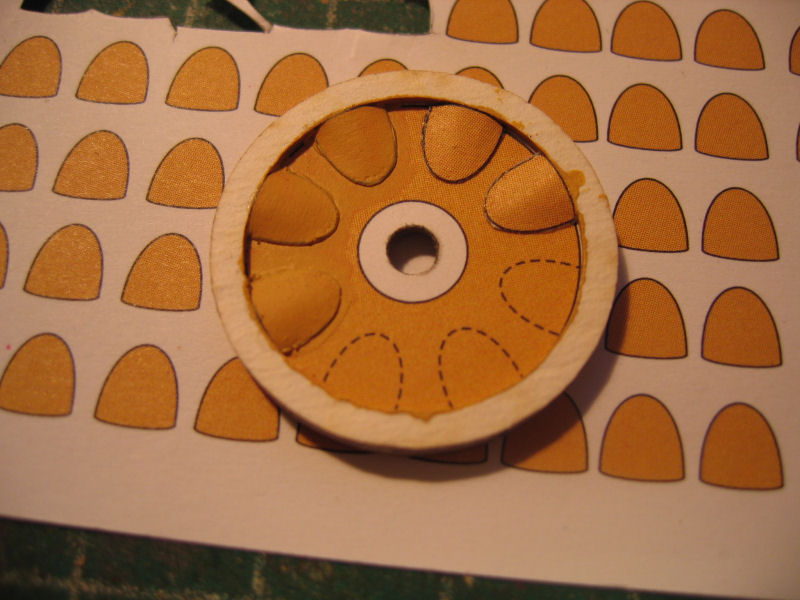
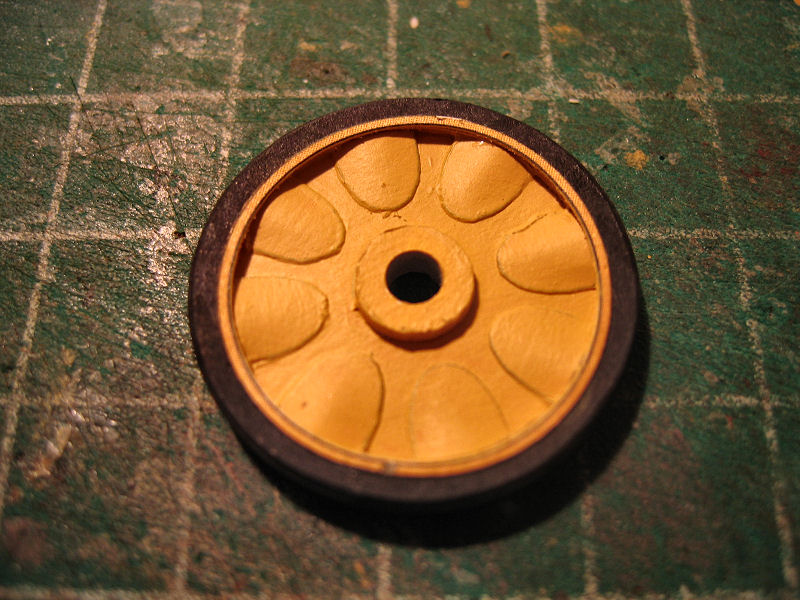
| Parts to be used for one wheel ready. | Adding the ripples one by one on both sides of the wheel. | The inner wheel is done. | And the outer part |
 |
 |
 |
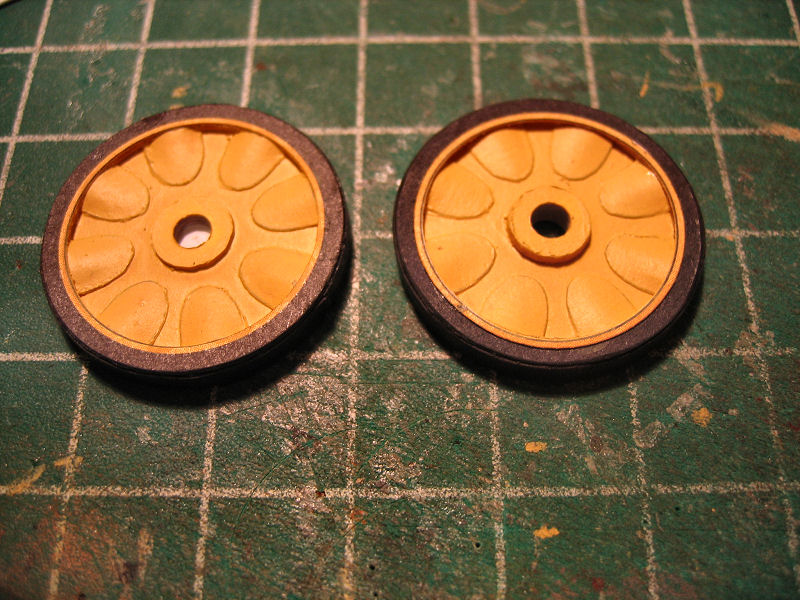
| Both wheels done done. | Dryfitting. | The swingarms on the left side are ready. |
 |
 |
 |
| Front | top | Loosely put in place. |
 |
 |
 |
 |
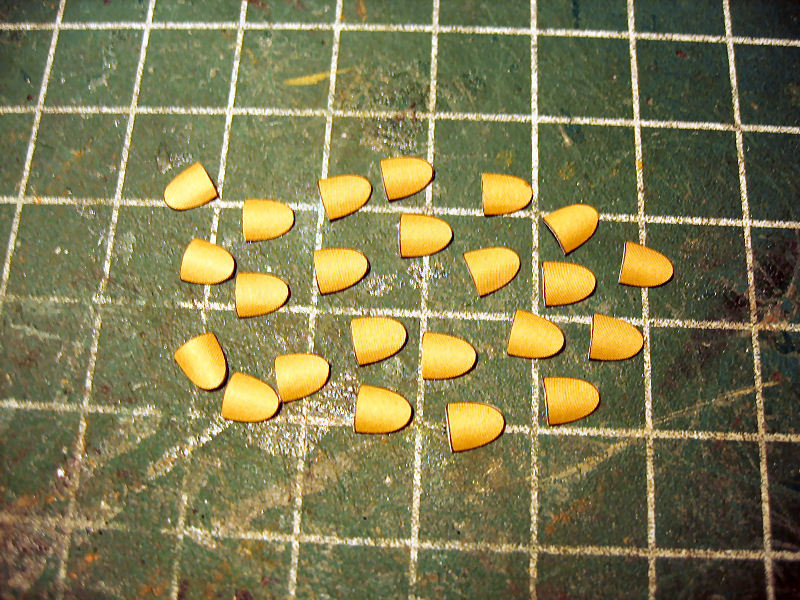
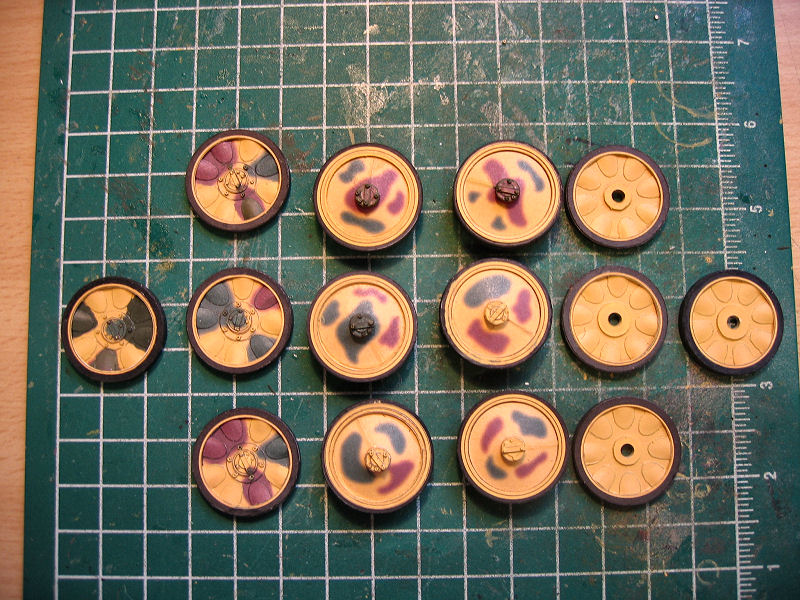
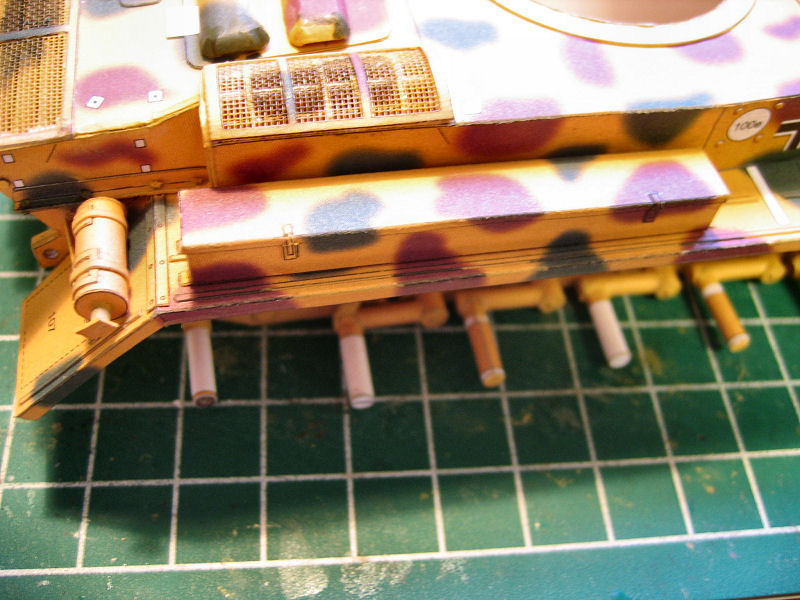
| The last 24 ripples. | The complete set of rippled wheels. | Here we have all roadwheels. | To strenghten the hollow construction of the wheel supporters I added some wooden rods inside to make them capable of handeling more weight |
 |
 |
 |
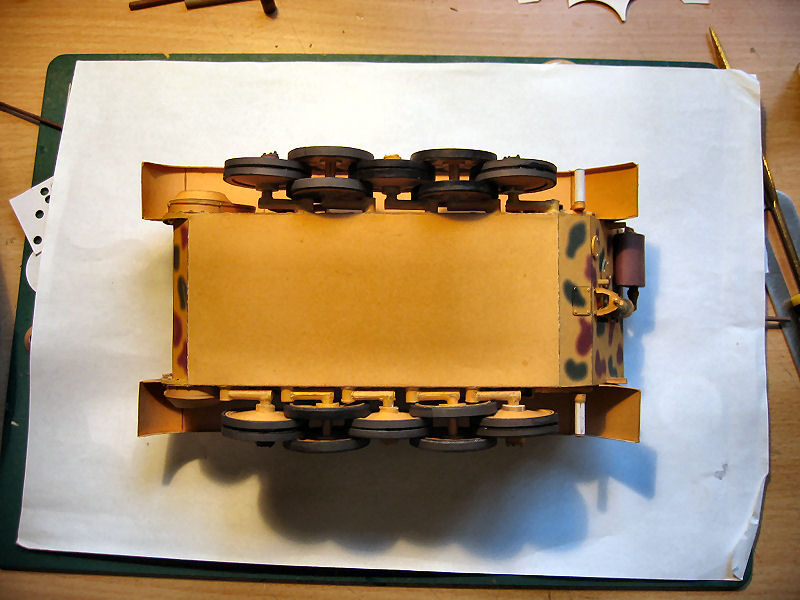 |
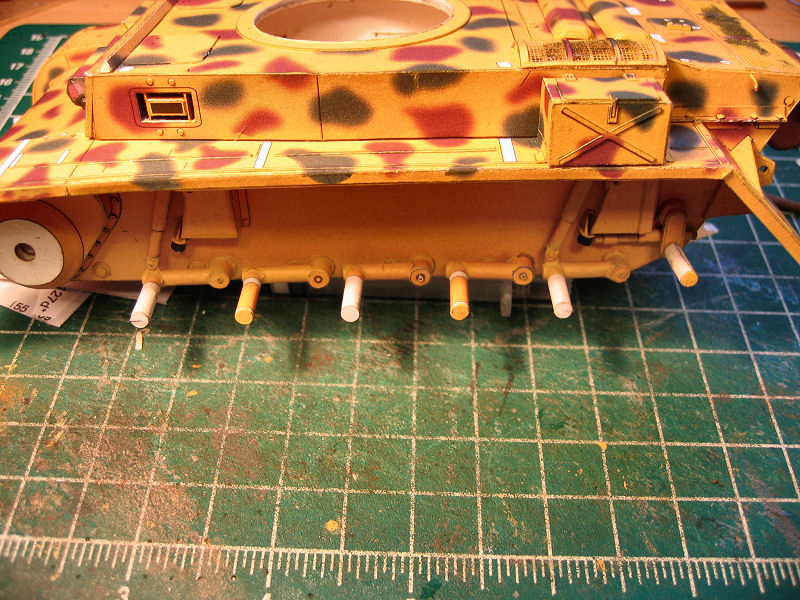
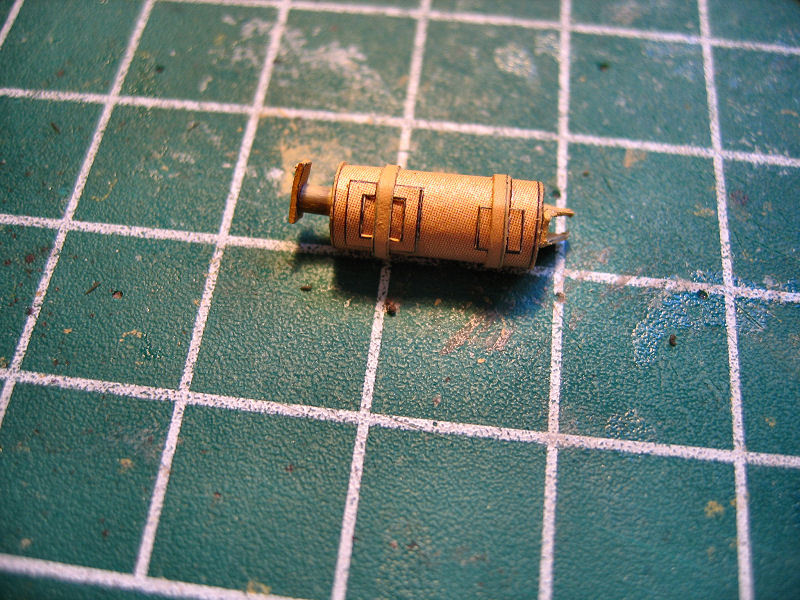
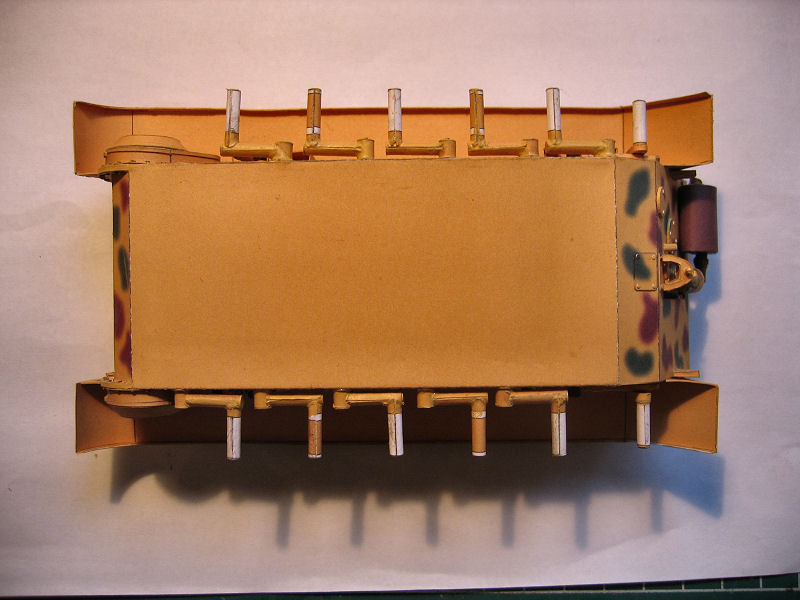
| Fire extinguisher. | All swingarms are in place. | The roadwheels are loosely added. | Top down view |
 |
 |
 |
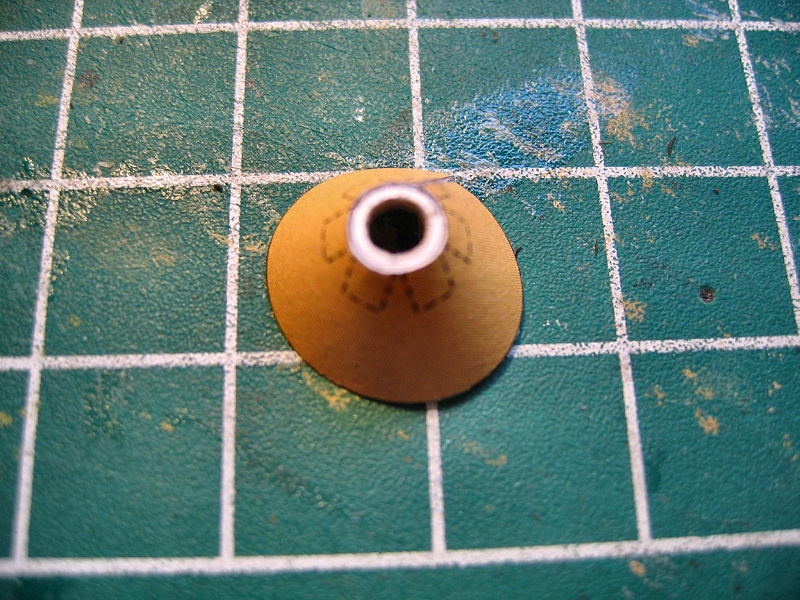 |
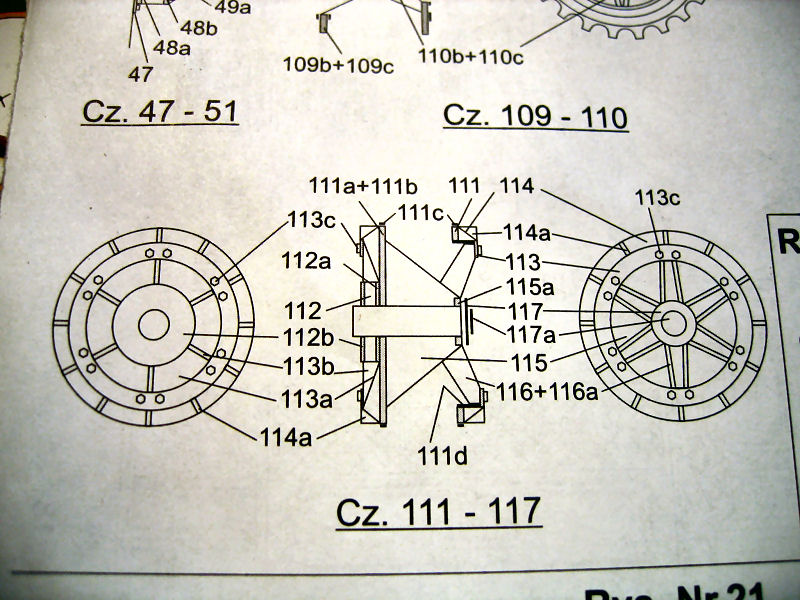
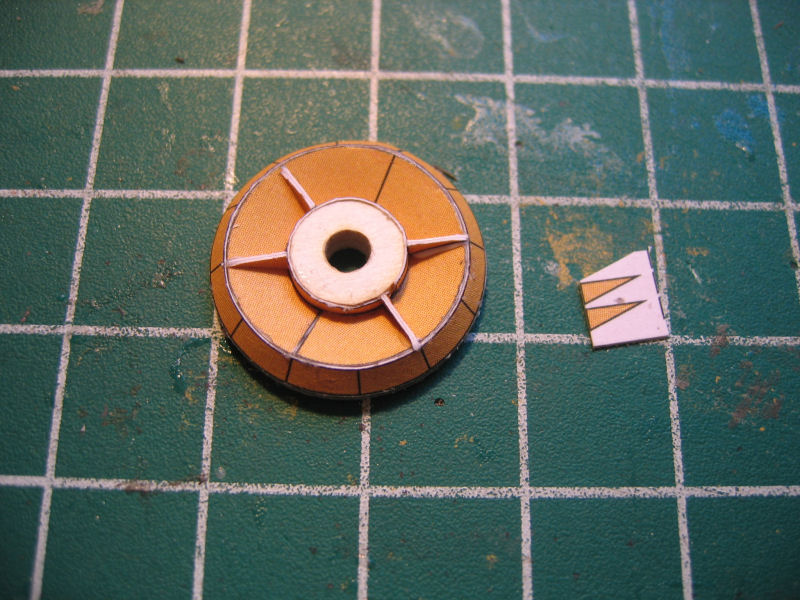
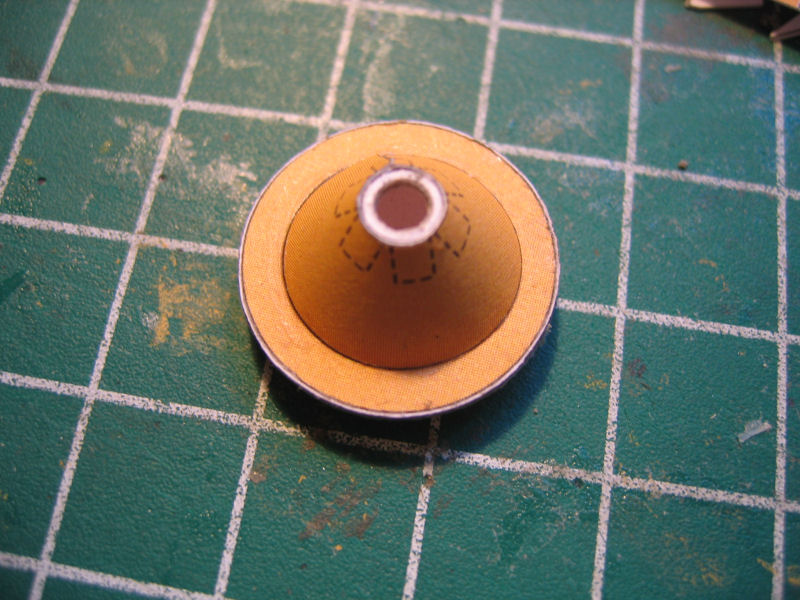
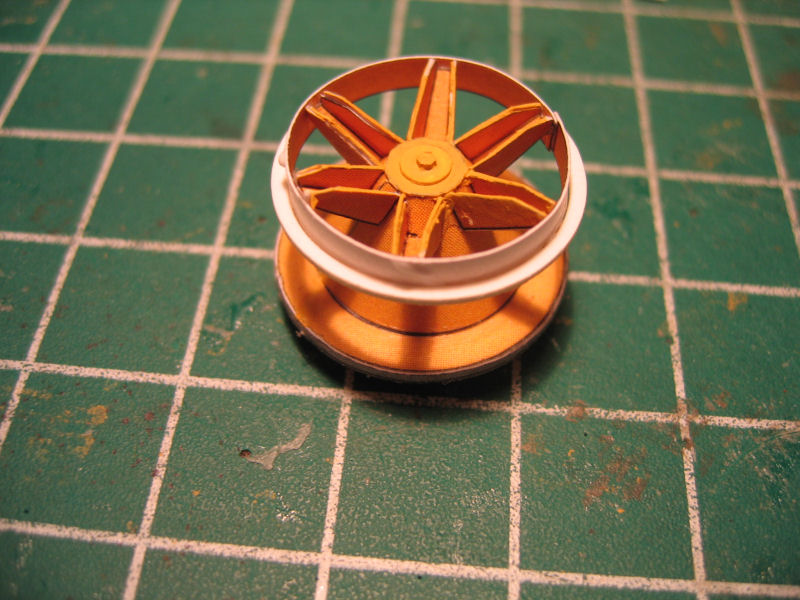
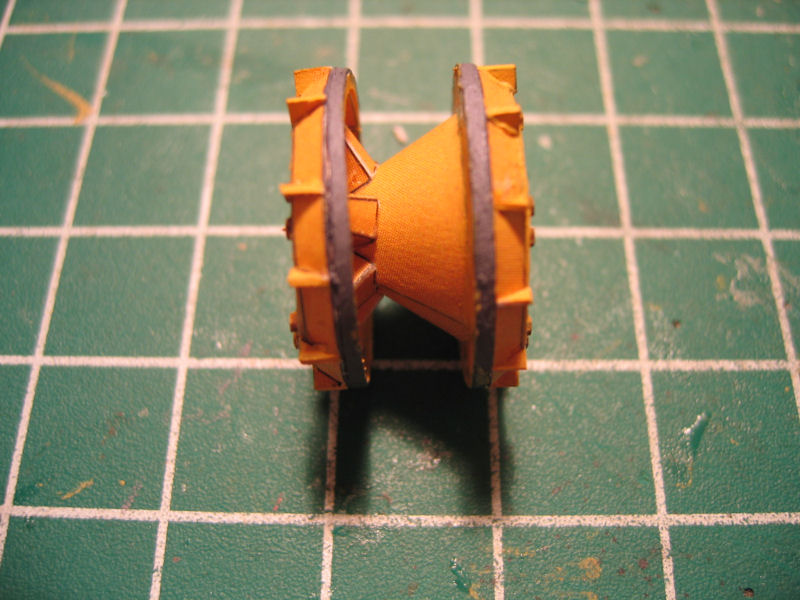
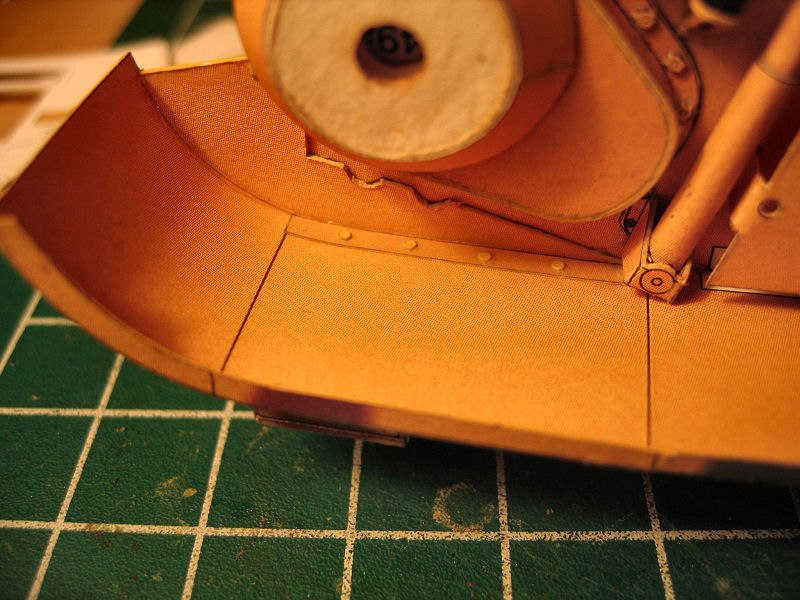
| Overview of the roadwheels. | Instructions for the rear leading wheels. | First step was to make the rear side.It was made of a 0,5mm bottom plate,a center hub, and two coned pieces coned each way.The triangles was glued to the lower cone and the hub.. | Then I made the cone for the front side arrangement |
 |
 |
 |
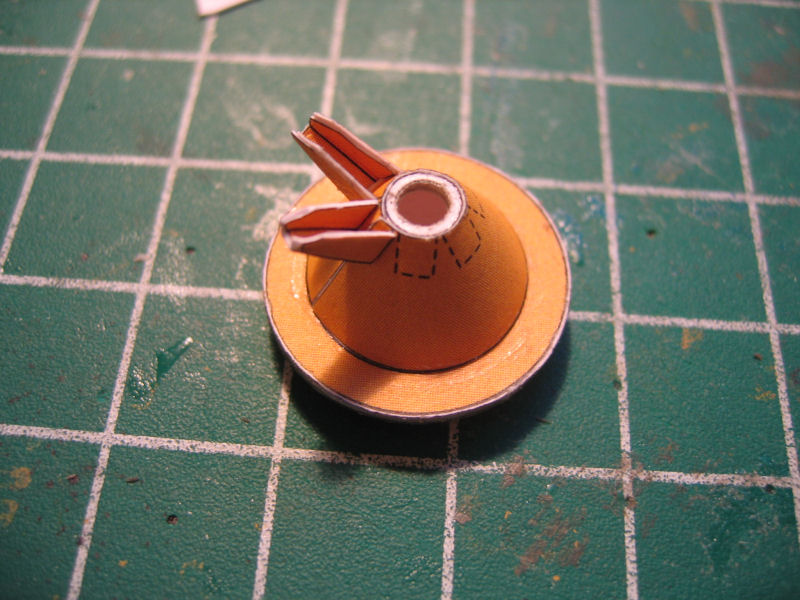 |
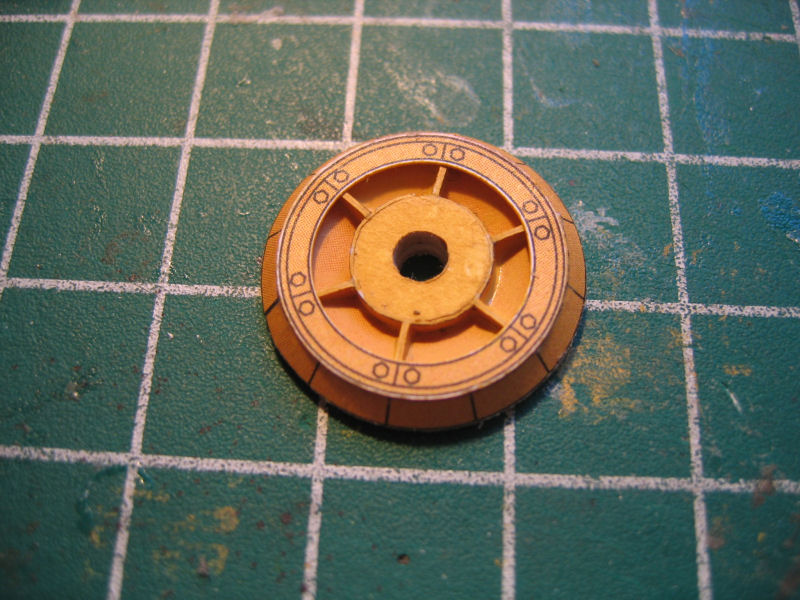
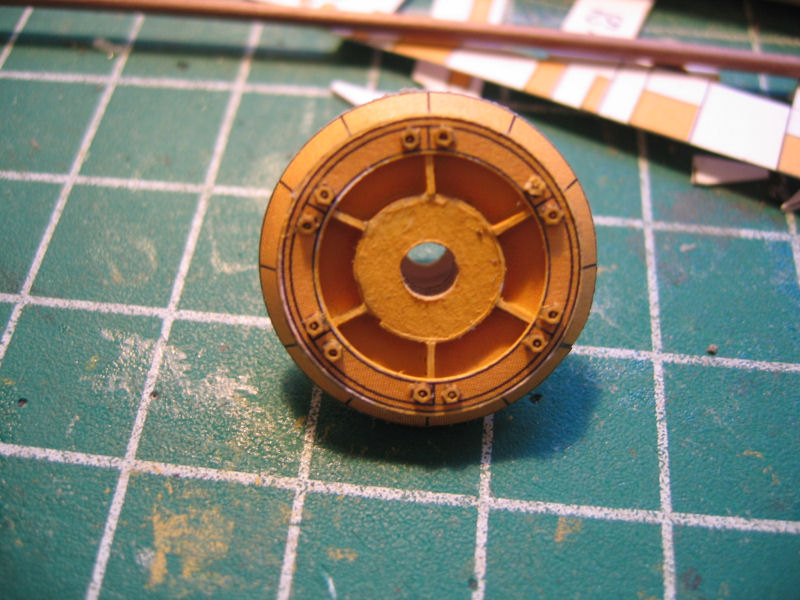
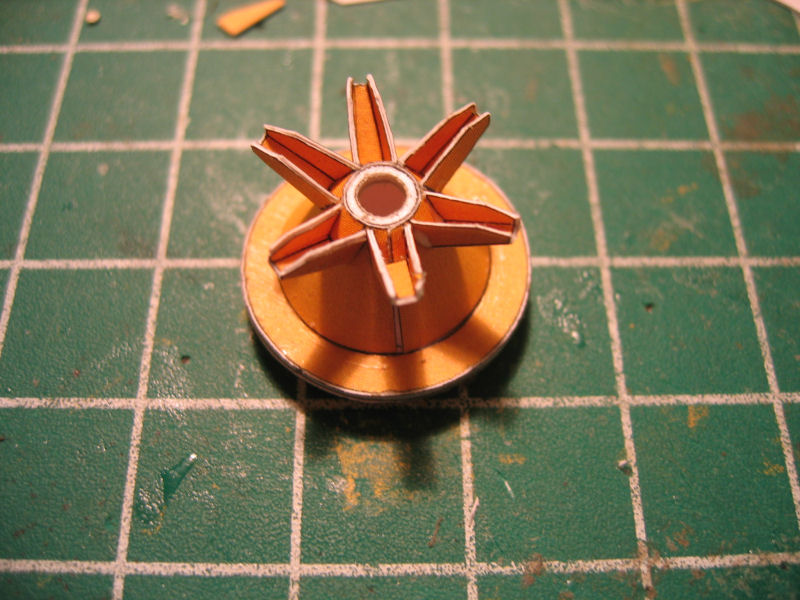
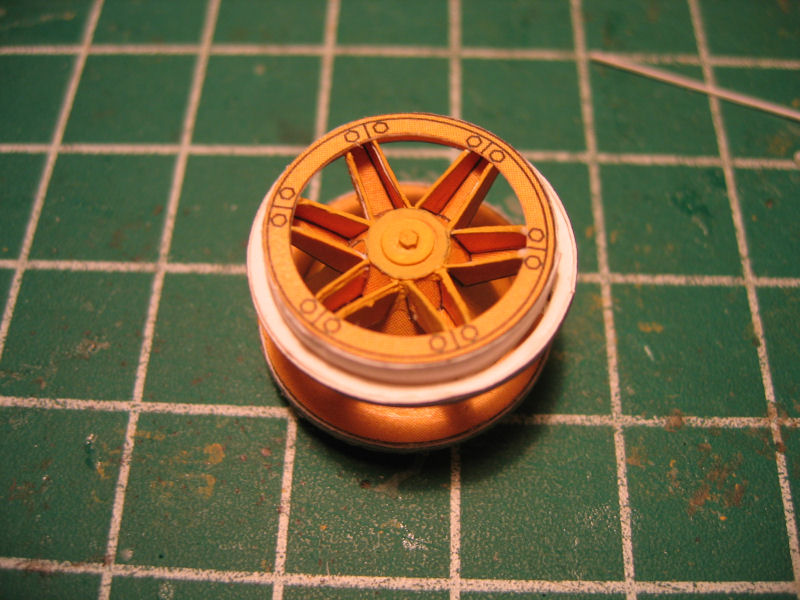
| Then I added the ring with the nuts to the rear side.. | The cone was glued to the front side. | And the nuts was added to the rear side. | So came the time to add the supporters for the outer ring on the front side |
 |
 |
 |
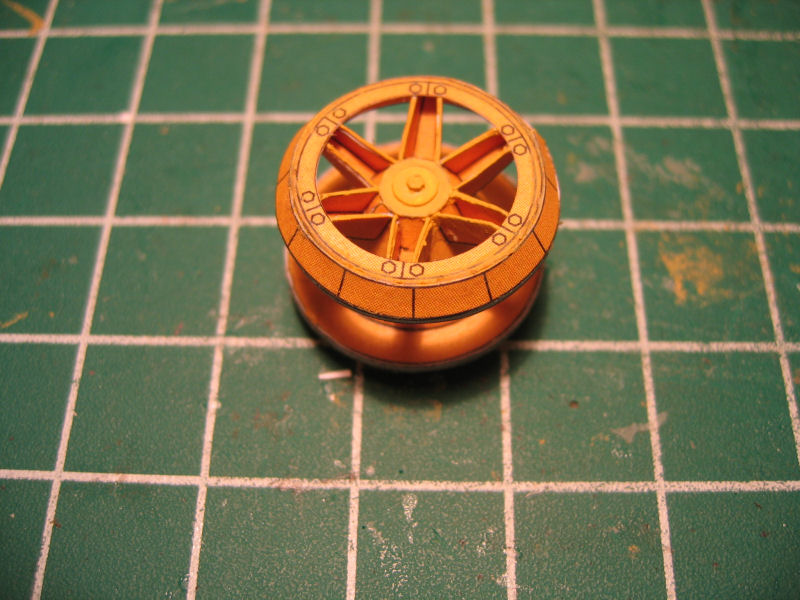 |
| All 6 supporters added. | Then I had to put on the paperstrip and the ring to hold the coned front part in place. | The outer part was added to get the distance from the rear ring correct for the dimesnsion on the outer coned part. | The coned outer ring is in place |
 |
 |
 |
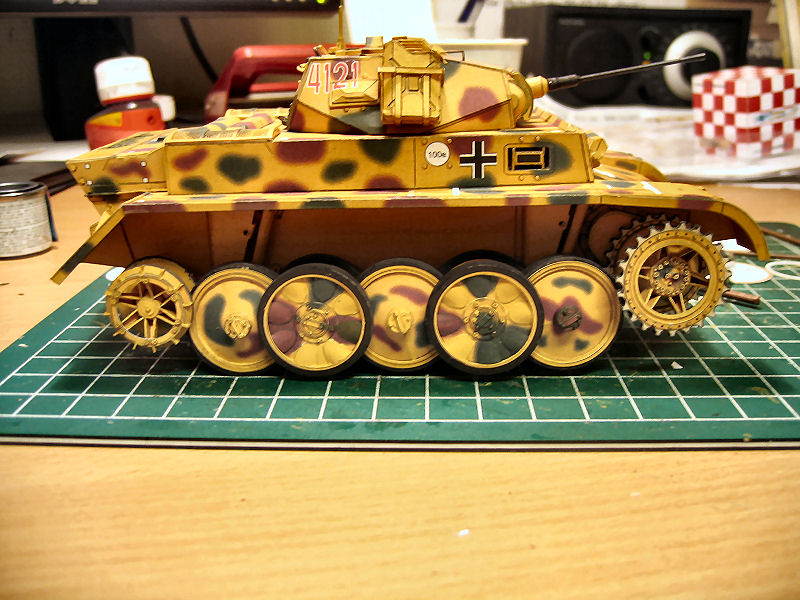 |
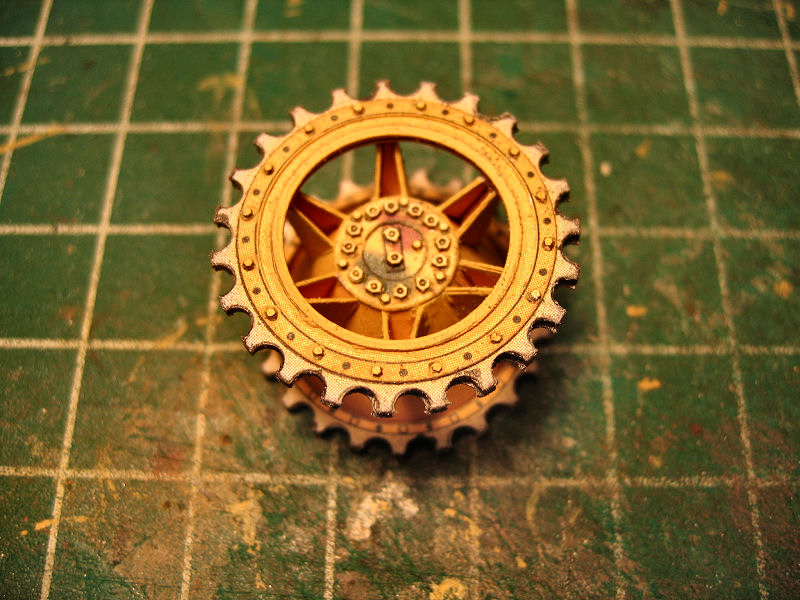
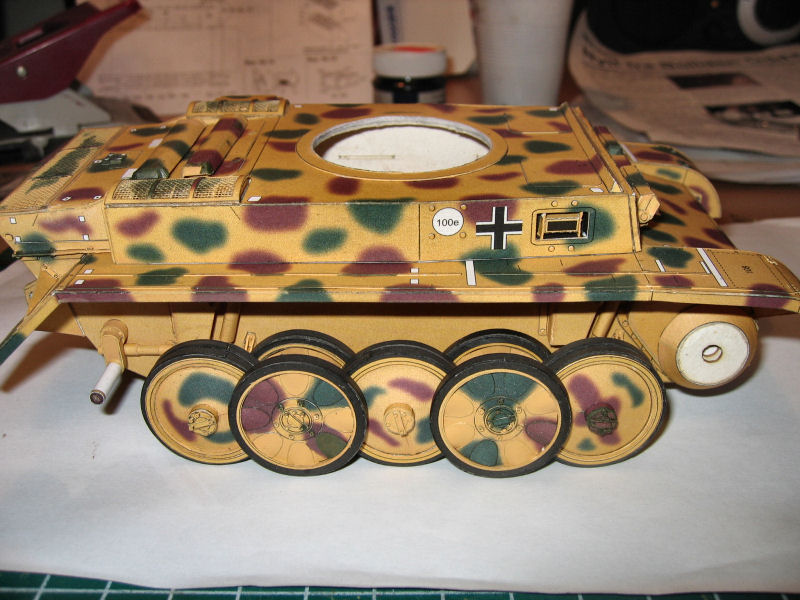
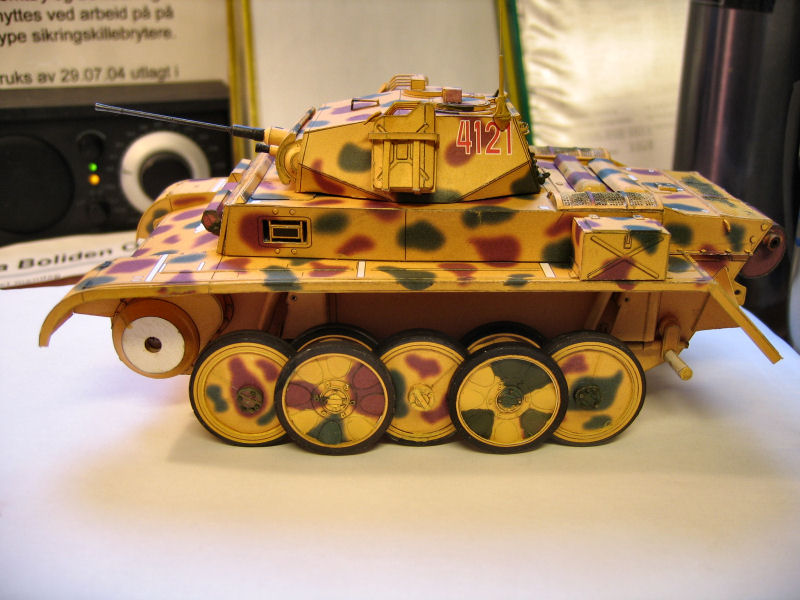
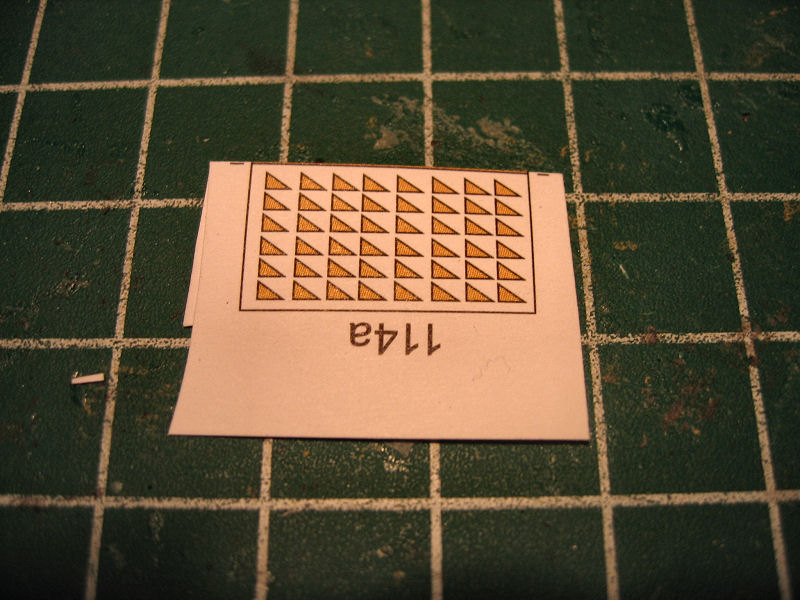
| A lot of tiny triangles was to be added to the outer coned sides. | And when all triangles and nuts are added we have a wheel. | I painted the part that will be in contact with the tracks with "polished steel" paint. | The wheels put loosely on for an impression of how it will look. |
 |
 |
 |
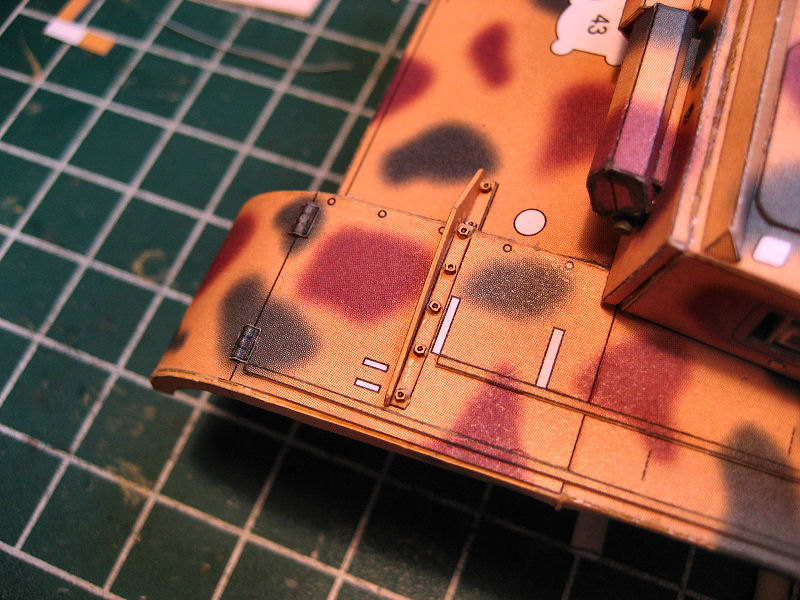 |
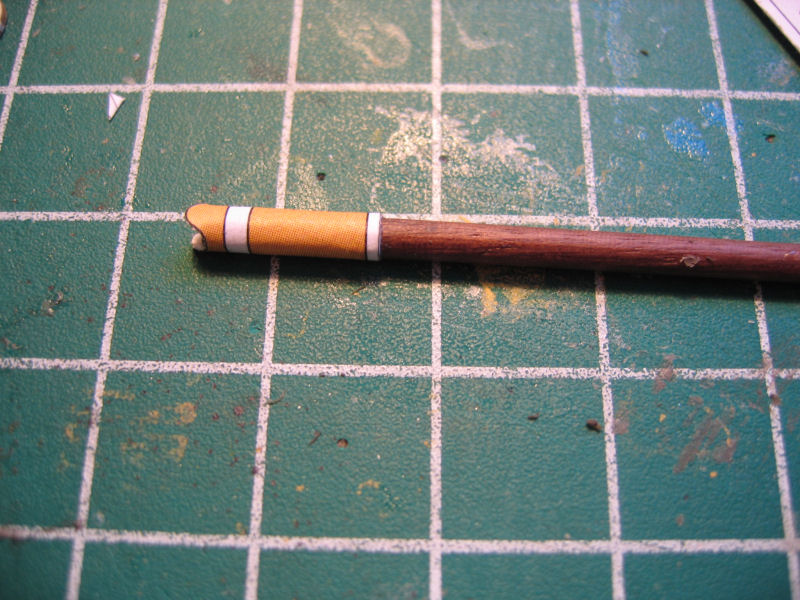
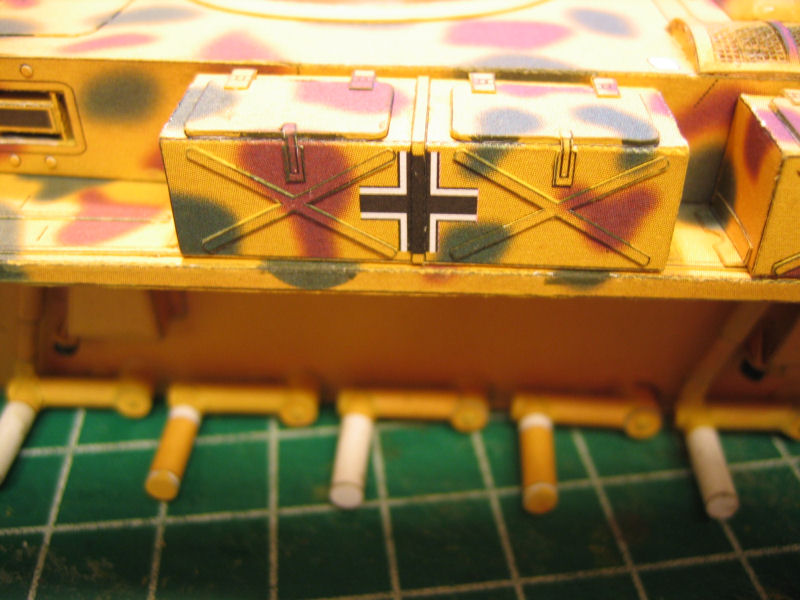
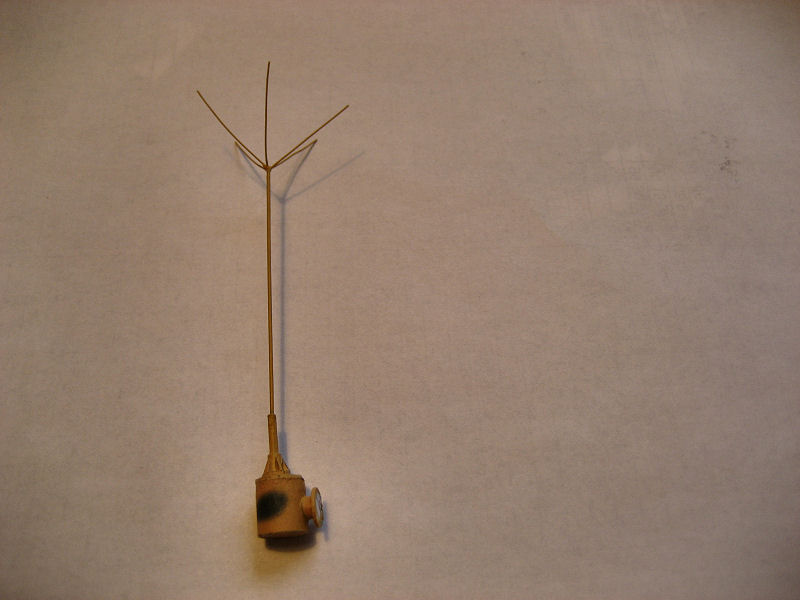
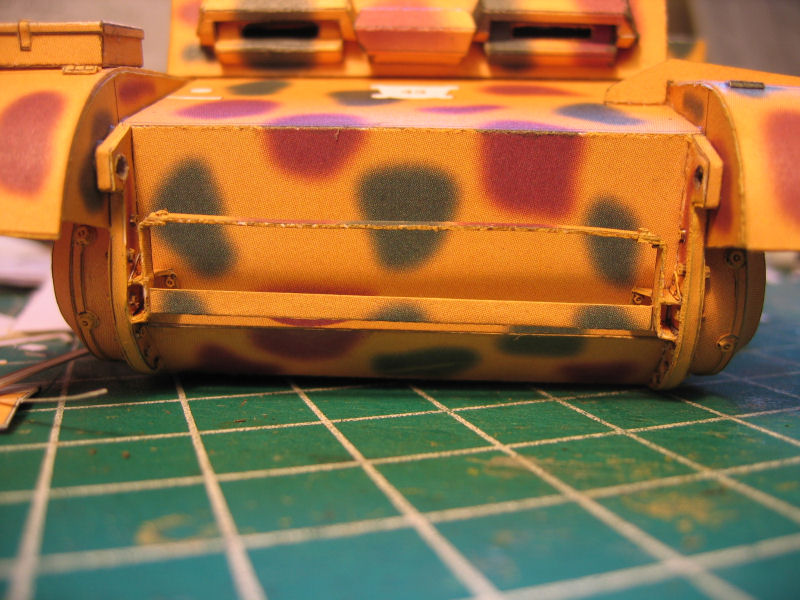
| Some boxes. | Another box. | The antenna. | And the stiffeners for the mudguards. |
 |
 |
 |
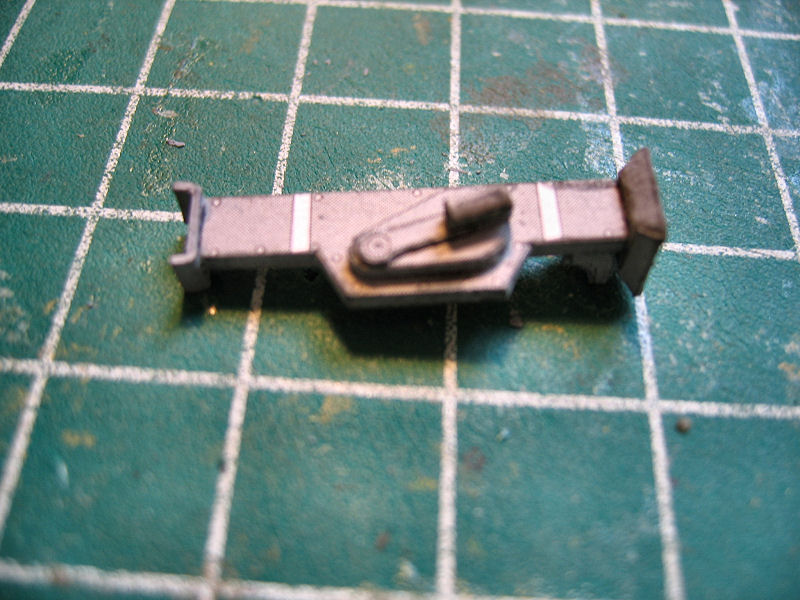 |
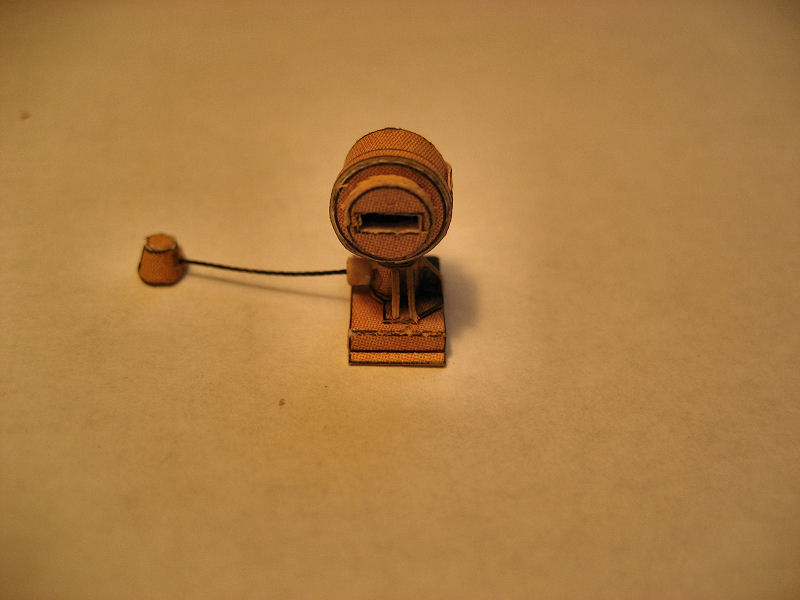
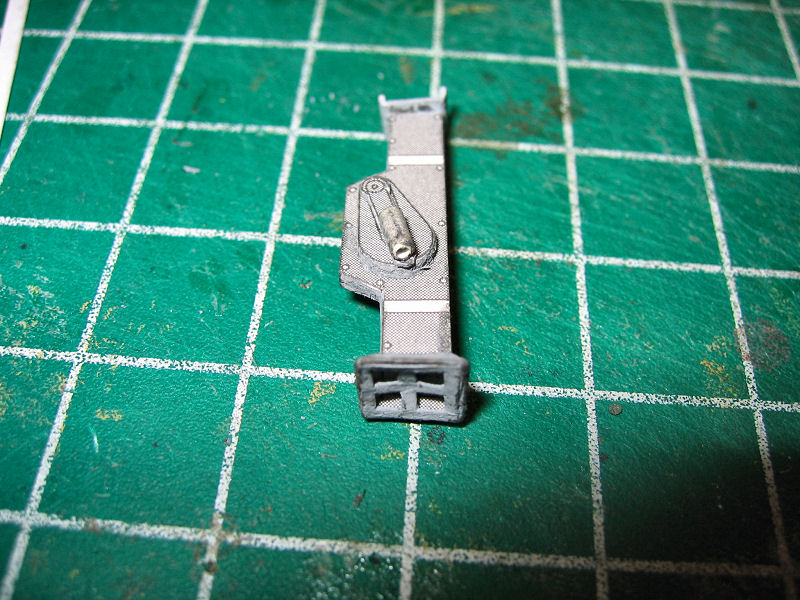
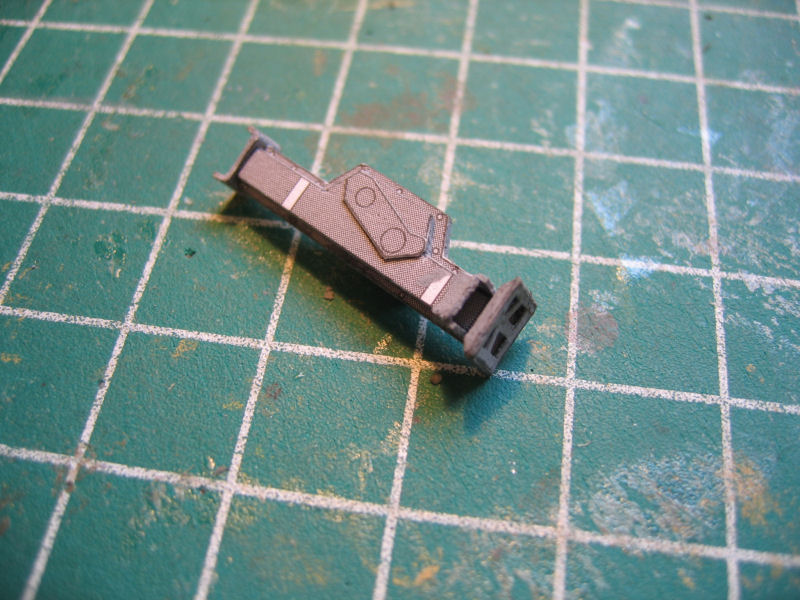
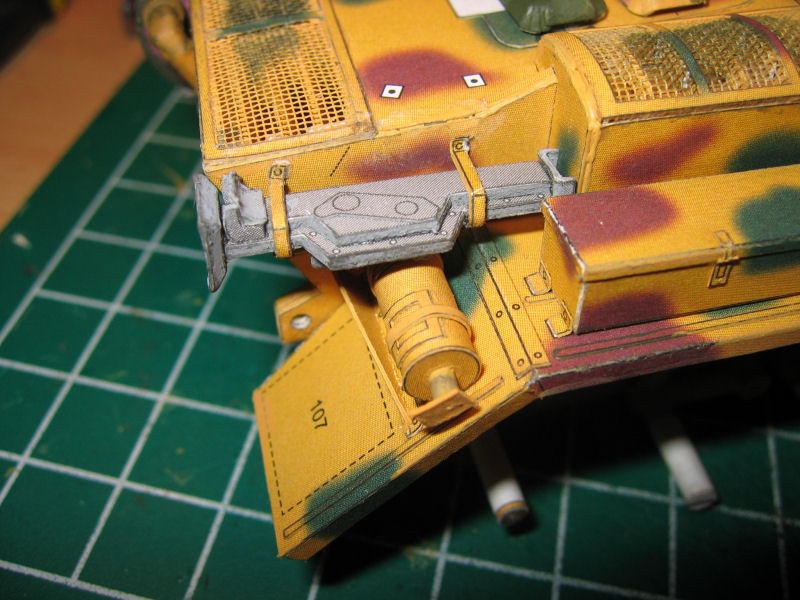
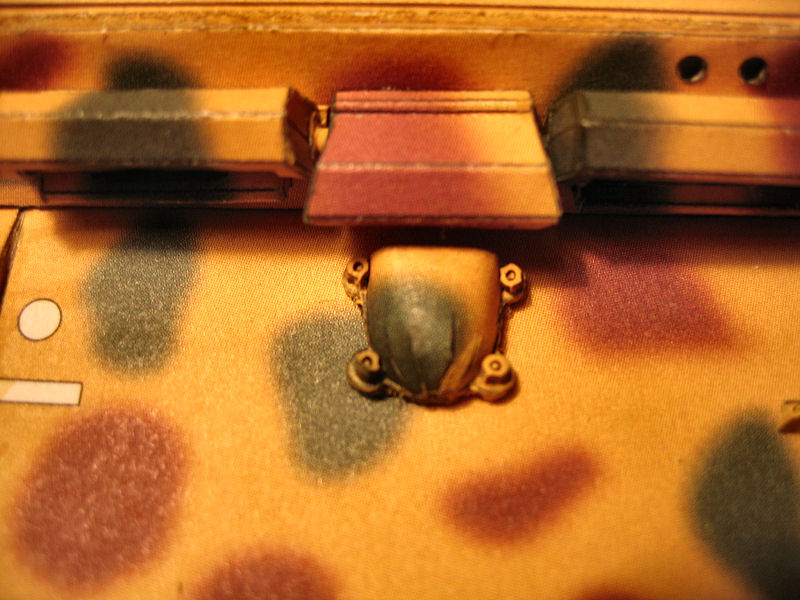
| Headlight. | Another angle. | The jack. | And another view. |
 |
 |
 |
 |
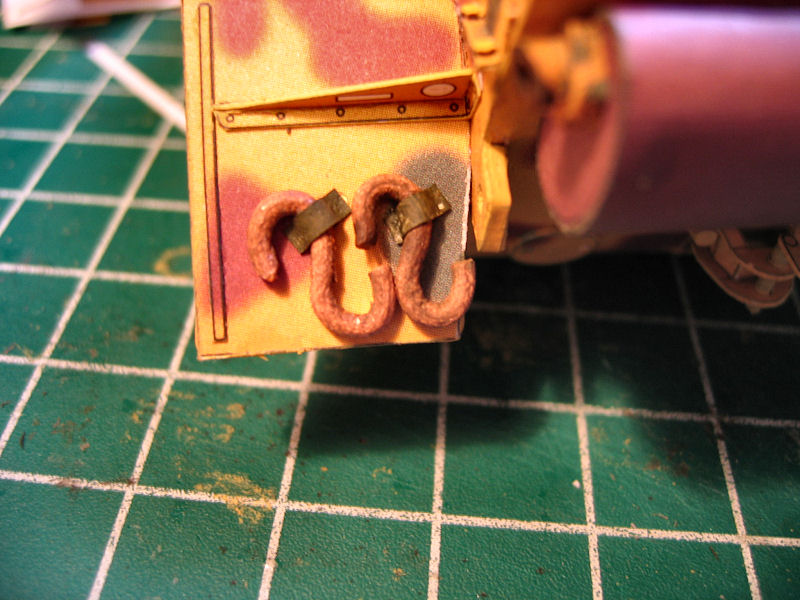
| The other side. | Two hooks on the rear mudguard. | Placed where it belongs. | And the arrangement for the spare tracklinks. |
 |
 |
 |
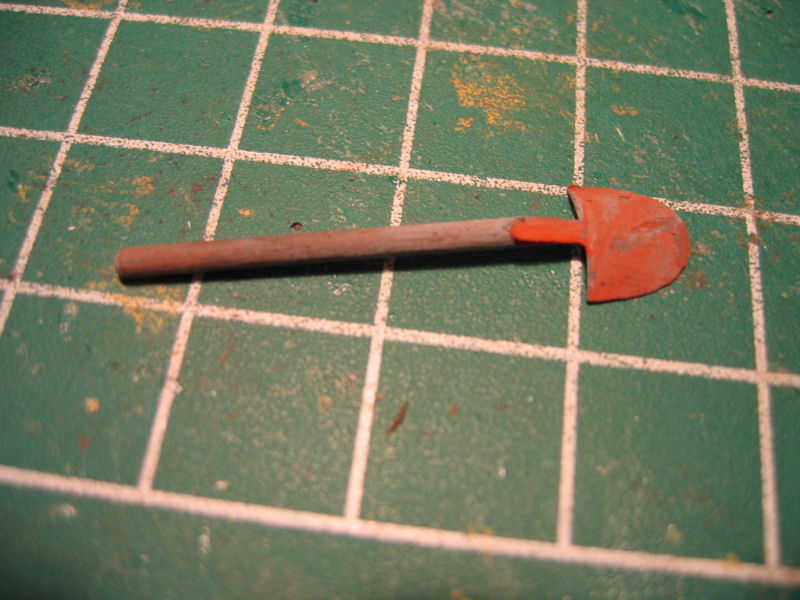 |
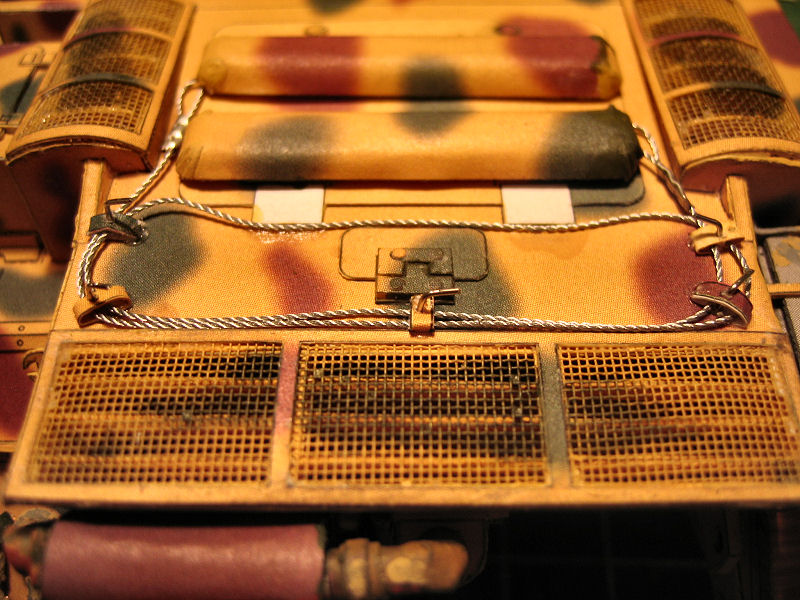
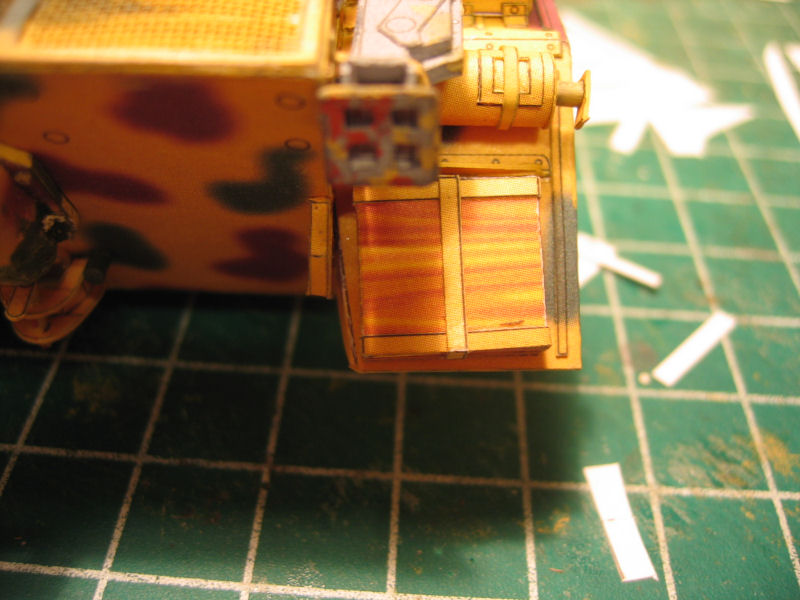
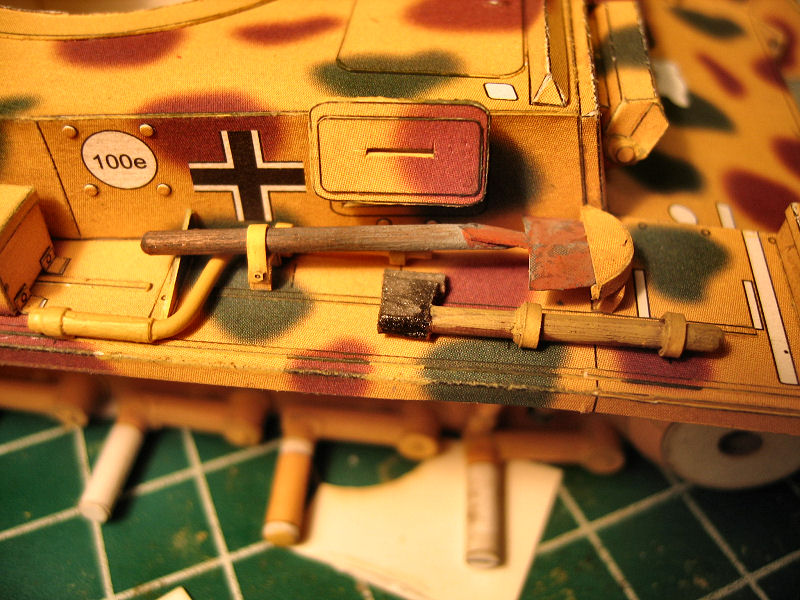
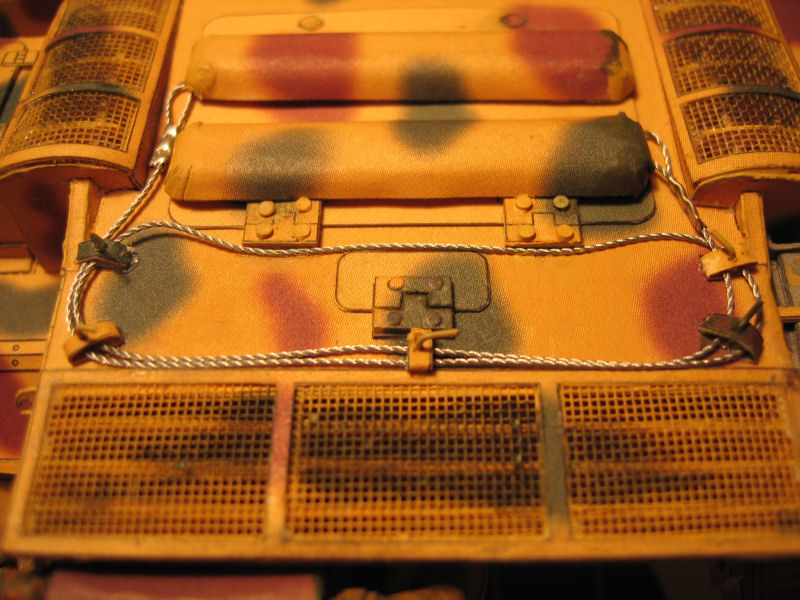
| The tow wire The wire is real o,5mm steel wire. | Another box on the rear of the left mudguard. | Another view. | The showel. |
 |
 |
 |
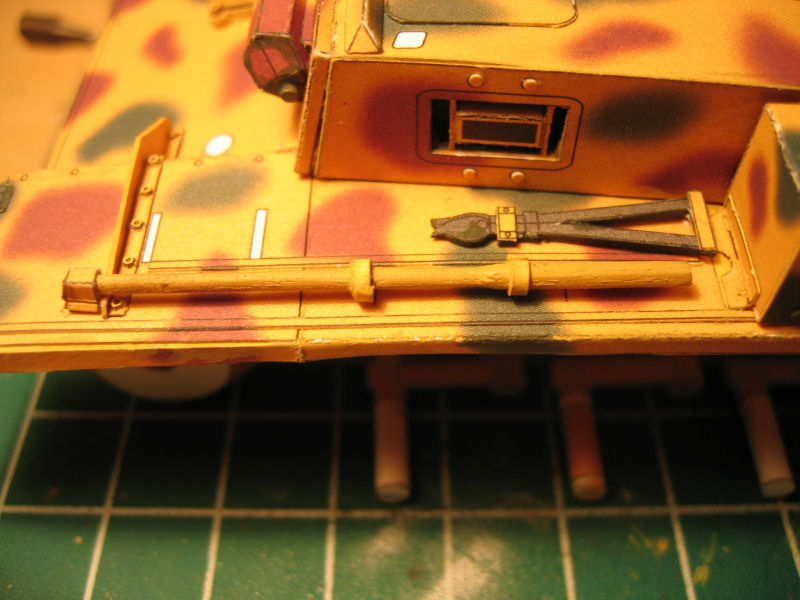 |
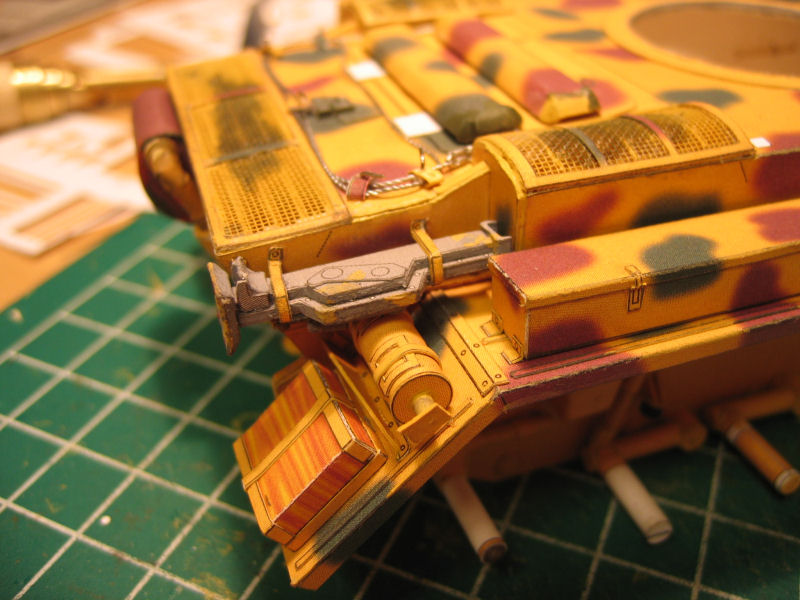
| And some strips under the front mudguards. | Some of the tools and one of the visors. | A bulbe on the "Hood". | Some tools on the opposite side. |
 |
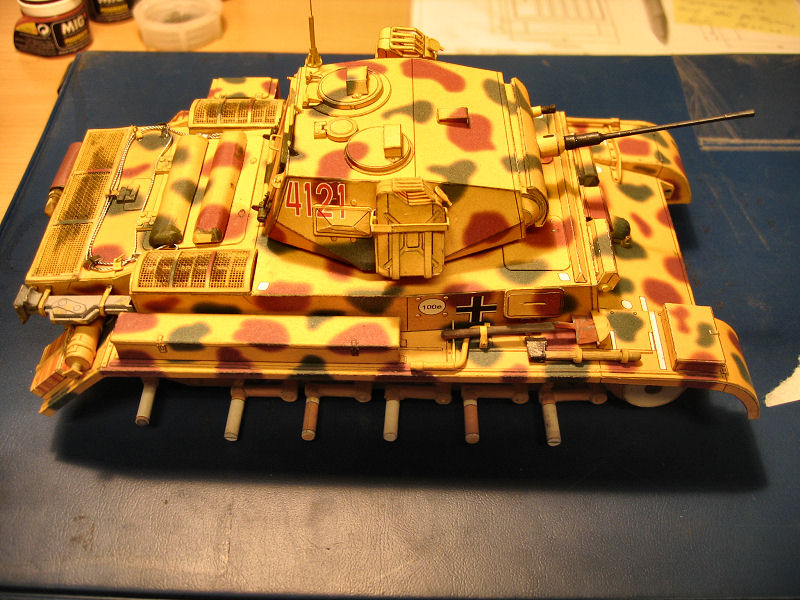 |
| I got the last hinges at the rear end in place, and painted the holders for the wire. | Overview. |
| HOME | BACK | NEXT |
©Johnny Svensson 2007