Pkw K1 K³belwagen Typ82 1:16 Modelik
Page 3
Wiper motor,window hinges and stoppers for the windshield
| The part to be used for the motor. |
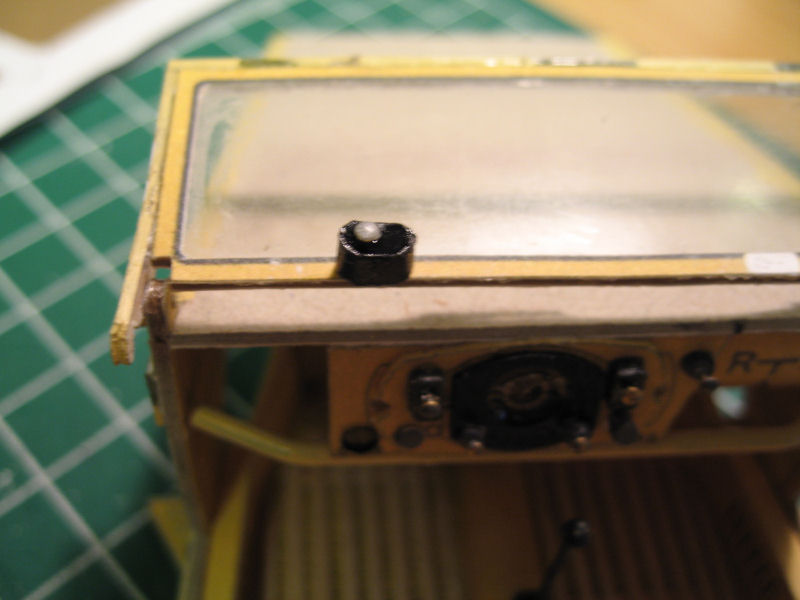
Part assembled and the printed switch is to be replaced with the "knob" |
Motor mounted |
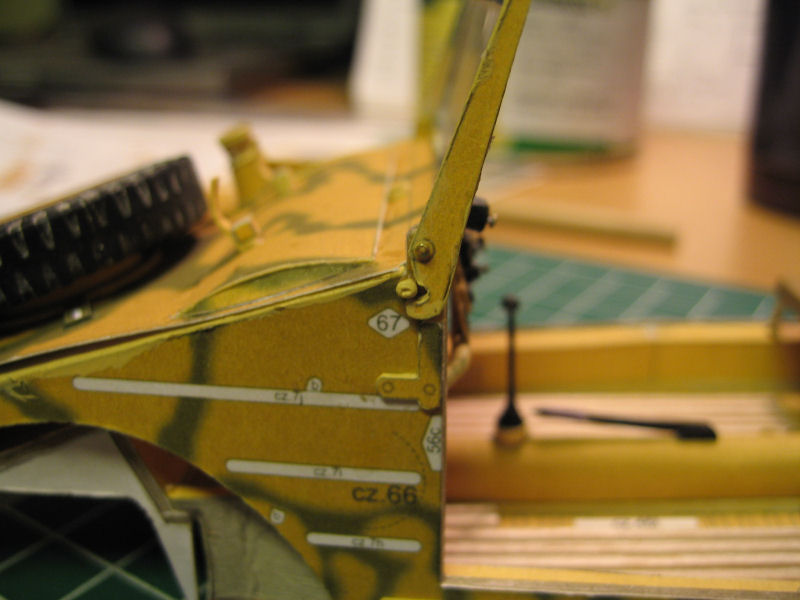
Window in upward position |
| Window in downward position. |
The hinge |
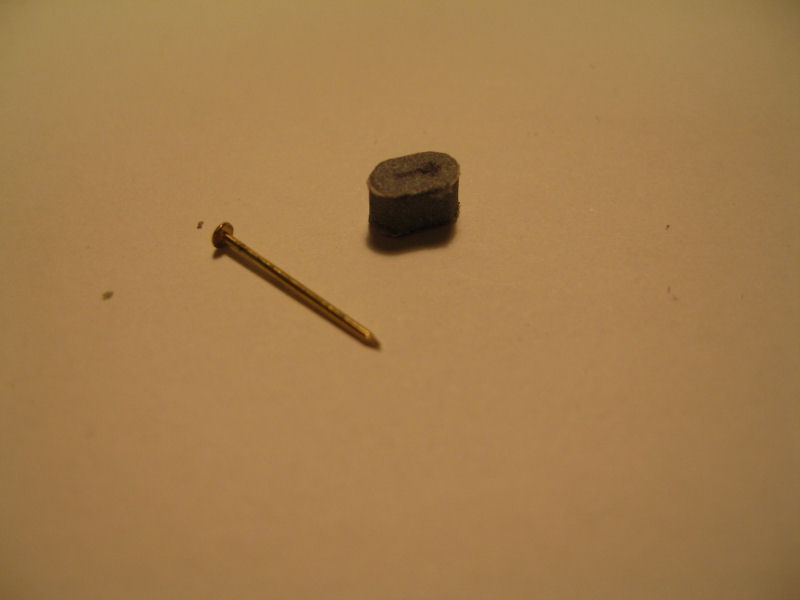
And the stopper knob |
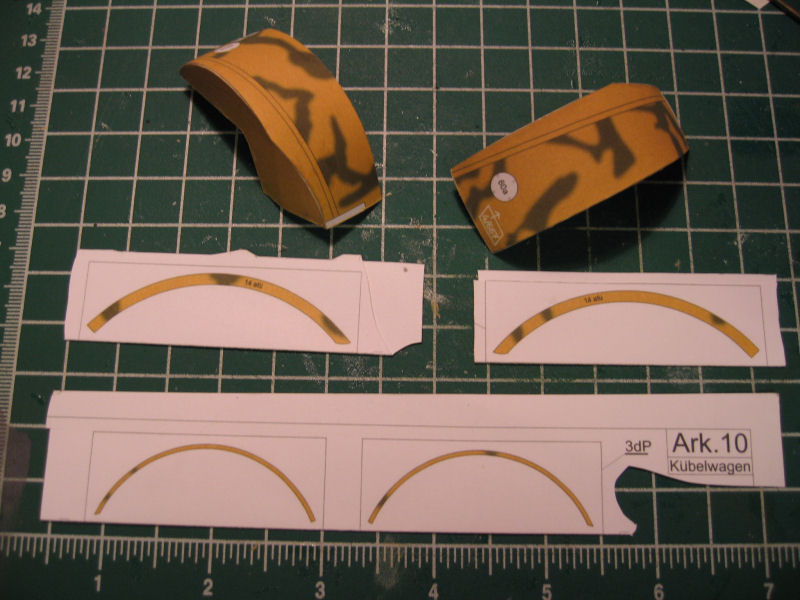
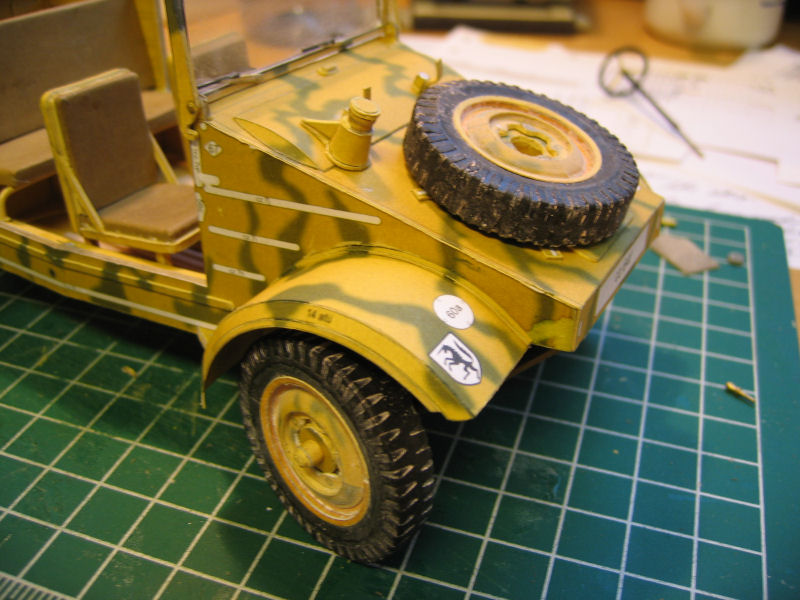
The front fenders
| Here are the parts to be used.The parts are laminated so it also will have color on the backside. |
Edges are painted to avoid the white stripe along the joint |
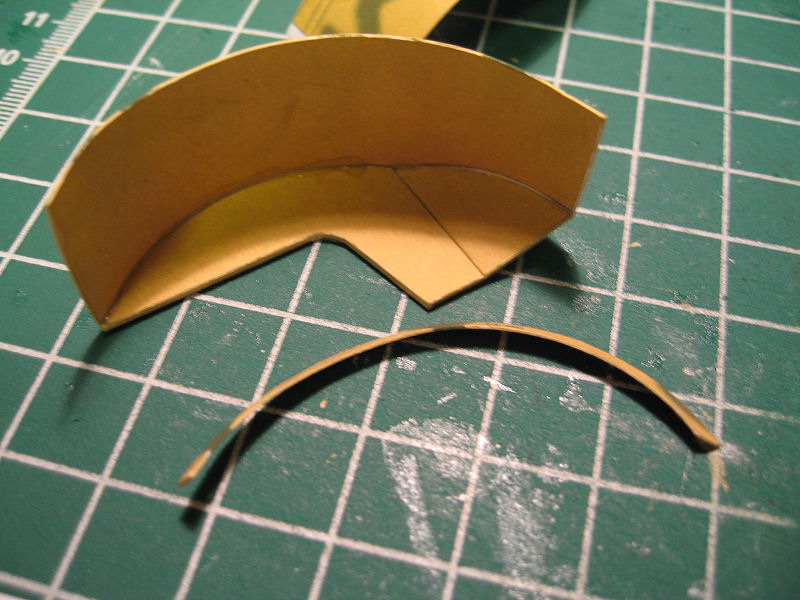
Here I have started to glue the biggest arch to the fender.It's a bit tricky to get it to be nice since there aren't any jointstrips or flips to glue the archer to. |
The part is sucessfully glued in place |
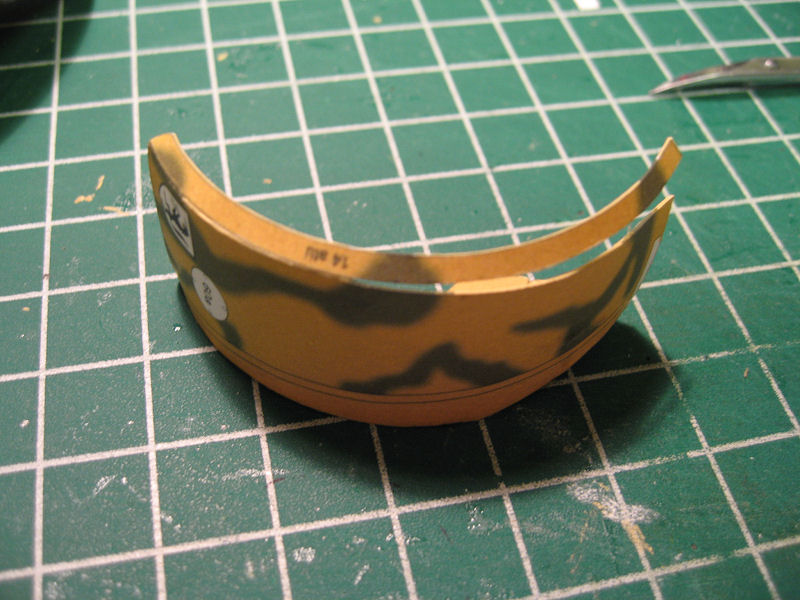
| Next out will be this narrow arch....about 1mm thick. |
Fenders done |
Overview |
Closeup |
The front seats
| The drawing of the seats. |
Here I have cutted out all the parts for one seat. |
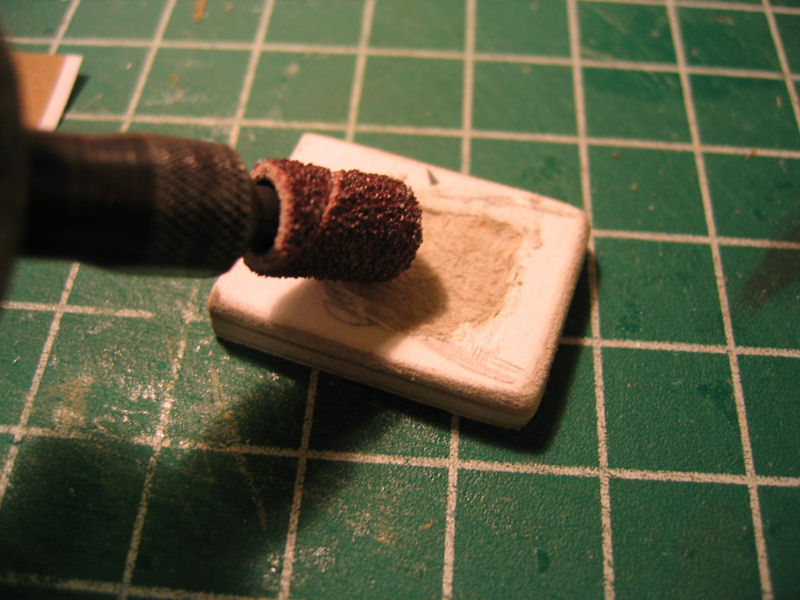
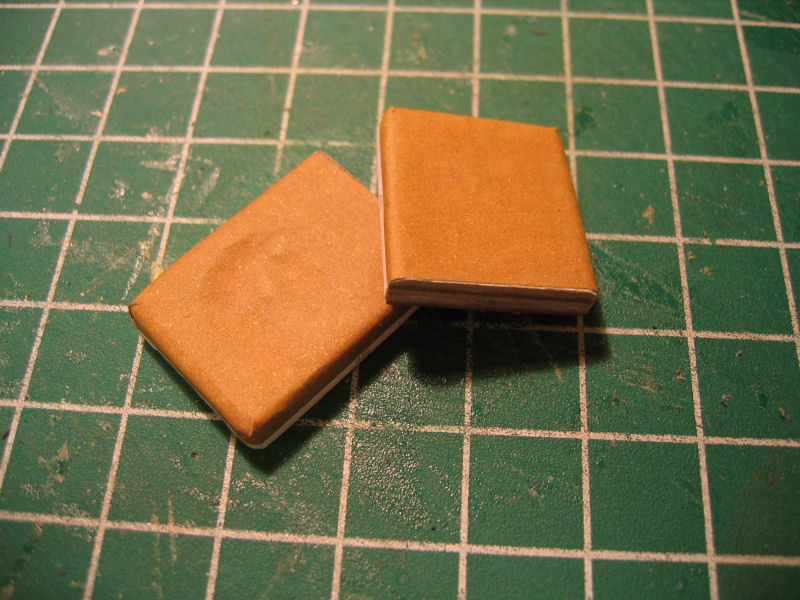
First thing was to laminate the seatparts and the back parts.I have also marked on the seat where the buttmark will come. |
I used my Dremel to carve out the "buttmarks" in the seats |
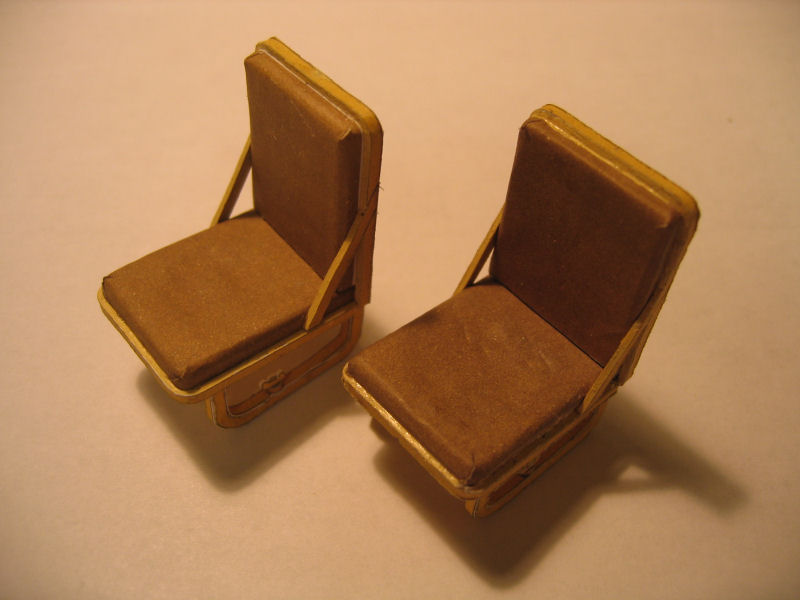
| The covers are applied, and the cushions are ready to be assembled into a seat. |
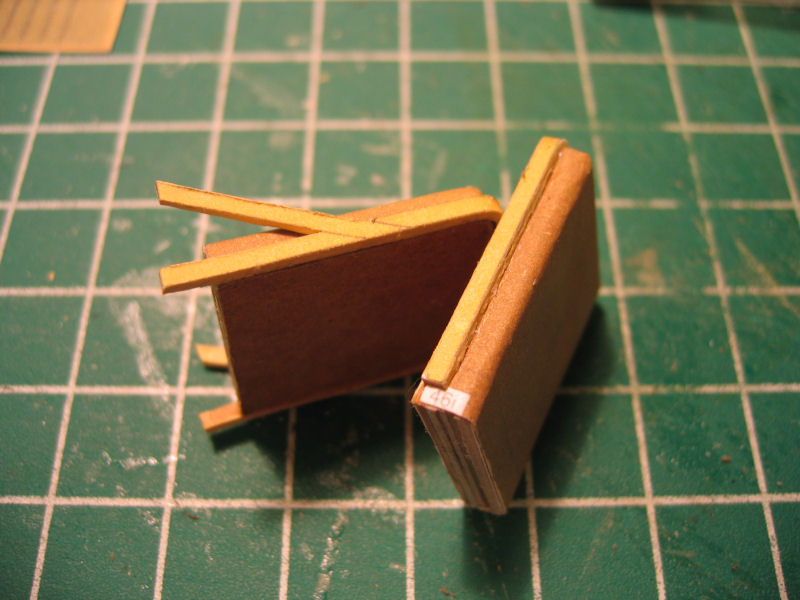
The cushions are put into the frame |
And we have a seat |
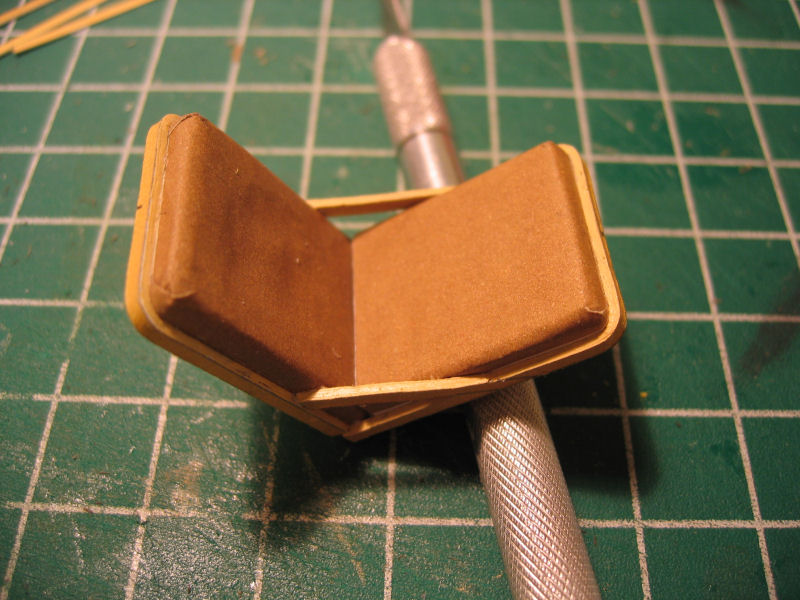
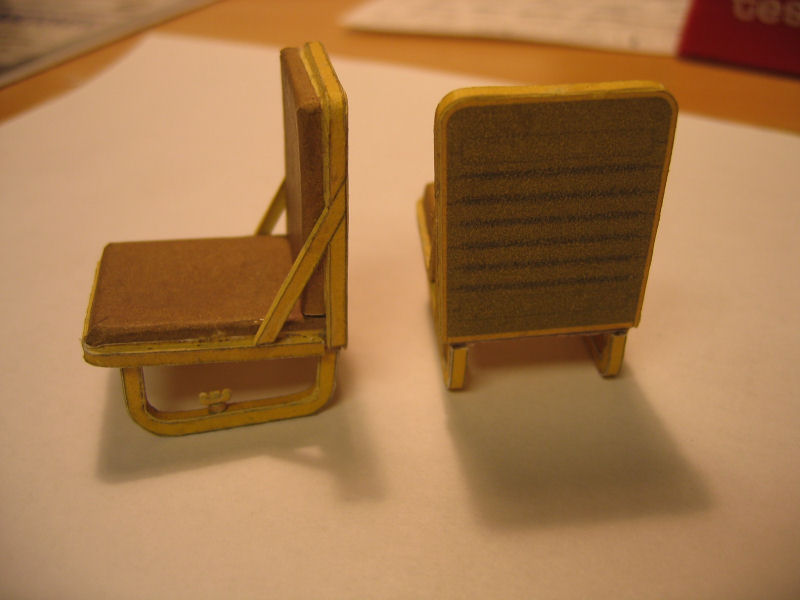
The seats are connected to their "feets" |
| Overview. |
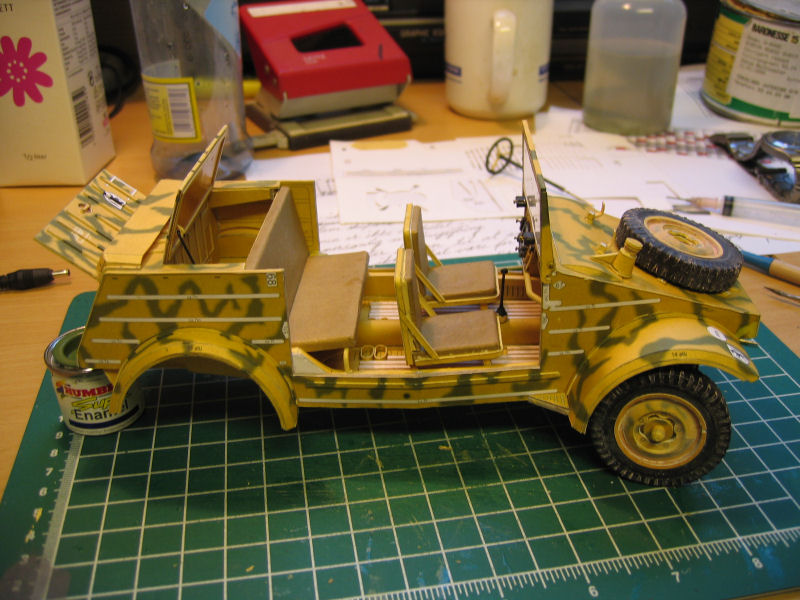
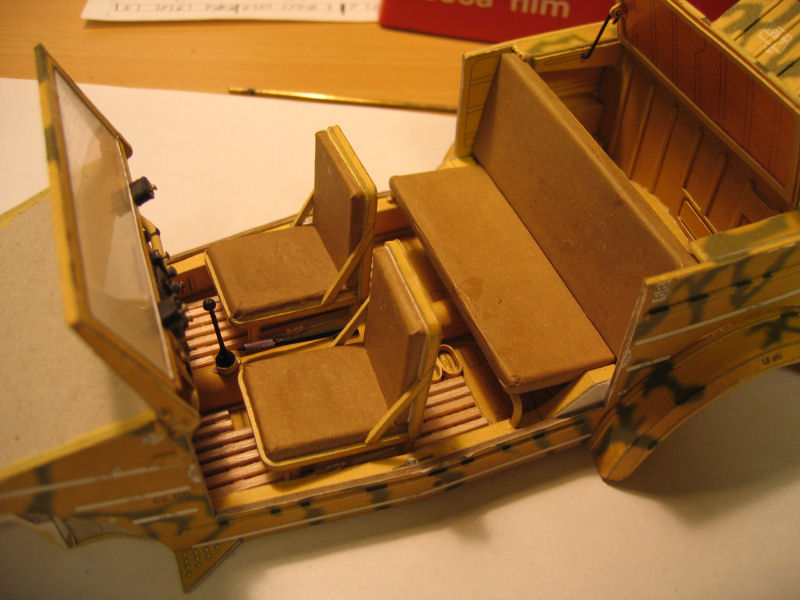
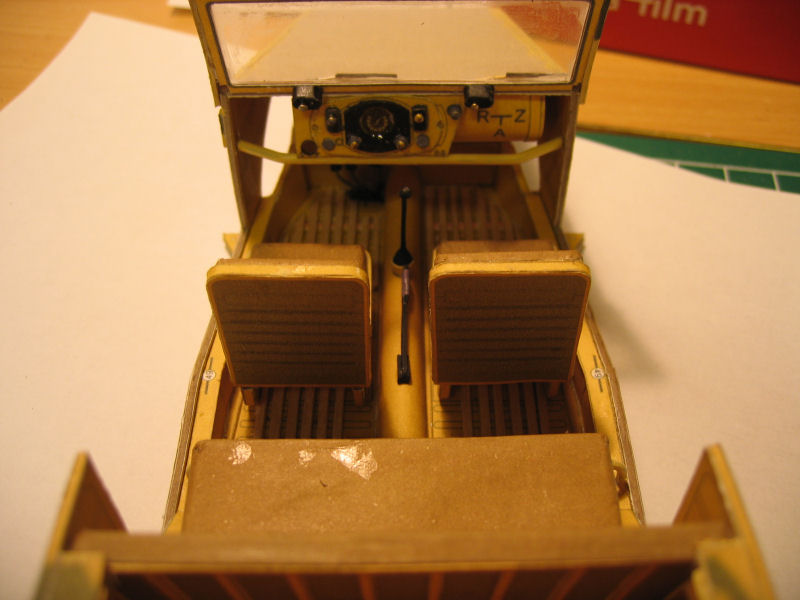
And placed into the car just to see how they fit. |
They fitted just fine |
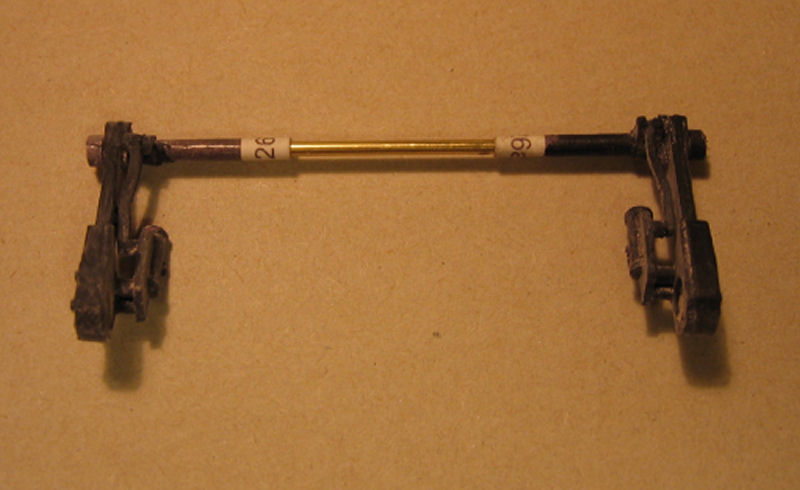
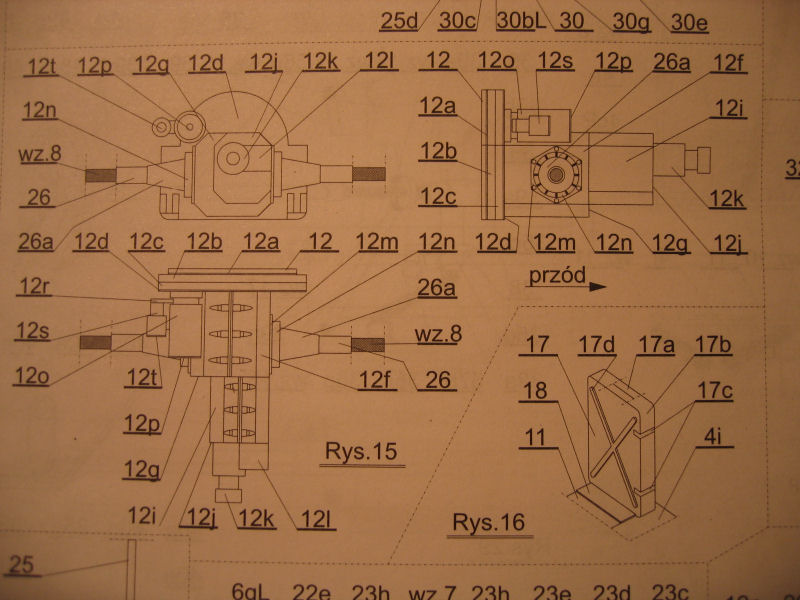
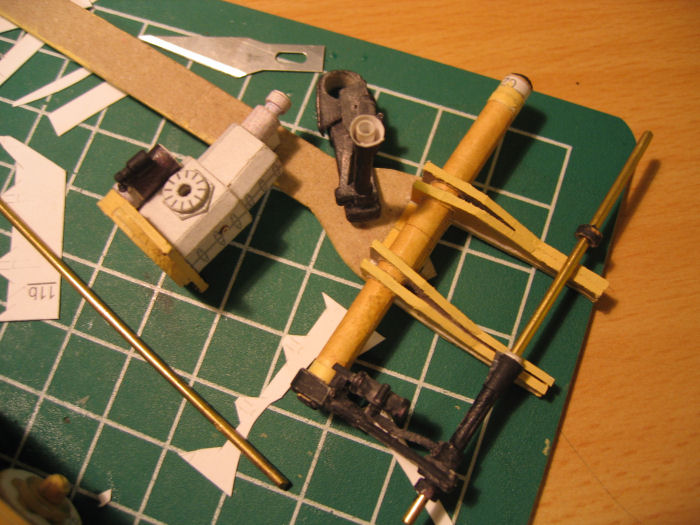
The rear axel,suspension and transmission.
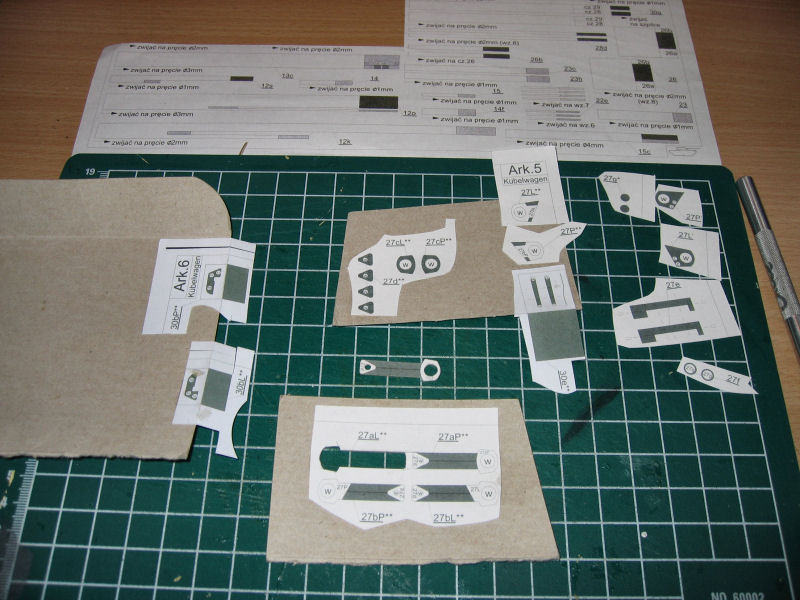
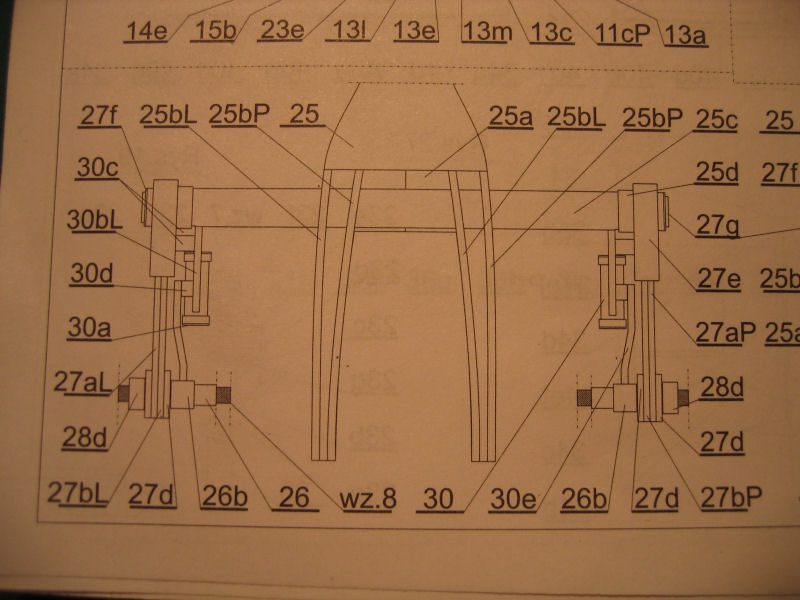
| Drawing of the arms that is going to hold the axel and transmission. |
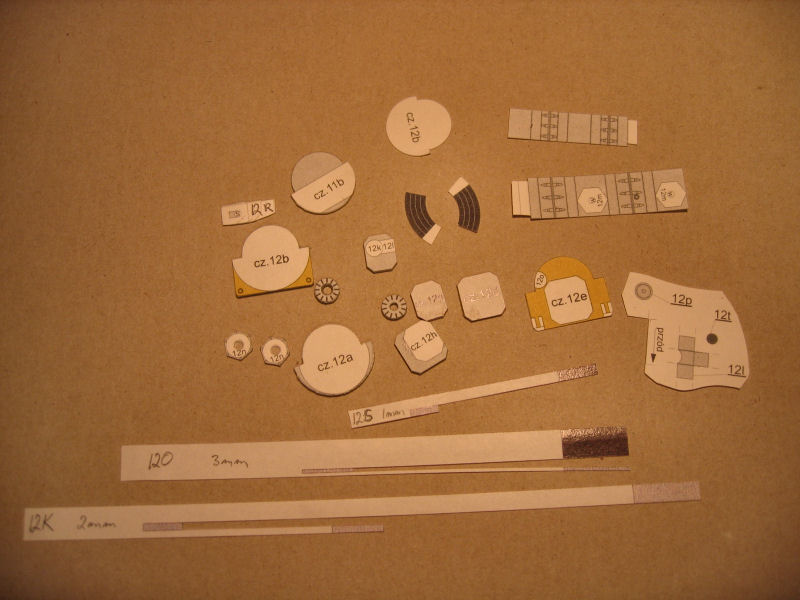
A lot of parts to be used for this job. |
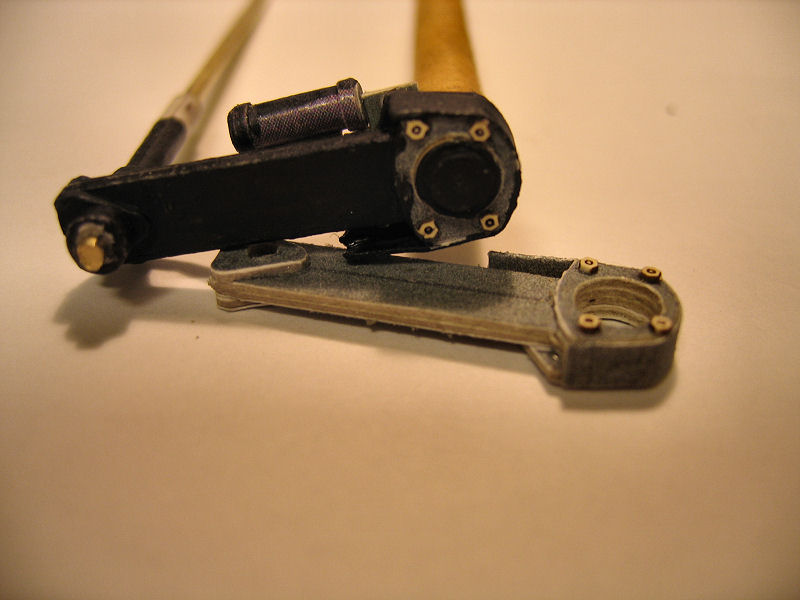
Here I have mounted the first one.Half painted |
Half of the second one with the 1mm nuts in place |
| Closeup. |
Closeup. |
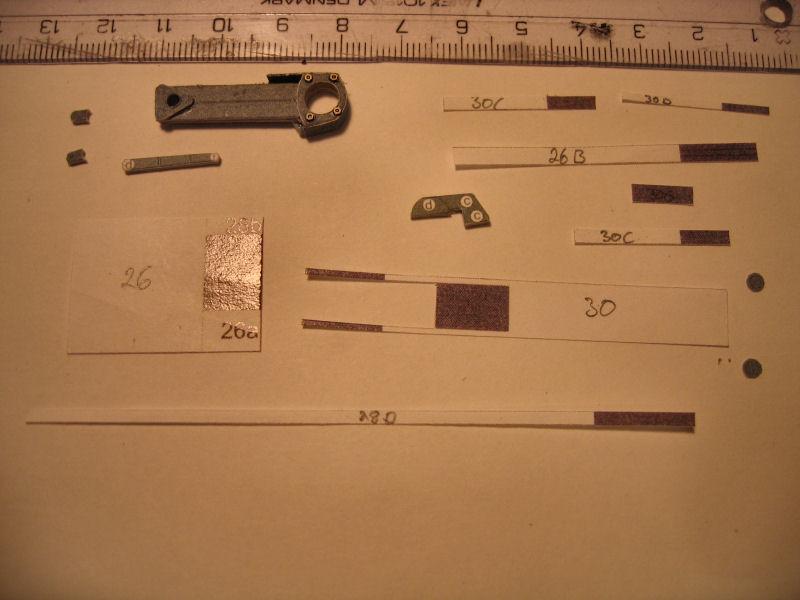
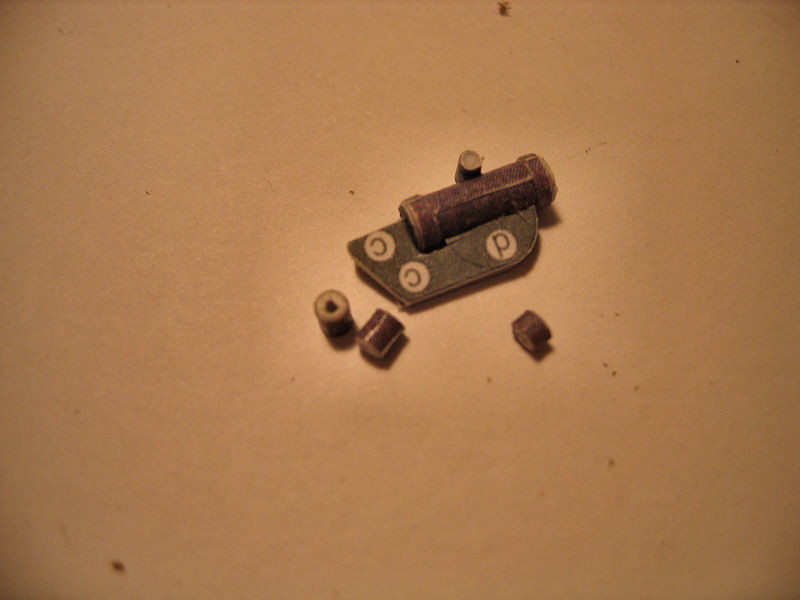
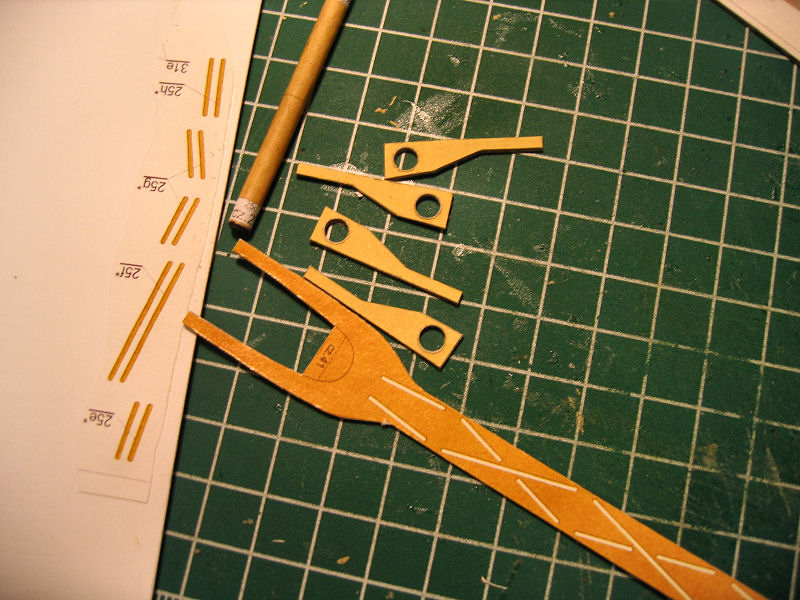
Construction of the second arm.The parts to use are cutted out and are ready for assembly. |
First out is making the small sylinder.The part is rolled against a 2mm rod to get the right size of the finished part. |
| The sylinder is done, and the tiny roll to be mounted on the bottom is rolled against a 0,6mm rod.The end plates are also ready to me glued in place. |
Sylinder are glued to the plate, and the 3 distance keepers are done.Rolled agains a 1mm rod to be placed on spots c and d. |
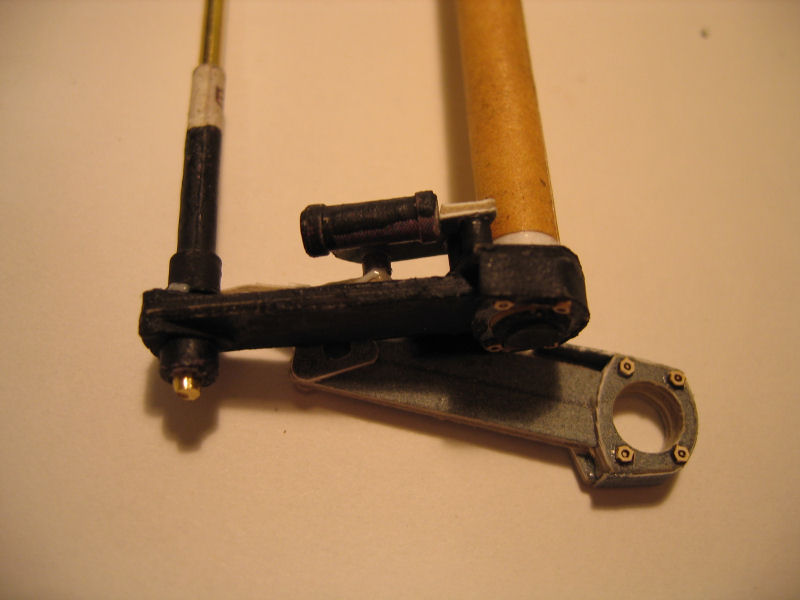
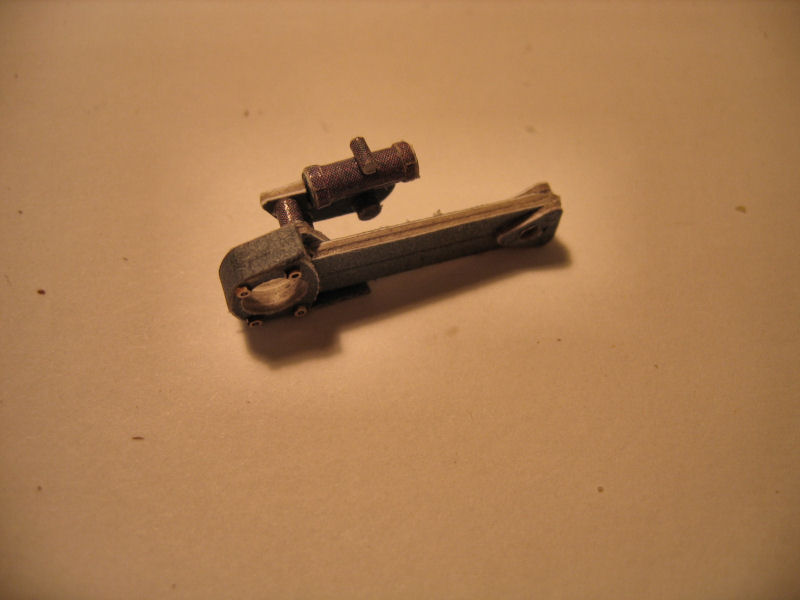
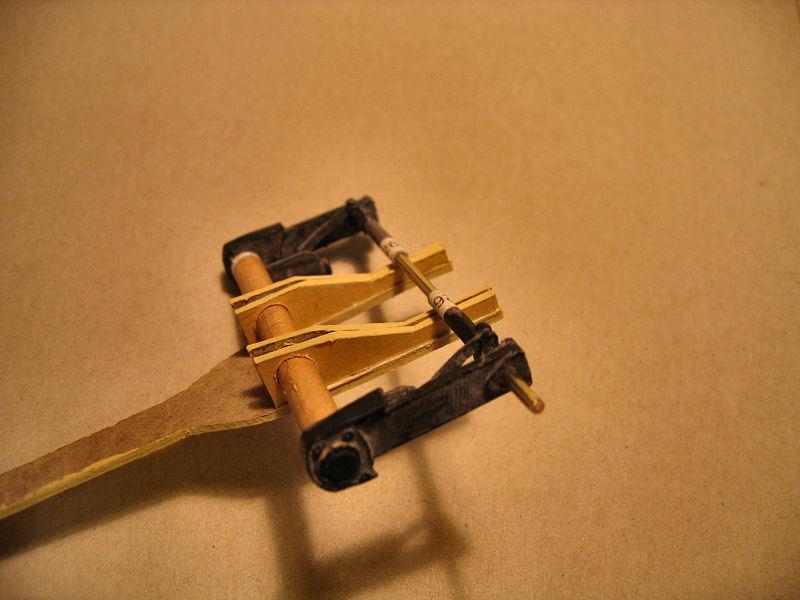
The sylinder mounted on the arm. |
And the arm is placed where it should be |
| Painted. |
Chalkdusted. |
This part is the first of at least 3 construction points.. |
The drawing of cp2shows that this is a very simple job. |
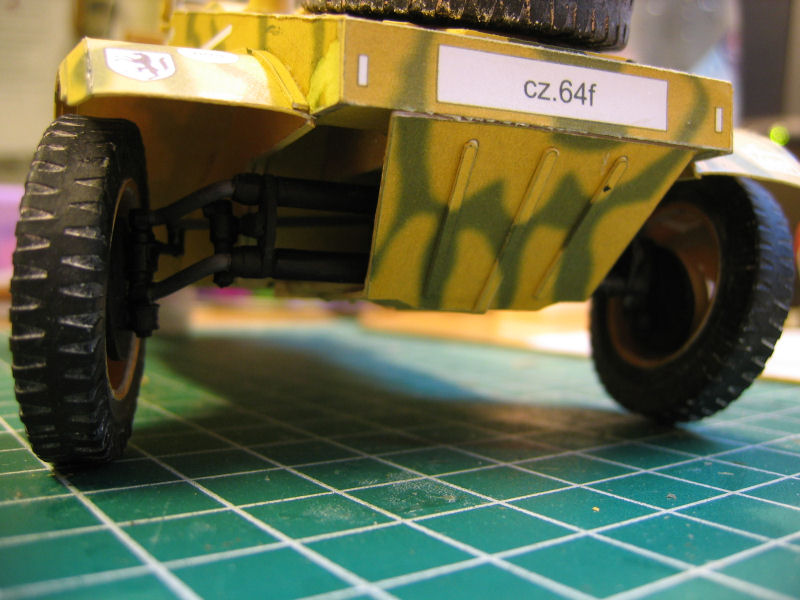
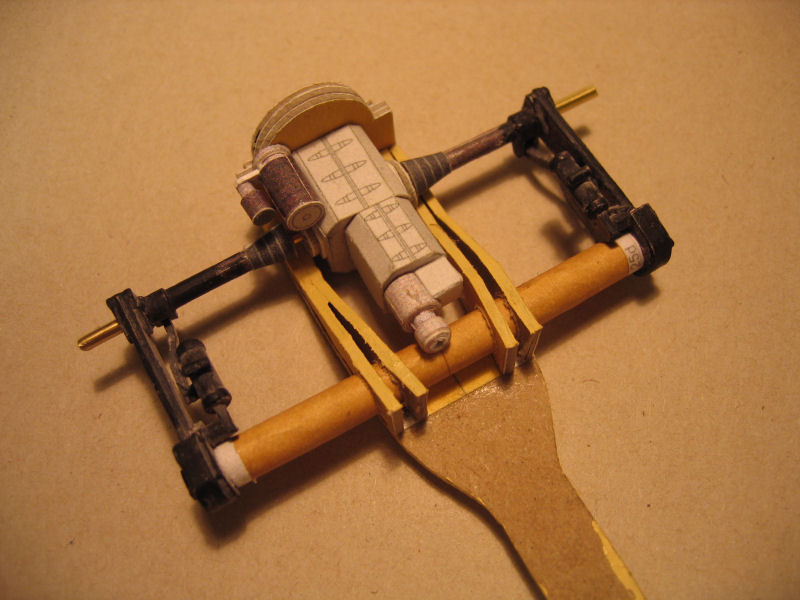
Construction point2 of the rear axel,suspension and transmission.
| It's just 5 parts involved,exept the small strips, and all the main parts are glued to 1mm karton.Strips are glued to 0,2mm karton.. |
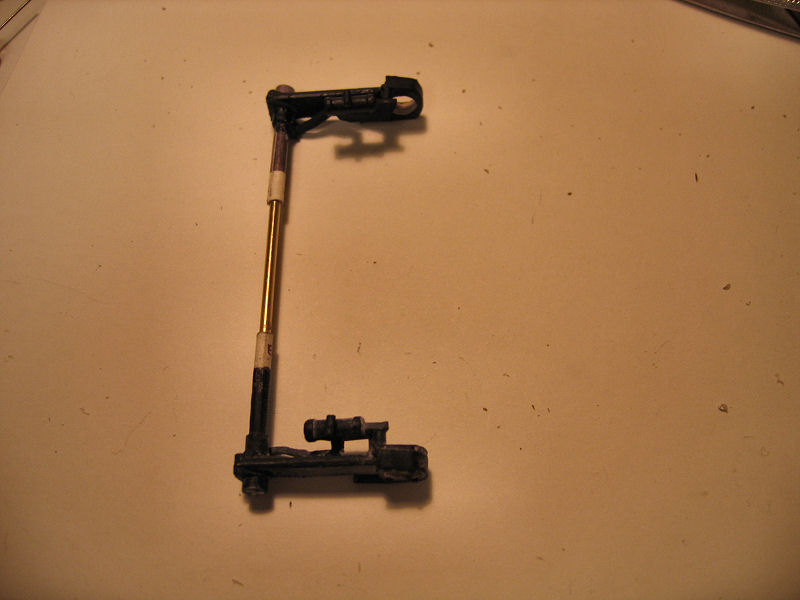
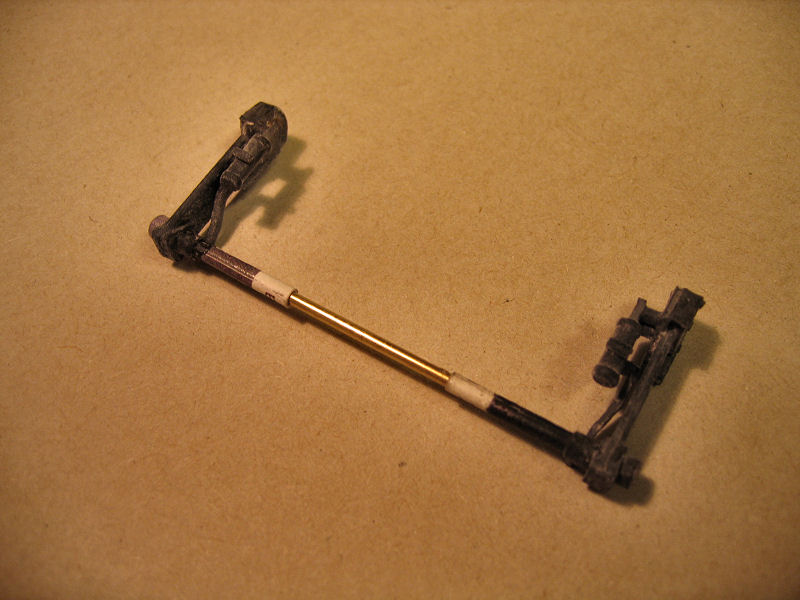
The parts are mounted, and the axel is inserted to see if I got it aligned. |
Overview |
Overview |
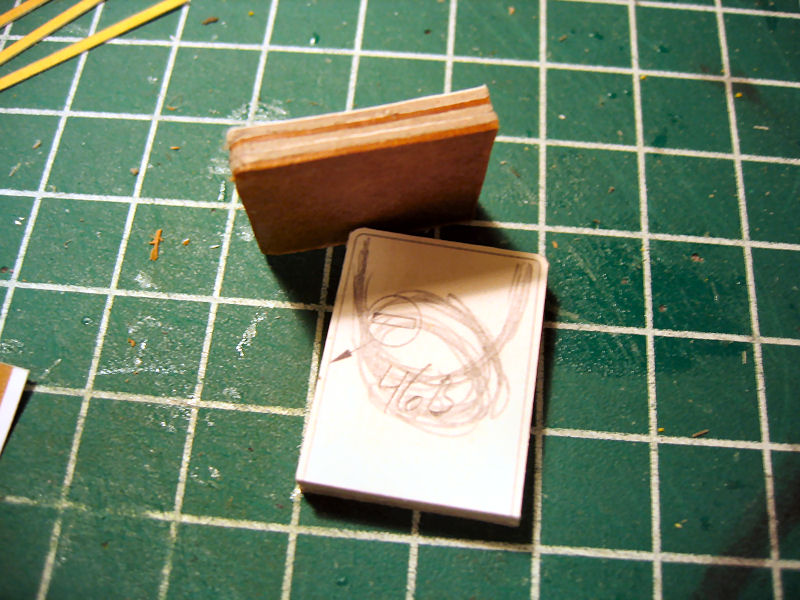
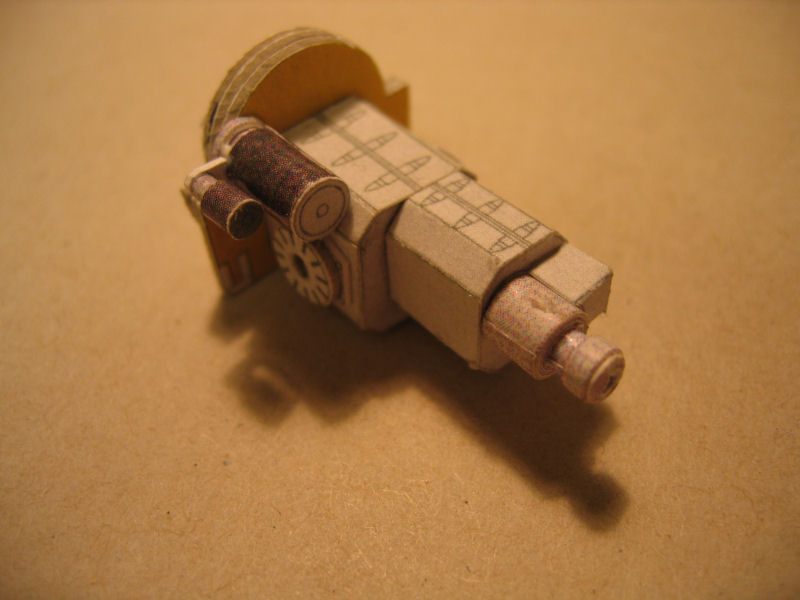
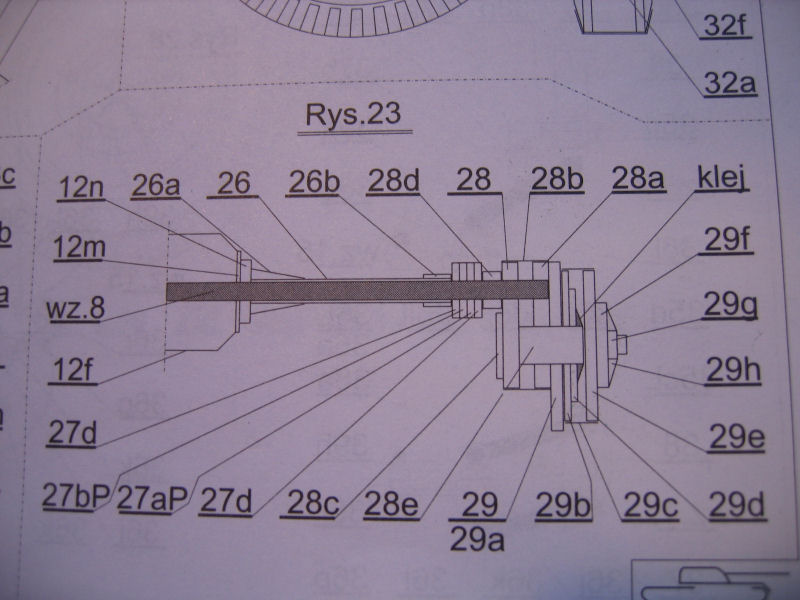
Constructionpoint nr3 is the rear transmission.
| The drawing. |
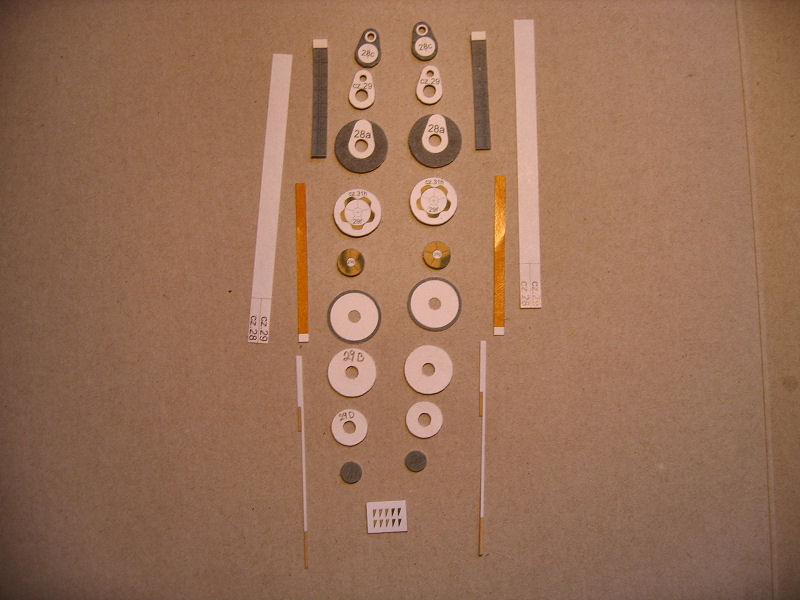
All the parts are cutted out. |
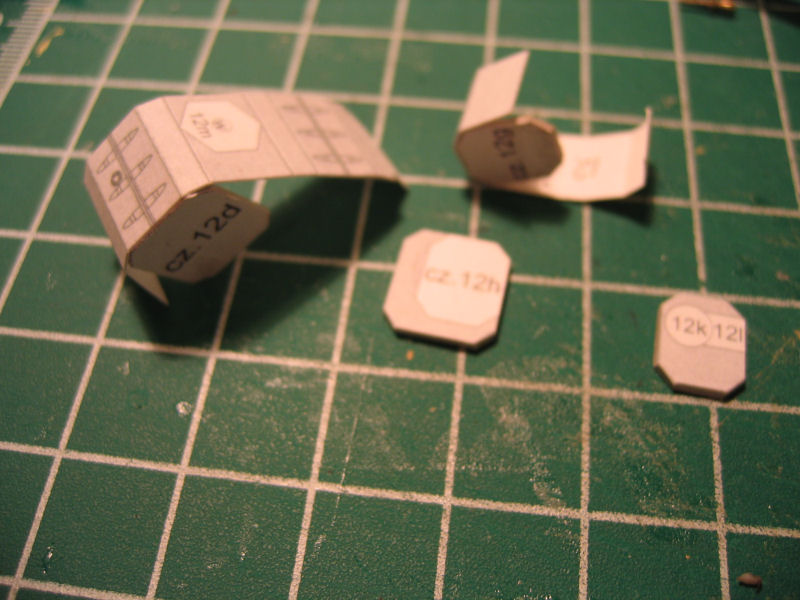
The rear part is laminated of 5 parts. |
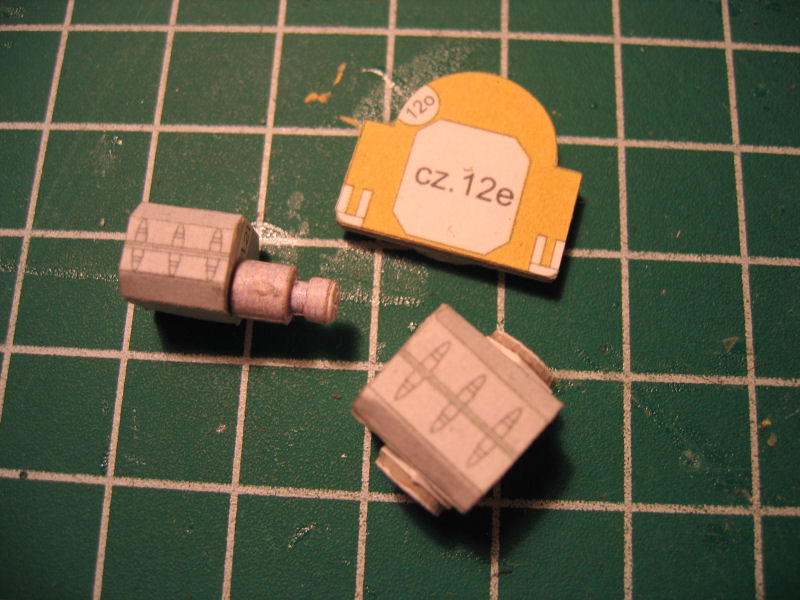
The two "boxes" is underway |
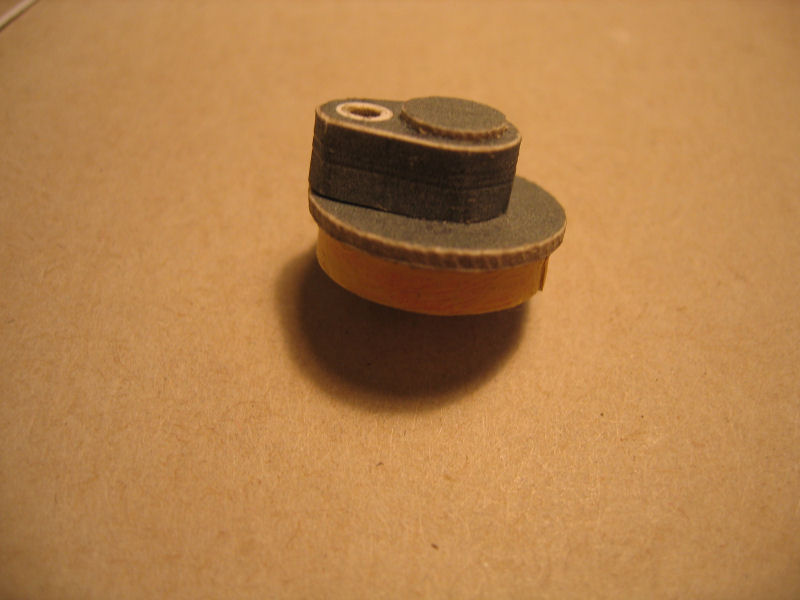
| The main parts done |
The part is finished. |
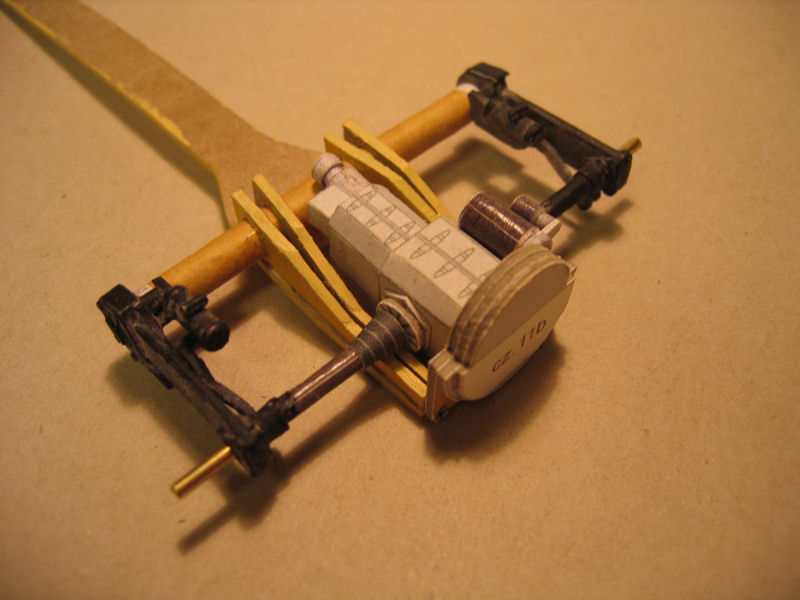
All parts are mounted loosely on thers positions just to see how it all fits. |
Another view of the part |
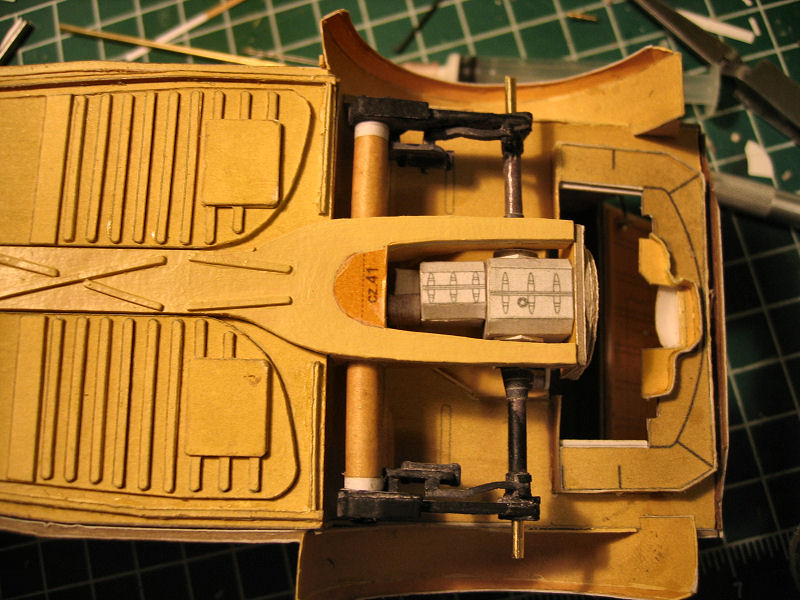
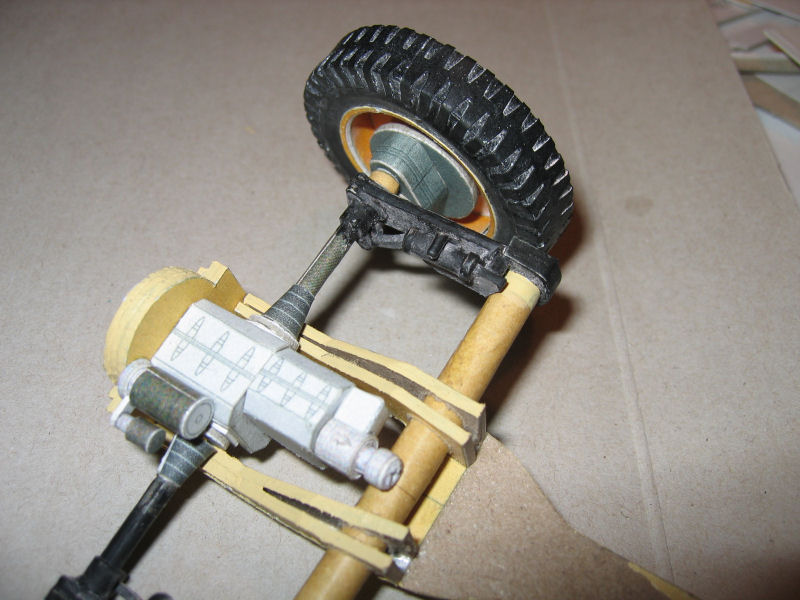
| And put on the car to see how it fits there.It fitted just fine, but I have to wait with the gluing until the engine is in place....and that will be another story |
Constructionpoint nr4, the wheel connectors.The drawing shows that this is a straight forward assembly. |
Parts cutted out...still amazed by the number of parts for this build.... |
The main parts put together. |
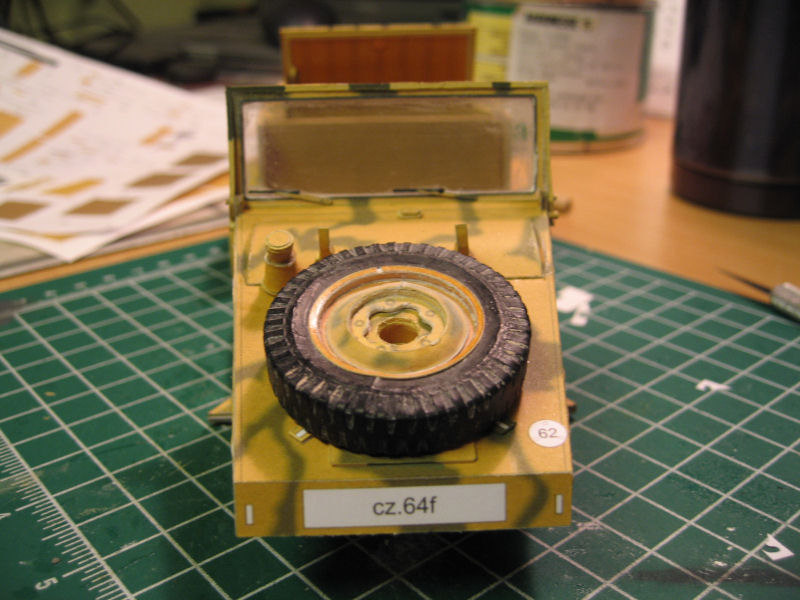
| Front view. |
Rear view. |
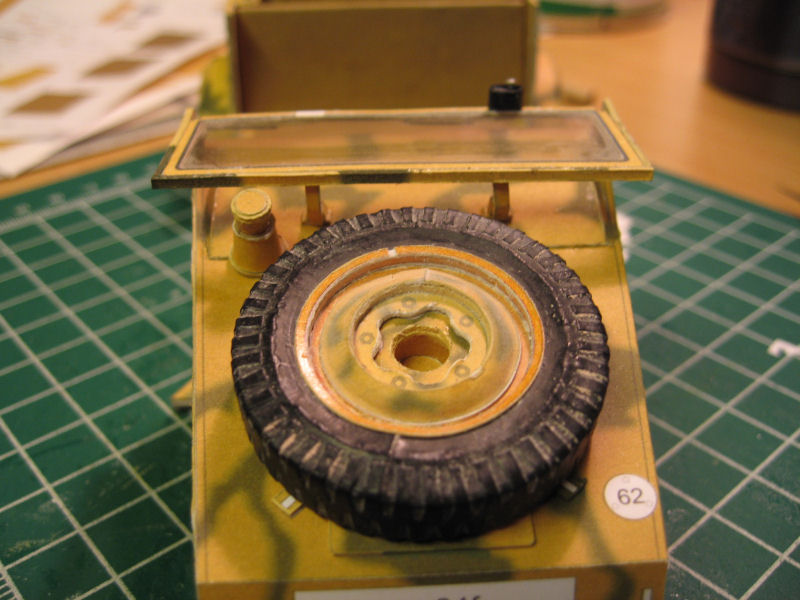
And I put the wheel on just for fun....So now I'm going to put some paint on the parts and glue it all together. |
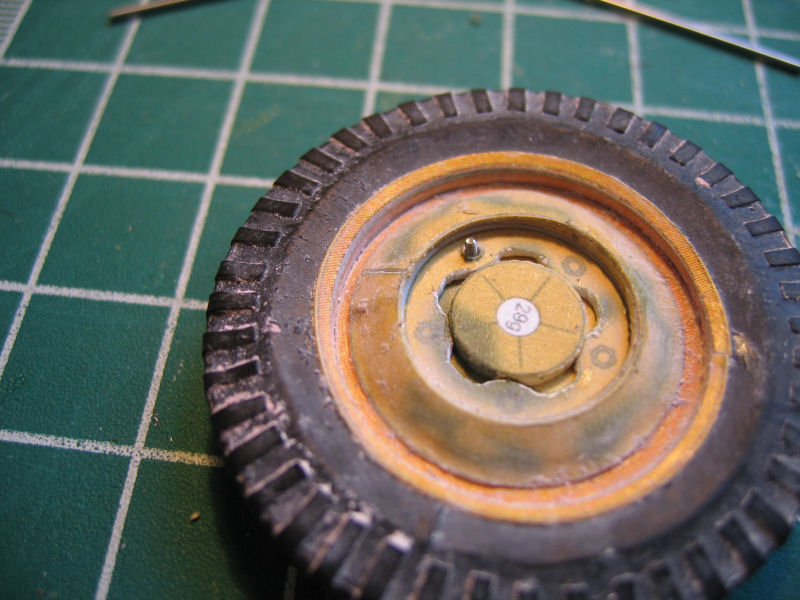
As I didn't have enough small details to work with.....I decided to put nuts and bolts on the wheel since my plans for a diorama involves the change of a broken tire.....and I wanted the bolts to show when the wheel is removed, and the nuts lying on the ground on a dirty/oiled piece of clothing. |
| All five bolts in place. |
All five bolts in place. |
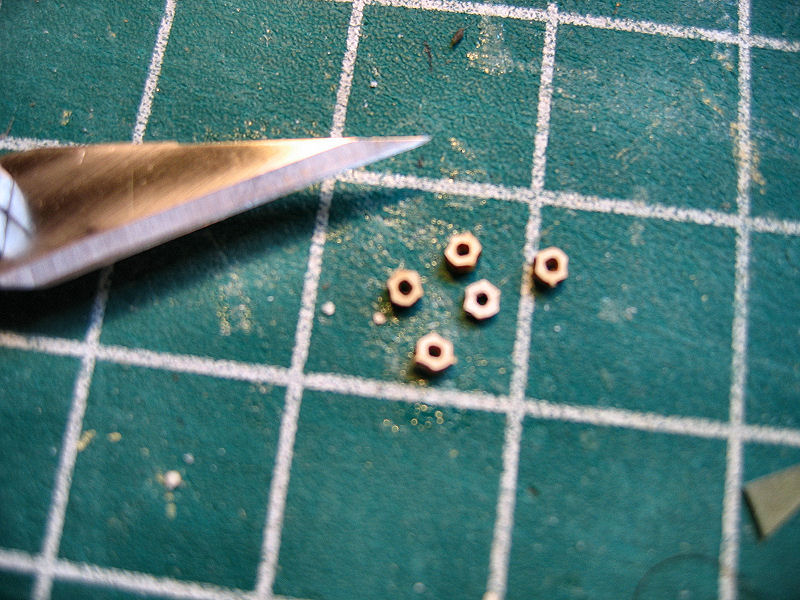
The nuts. |
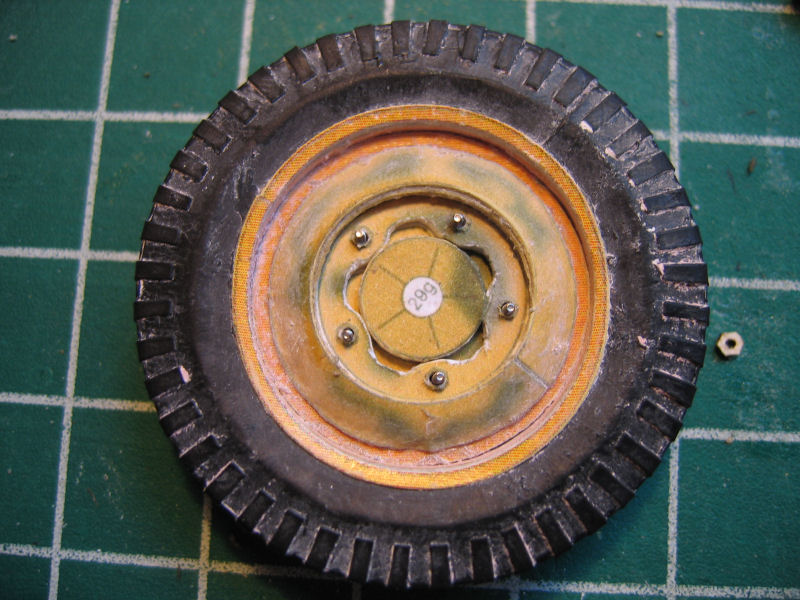
Nuts and bolts in place |
| The plate with the bolts are glued in place into the wheel connector. |
And an overview.There are still some details I want to have in place before eveything is painted and glued in place. |
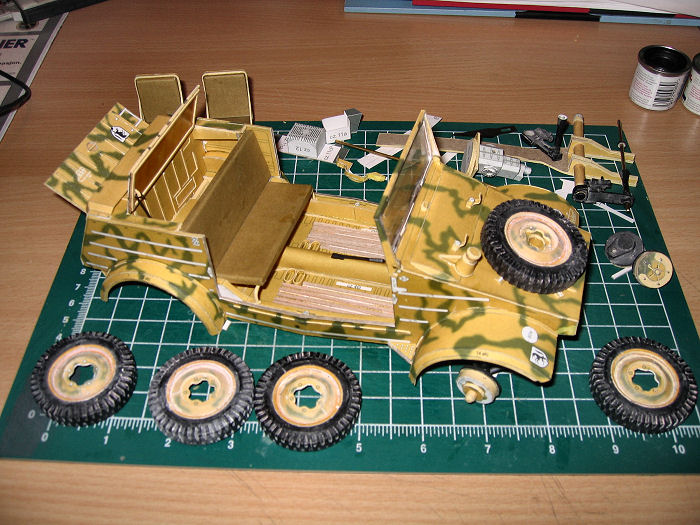
The workshop with the parts |
The rear parts |
Gallery of the finished model is HERE
®Johnny Svensson 2007
|