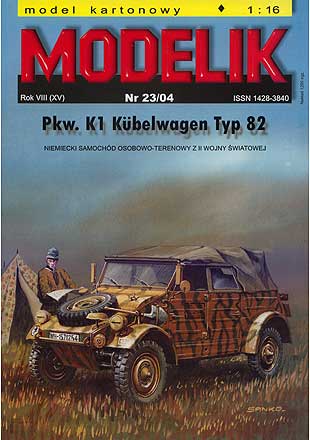
Pkw K1 Kübelwagen Typ82 1:16 Modelik
The Volkswagen Kübelwagen was a military vehicle designed by Ferdinand Porsche and built by Volkswagen during World War II for use by the German military.
Based heavily on the Volkswagen Beetle, it was prototyped as the Type 62, but eventually became known internally as the Type 82.
With its rolling chassis and mechanics built at KDF Stadt (now Wolfsburg) and its body built by US owned firm Ambi Budd in Berlin, the Kübelwagen was to the Germans what the jeep was to the Allies.
Copied from wikipedia
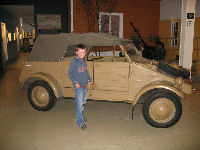
In may 2007,me and my kid went to a nearby warhistoric museum to see the exhibition of the germans occupying
Norway during WW2.There was a lot of vehicles and equipment captured from the germans after the war.And just when we came in...there was the Kübelwagen!
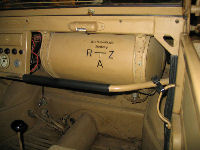
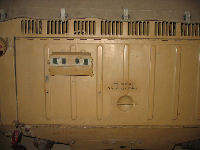
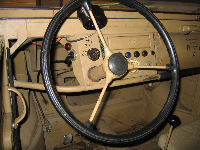
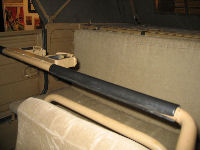
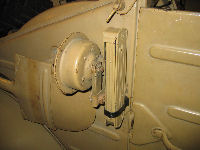
Some details from the Kübel
The kit
This kit contains 940 parts and are rated as medium/difficult.The Kübel has detailed interior and can be built with open or closed roof.
During this build I guess I learned a lot about cardmodelling.This is a kit I really can recommend to anyone
who wants a little challenge.The finished model looks really good.The print is exellent,the fit is exellent and drawings and instructions are also very good.
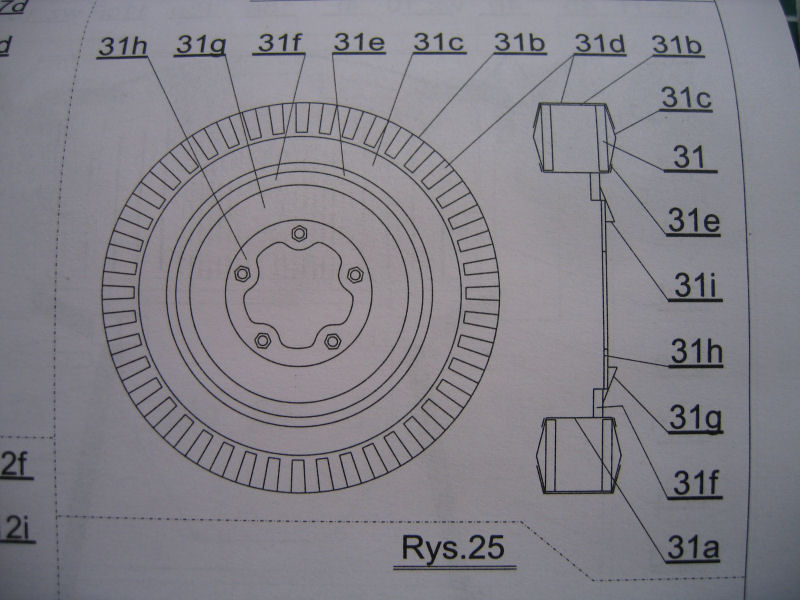
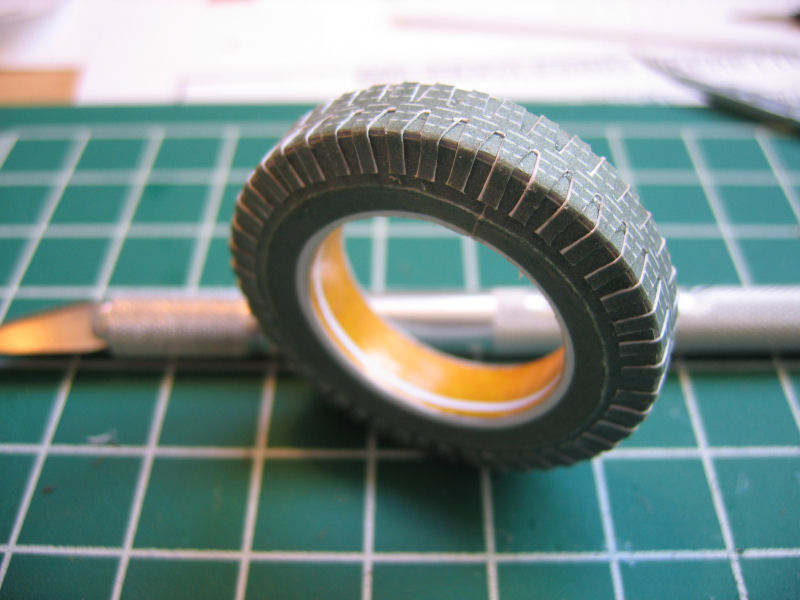
My build of the Kübelwagen starts with the wheels as this part of the vehicles sometimes becomes annoying at the end of the build.....
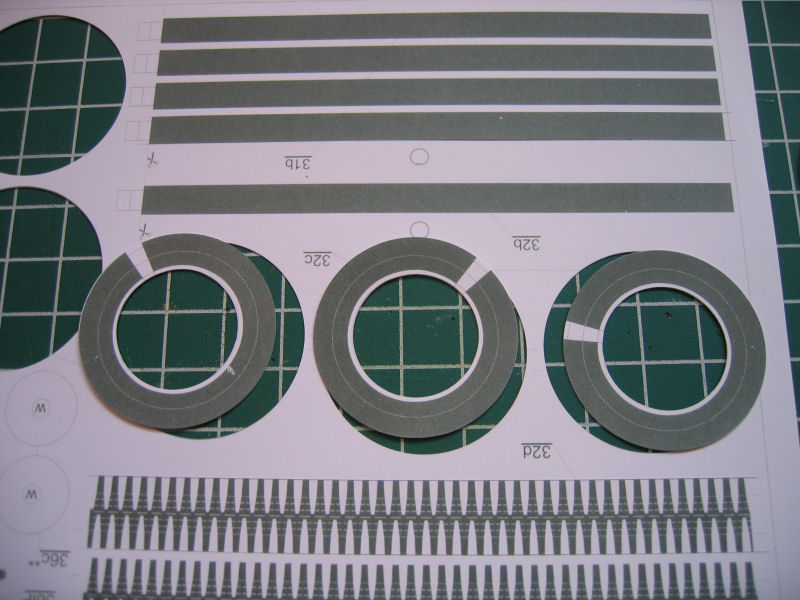
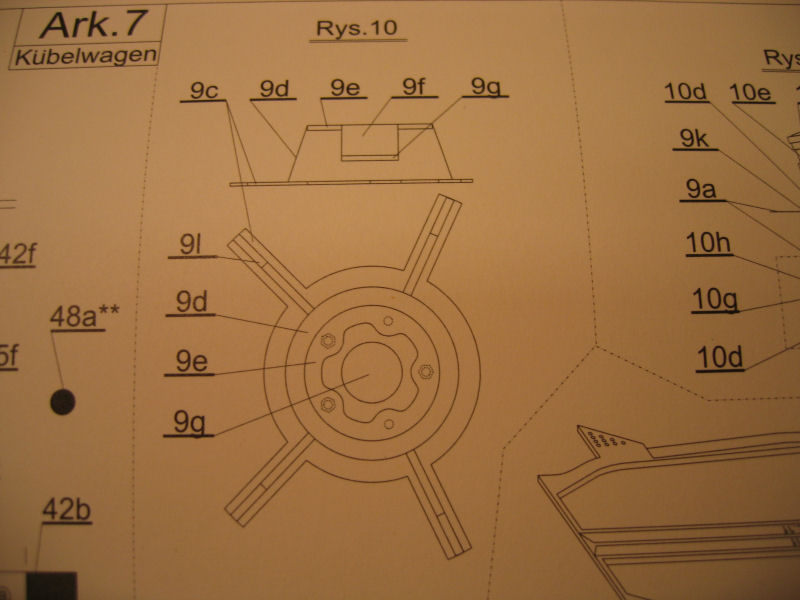
| Here are the drawing of the wheels. |
I started by cutting the tiresides out first. |
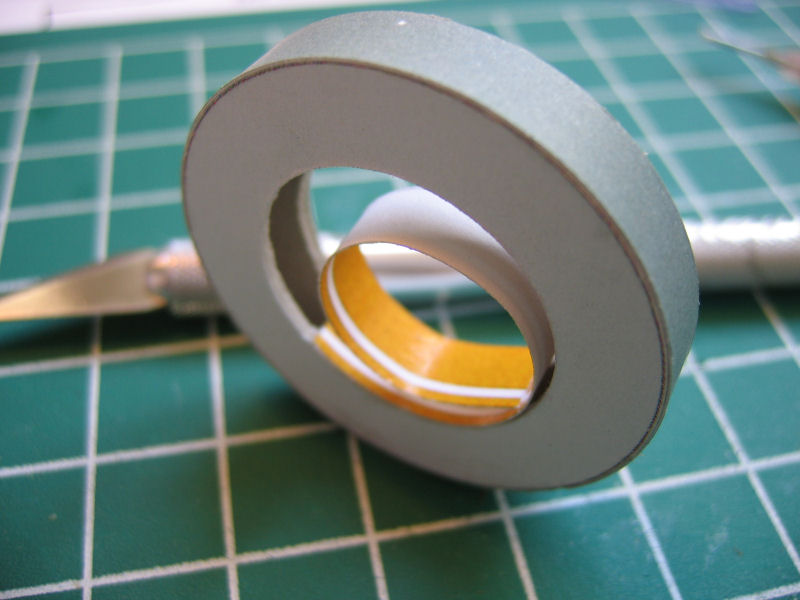
The frame is glued to 1mm karton.With the Olfa circle cutter there are no problems cutting out the centerparts.The major problem as I see it with making of tires are to get the sides bent the right way.The way I do it is as follows.First I use the score tool tol score along the line.Then I use a small tweezer to bend the sides to the right angle. |
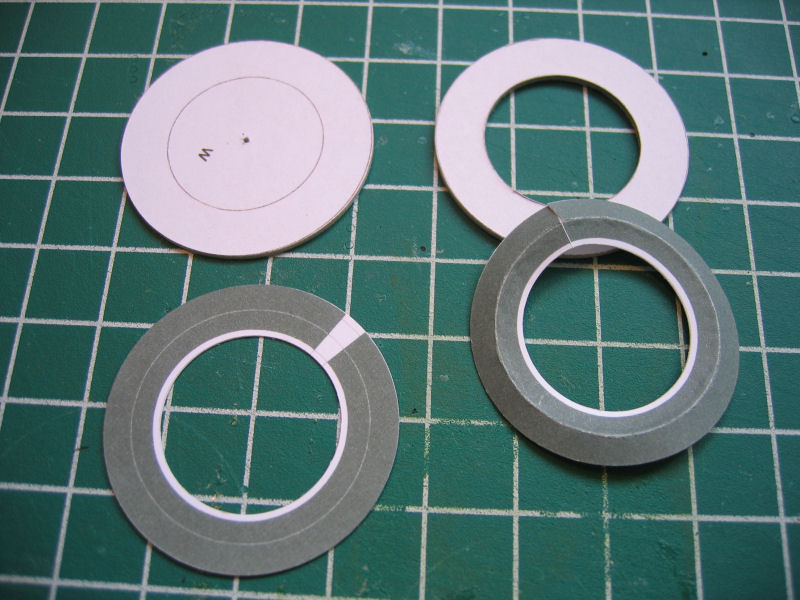
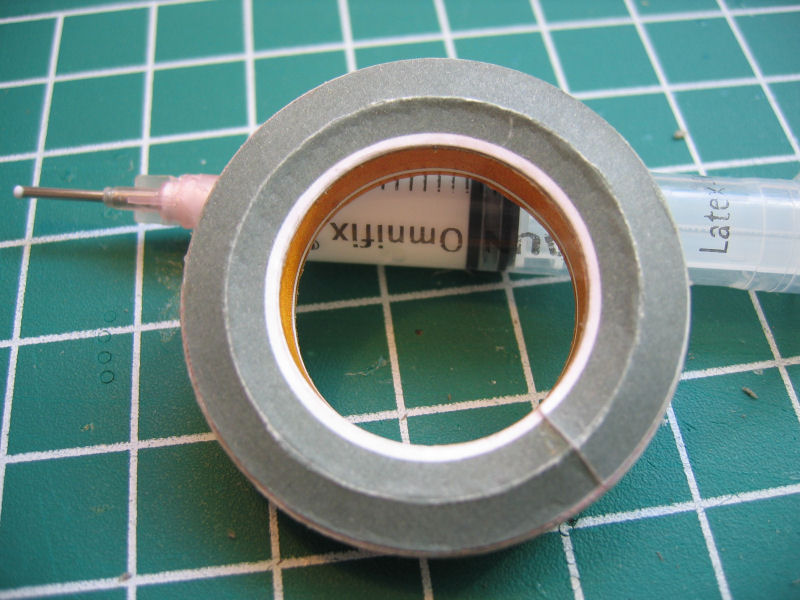
Making of the tireframe goes as follows.The two kartonparts are mounted together with the base for the tracks. |
| I glue this parts bit by bit to assure that they are aligned correctly. |
When the outside is done, it's time to mount the inner part of the tire.I do this the same way.Glue it bit by bit, so it's not getting messed up.....(as I have done before). |
The finished result seems rather good.. |
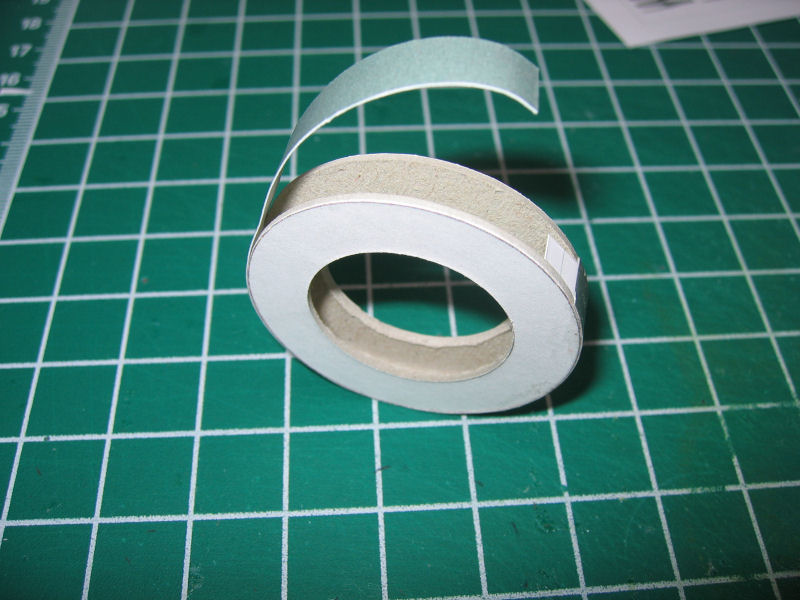
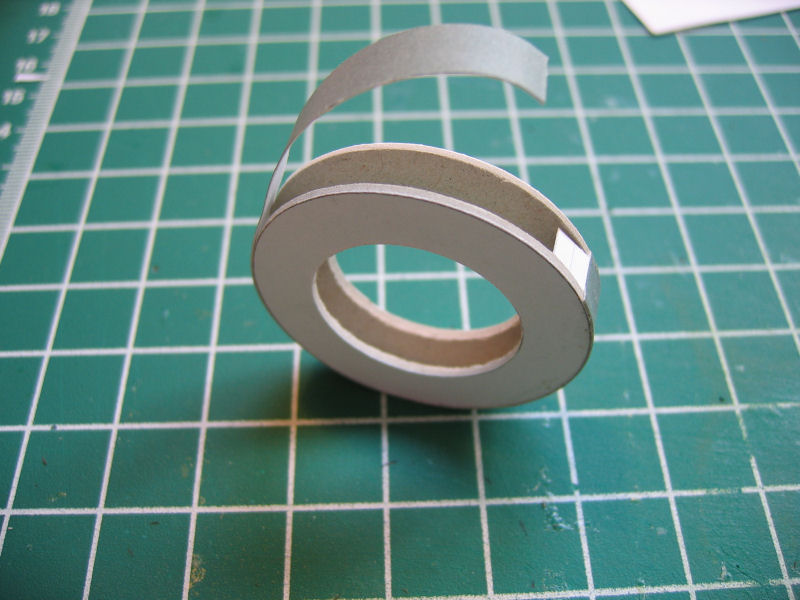
Mounting of the sides are quite easy.I put glue on the outer and inner part and place the side on place.It doest fit at once, but as i use a knitting needle and my fingers to force the side into place, it fits in the end. |
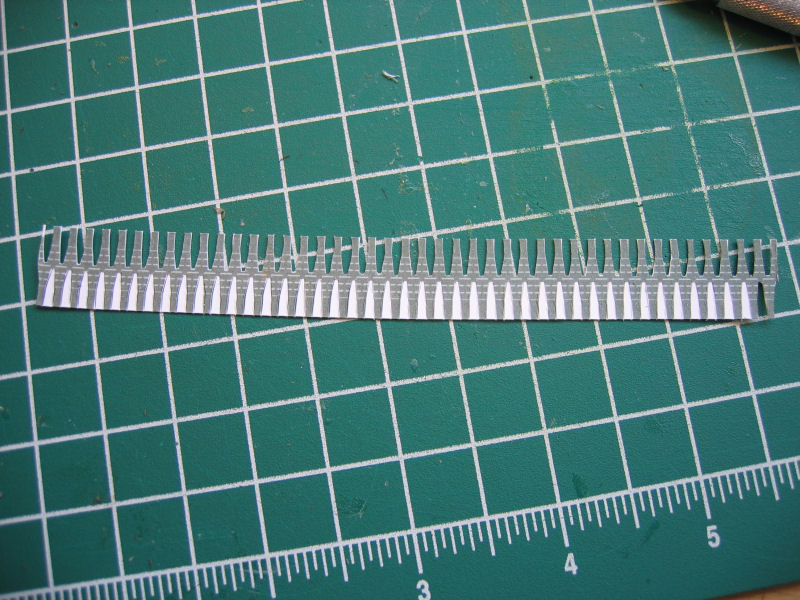
| Time for the pattern.This is not the most enjoyable part.....cutting out the tiny pieces can be rather intense..... |
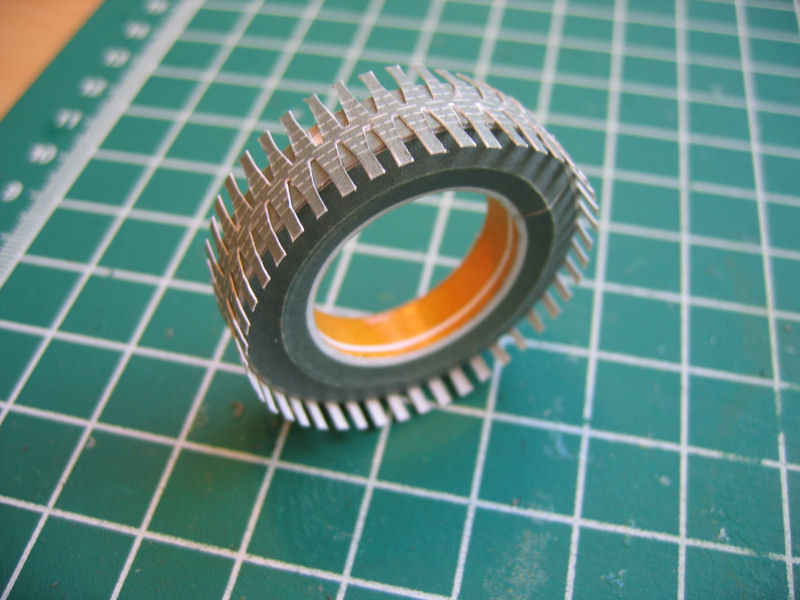
When the job is done, I put some glue to the center part of the track, and alighn it to the center of the frame |
When it is dry, I put glue to the "flips" 5 by 5 and bend them down the side |
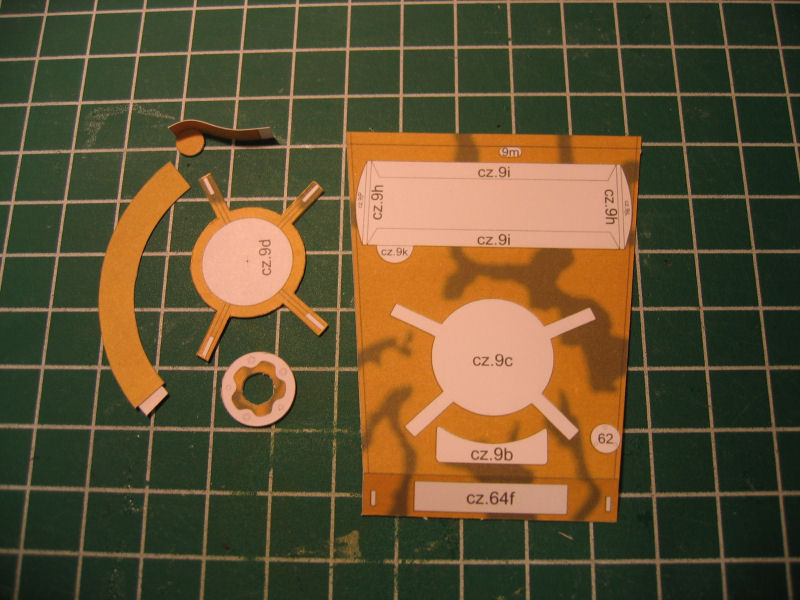
Time to make the center part of the wheel.The parts are cutted out and are ready for mounting |
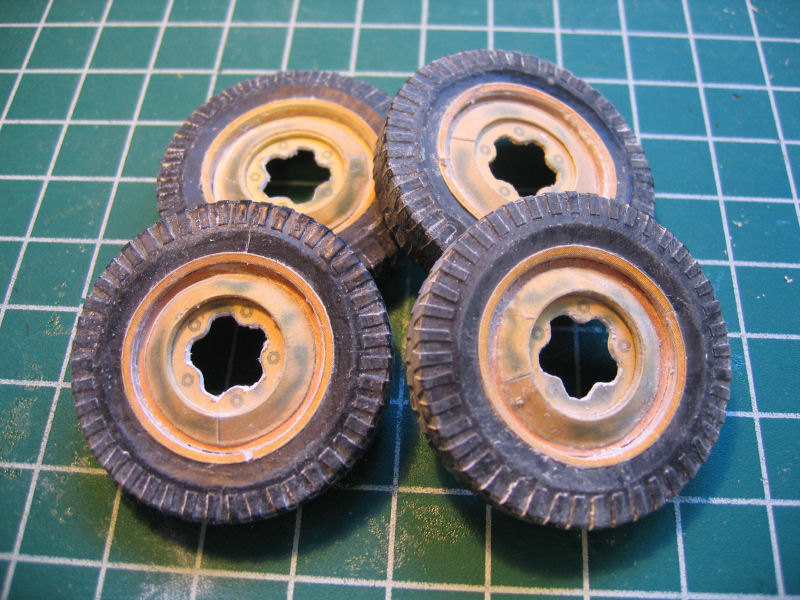
| I paint the edges.The parts has a good fit so far. The tire is ready painted and soon some chalkdust to make the final finish. |
Two tires done, 3 half done |
The pile gets biger |
The tires done! |
The Hood
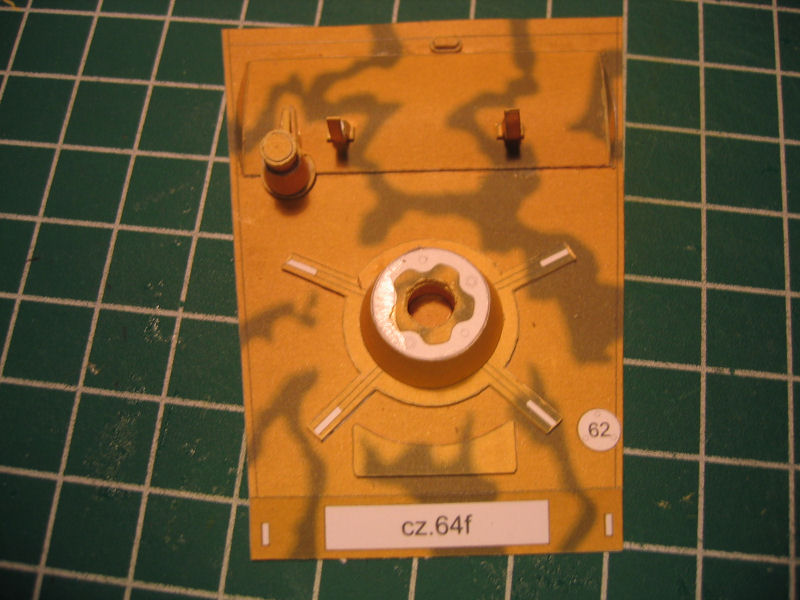
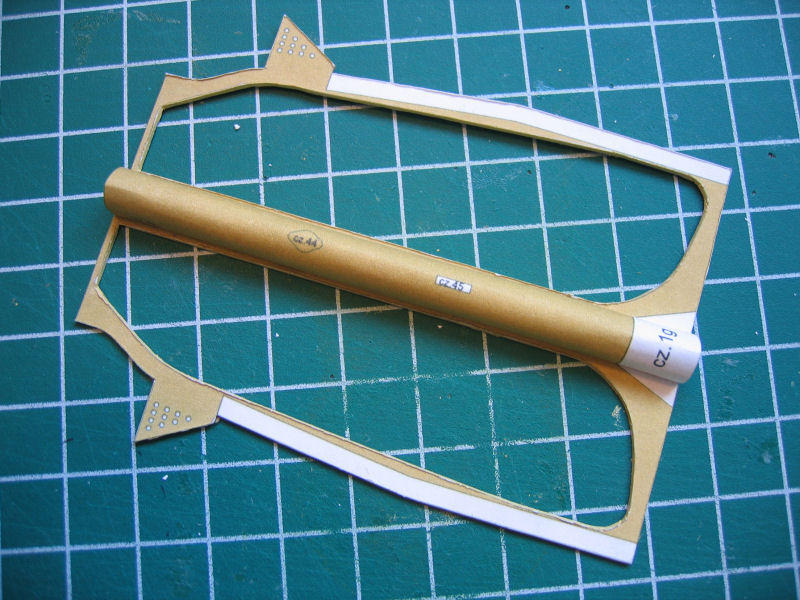
| I started with the hood, and the support for the spare tire.
The drawing of the supporter. |
Parts are cutted and ready for mounting |
The parts are mounted on the hood and some small parts left to go |
I have left out part 62 to "save" it from destruction |
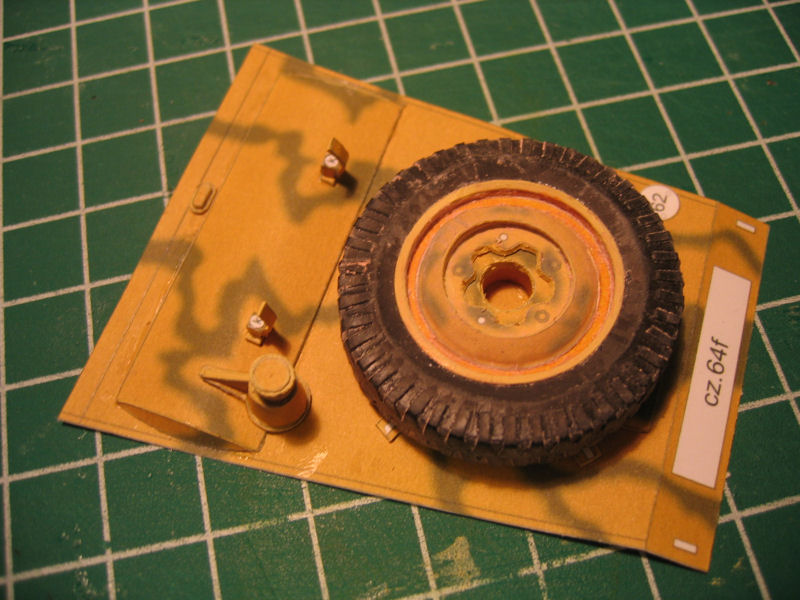
| With the spare tire in place.. |
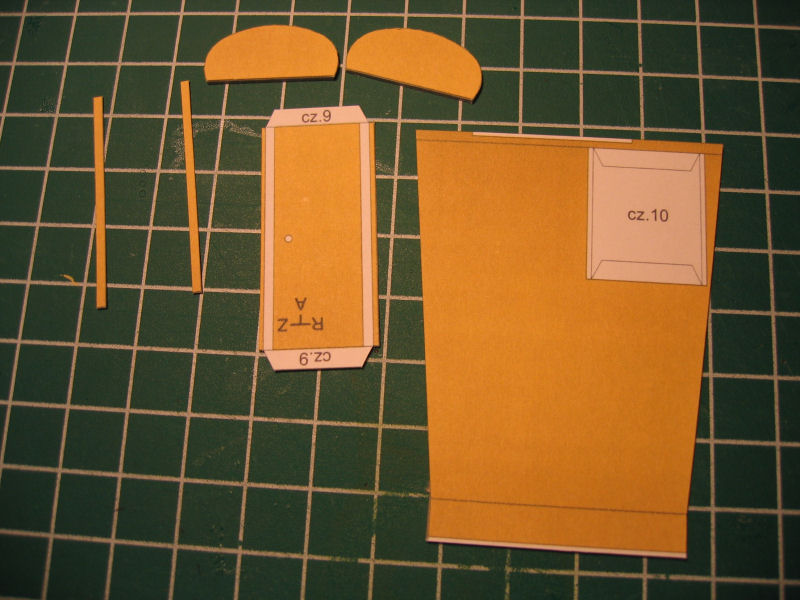
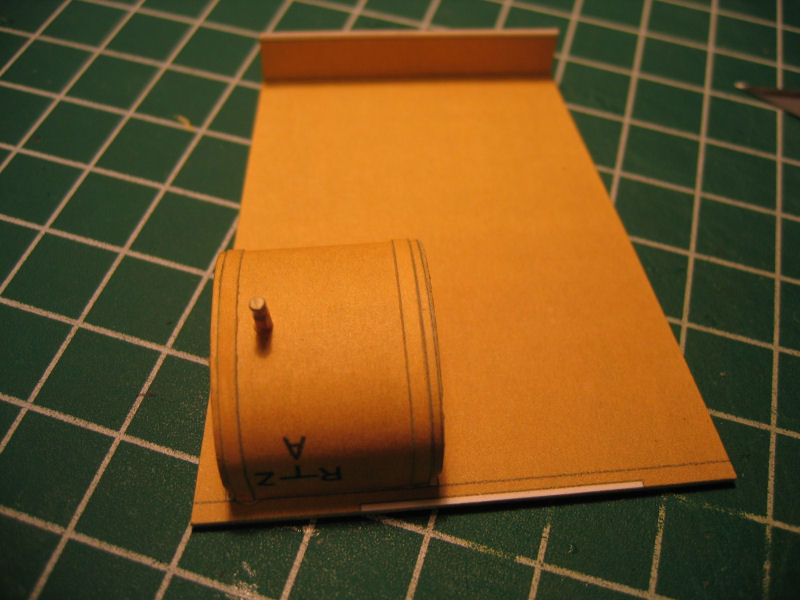
The underside of the hood contained the gaz tank. |
Finished the underside |
The parts so far has fitted very well.No problems so far.The only problem is that a build like this for me becomes more like a puzzle since I don't read polish and there are 5 pages with written instructions....but since I like puzzles I just go for it and make the road as I go.....
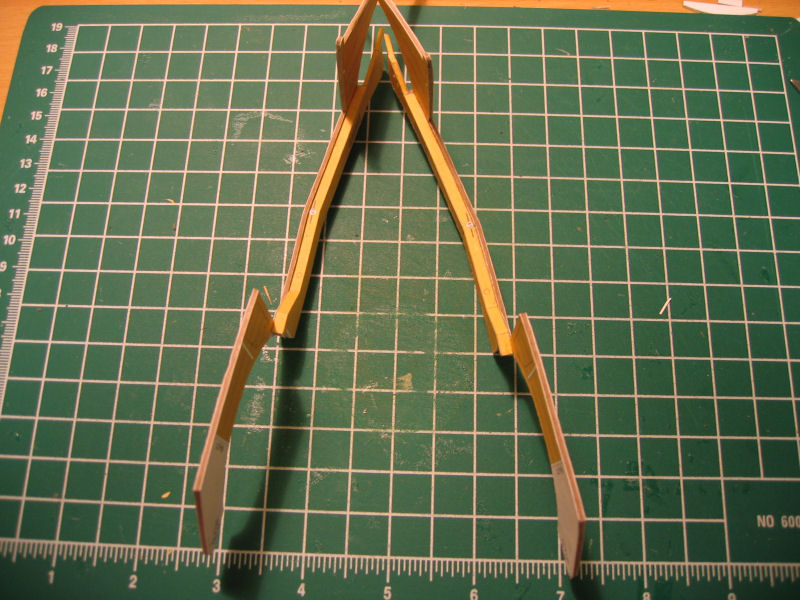
The inside , below the doors was made of 2 pieces of 1,5mm karton glued to eachother. No drawing for this operation, just the numbers on the parts.So I'm just showing the finished result.The total thickness on the side is now 4mm and it was a bit hard to bend into the right angle.The floor is going to be placed between the sides.
...
Making of the floor....was more work than I expected.
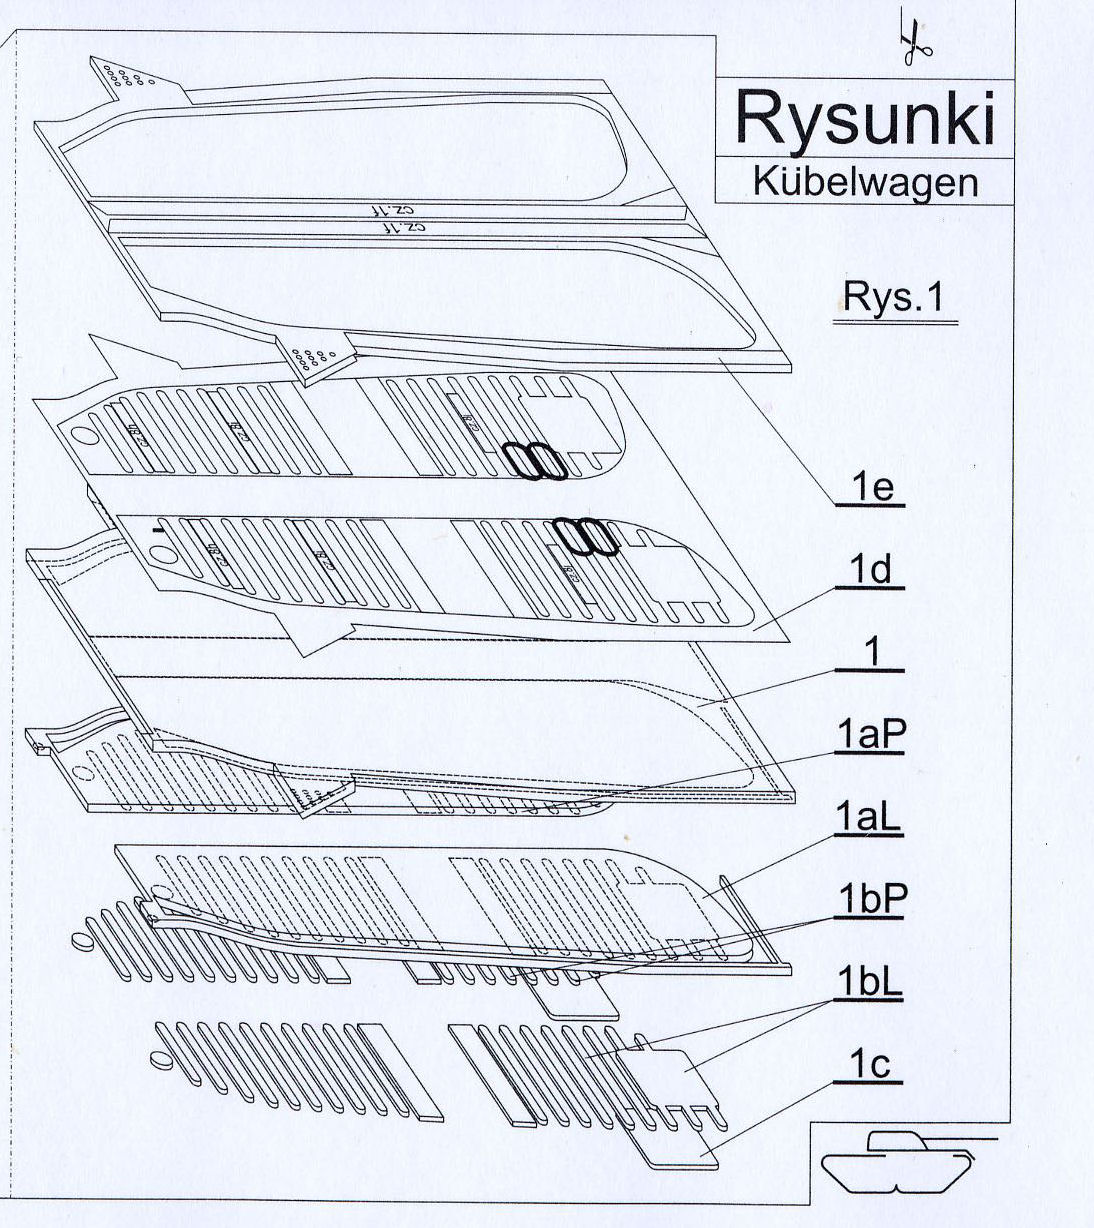
| The drawing |
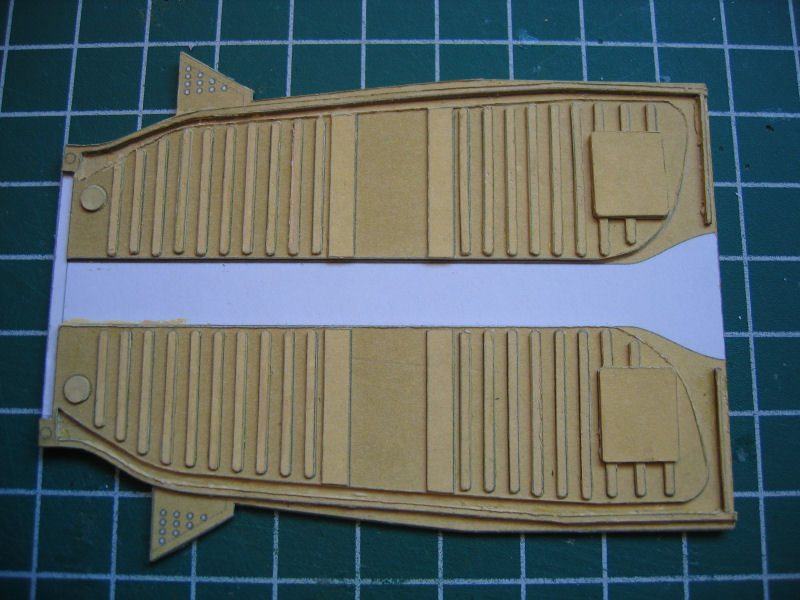
And the parts cutted out (most of them).The floor is quite huge with a lot of small "strips" that takes ages to edgepaint. |
Finished the underside |
The tunnel |
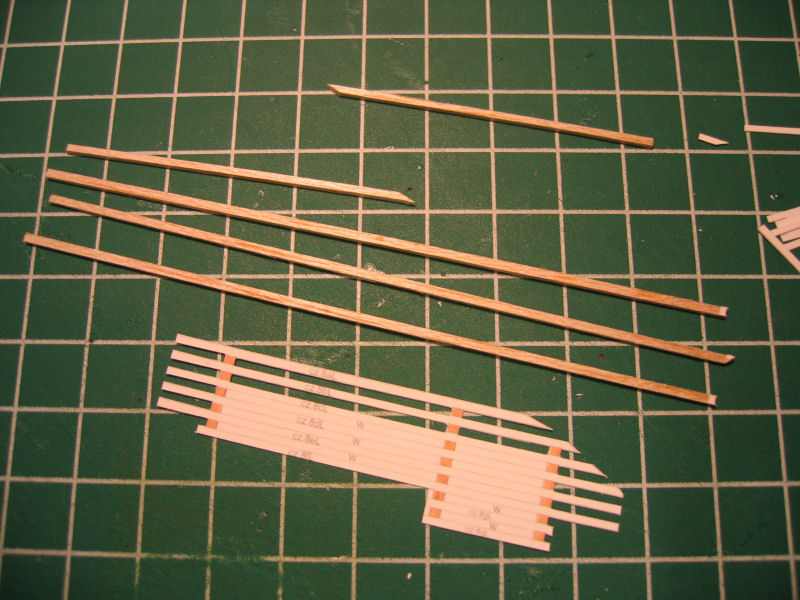
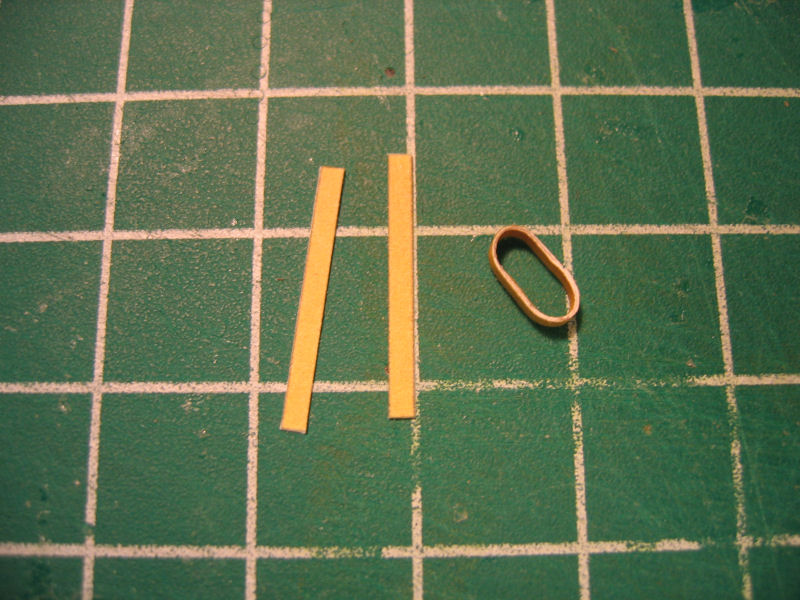
| A lot of narrow strips was to be cut out.
I decided to use woodstrips on the floor as it's supposed to be.
here I have cutted out small strips of 1mm balsa wood and are removing the space between the ribs. |
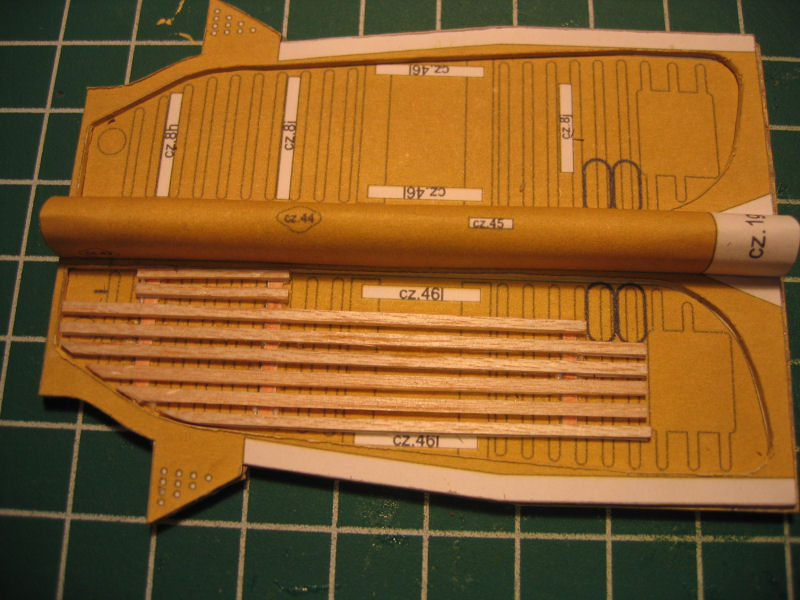
I was satisfied with the result.Half floor done.... |
Put the floor into place just to see how it looks |
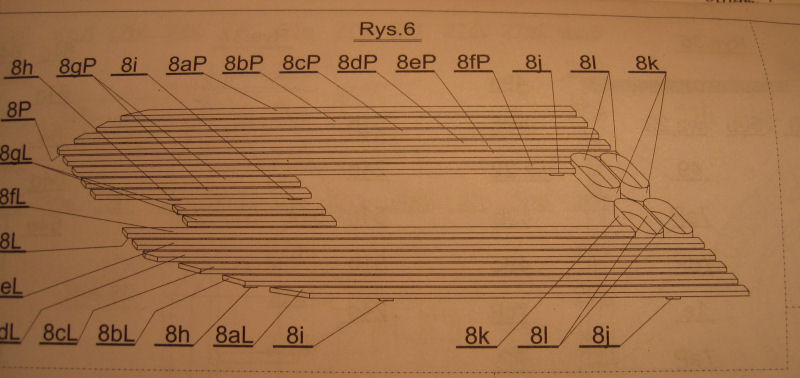
The The drawing of the top of the floor. |
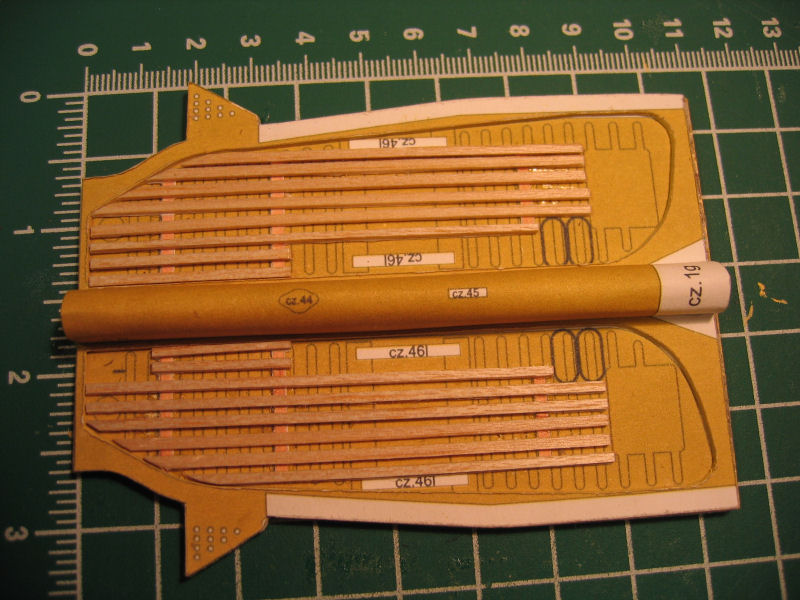
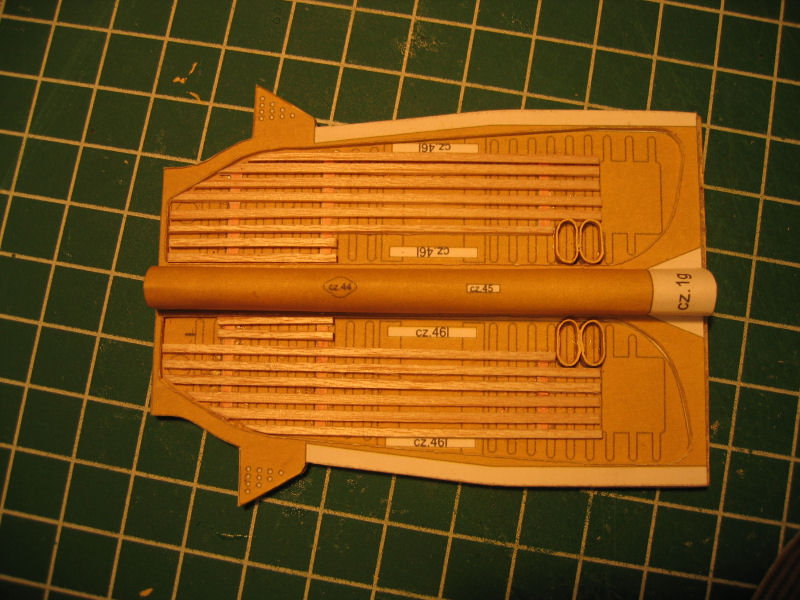
| All wooden strips in place |
So I had to make the small paperroundings.each one is made of two small paperstrips, inside and outside |
And here we have the finished floor |
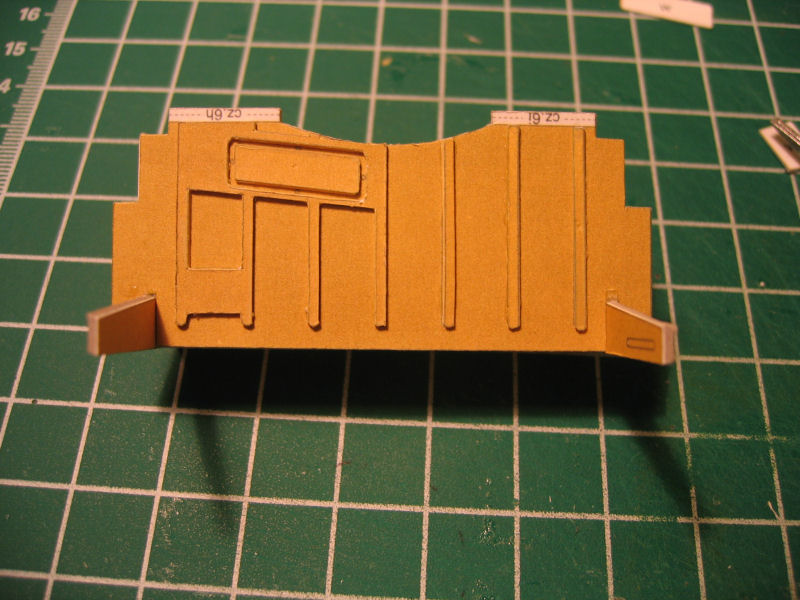
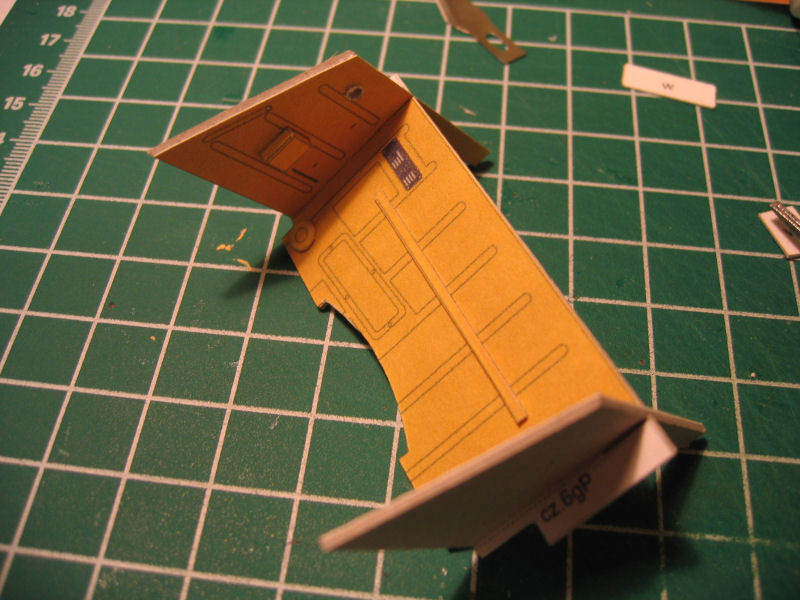
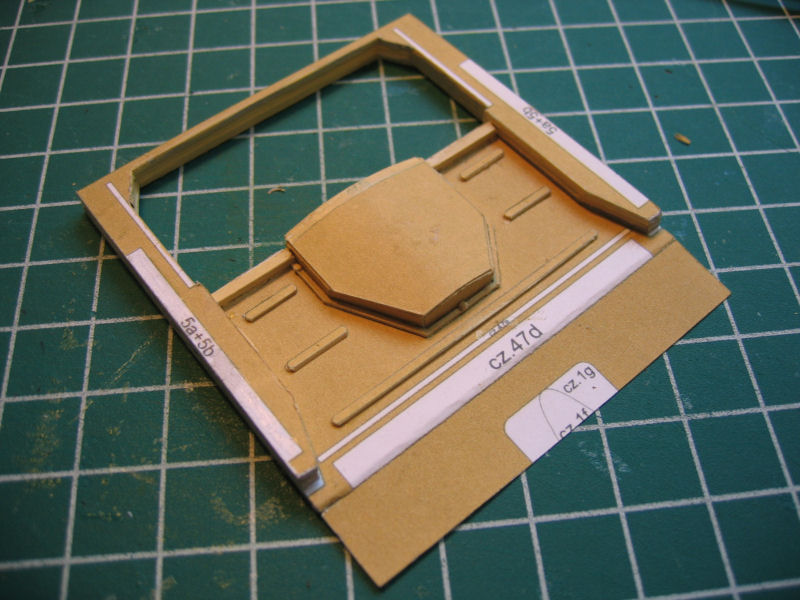
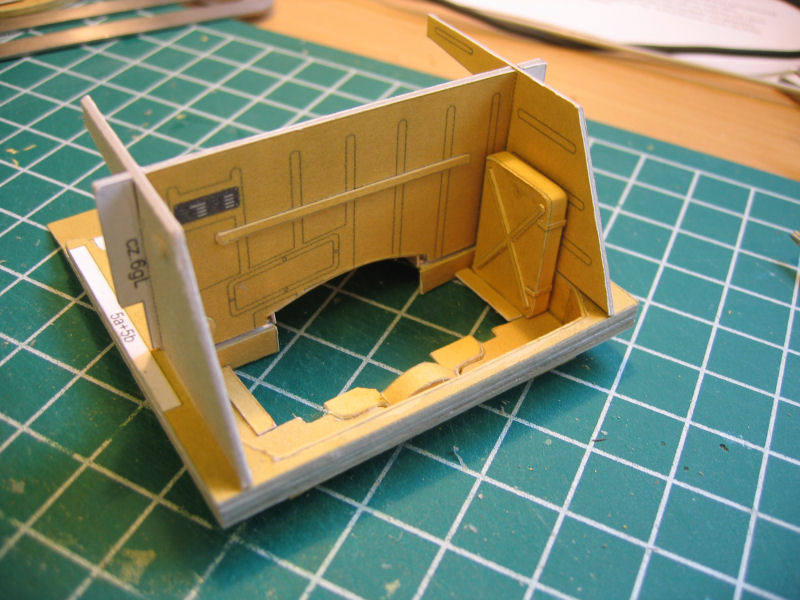
Now I have started on the rear section.This is going to be the engine room.
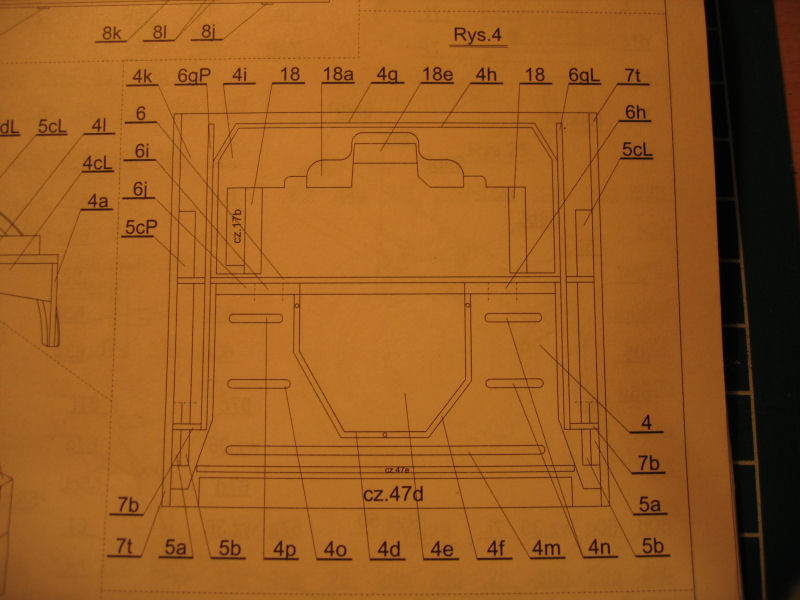
| The drawing of the engine compartment. |
The inner part |
From the other side |
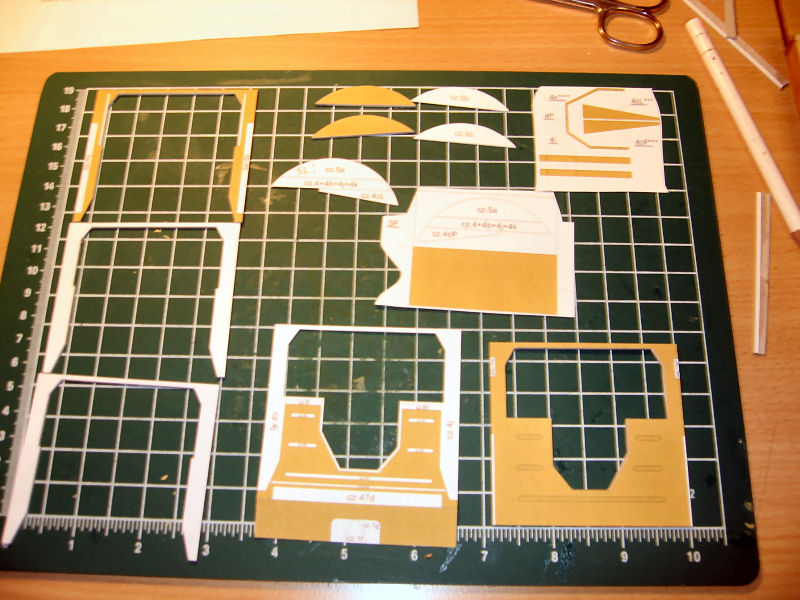
There are a lot of parts involved here.Some of the parts are cutted out and glued to karton.Some pieces are 3mm thick.... |
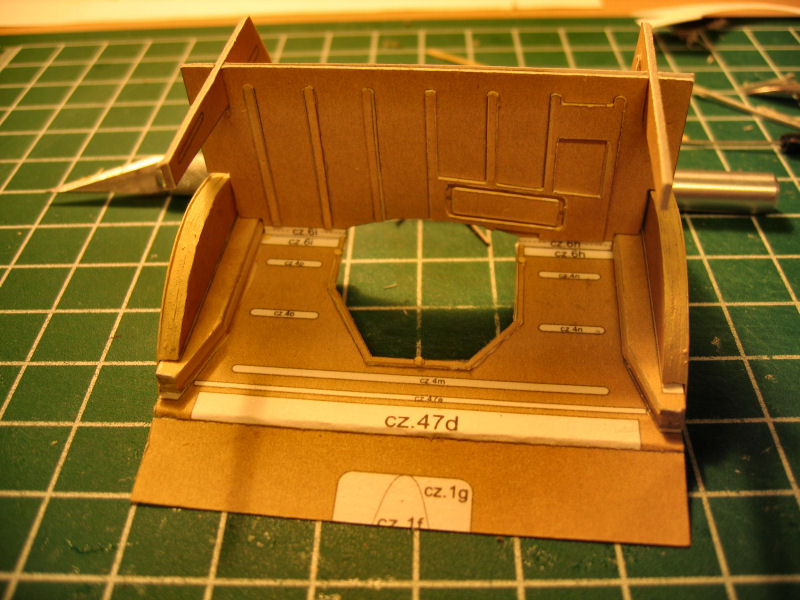
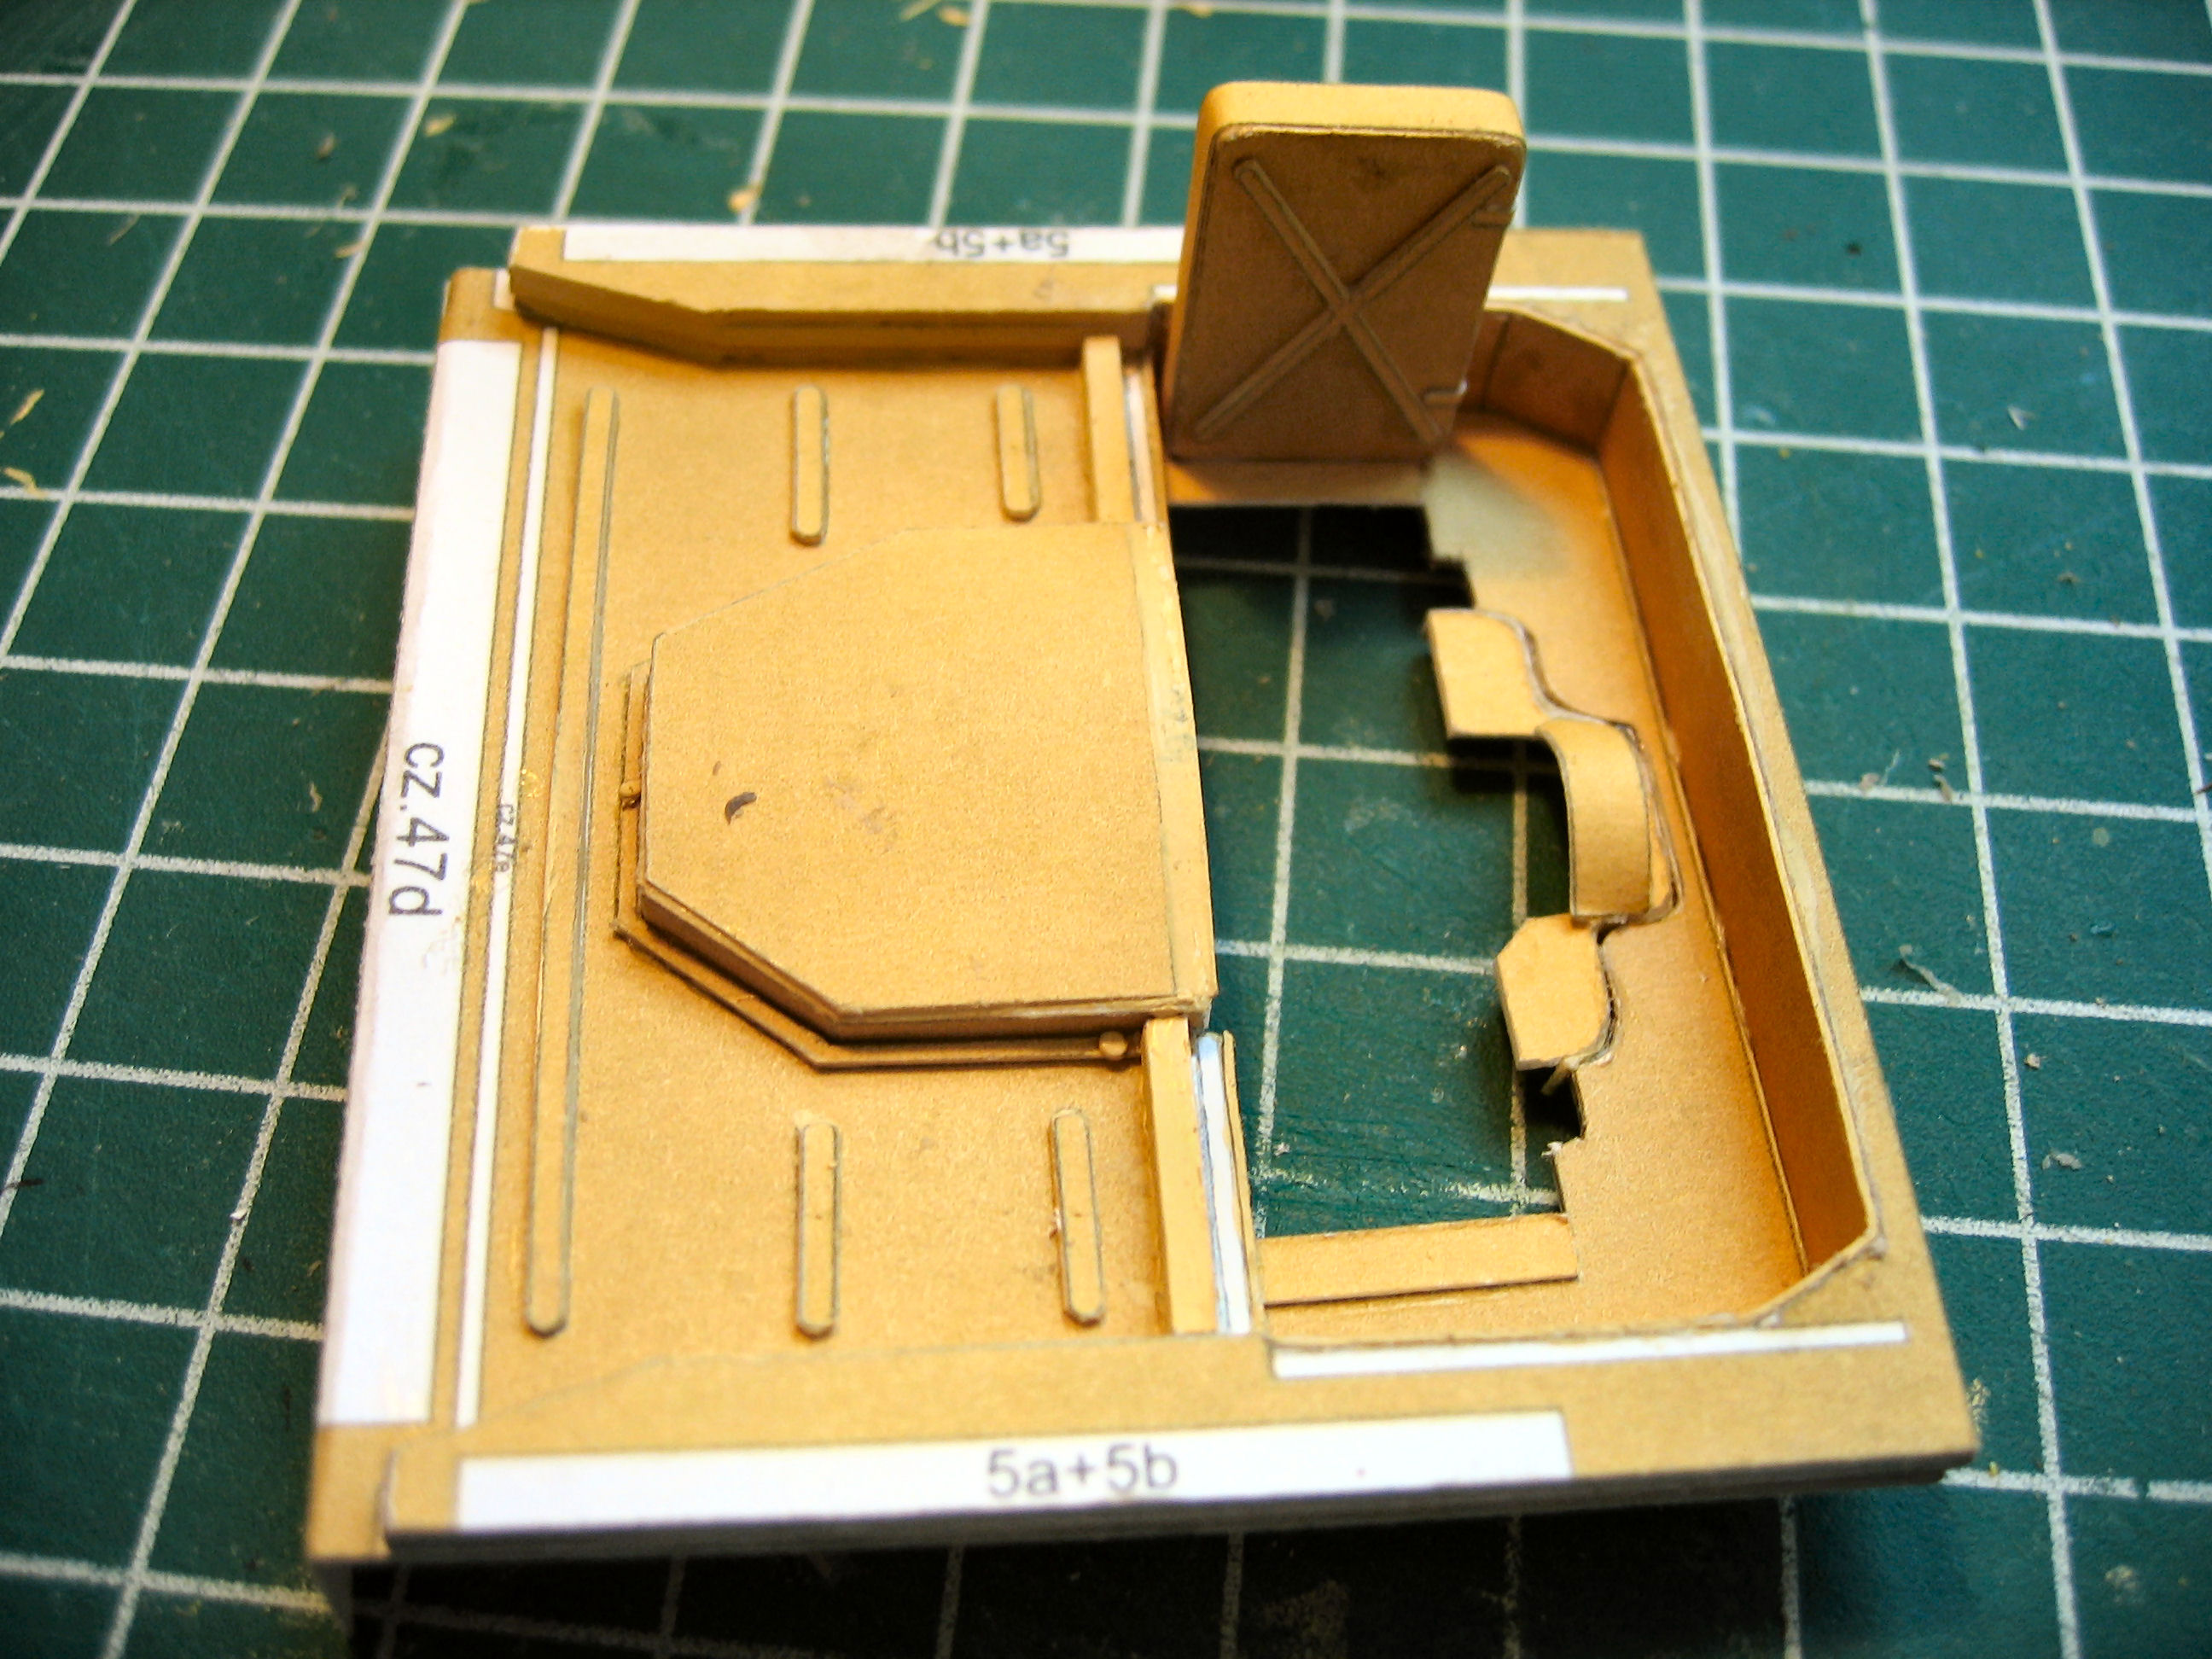
| Here I have glued the frame together and checking if the other parts fit |
And a overview |
Small strips glued, and the Bulbe in place |
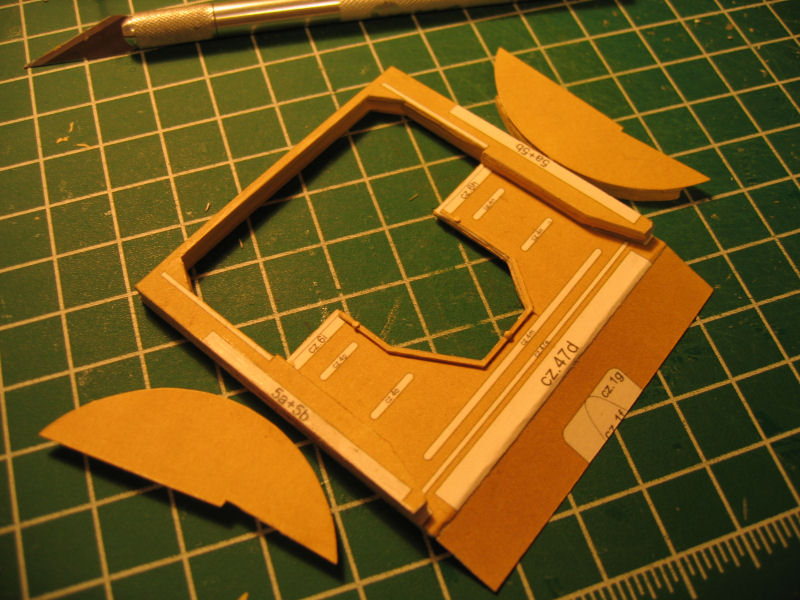
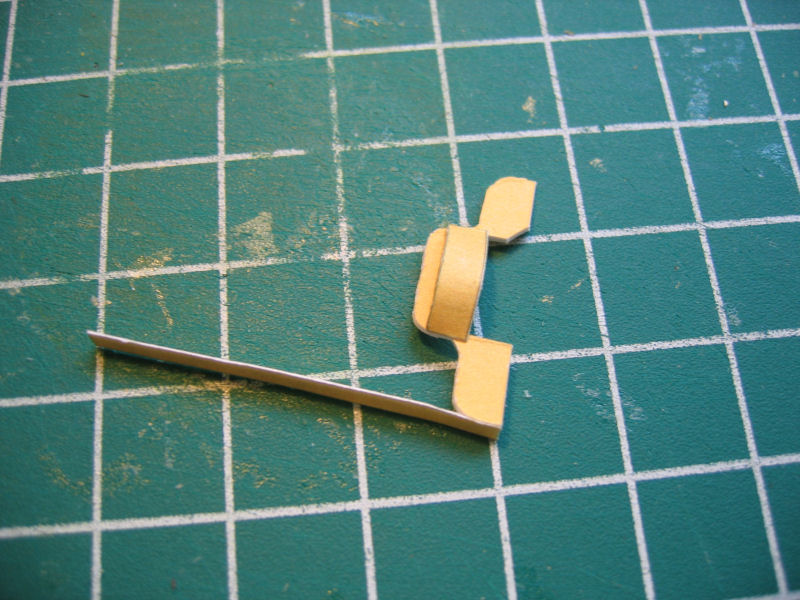
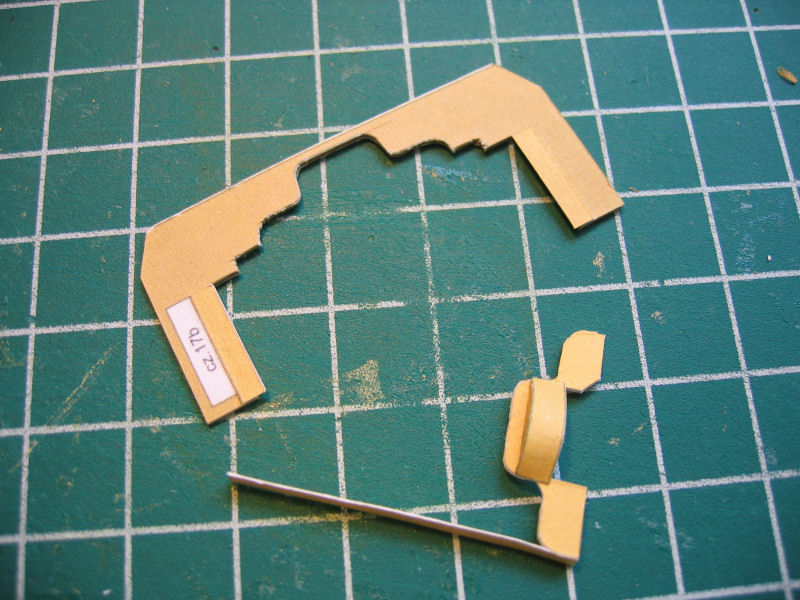
This part is to be the cover for the underside of the rear part of the engine |
| The part is to be glued into the frame. |
Part is in place |
Test fitted |
And glued in place |
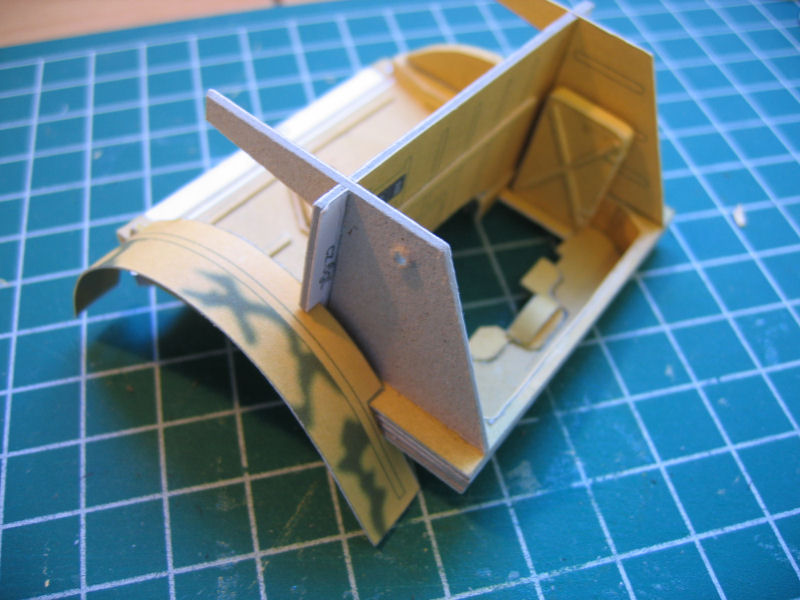
The rear fenders
| Here I have glued the upper part to the lower frame and laminated the outer and inner fender.
Started to put on the second fernderside. |
That part went fairly well.put the rear section into place just to see how it fits.I have also glued the sides to the floor here |
So it was time for this little bugger..... |
That went well also |
| the second rear fender,glued the rear part to the frame,finished the rear part of the tunnel.. |
Also glued the underside of the hood to the frame.
Here is an overview of the progress so far. |
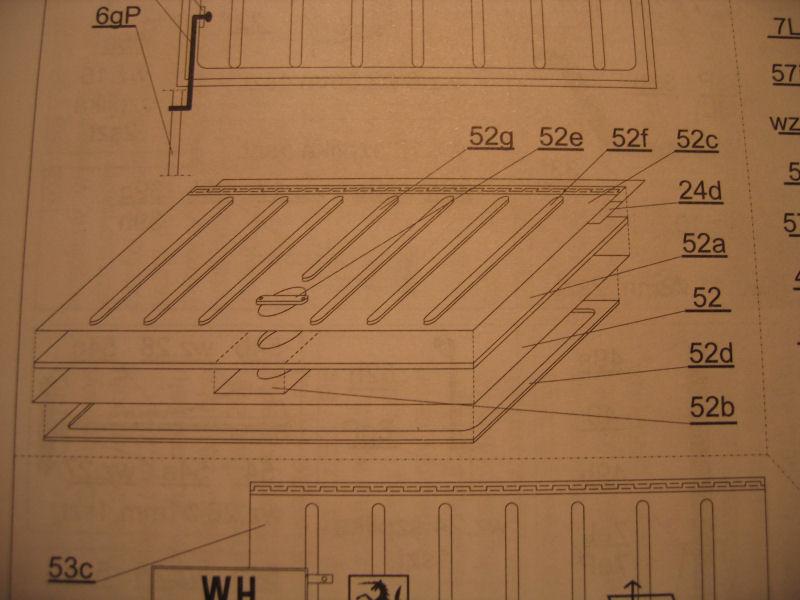
The rear hatches
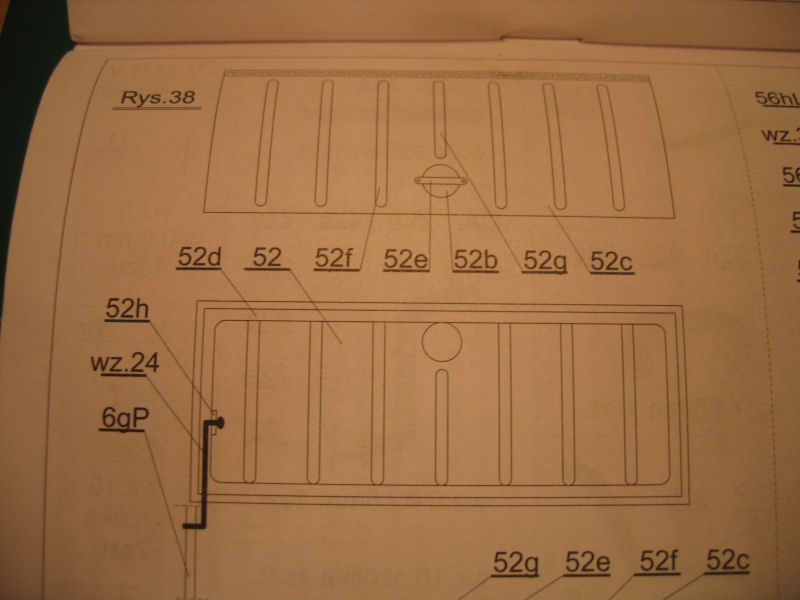
| The drawings for the top hatch.The structure |
Drawing og the outside and inside details |
So it was time for edgepainting........I use Humbrol army green nr 102 for the greenish and some custom made waterbased indoor paint for the rest.
I brought a print of the colour to the colourshop and they scanned it and made an almost perfect match.
And there are a lot of paperstrips to paint.......
|
Finished. |
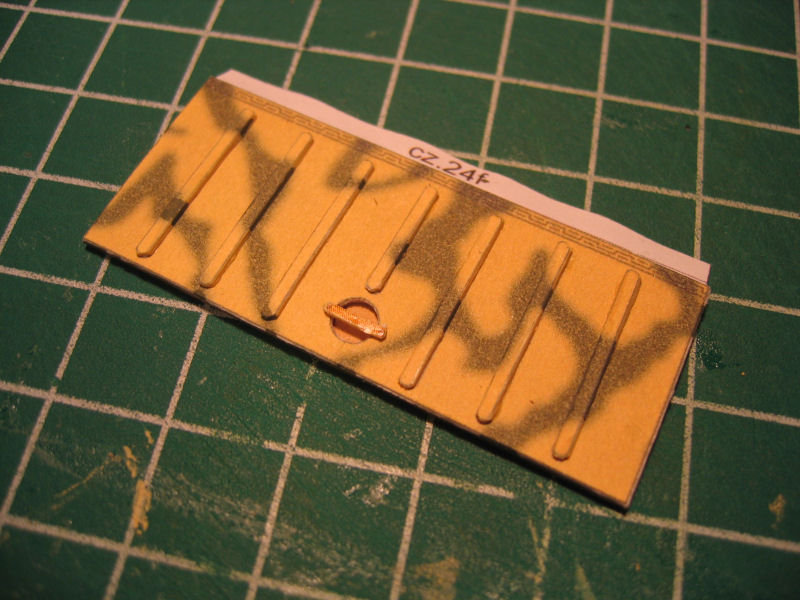
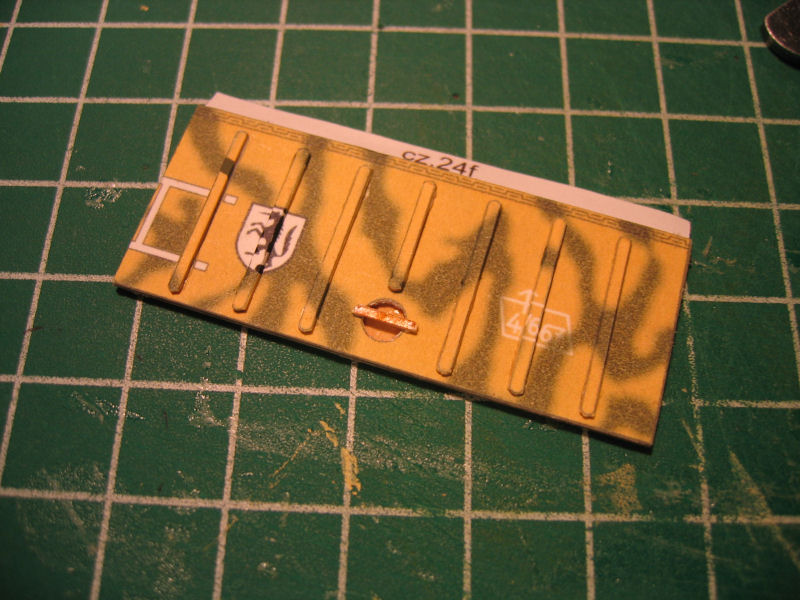
| Parts for the rear hatch are cutted out. |
And rear hatch is assembled and painted. |
Hatches glued into place and top cover mounted |
The hatches are glued in place and the part 51 is mounted.
There was no drawing of that part, it was kind of self explaining...
The part 51 is some kind of cover over the top of the rear end. |
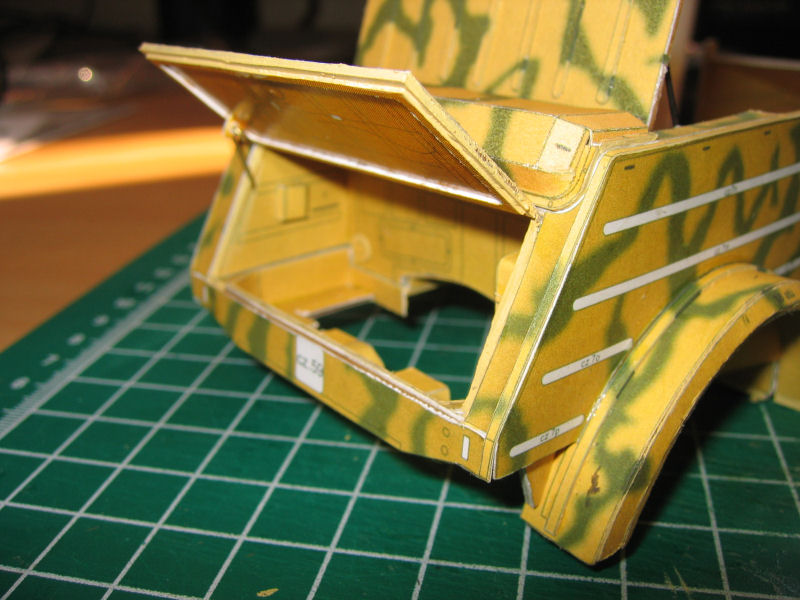
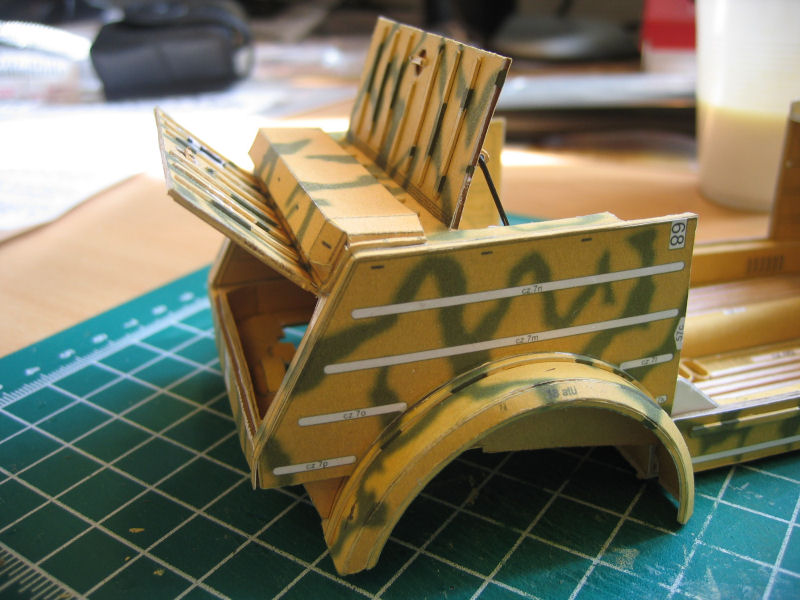
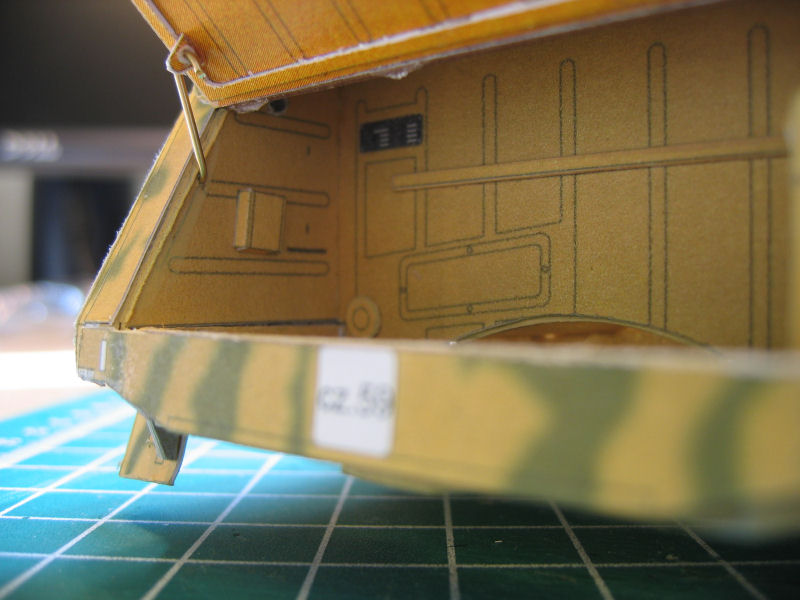
| The front hatch in open position |
The rear hatch in open position |
Overview of the opened hatches |
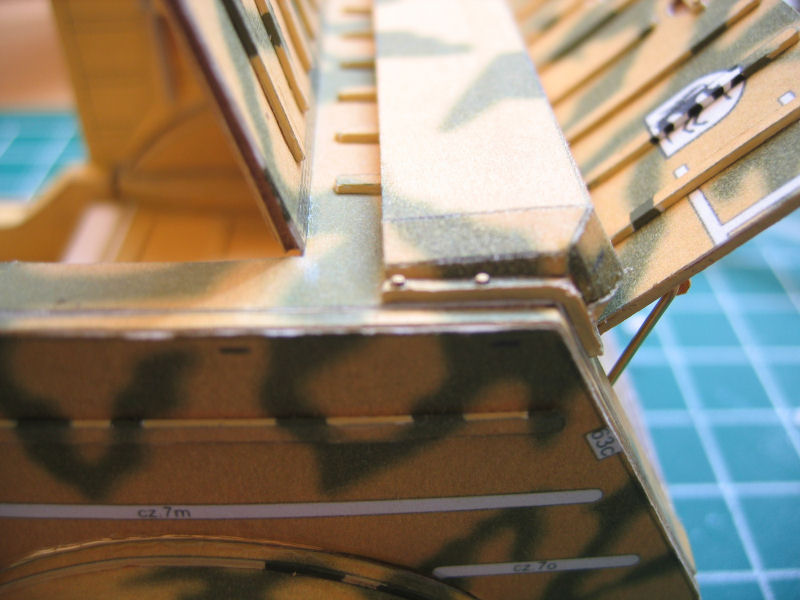
Closeup of the rear hatch |

I'm also placing 0,6mm nuts around the top cover instead of the painted ones...
Gallery of the finished model is HERE
©Johnny Svensson 2007
|