Ford GPA Jeep 1:25 Modelik
FORD G.P.A. JEEP
AMERICAN PASSENGER TERRAIN AMPHIBIAN FROM W.W. 2ND
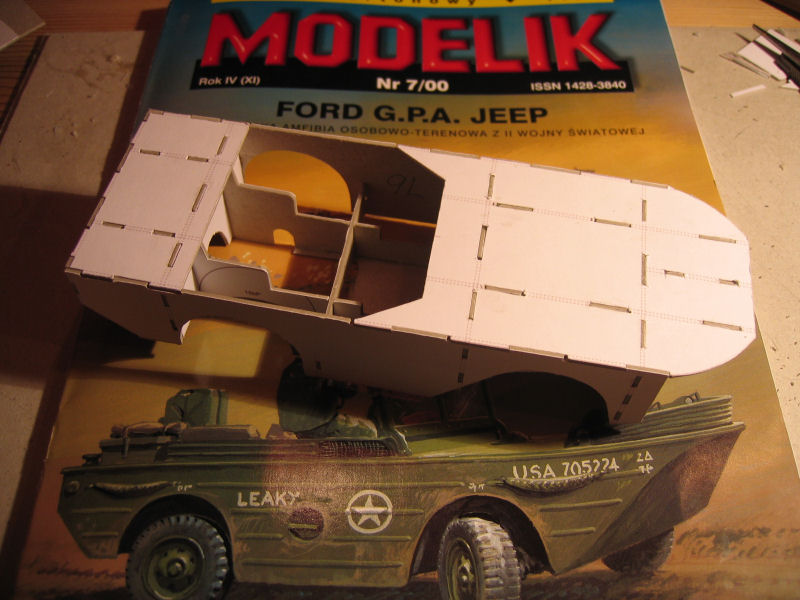
This was the second carmodel I built.There was some minor fit problems with this one,but nothing that serious that a colorprinter and a scanner couldn't fix.
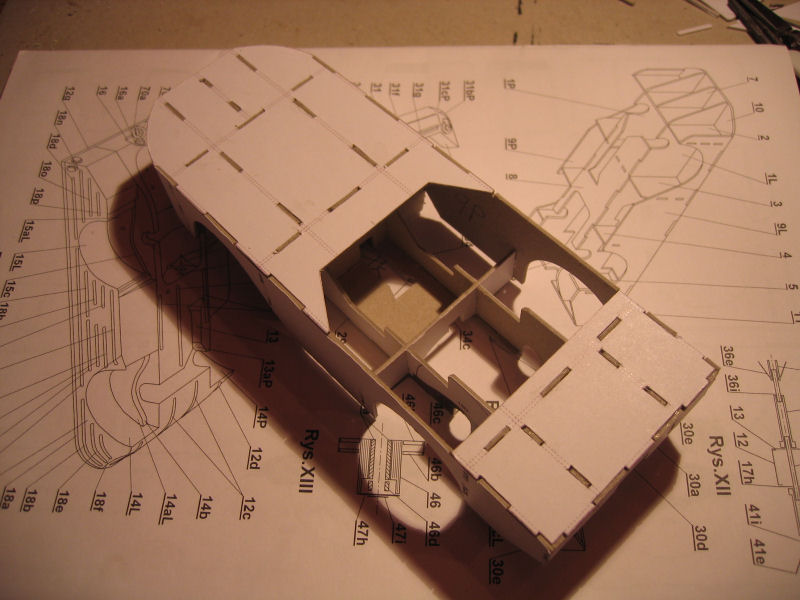
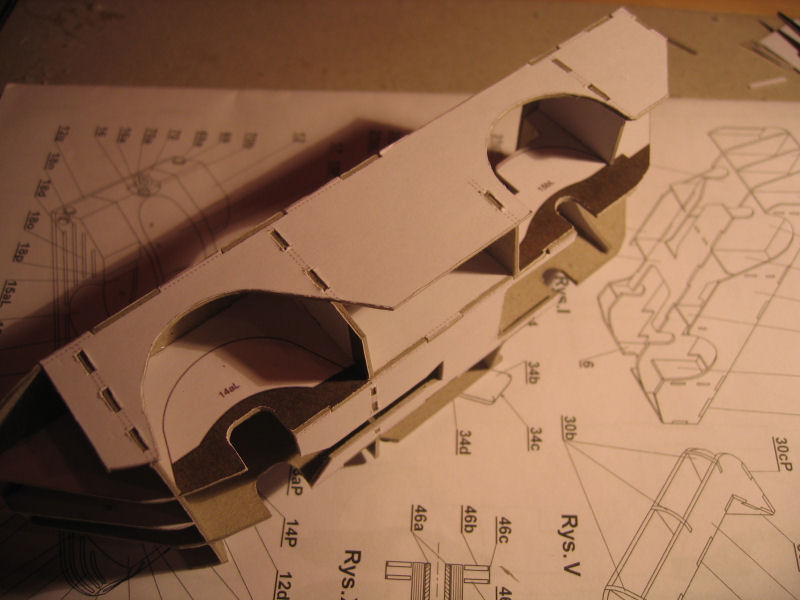
The Body
| The frame is put together.Parts are glued to 1mm cardboard |
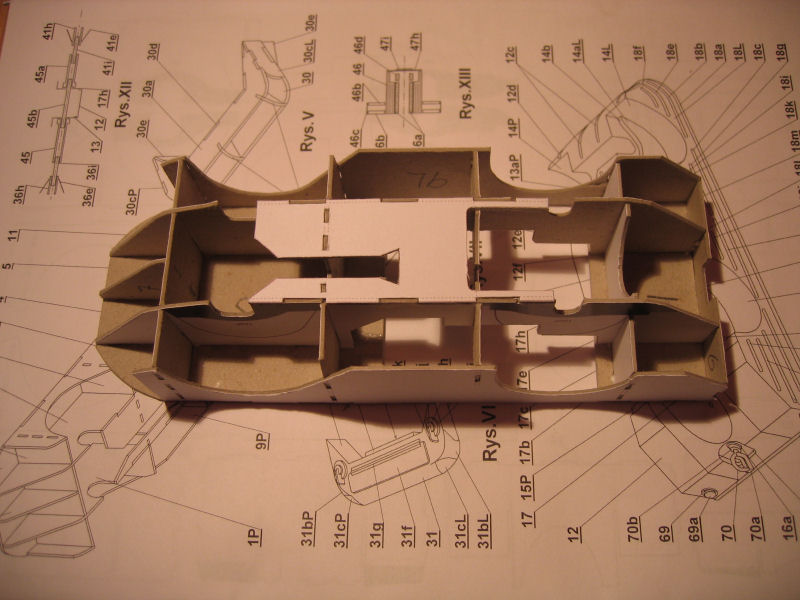
The underside shows the frames |
Another view |
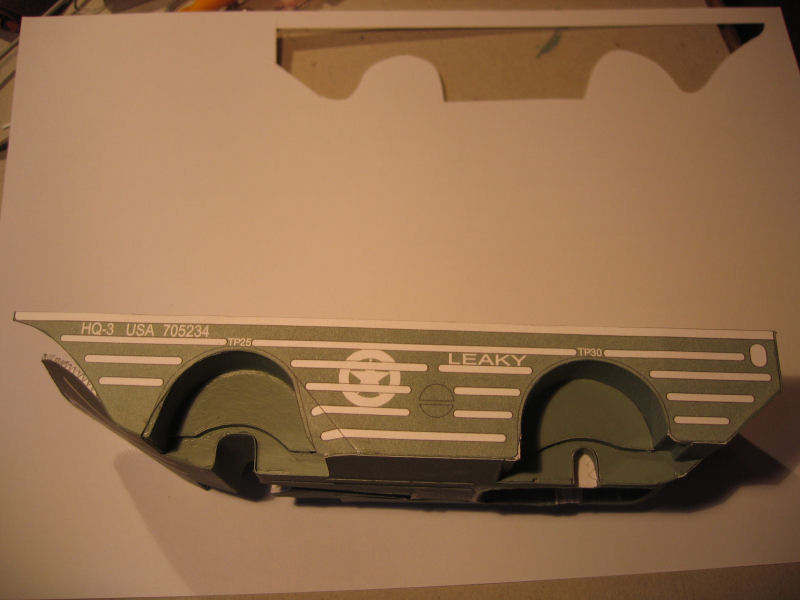
Seen from the side |
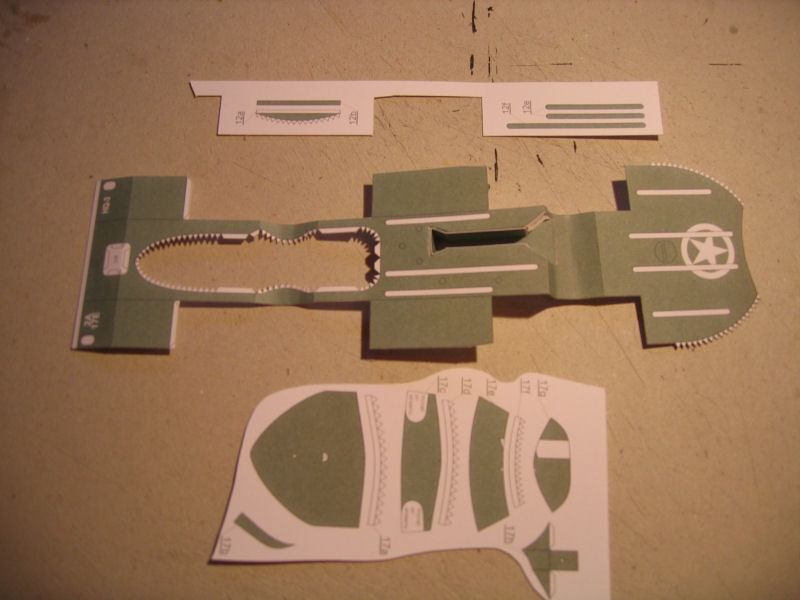
Making the underside
It was not as easy as it first looked,but I got it assembled after some thinking....
the instructions are not very good for one that not speaks/reads polish...and translating to english via babelfish and similar sites is not an option either,so every build become more like a puzzle.
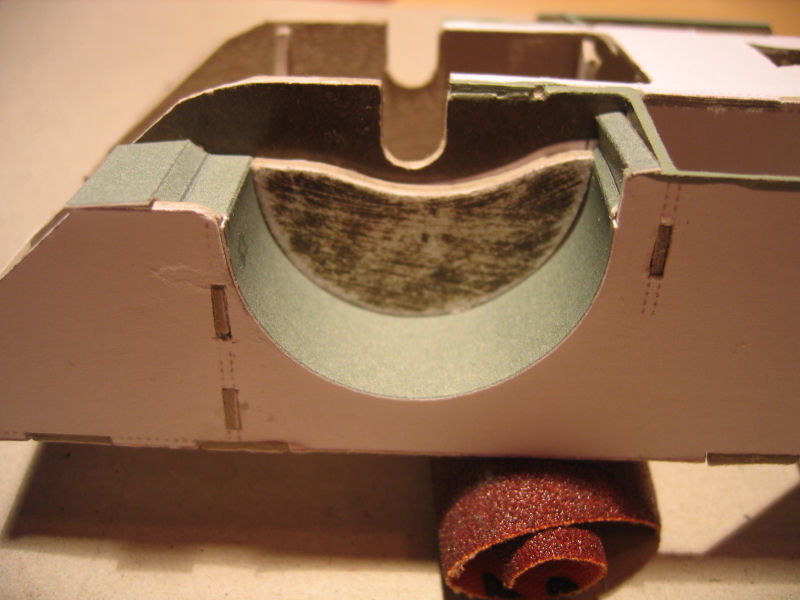
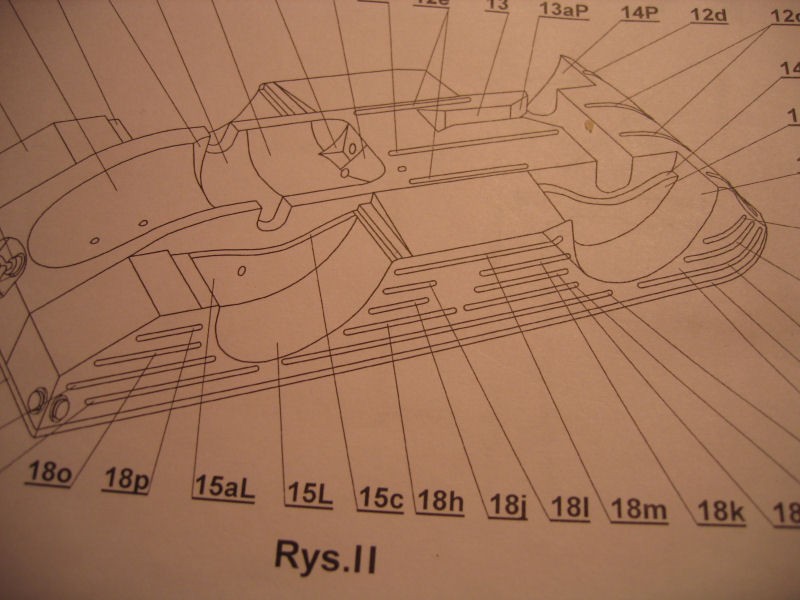
| I have started to make the underside with the propeller "tunnel".The parts needed for this operation |
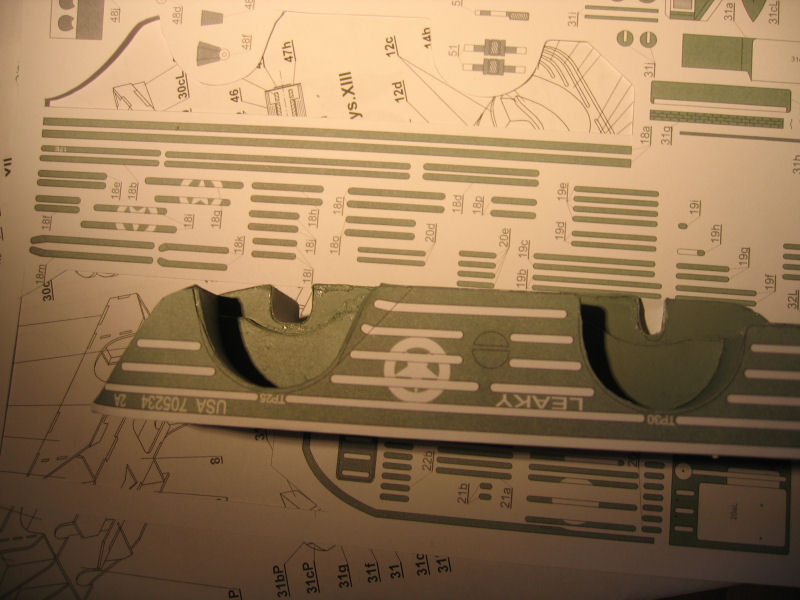
Here I have mounted half of the tunnel |
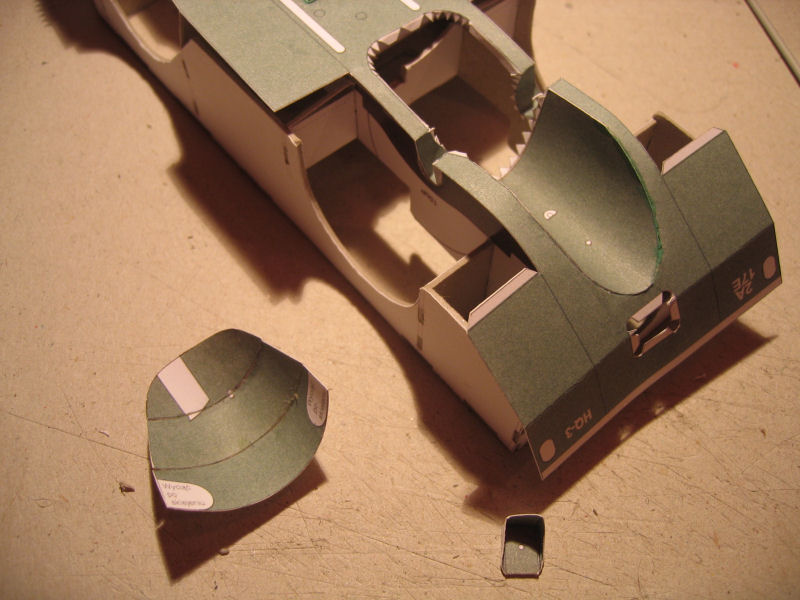
I got it assembled and ready for gluing to the framework. |
It fits pretty good, so I'll just glue it in place |
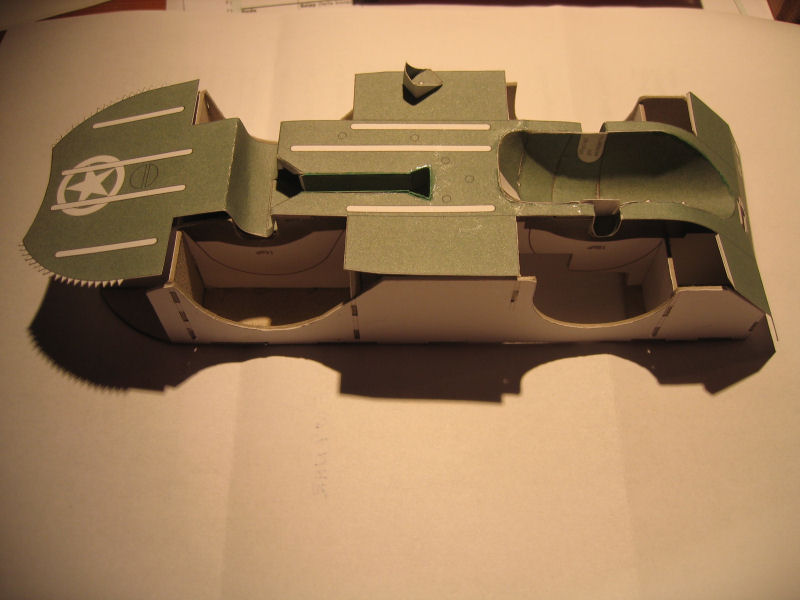
Wheelwhells and the sides
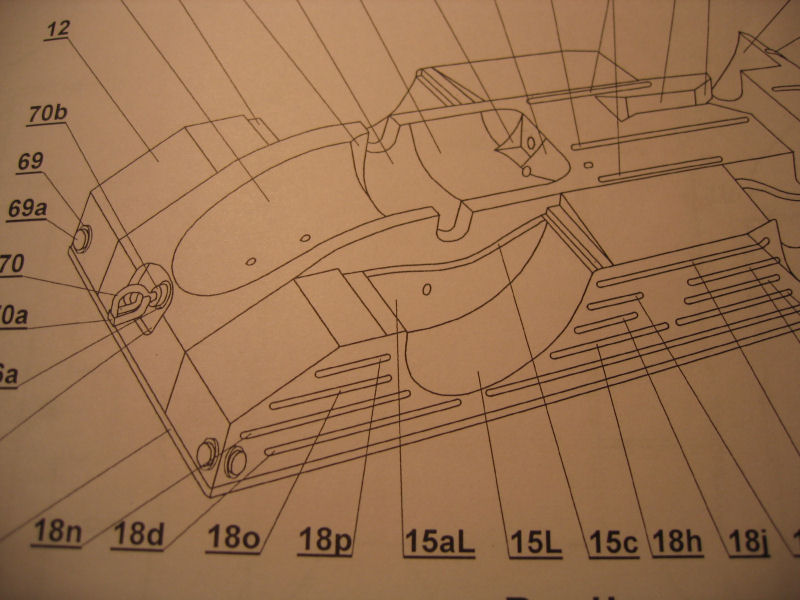
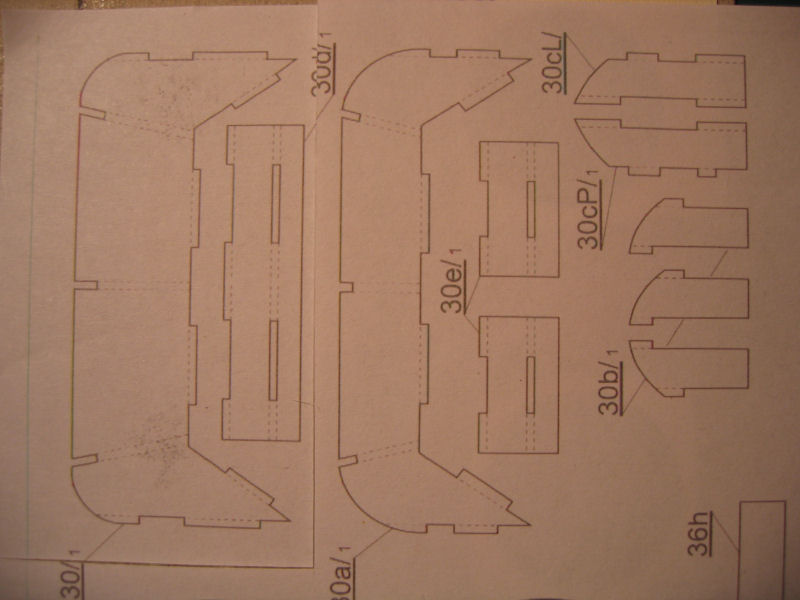
| The drawing for the front part. |
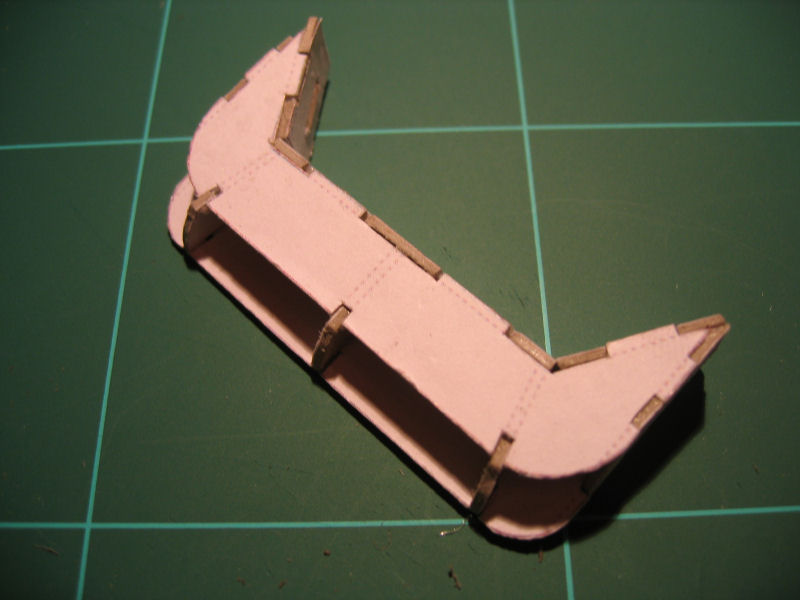
The parts are cut and ready for some paint |
The part are put in to see if it fits, and it does! |
I'm satisfied with the result. |
| Both sides done. |
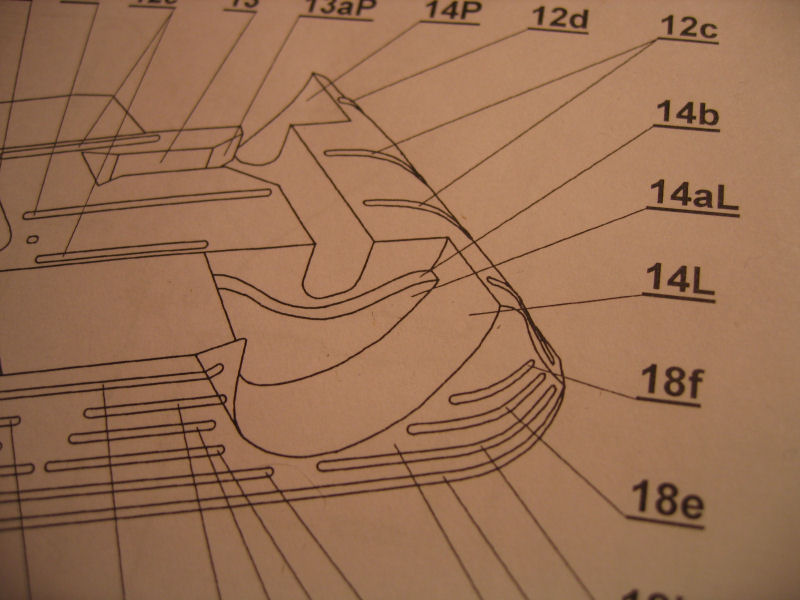
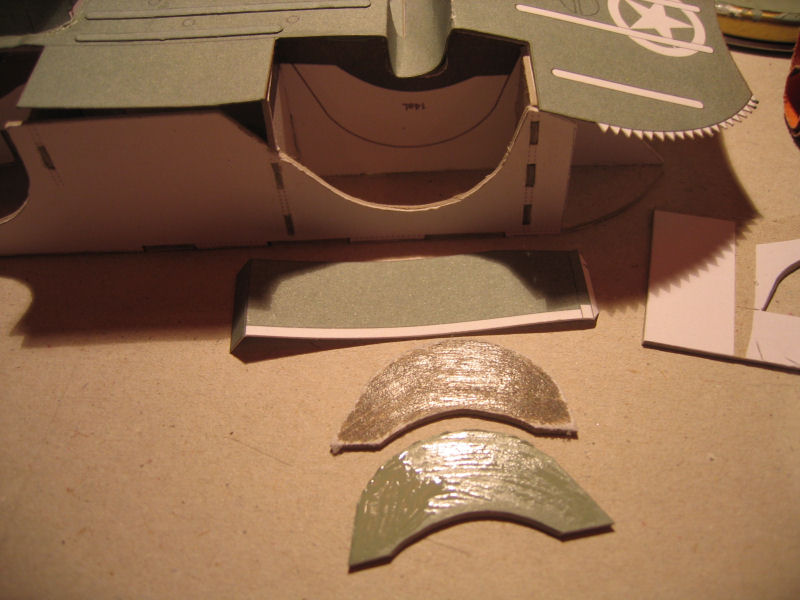
Drawing for the rear wheelwhells |
Parts cut out and grinded |
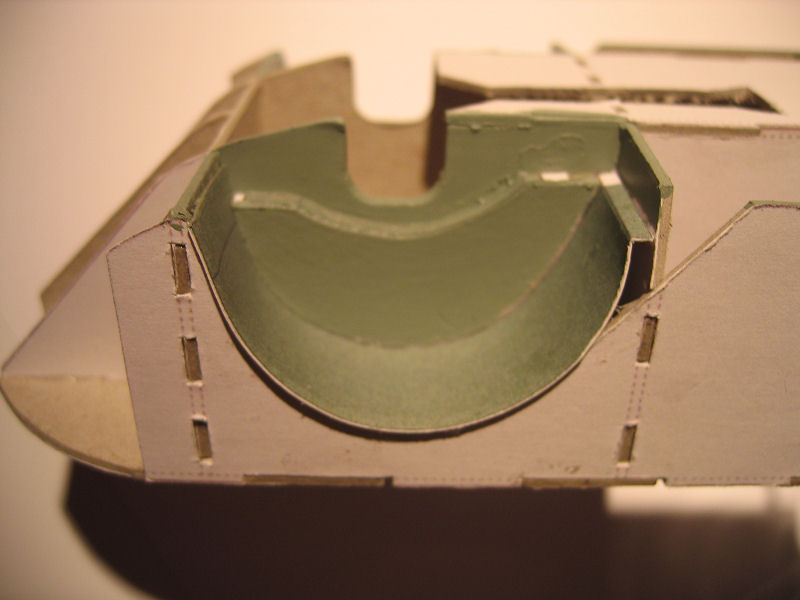
Put loosely into place to see if it all fits. |
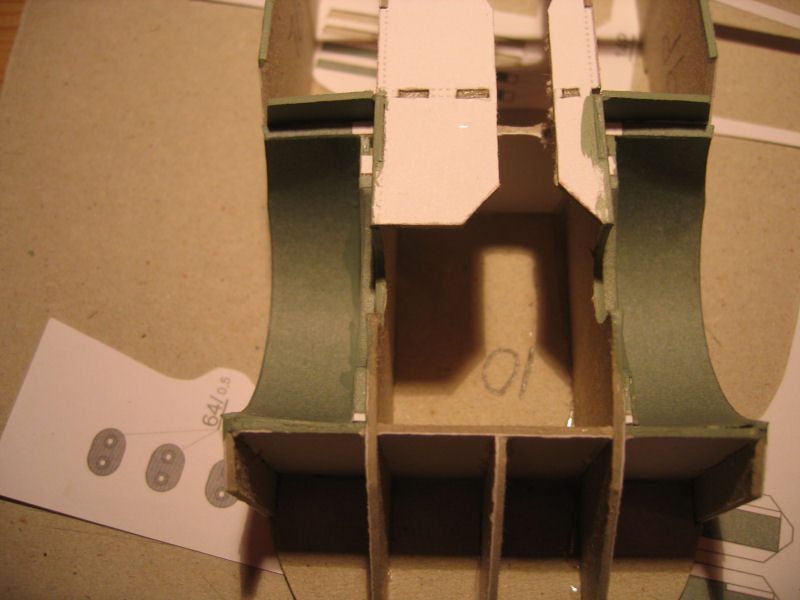
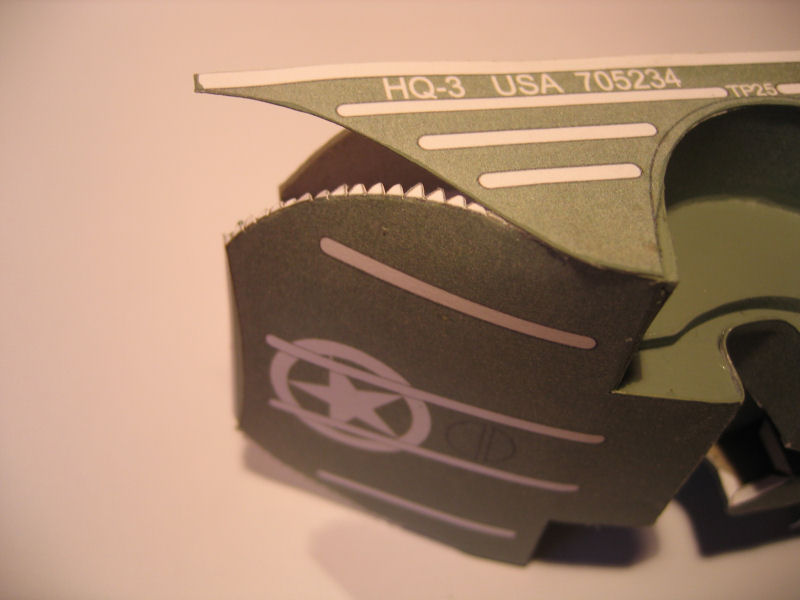
| All 4 whellwels are finished and painted. And the right side cutted out. |
The sidepart fitted very well, but the front is a challenge for me.... |
I got it into place |
And it came out rather nice... |
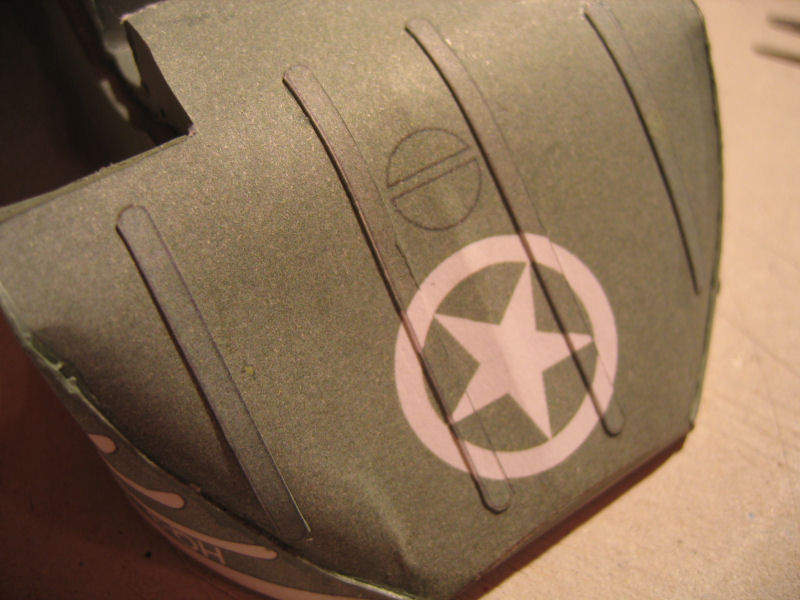
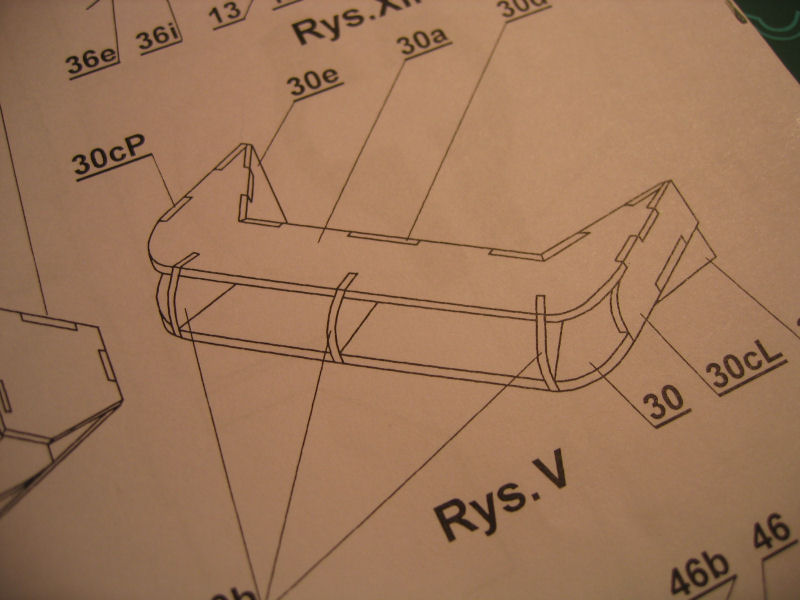
Adding strips
| The drawing. |
Parts to cut out |
Painting edges |
| The finished result. |
The front part |
The front suspension
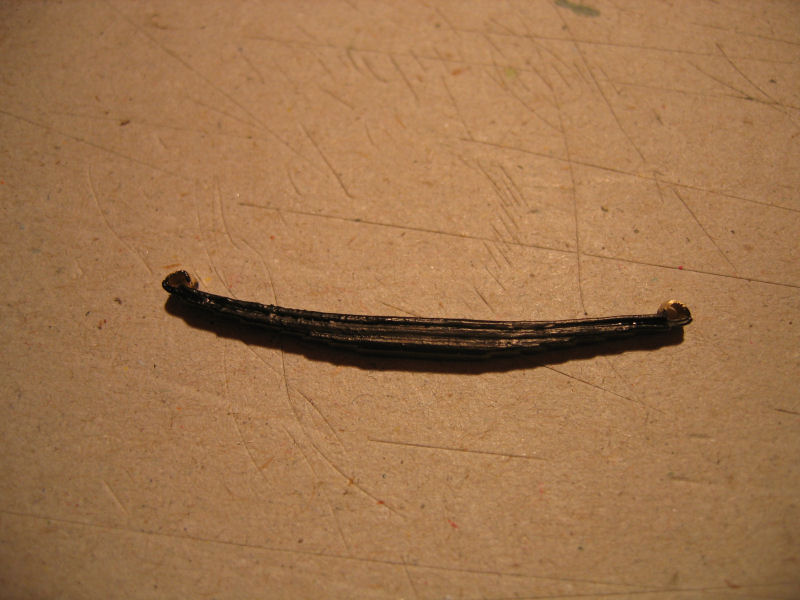
| the "hard" part of the suspension was made of 0.3mm leaf brass I got my hands on at work....cutted out as decribed.They don't look as good as I wanted,but they are more than ok since they will be covered of paper. |
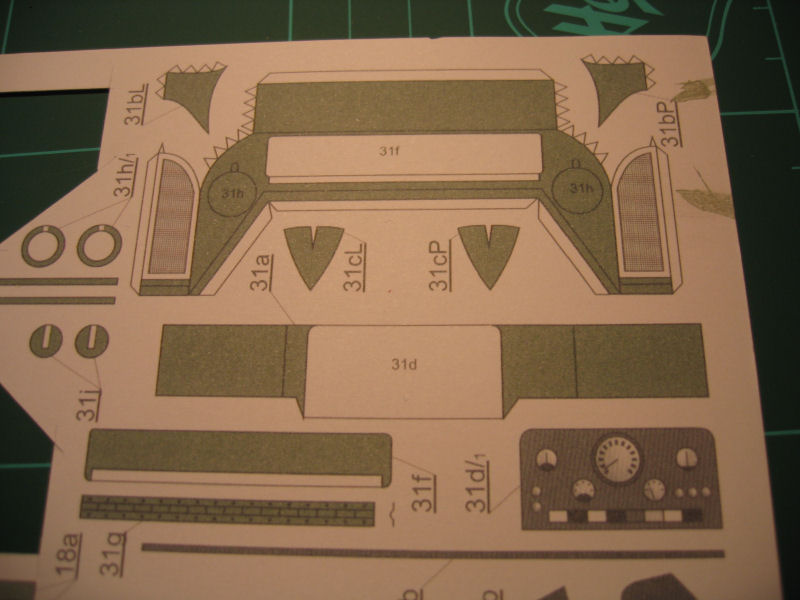
| The drawing for suspension. |
The brass and the parts. |
Parts cutted out and ready for assembly. |
Leaf spring mounted and ready for the paintshop..... |
| One spring done, 3 to go!. |
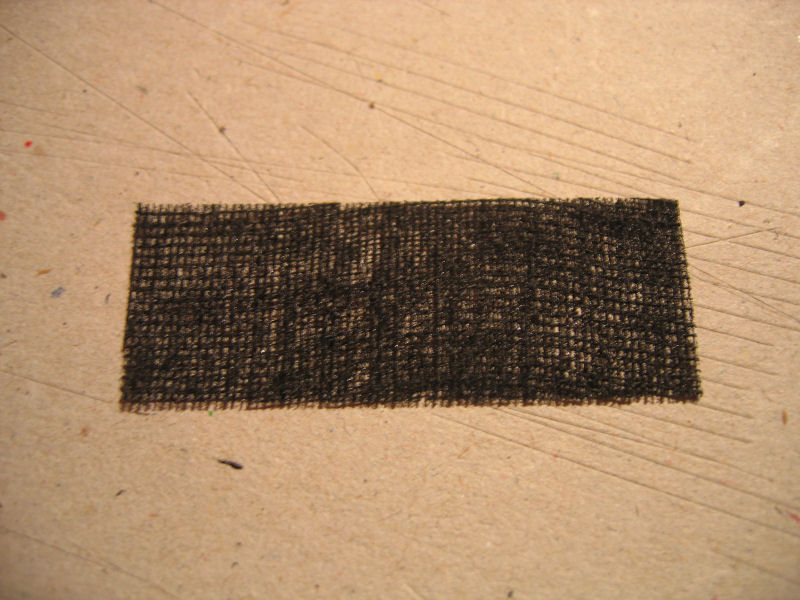
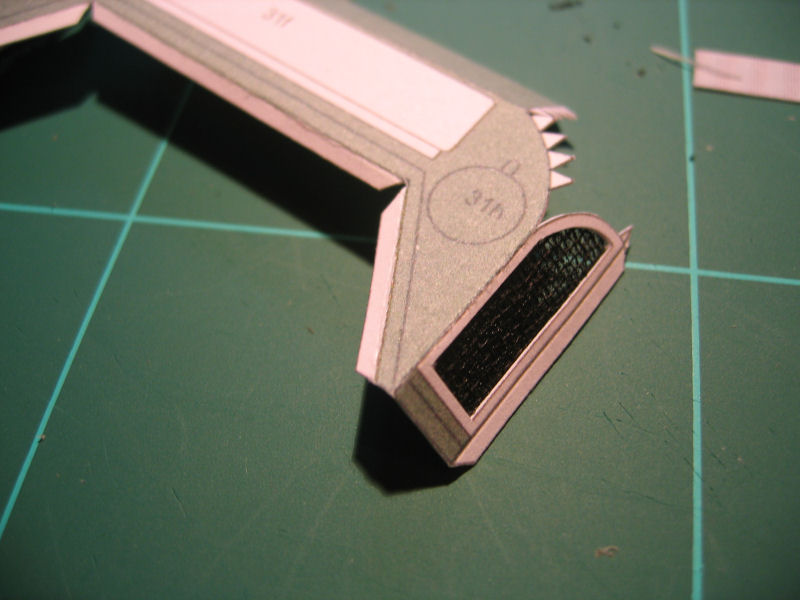
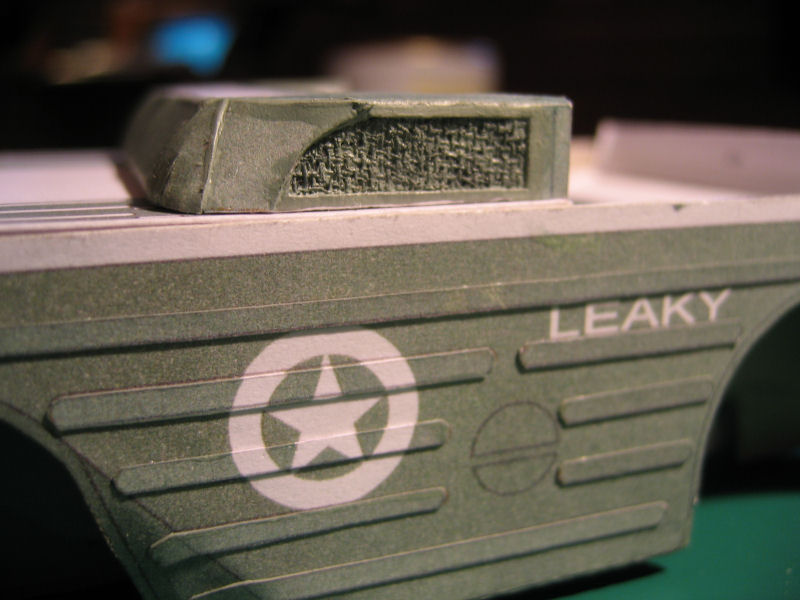
Adding a mesh to the front hatch
| I was not satisfied with the papernet that was in this "hole"
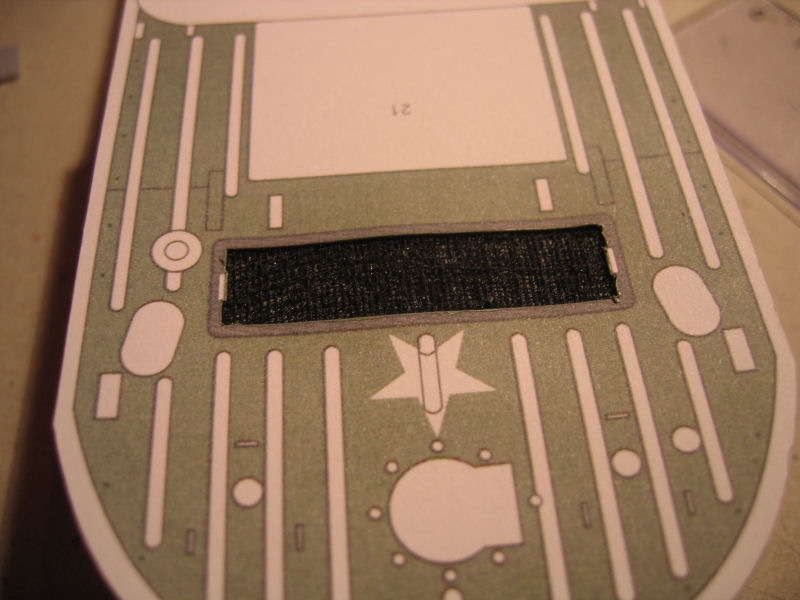
So I cutted out the part. |
Panted some fine gaz |
And the result was a lot better!
This part is not glued yet.I have some more work on this part as you can see. |
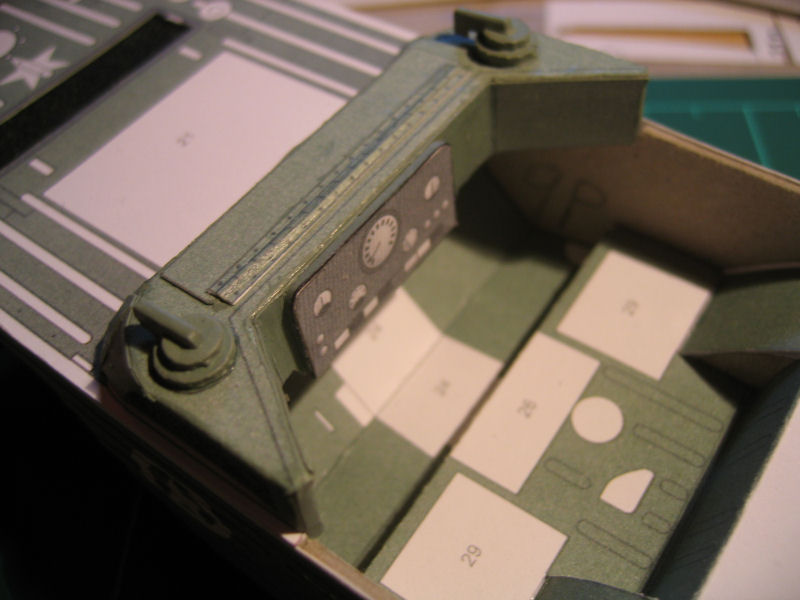
Dashboard
| The drawing for the part. |
The parts are glued to 1mm cardboard |
Parts cutted and ready for mounting |
The framework completed. |
| The drawing for the cover operation. |
Parts to use on this operation |
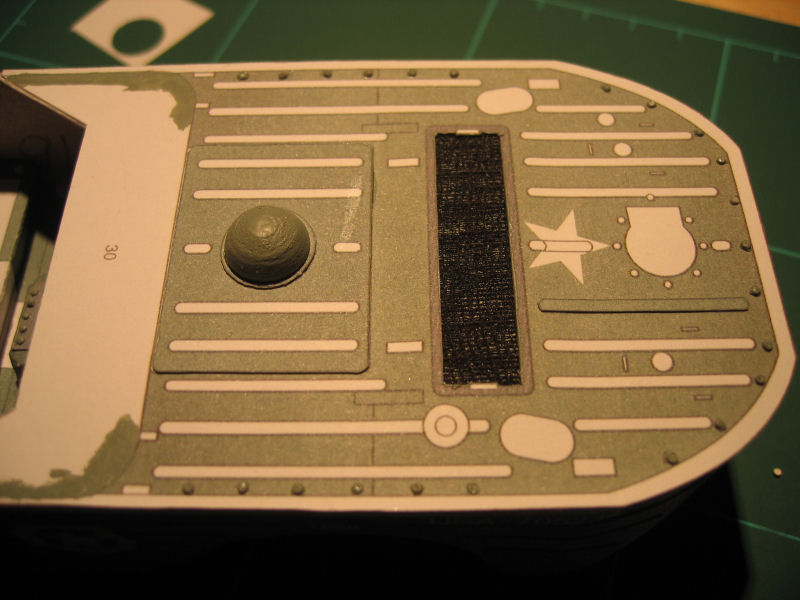
Replaced the "net" |
The finished result.. |
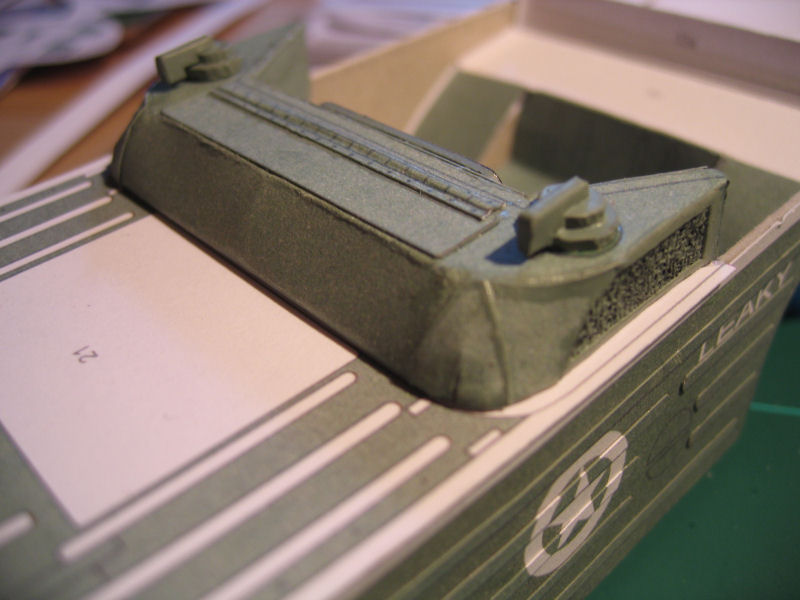
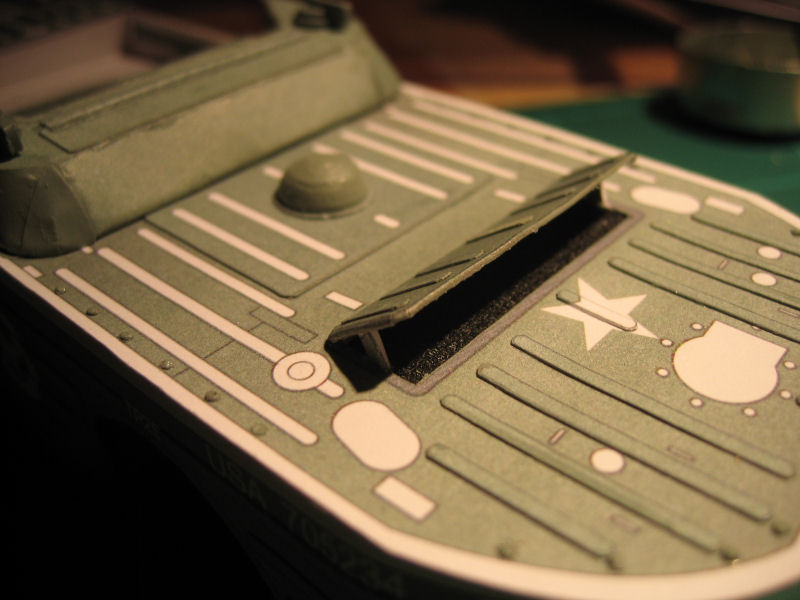
The front hatch
| I have glued the top cover to the front and made the small "bulb". |
Some of the parts to the rear cover with rivets done on one side. |
The hatch is done, and the front "strips" are in place |
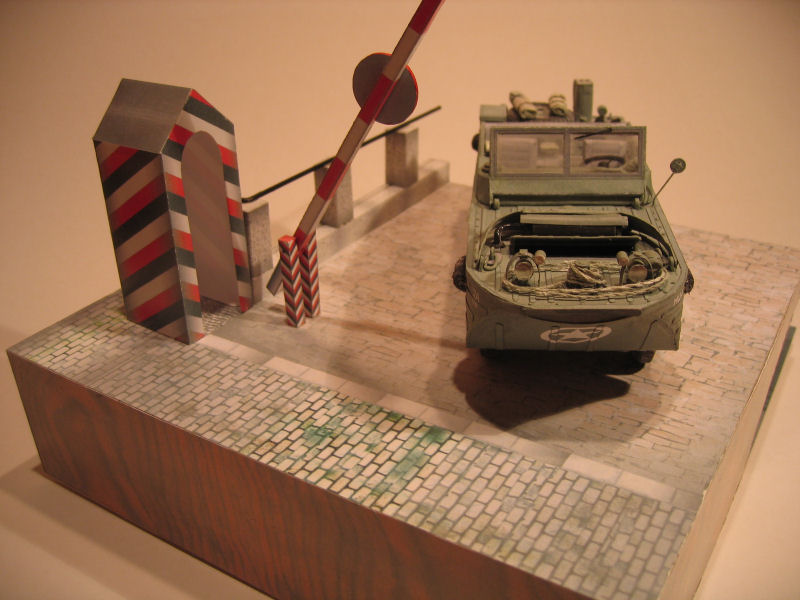
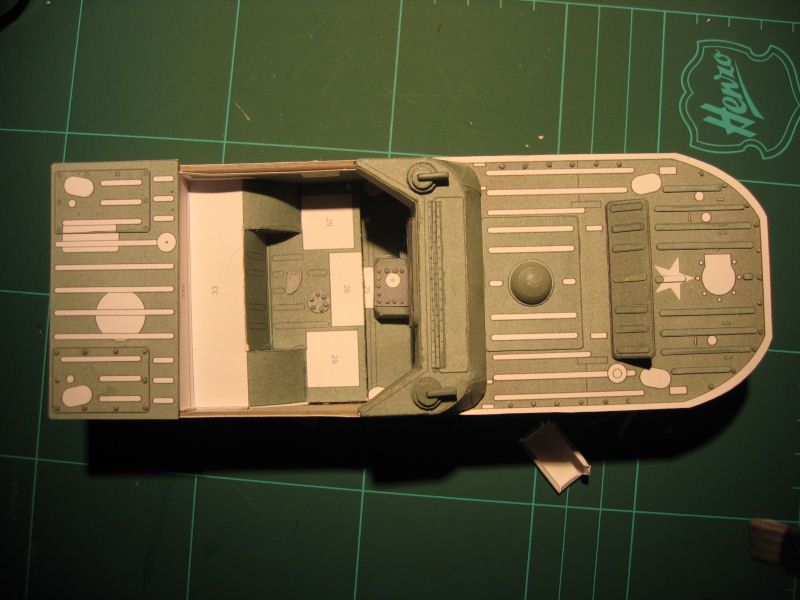
Overview of the Jeep. |

Another pic
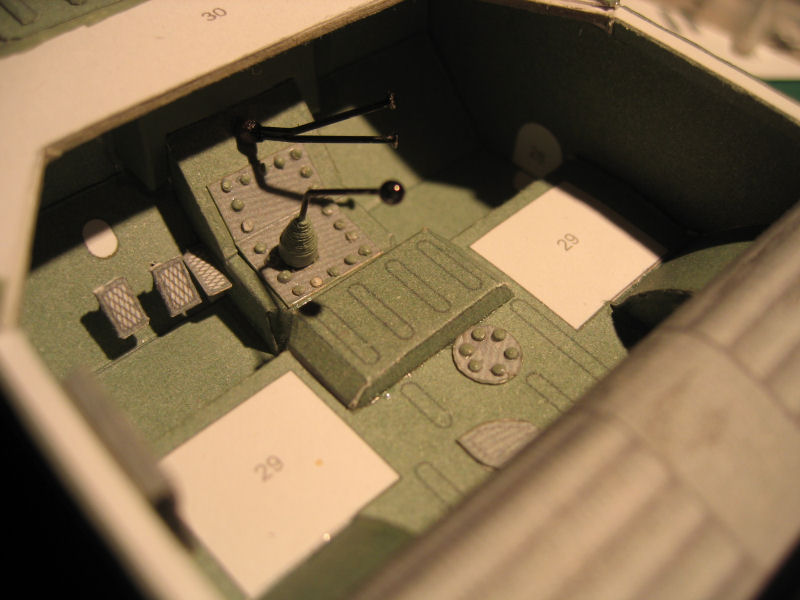
The inside
| I have started to finish the cockpit.I made the gearhandles. |
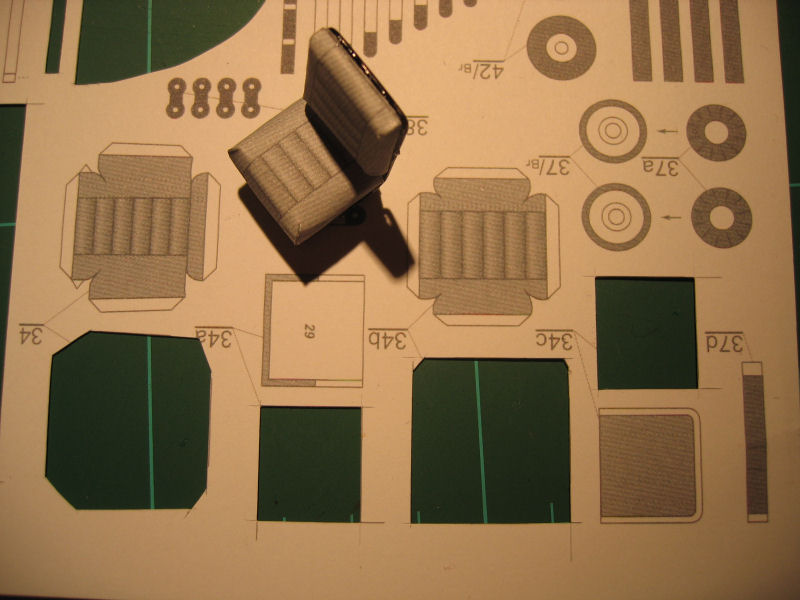
The front seats and the back seat.
Parts for the front seat. |
One seat left! |